$10 Gift Voucher - Leave a Comment

No Line Coloring with Hero Arts

Written by Kelly Latevola. Posted in Eye Candy (Projects), Tutorials, Videos

Hello Crafters!

This past weekend I was so blessed to be able to attend CHA. While I was there I spent time with my girlfriends, ate good food, and stayed up to late all while stumbling around in a craft crazed stupor from all the pretty things. One of the pretty things included the Hero Arts booth and I was lucky enough to be gifted a new stamp set from a friend of mine. Needless to say I couldn’t wait to get it inky!

DSCN2779

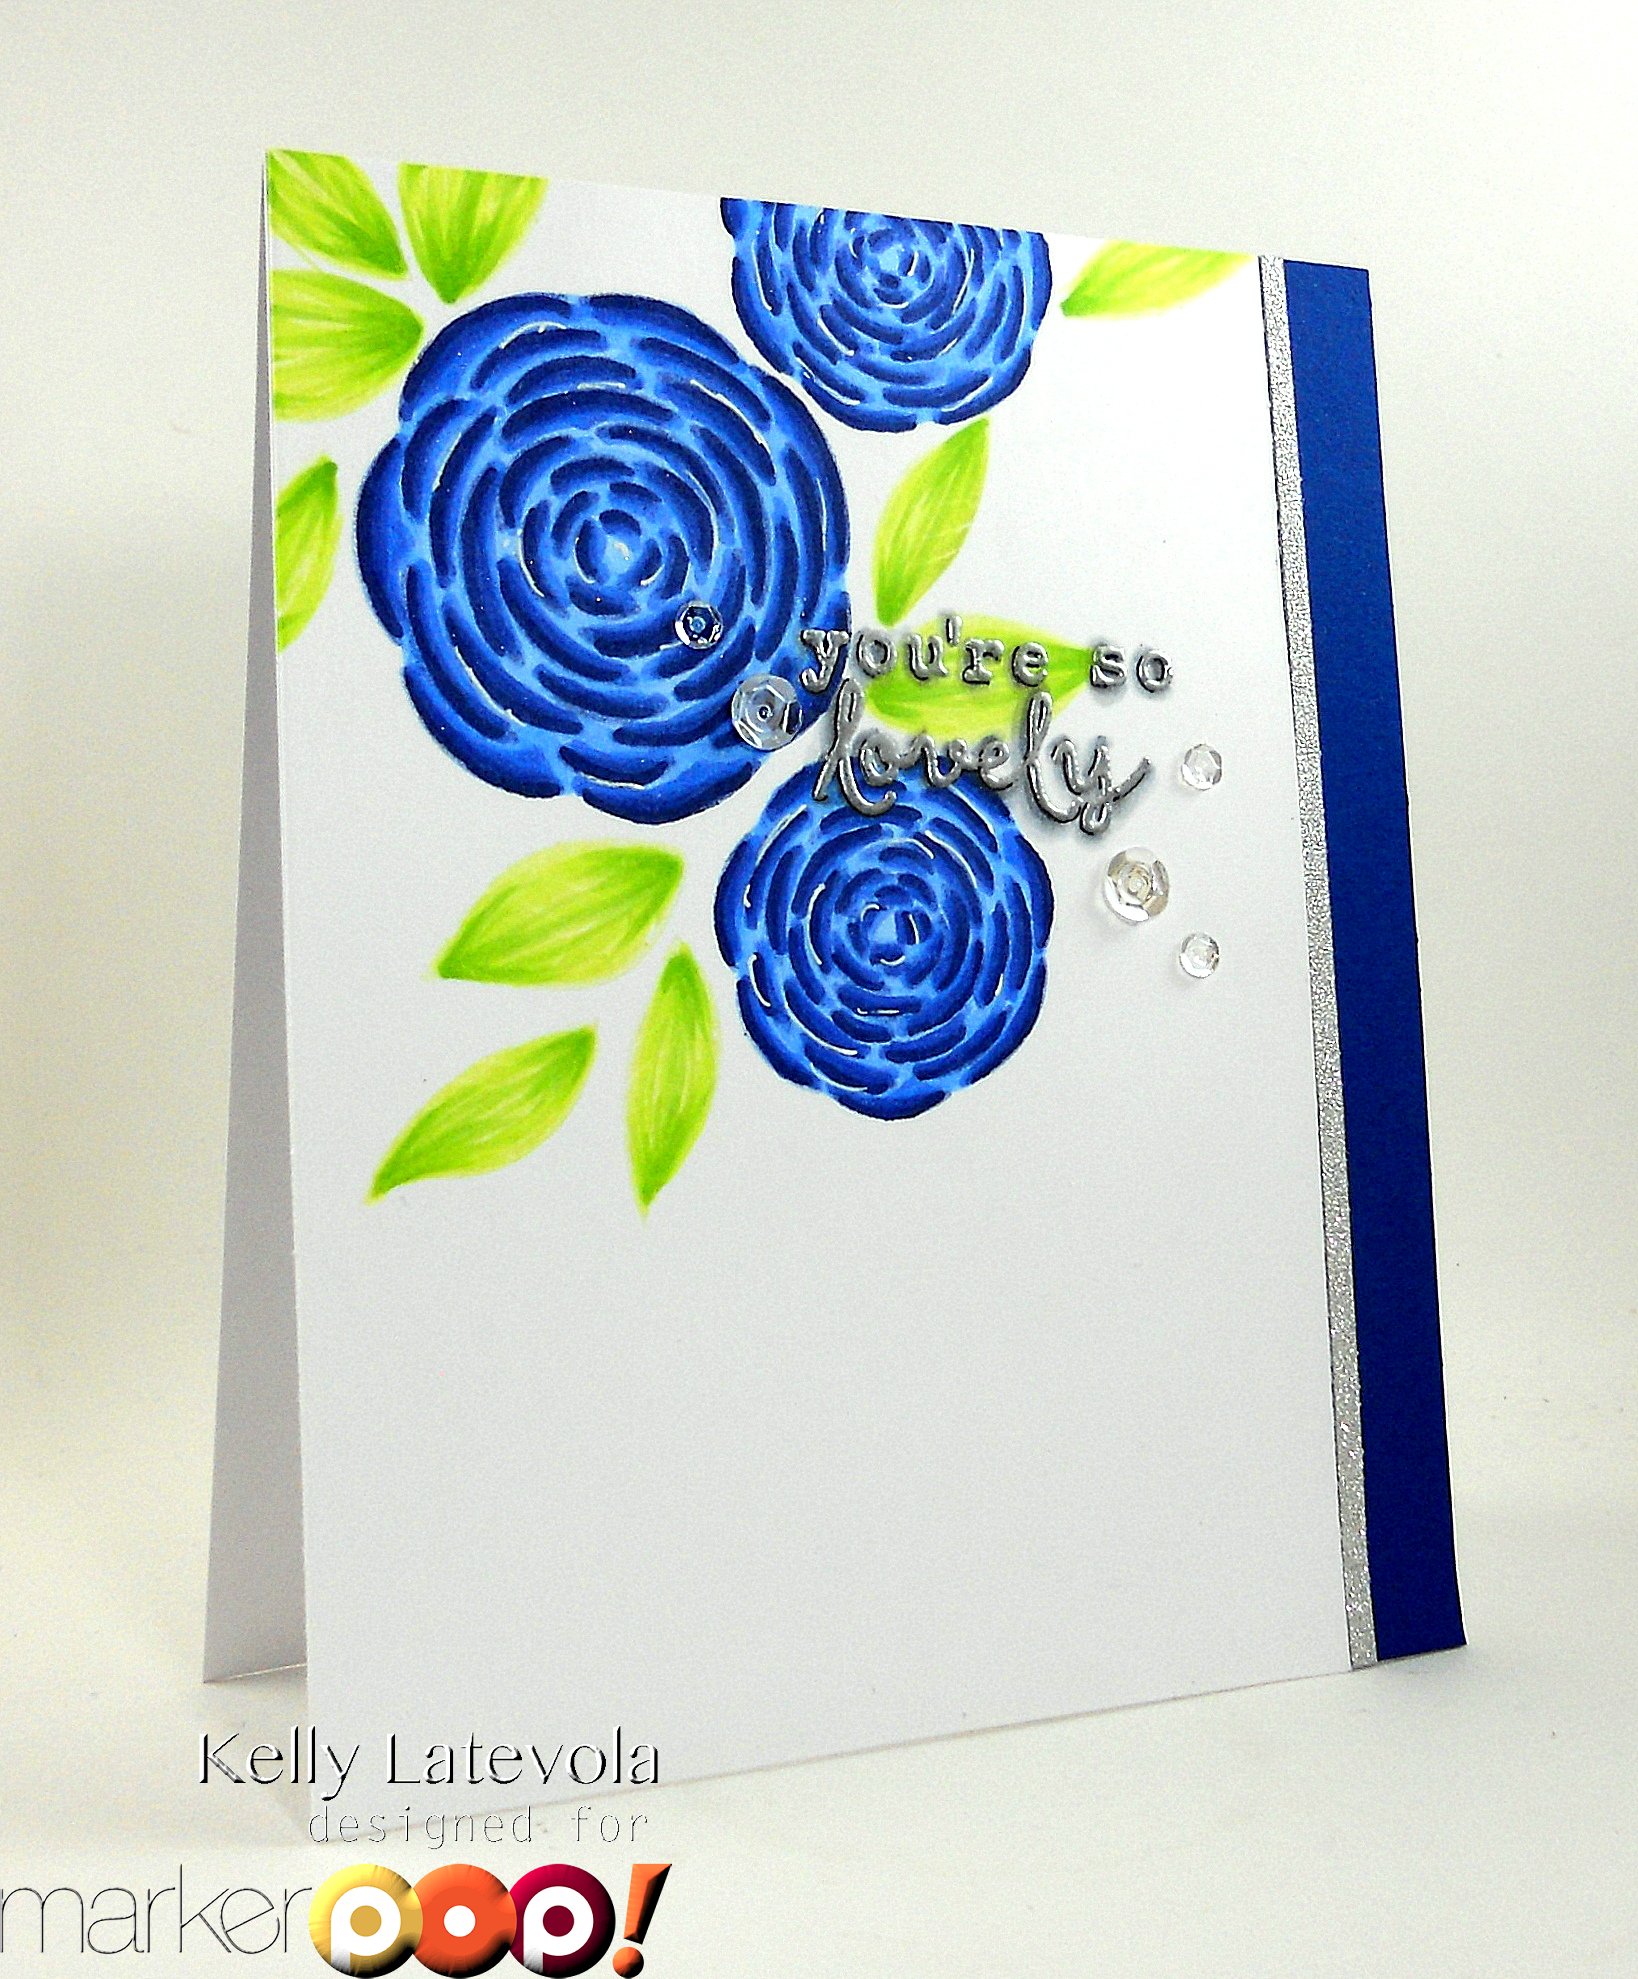
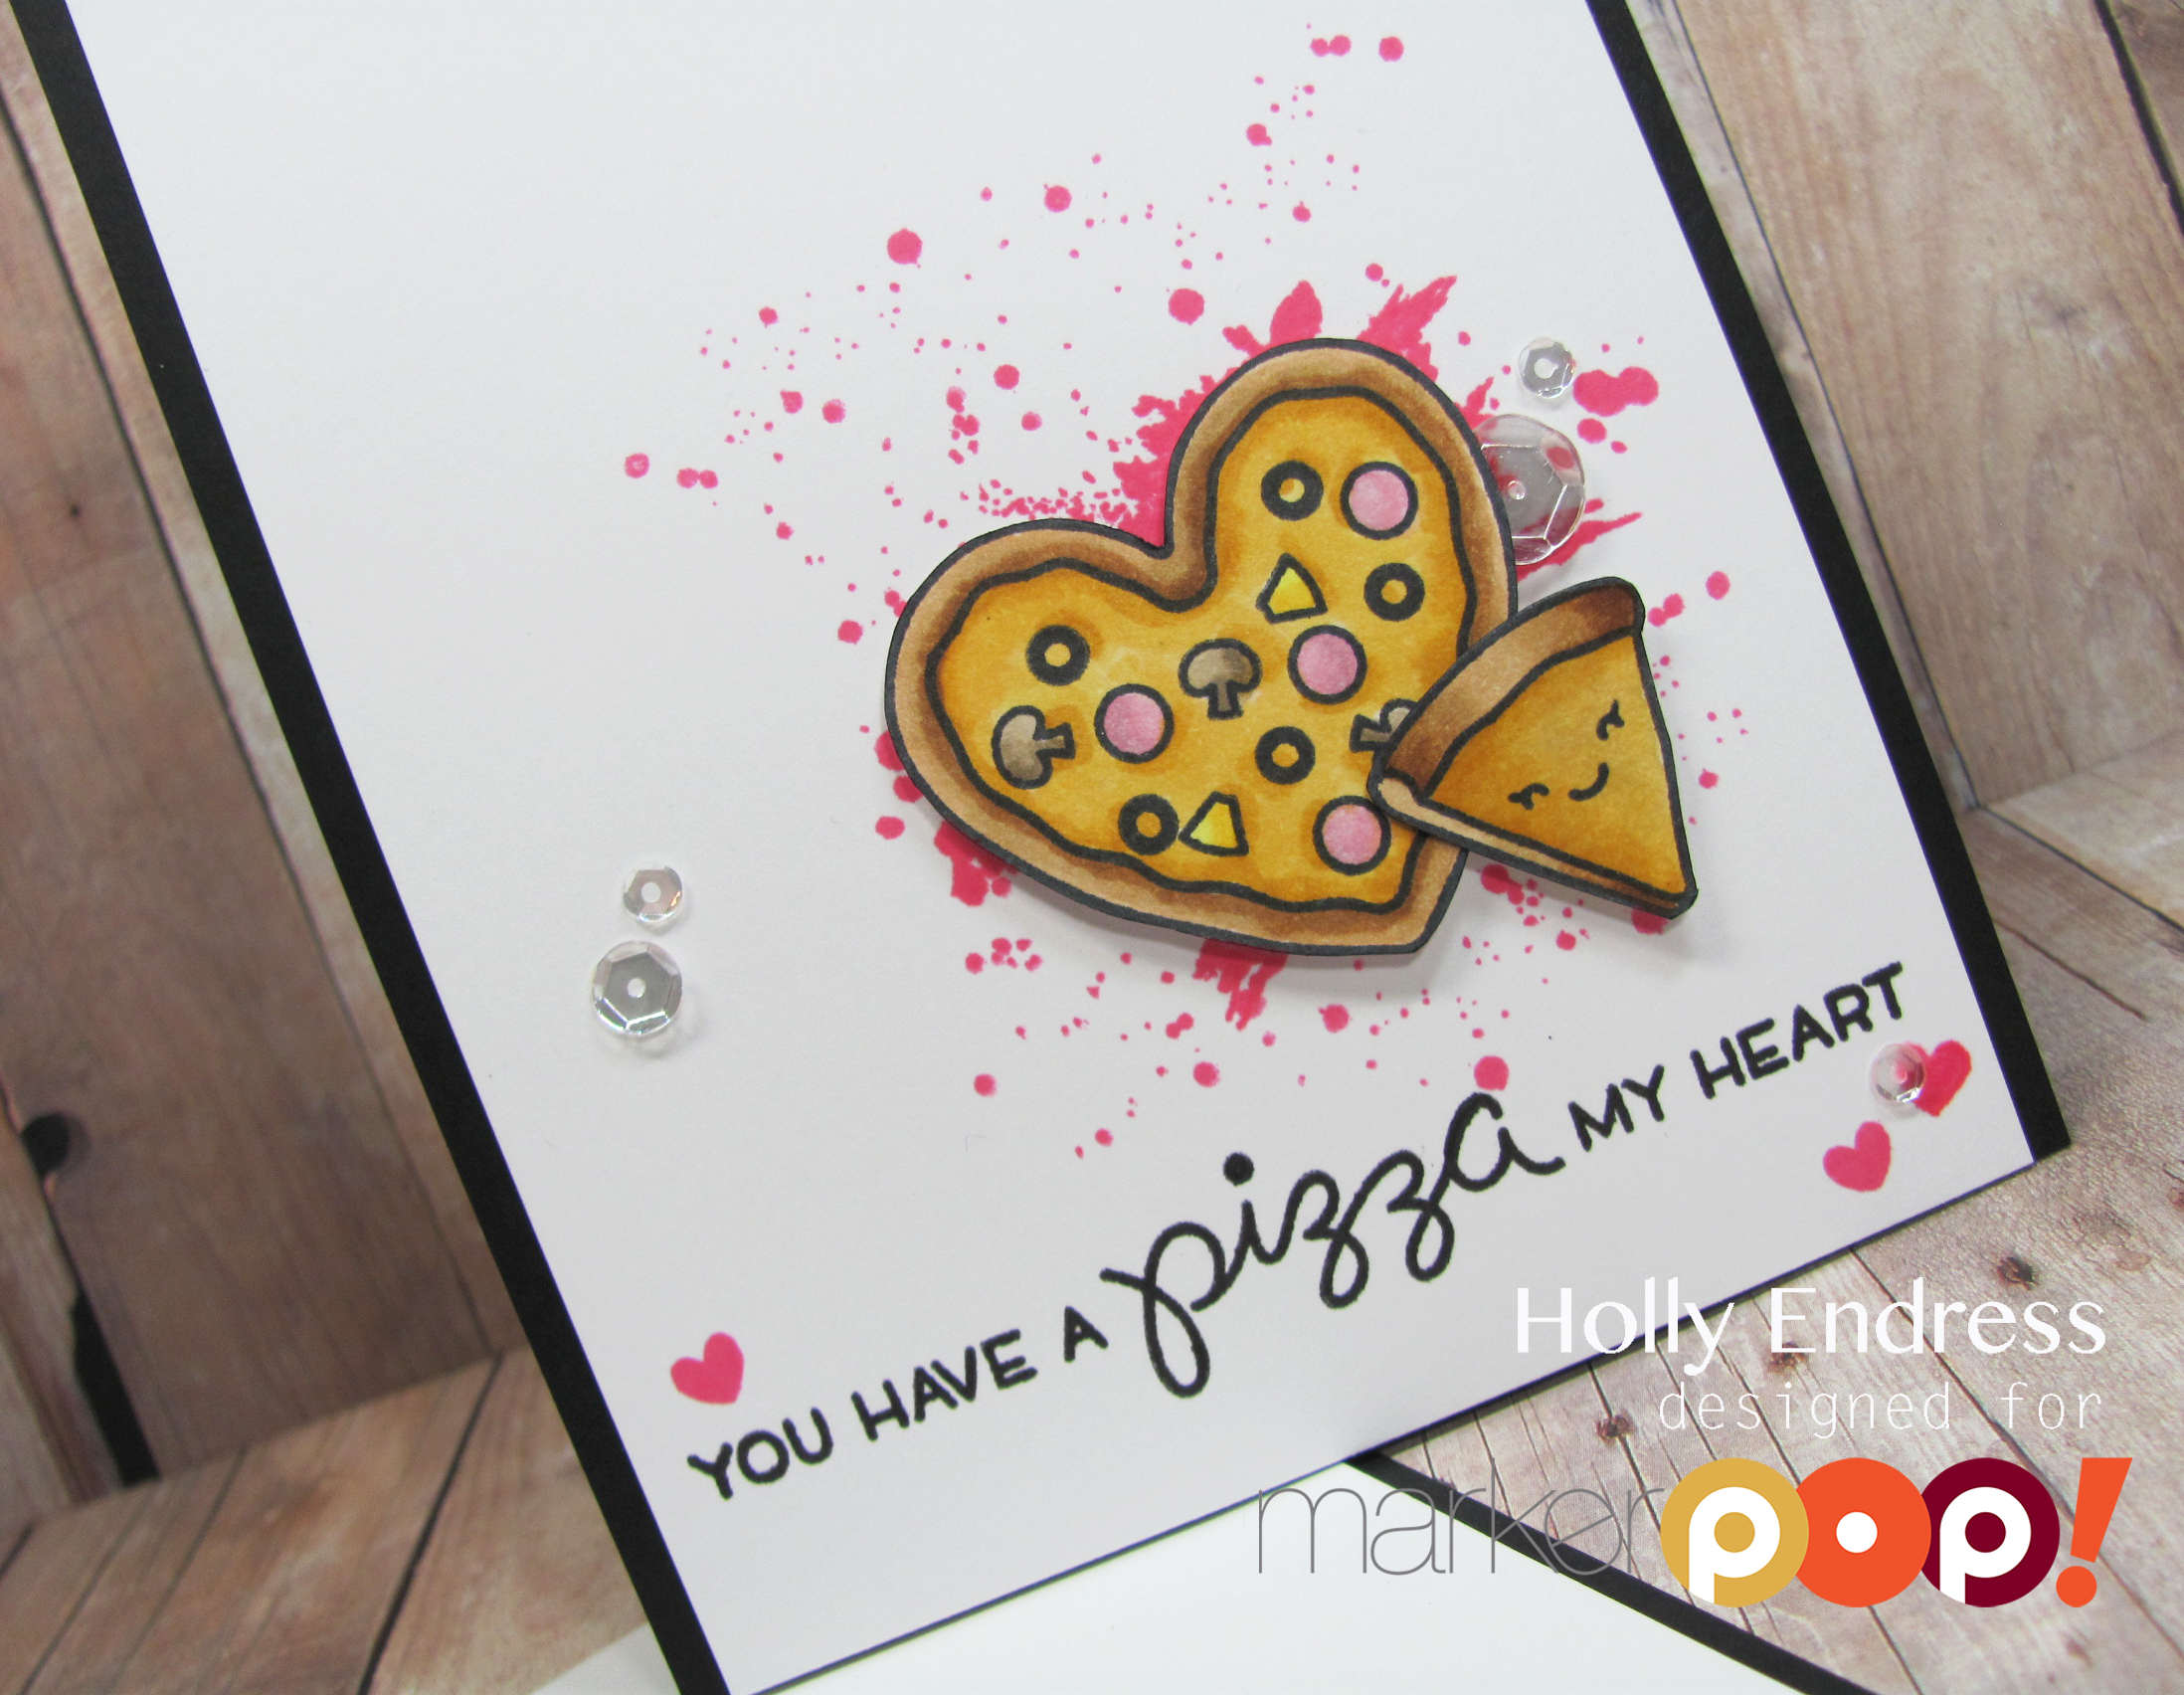
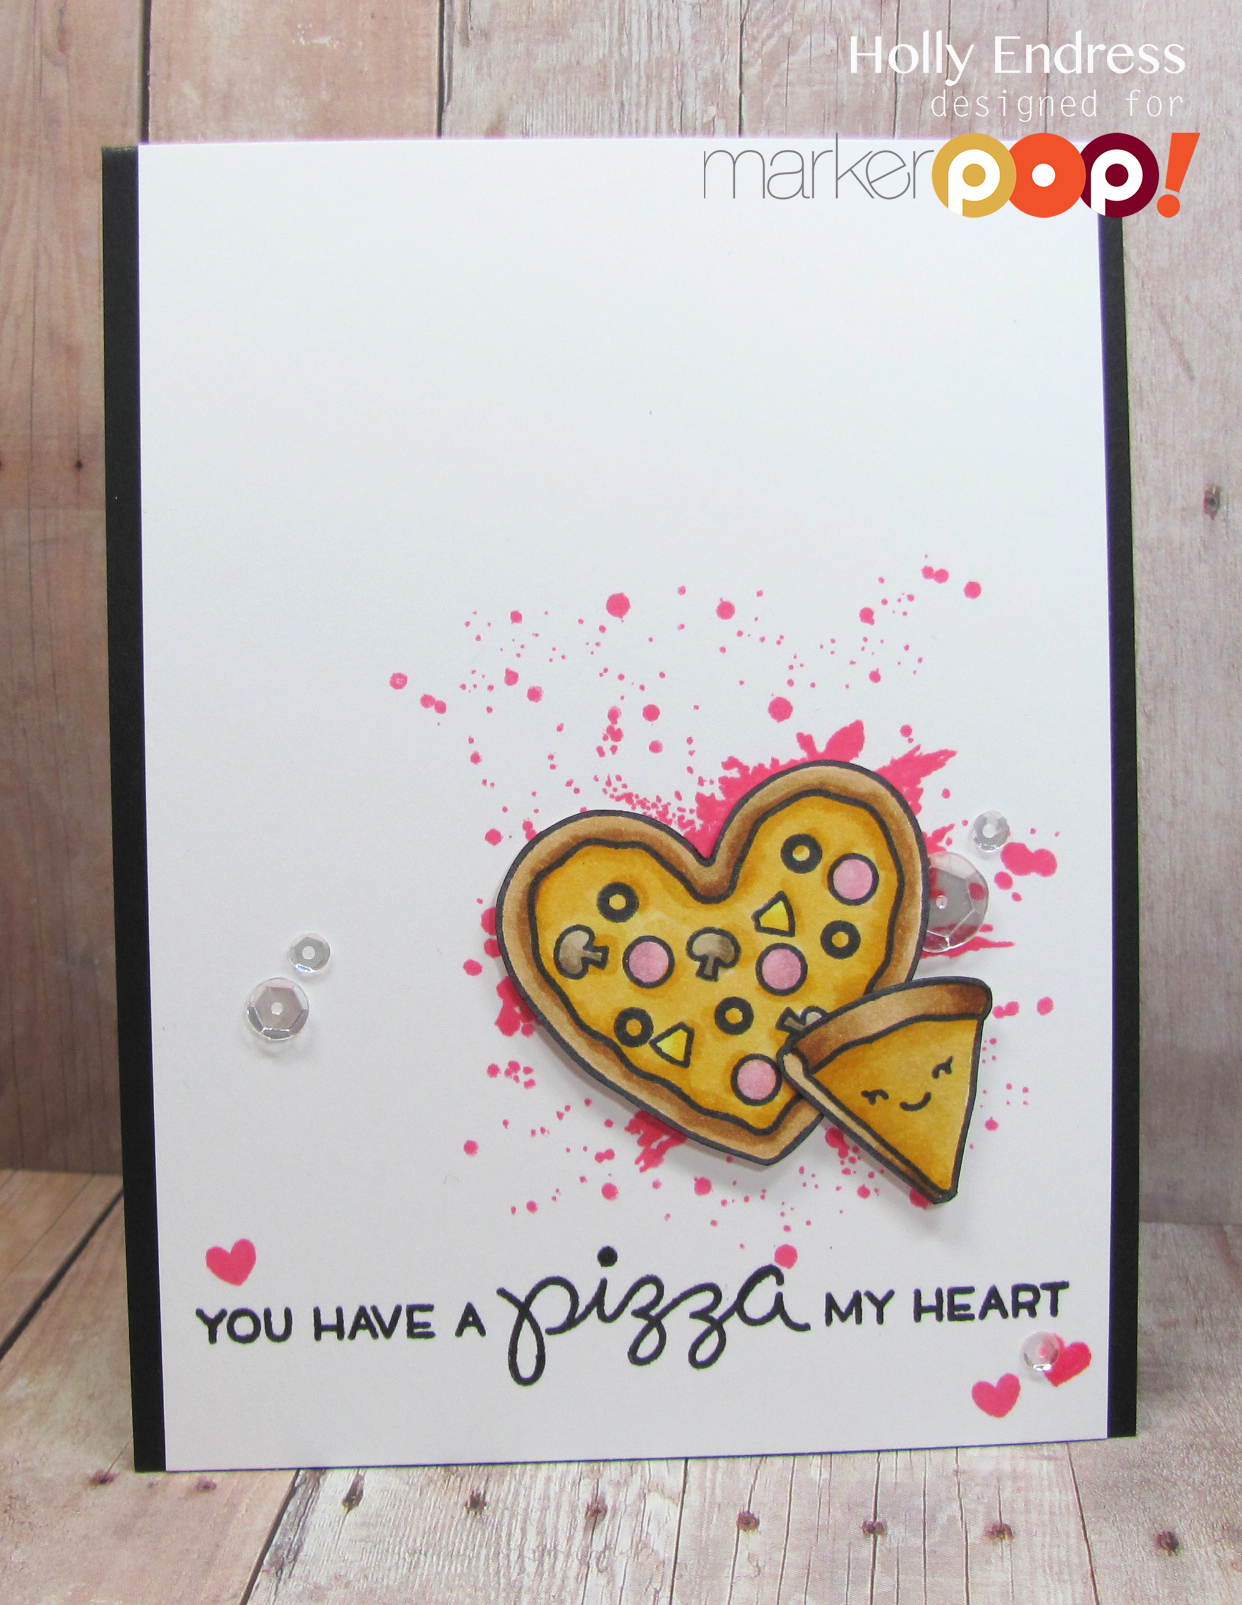
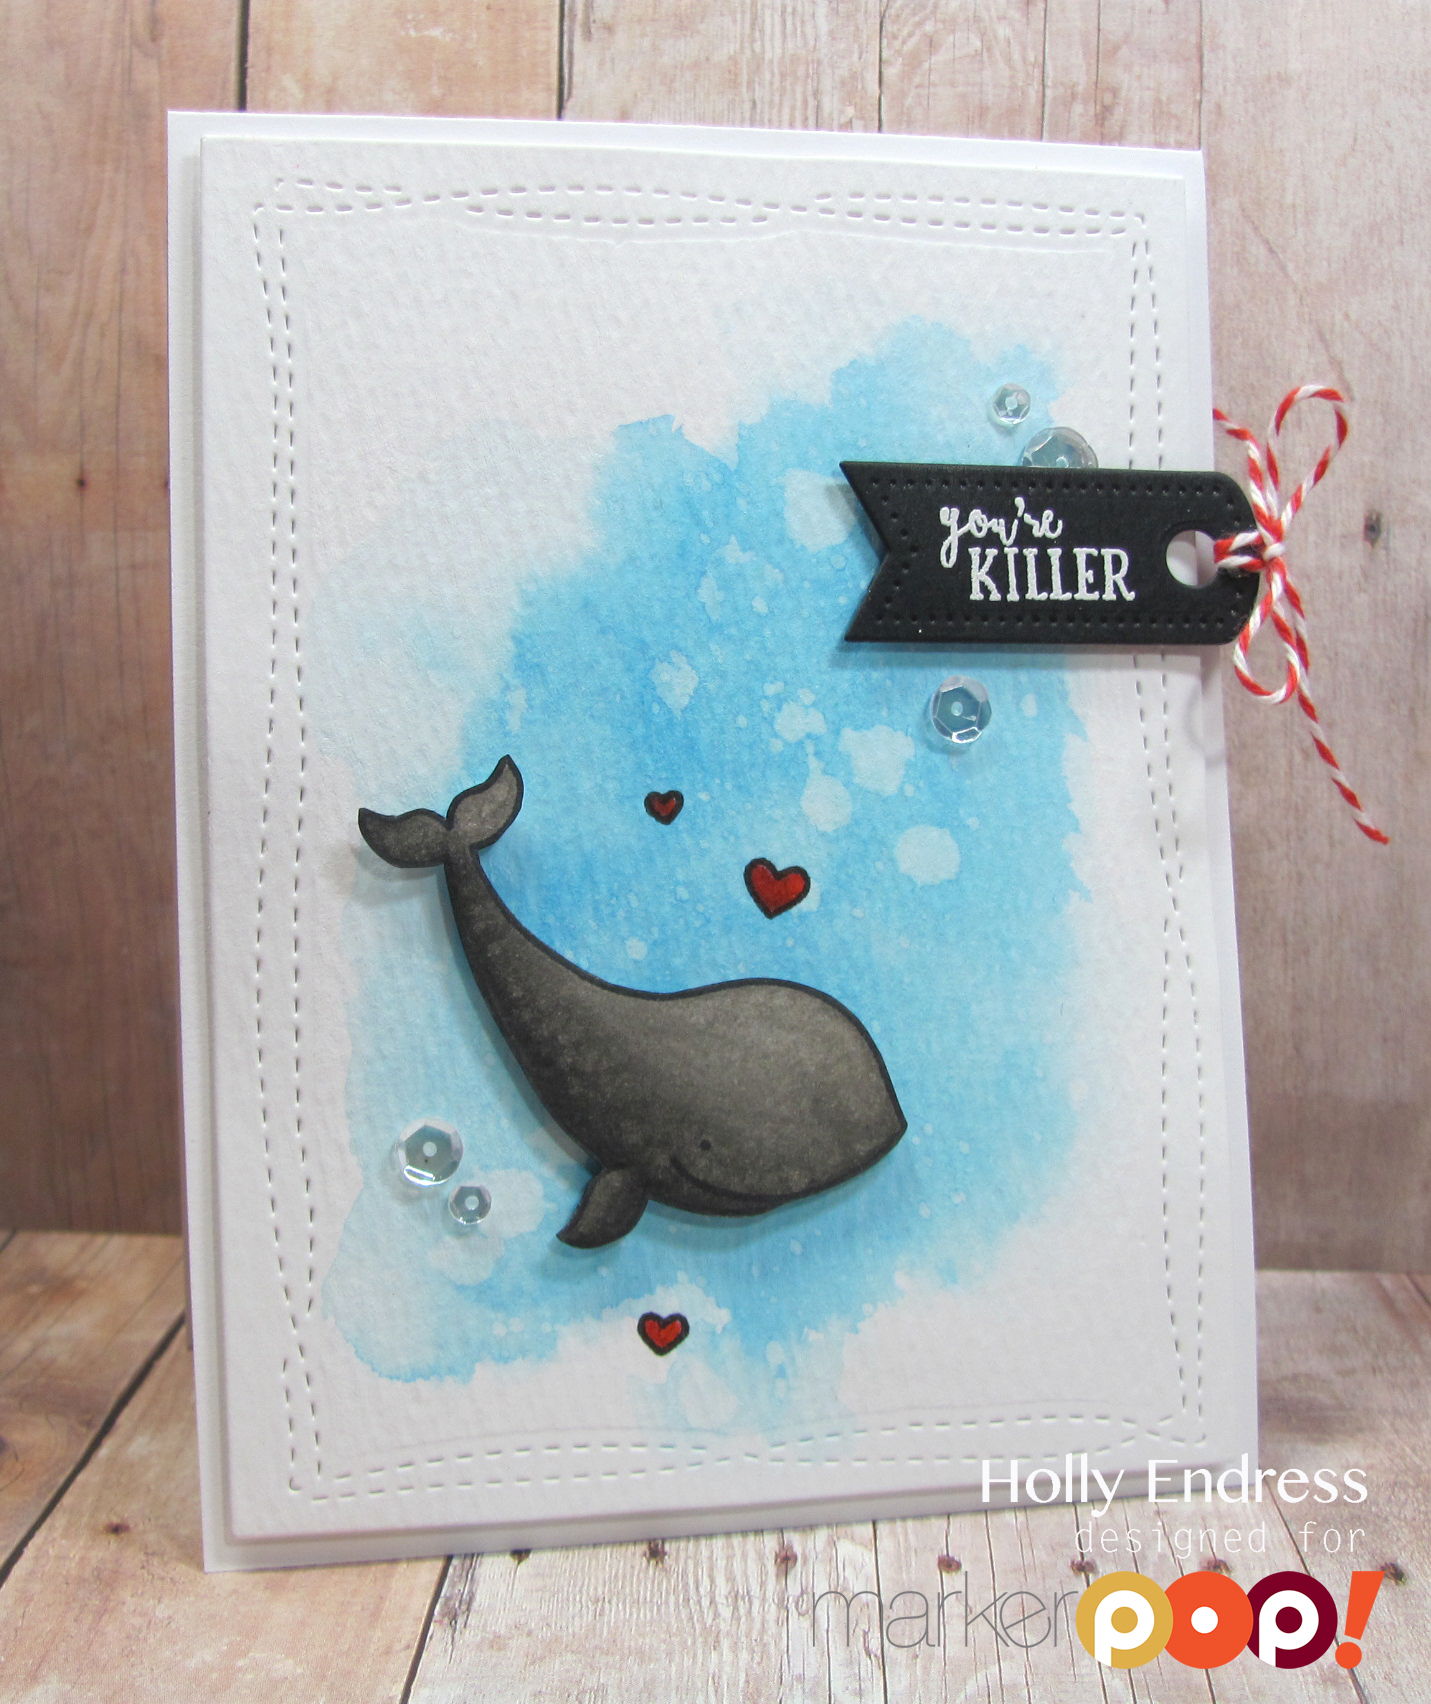
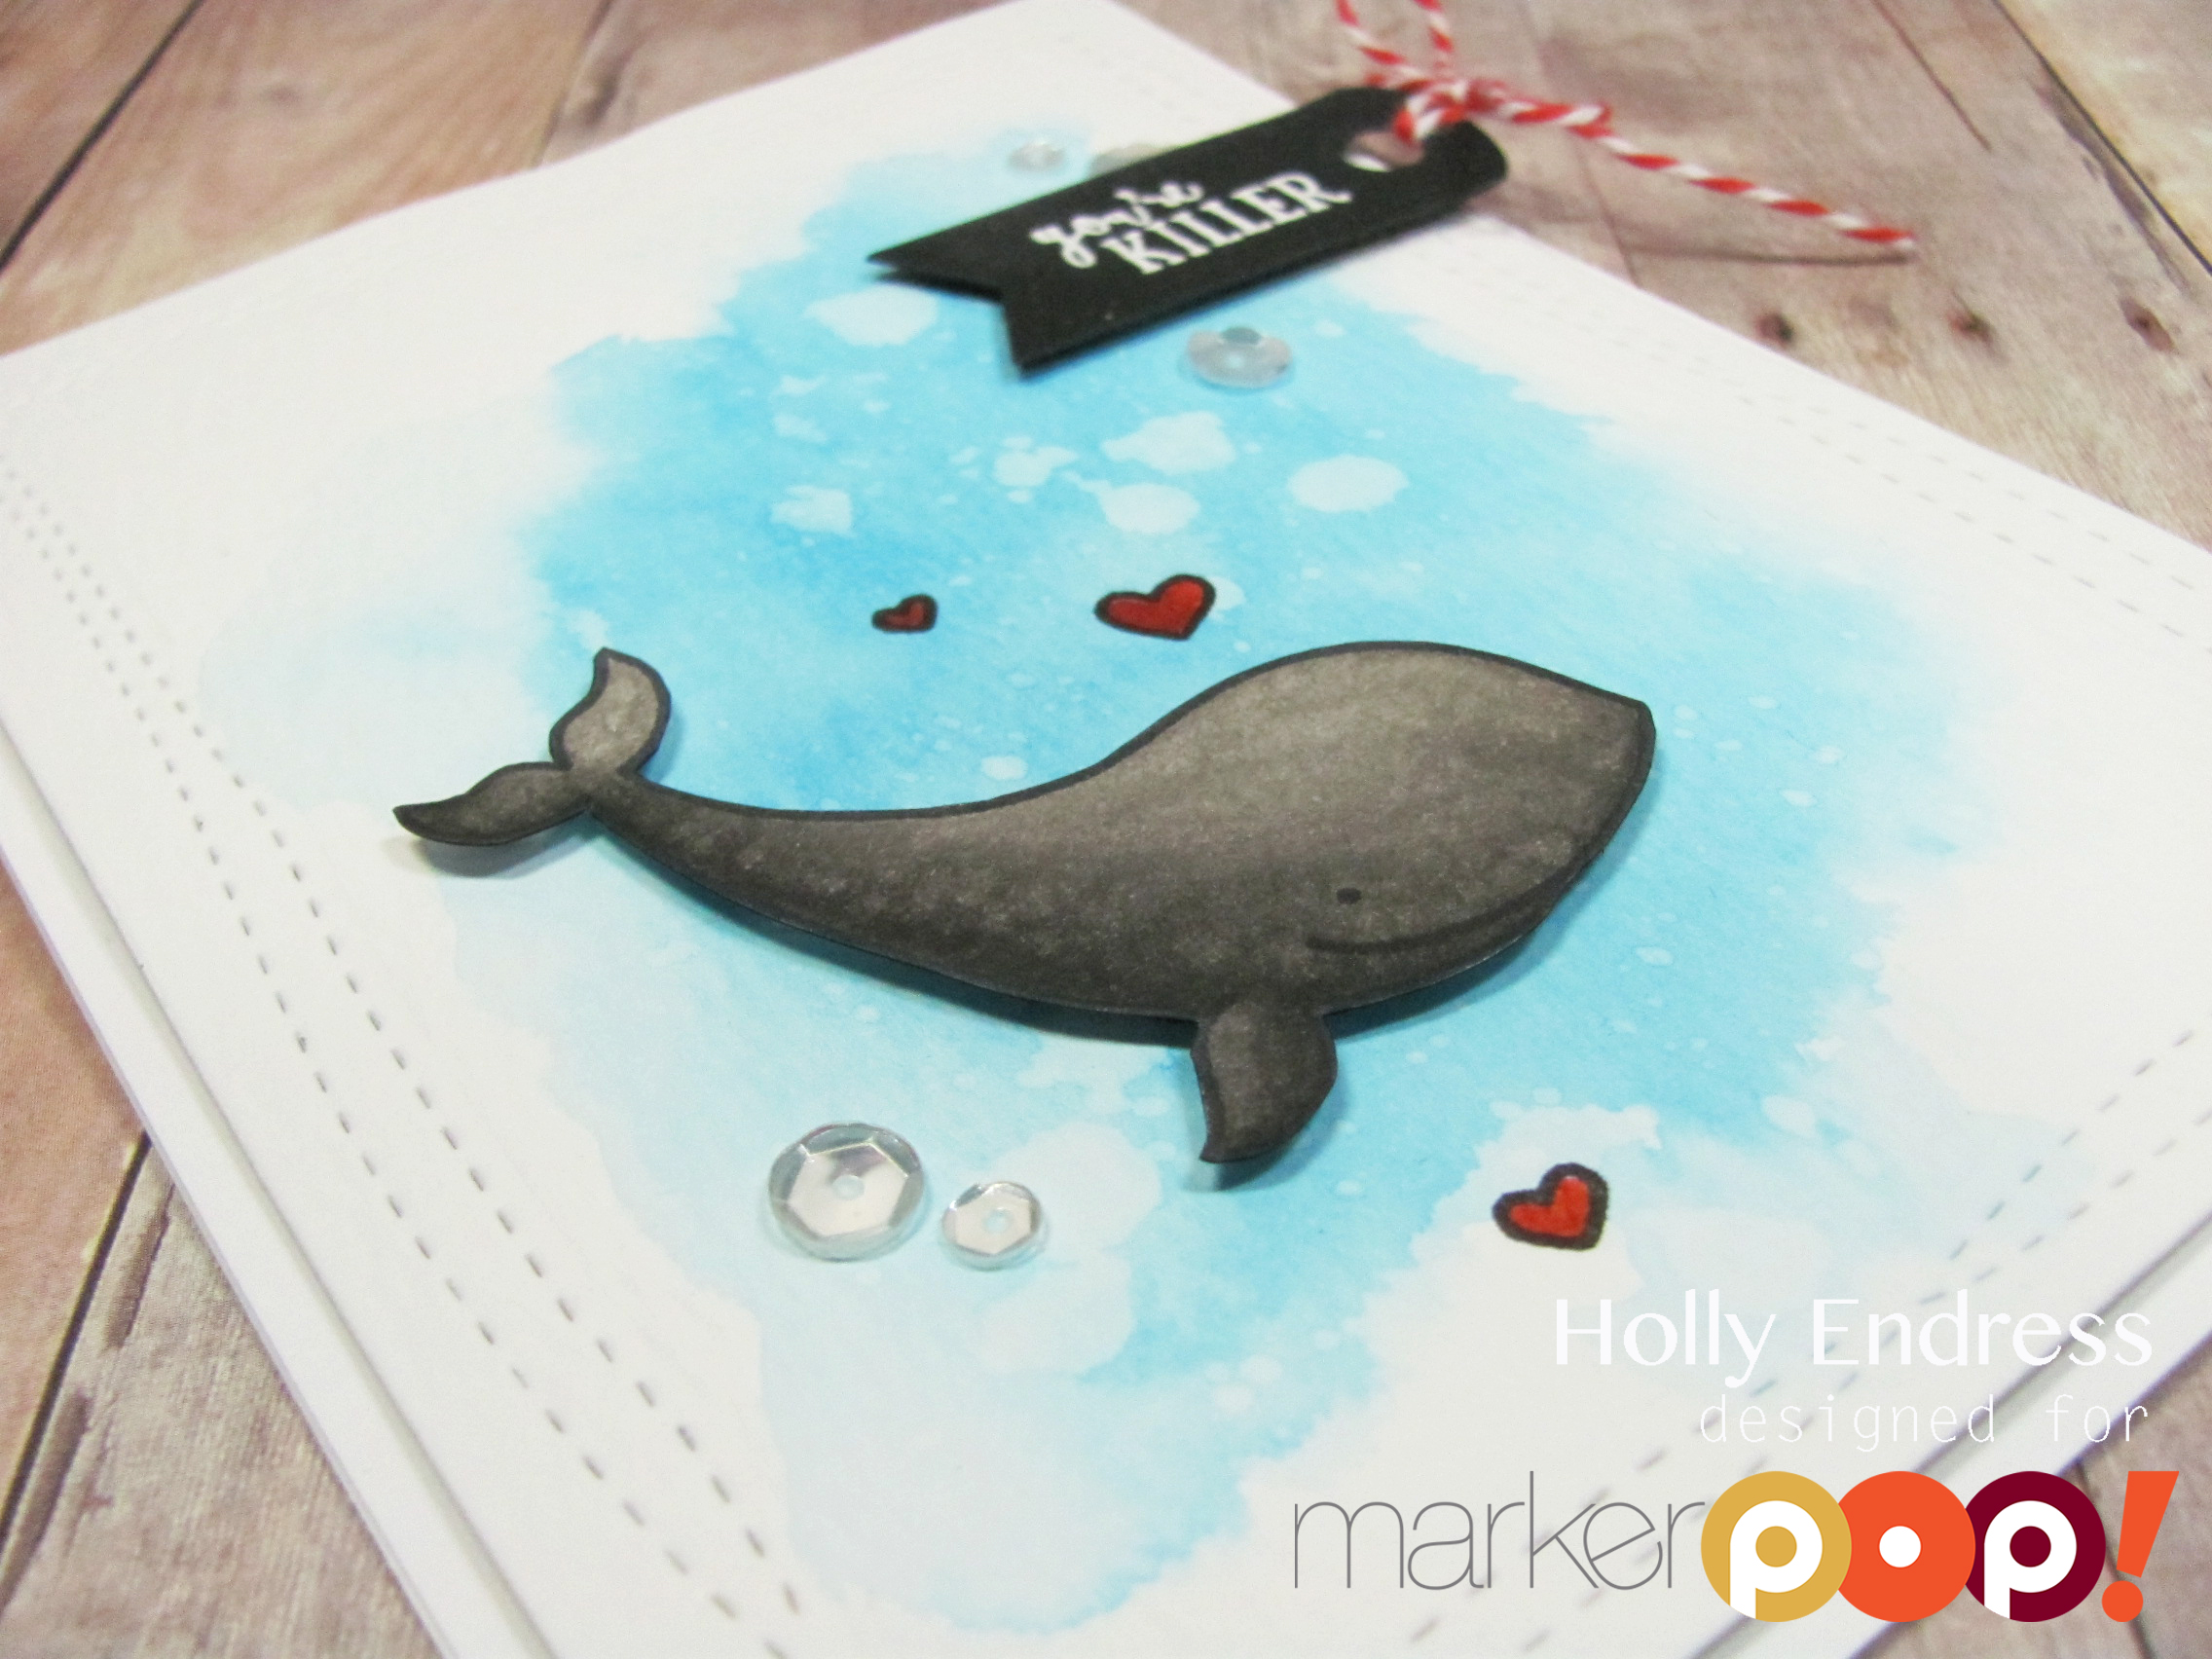
The stamp set is You’re So Lovely and it will be available February 5th in the store. Even though I love outline images and all the images in this set are solid I new I could still make it work for me, and you can too!

I put a short video together for you guys so you can see.

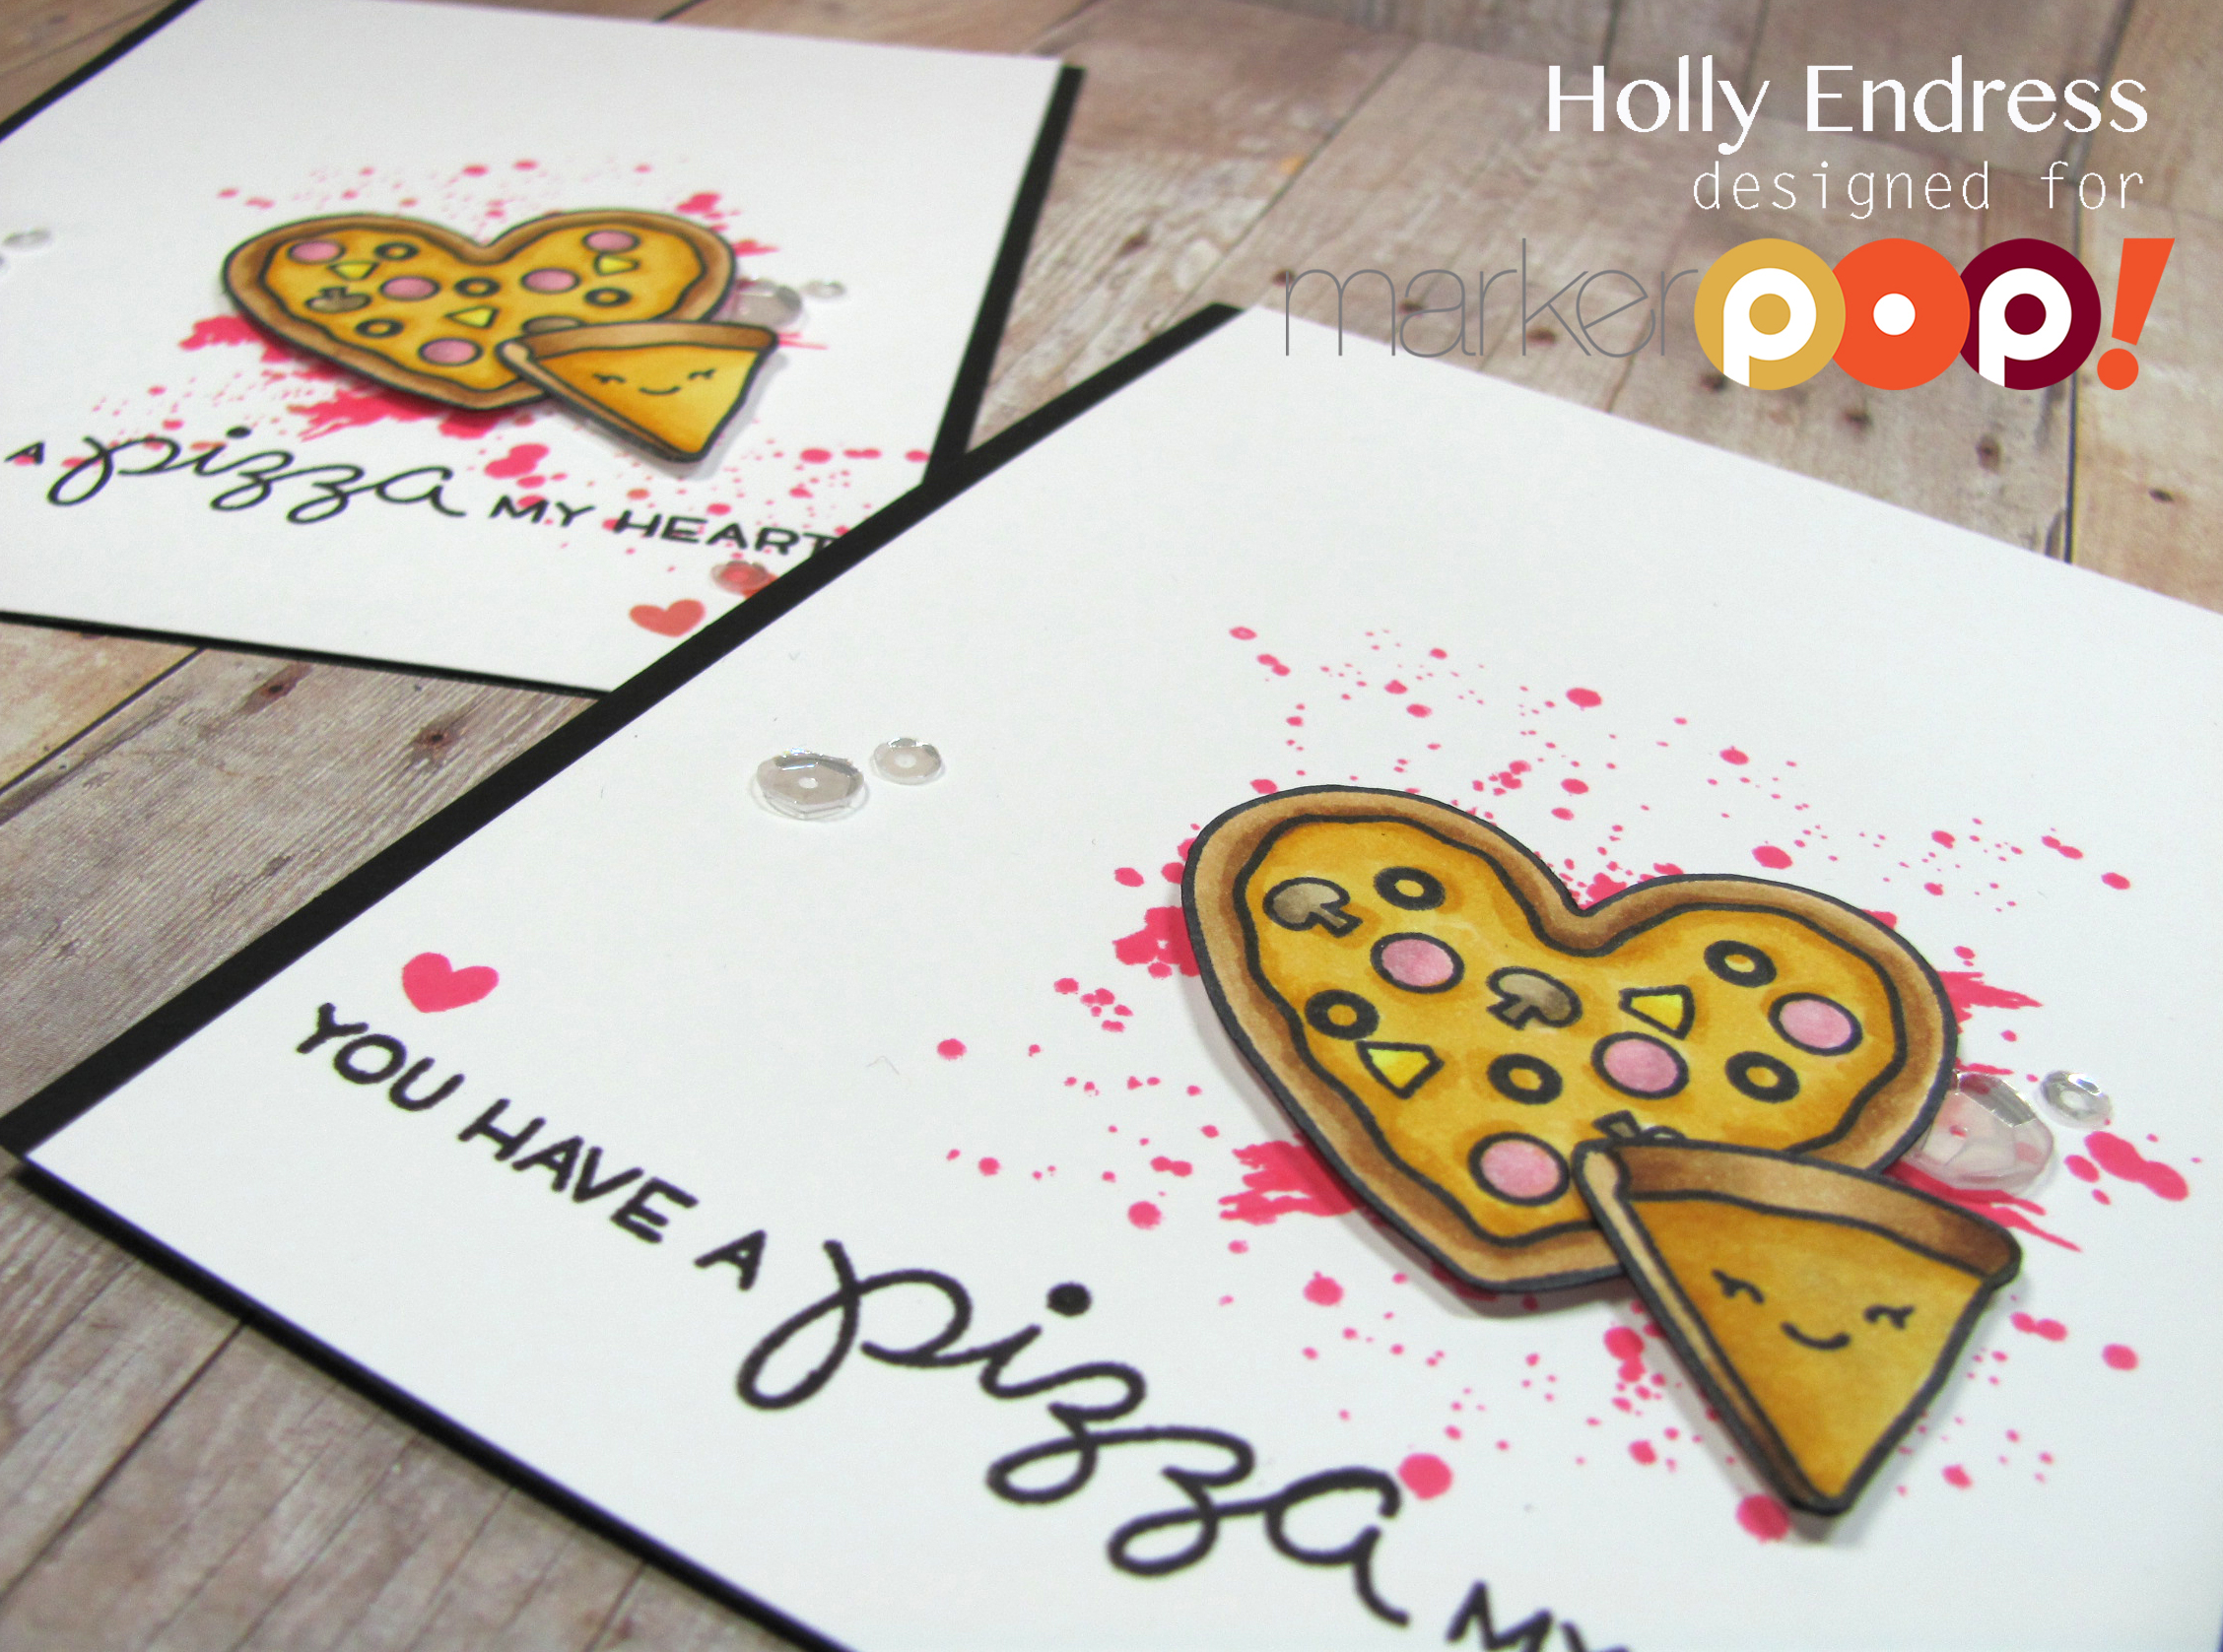
I think it gives a completely different look than just stamping a solid image don’t you? I love altering stamps to be something unique.

DSCN2778

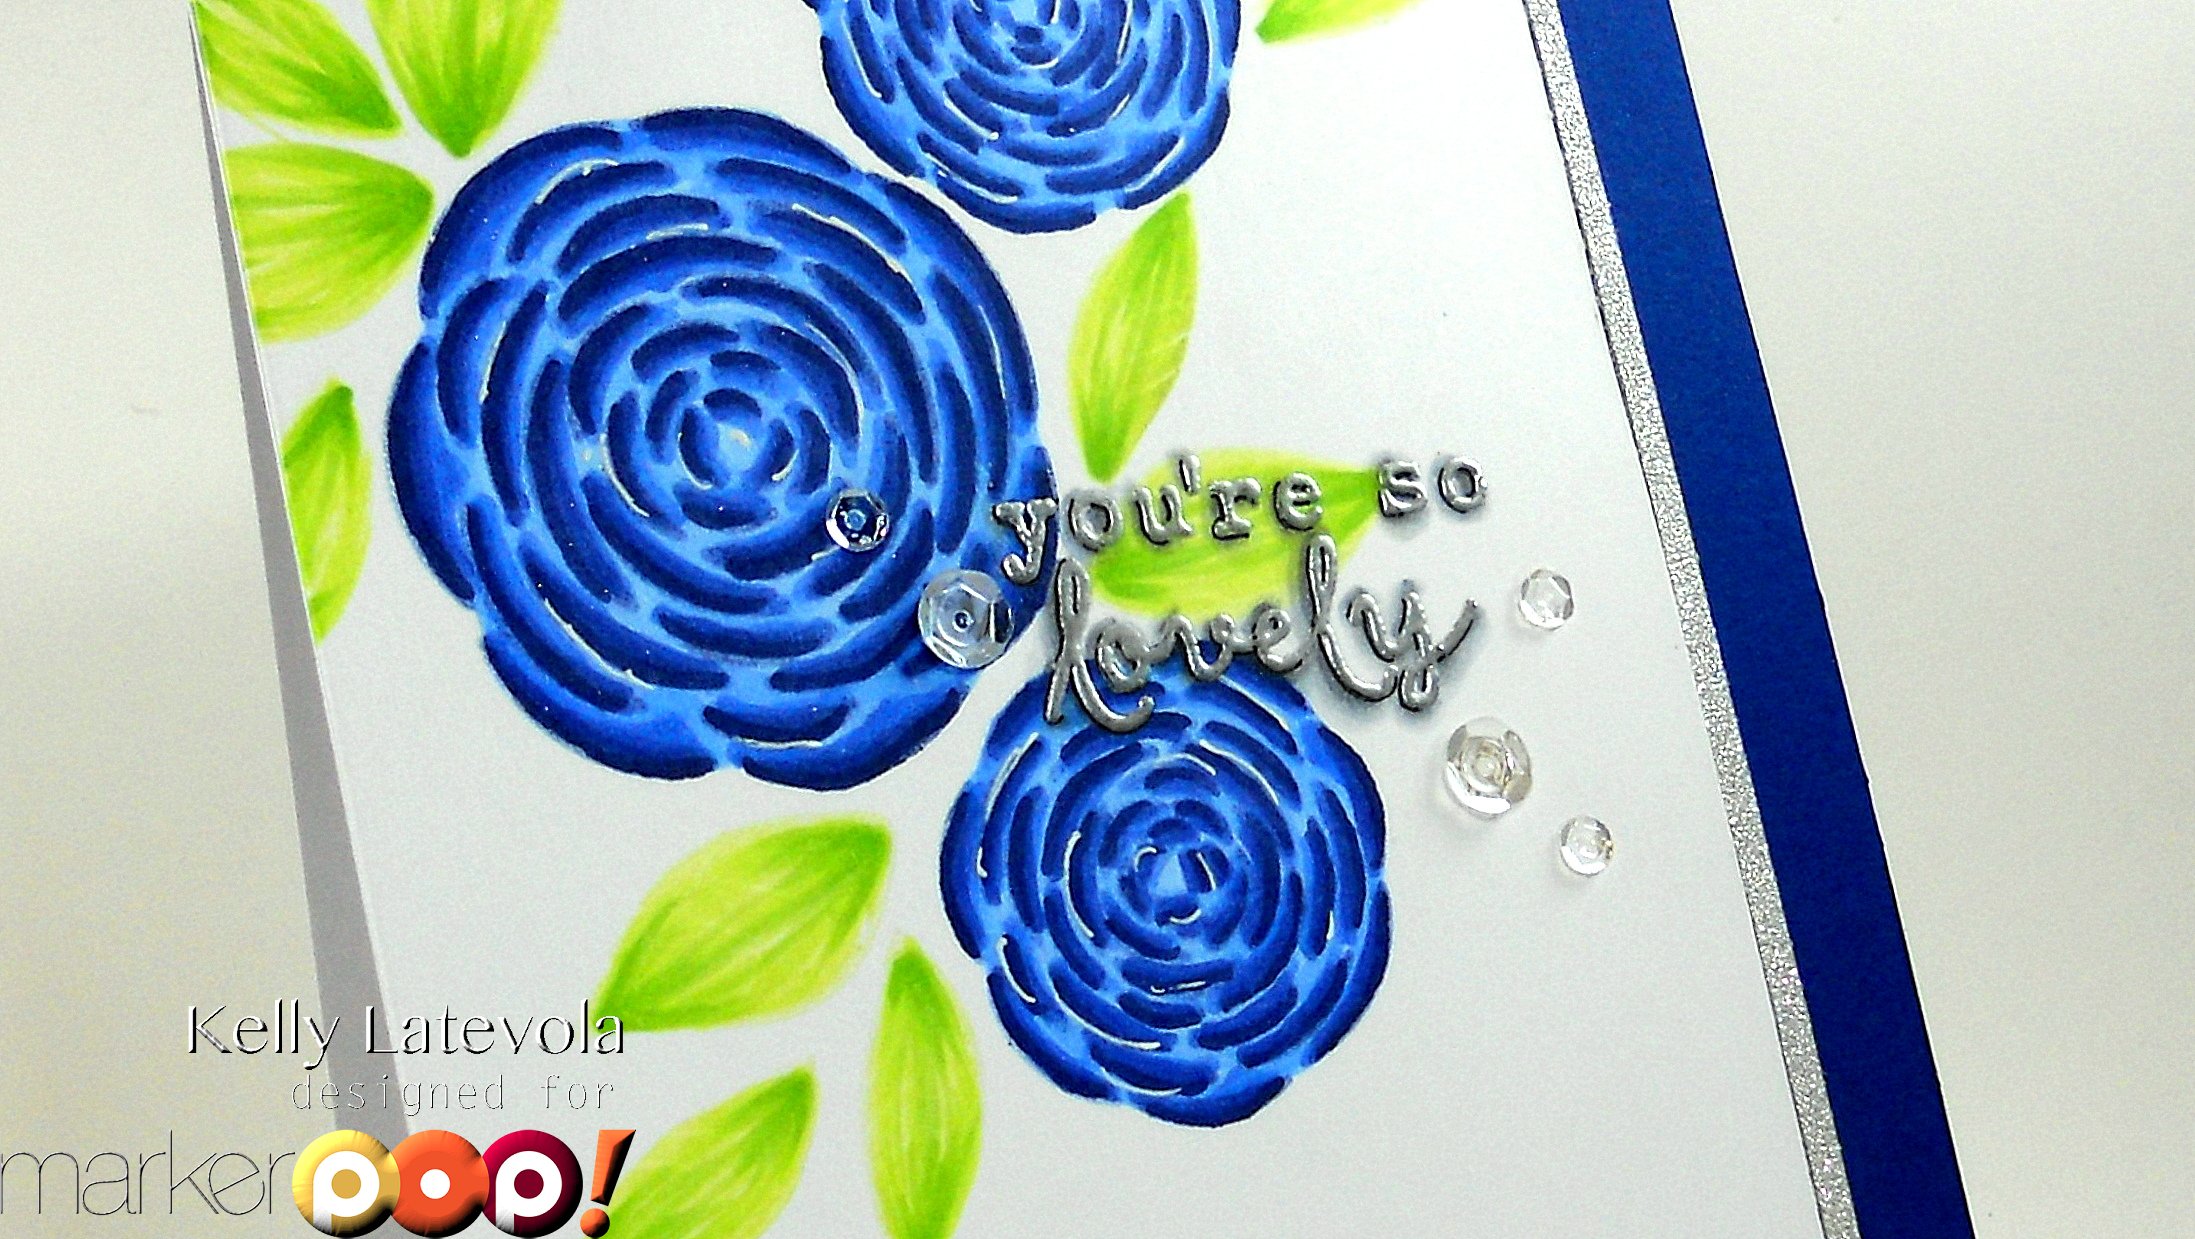
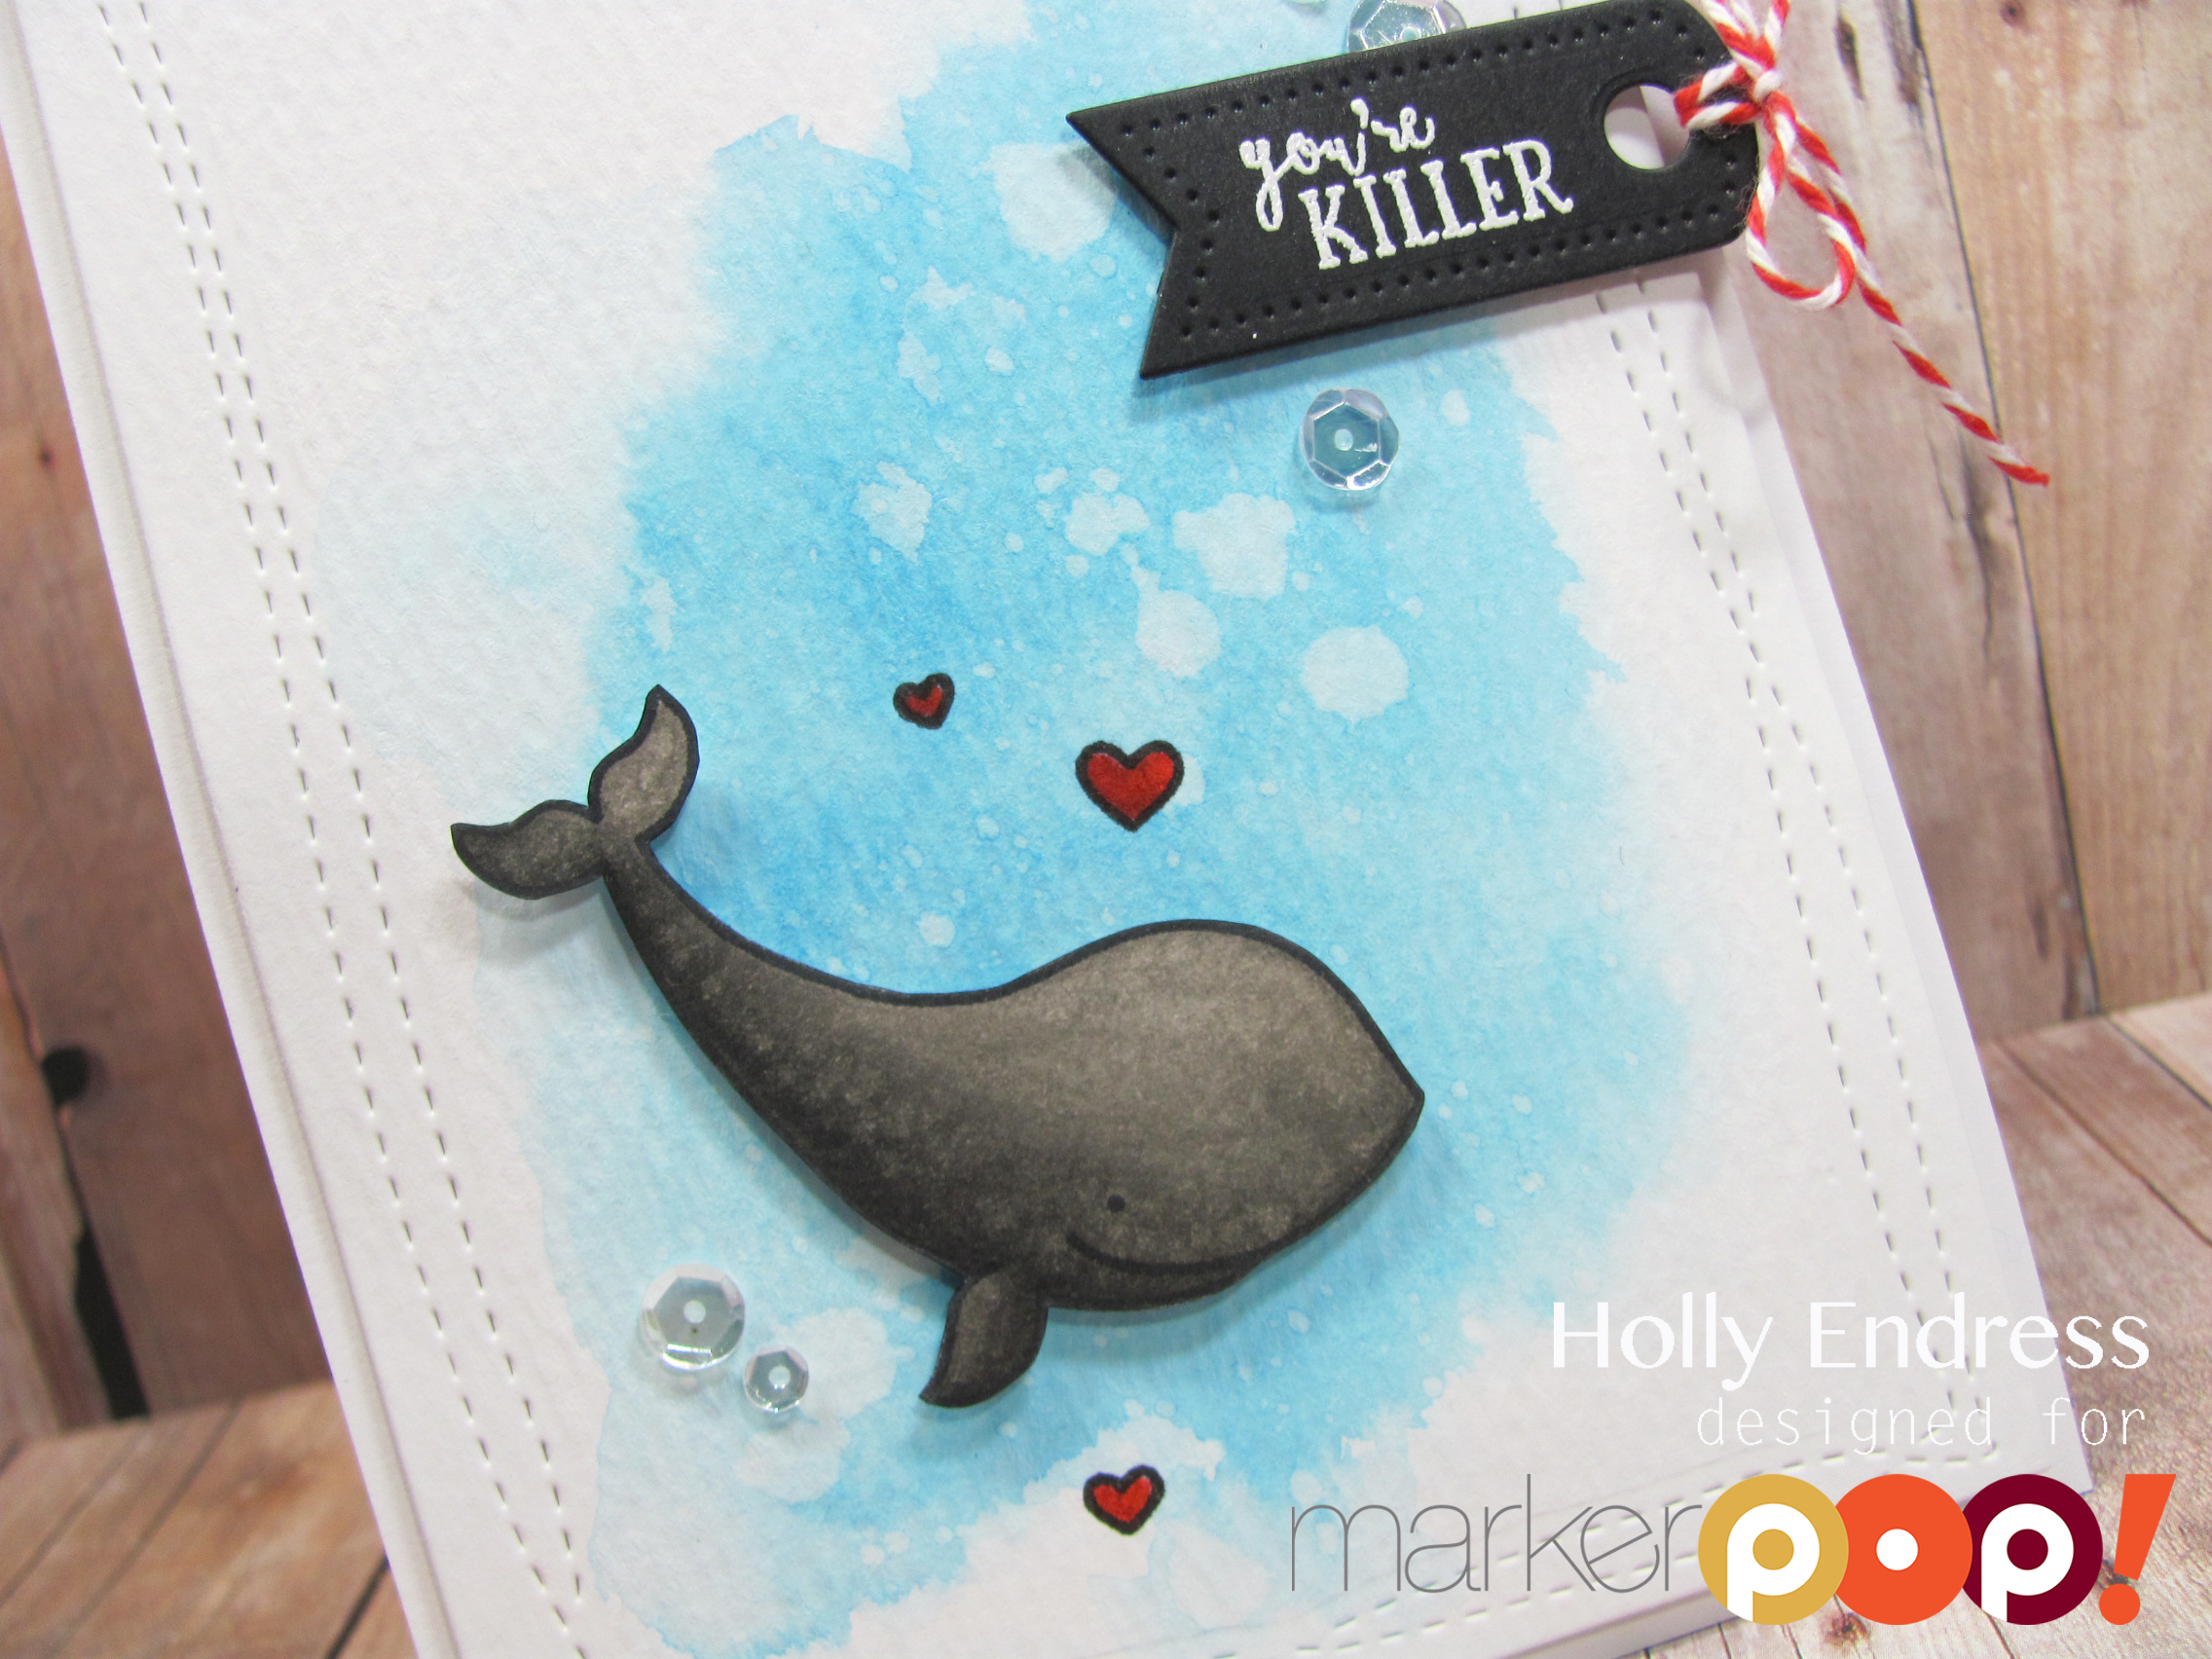
The Copic Markers I used are: C1, C3, C5, B32, B24, B26, B39, Y00, YG01, YG03, and YG25. I also used Clear Wink of Stella, Glossy Accents, and Clear Pretty Pink Posh Sequins.

I used Hero Arts ink to stamp the images, but Lawn Fawn has some similar colors that are good for Copic coloring, too: Deep Sea ink is similar for the blue flowers, and Celery Stick would be similar for the leaves .

Thanks for stopping in, have a wonderful weekend!

Kelly

Pizza My Heart…..

Written by Holly Endress. Posted in Eye Candy (Projects), Videos

Hi everyone it’s Holly here.. I hope you all had a great Holiday and your New Year is starting off great! It’s that time of year to start thinking about “Valentine’s Day” and this new set form Lawn Fawn called Pizza My Heart is perfect for the occasion!

mp2

I stamped the pizza images onto some White card stock using Tuxedo Black ink from Memento and then I colored them in with Copics. I cut the images out and colored the edges with a Memento Tuxedo Black marker. I trimmed a White panel down to 4″ x 5 1/2″ and Stamped a Splatter background on it using the new set from MFT called Distressed Patterns and some Plastic Flamingo Ink from Lawn Fawn. The sentiment is stamped in Lawn Fawn’s Black Licorice ink as well.

mp1

I adhered the Pizza images over the splatter with some dimensional adhesive. I adhered the image panel to the center of a Licorice Twist  Top folding card base leaving an 1/8″ along the sides. For some Bling I added a few Sparkling Clear Sequins from the Pretty Pink Posh mix.

lf3

Check out the video below for more details on how I made this card…

Copics Used:

Pizza Crust: E53, E55 & E37 Cheese: Y21, YR24 & Y23 Mushrooms: E42 & E44

Pineapple: Y11, Y13 & Y17 Bacon: R81, R83 & RV93

Thanks for stopping by today!

Holly


Whale Hello…

Written by Holly Endress. Posted in Eye Candy (Projects), Videos

Hello everyone it’s Holly here and today I have a cute card that’s perfect for Valentine’s Day! Have you seen the new Release from Avery Elle? It’s Fabulous and all the products are so cute!

mp2

I’m using the fun new set Whale Hello along with some Distress ink for a fun background splash. I die cut a piece of Watercolor paper using the Wonky stitched dies from Avery Elle and then I added some Salty Ocean distress ink and spritzed a little water to create some spots. Then I stamped the hearts from the same set and colored them in with the Zig Clean Color Real brush markers.

mp1

I stamped the whale image onto a piece of White card stock using some Memento Tuxedo Black ink and colored it in with Copics. Then I cut the image out and added it to the watercolored panel with dimensional adhesive. I die cut the smallest banner from the Avery Elle Scalloped banner die set from some Black card stock. I stamped the sentiment using some VersaMark ink and heat embossed it in White. I adhered it to the upper edge with some dimensional adhesive and added some Red Baker’s Twine.

mp3

I adhered the watercolor panel to a White top folding card base using some dimensioanl adhesive and then for a little bit of bling I added some Sparkling Clear sequins from Pretty Pink Posh with some Ranger Multi Medium Matte.

Check out the video below to see how I created this fun card.

Copics used : W9,W7,W5,W3,W00 & Colorless Blender 0

Zig Clean Color Real Brush Pens: Geranium Red & Carmine Red.

Thanks for stopping by today!

Holly

Happy Holidays: Quick Watercolor Backgrounds

Written by Kelly Latevola. Posted in Eye Candy (Projects), Tutorials, Videos

Hello Crafters!

We are getting down to the wire for mailing Christmas cards and I don’t know about you but I’m a wee bit behind.

I wanted to make a few pretty cards that were super quick. Enter the Zig Clean Color Markers to save the day.

DSCN2668

I used WPlus9’s Sunshine Layers Die and Holiday Boughs stamp set to make these simple (but colorful!) cards.

You can watch it all unfold in the video below.

Remember you can do as much or as little as you want. Stop wherever you are happy with it!

The Copic Markers I used are C3, C5, and C7. I used sequins from Neat and Tangled’s Sunset Shimmer and Pretty Pink Posh Clear.

Here’s a few pictures of the cards

DSCN2679 DSCN2676 DSCN2671

I hope this gave you a few ideas for making some pretty and quick cards.

Thanks so much for dropping in!

Kelly

Grab Our Button

i Luv MarkerPOP
Show some MarkerPOP LUV,

add this button to your blog.

I’m a Winner!

I'm a Winner on MarkerPOP Blog
Copy and paste the code under the badge

to claim your bragging rights!

I’ve Made Top 3!

WoHooooo I made it to the Top 3 on MarkerPOP Blog
Copy and paste the code under the badge

to claim your bragging rights!

Visit Us!

MarkerPOP Free Shipping MarkerPOP Boutique
18299 Mount Baldy Cir
Fountain Valley, CA 92708
Toll Free: 1-855-312-1222
Phone: 1-714-249-1222