$10 Gift Voucher - Leave a Comment

Lucky Friend…

Written by Holly Endress. Posted in Eye Candy (Projects), Videos

Hi everyone.. it’s Holly here today with a fun project using one of the newest sets from MFT called Lucky! There’s also a video at the bottom of the post showing how I created this cute card!

mph2

I die cut a piece of Bristol card stock using the Largest Wonky Stitched Die from MFT. Then I added some Tumbled Glass and Broken China Distress ink creating an Ombre effect! I spritzed the panel with some Perfect Pearls Mist and dabbed it off with a paper towel, leaving a shimmery splatter effect behind. Then I dried the panel with my heat tool.

mph1

I stamped the images from the set onto some Bristol card stock using Archival Black ink and colored them in with the Zig Clean Color Real Brush Pens, then I die cut the images out. I stamped the sentiment onto the lower right corner with some VersaFine Black ink and adhered the panel to the card front with some Foam.

mph3

I adhered the images using some Glue and dimensional adhesive and for a bit more Bling I added some Sparkling Clear Sequins from Pretty Pink Posh.

I used the following Zig Clean Color Real Brush Pens: 25 Pink, 26 Light Pink, 41 Light Green, 45 Pale Green, 36 Light Blue, 51 Lemon Yellow , 50 Yellow, 91 Light Gray & 90 Gray.

   Check out the video below.. Thanks for stopping by today!


Holly

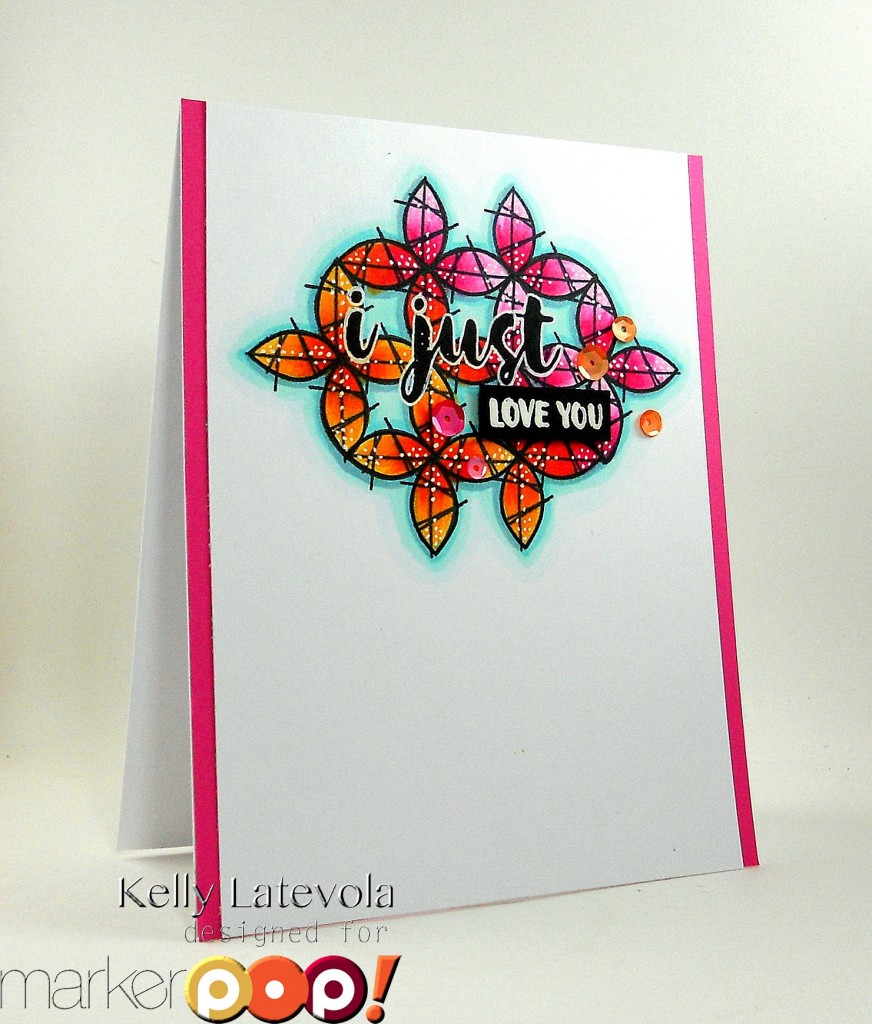
I Just Love You

Written by Kelly Latevola. Posted in Eye Candy (Projects), Tutorials, Videos

Hello Crafters!

I’m absolutely in love with the new release from WPlus9 aren’t you?

It’s finally being released today and should be available in the store shortly.

One of the new sets, Happy Birds, has such a fun whimsical feel but I wanted to use it a bit differently.

DSCN2875

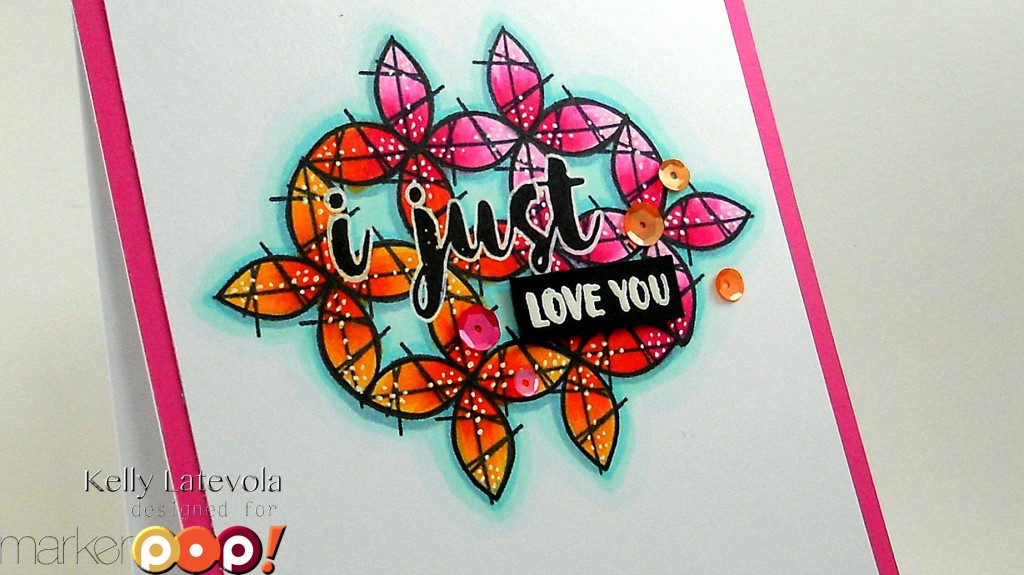
Instead of using the leaf as a leaf I decided to create my own patter with it. I think it works perfectly as a focal point don’t you?

You can see how it all came together in the video below.

It was pretty quick to get it all together. I think if you switched up the colors you could totally rock this as a masculine card too! The sentiment is from the That is All set, and I’m telling you you’re going to see it everywhere! The sentiments are just too cute 🙂

DSCN2876

The Copic Markers I used are: BG0000, BG11, BG45, Y38, YR04, YR09, RV02, RV04, RV09 and C3.

Thanks for visiting today!

Kelly

Rainbows & Unicorns

Written by Holly Endress. Posted in Eye Candy (Projects), Videos

Hi everyone it’s Holly here and today I have a card full of Rainbows and Happiness! I’m showing my age a bit… but how many of you remember the original My Little Pony circa 1980 something? The new set from The Greeting Farm called Magical Friends is My Little Pony perfection!

mpgfh2

How cute is that unicorn? There are two other ponies as well in the set and lots of fun sentiments. I started with a piece of Watercolor paper and using the Large Grid Stencil from MFT and Distress inks in Candied Apple, Mermaid Lagoon, Carved Pumpkin, Twisted Citron and Squeezed Lemonade I created a rainbow background.

MPgf1

I stamped the unicorn image onto some Neenah Solar White card stock using Memento Tuxedo Black ink and colored in it with Copics… C0, C1, C3, Y21, Y26, BG10, BG11, BG13 & BG49. I fussy cut the image out but there is a coordinating die available in the store. Then I added some Clear & Gold Wink of Stella. I die cut the watercolor panel using the new Wonky stitched rectangles from MFT and a piece of vellum using the Wonky stitched circles from MFT. I added the watercolor panel to a top folding Black card base.

mpgf3

I stamped part of the sentiment onto a piece of Black card stock and heat embossed it in White then I trimmed them out. I stamped the rainbow sentiment using Lawn Fawn inks in… Lobster, Sunflower, Fake Tan, Fresh Cut Grass & Fish Tank. Then I die cut it using the Washi Tape die from the Avery Elle Envie die set. I adhered the sentiment pieces around the Unicorn image and adhered the vellum circle to the card front. Then I added some of the Sparking Clear Mix Sequins from Pretty Pink Posh for more Bling!!!

Check out the Video I created below for more details on How I made this card…

Thanks for stopping by today!

Holly

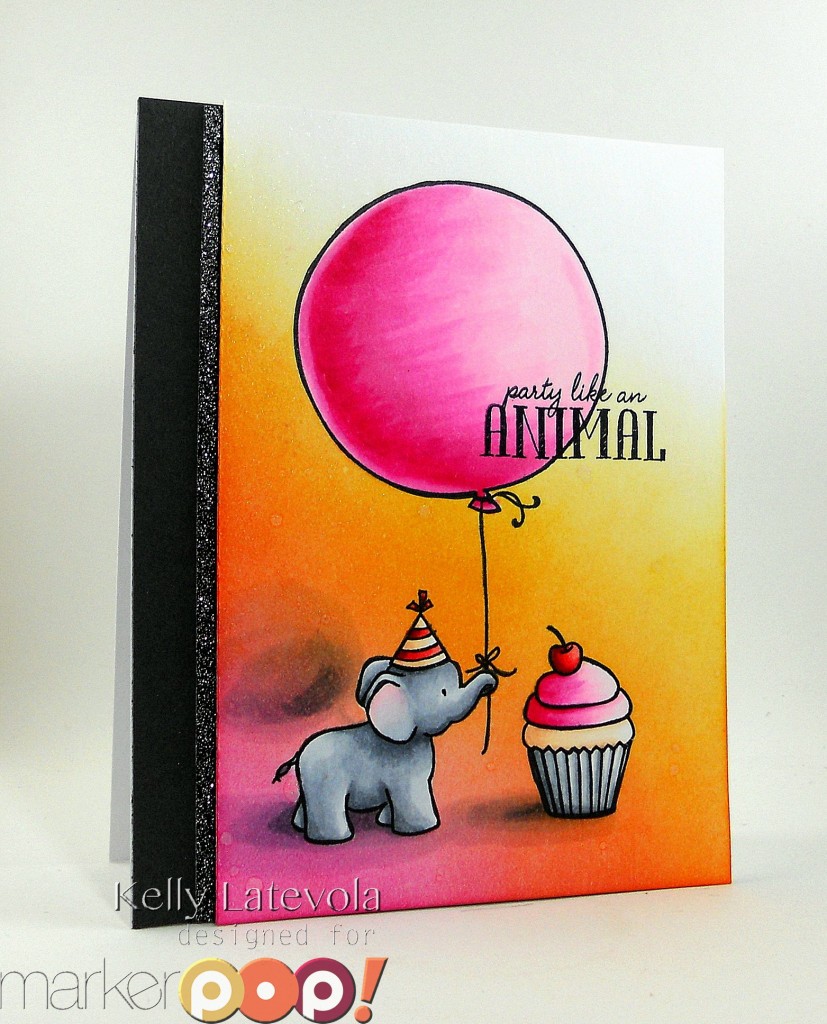
Party Like an Animal

Written by Kelly Latevola. Posted in Eye Candy (Projects), Tutorials, Videos

Hello Crafters!

Happy Friday! You made it 🙂

Why don’t we celebrate with a party?

DSCN2793

Okay it’s a small cuter party with big trimmings and I actually made it for my friend’s retirement but I think we can use it to celebrate Friday. She won’t mind. She’s cool like that.

We are using lots of good stuff from WPlus9 today including Party Animal, Unforgettable, and Sweets and Treats. I put together a video for you guys. Enjoy!

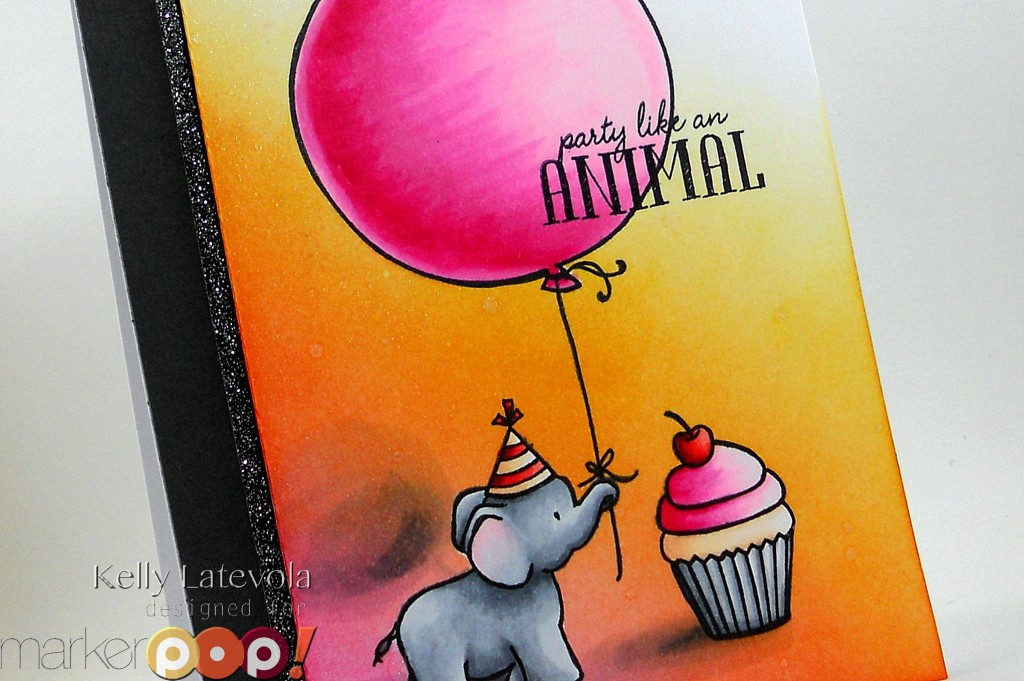
I love how bright it turned out. Just like my girlfriend 🙂 Those Distress inks really make a statement. I used Picked Raspberry, Carved Pumpkin, and Fossilized Amber for this background.

DSCN2795

The Copic Markers I used are: C1, C3, C5, E0000, E00, E11, R32, R35, R29, R59, RV00, RV02, RV11, RV55, and RV09.

Thanks so much for dropping in!

mp name

Grab Our Button

i Luv MarkerPOP
Show some MarkerPOP LUV,

add this button to your blog.

I’m a Winner!

I'm a Winner on MarkerPOP Blog
Copy and paste the code under the badge

to claim your bragging rights!

I’ve Made Top 3!

WoHooooo I made it to the Top 3 on MarkerPOP Blog
Copy and paste the code under the badge

to claim your bragging rights!

Visit Us!

MarkerPOP Free Shipping MarkerPOP Boutique
18299 Mount Baldy Cir
Fountain Valley, CA 92708
Toll Free: 1-855-312-1222
Phone: 1-714-249-1222