$10 Gift Voucher - Leave a Comment

Posts Tagged ‘Pretty Pink Posh’

Kindness

Written by Holly Endress. Posted in Eye Candy (Projects)

Happy Monday everyone it’s Holly here today with a card featuring Winnie & Walter. I don’t know about you but I have a habit of buying everything and then never getting around to using it. So this year I’ve decided to pull out those unused stamps in my stash and create.. Plus it’s fun to mix up old stuff you forgot you had with some new stuff.

mp2

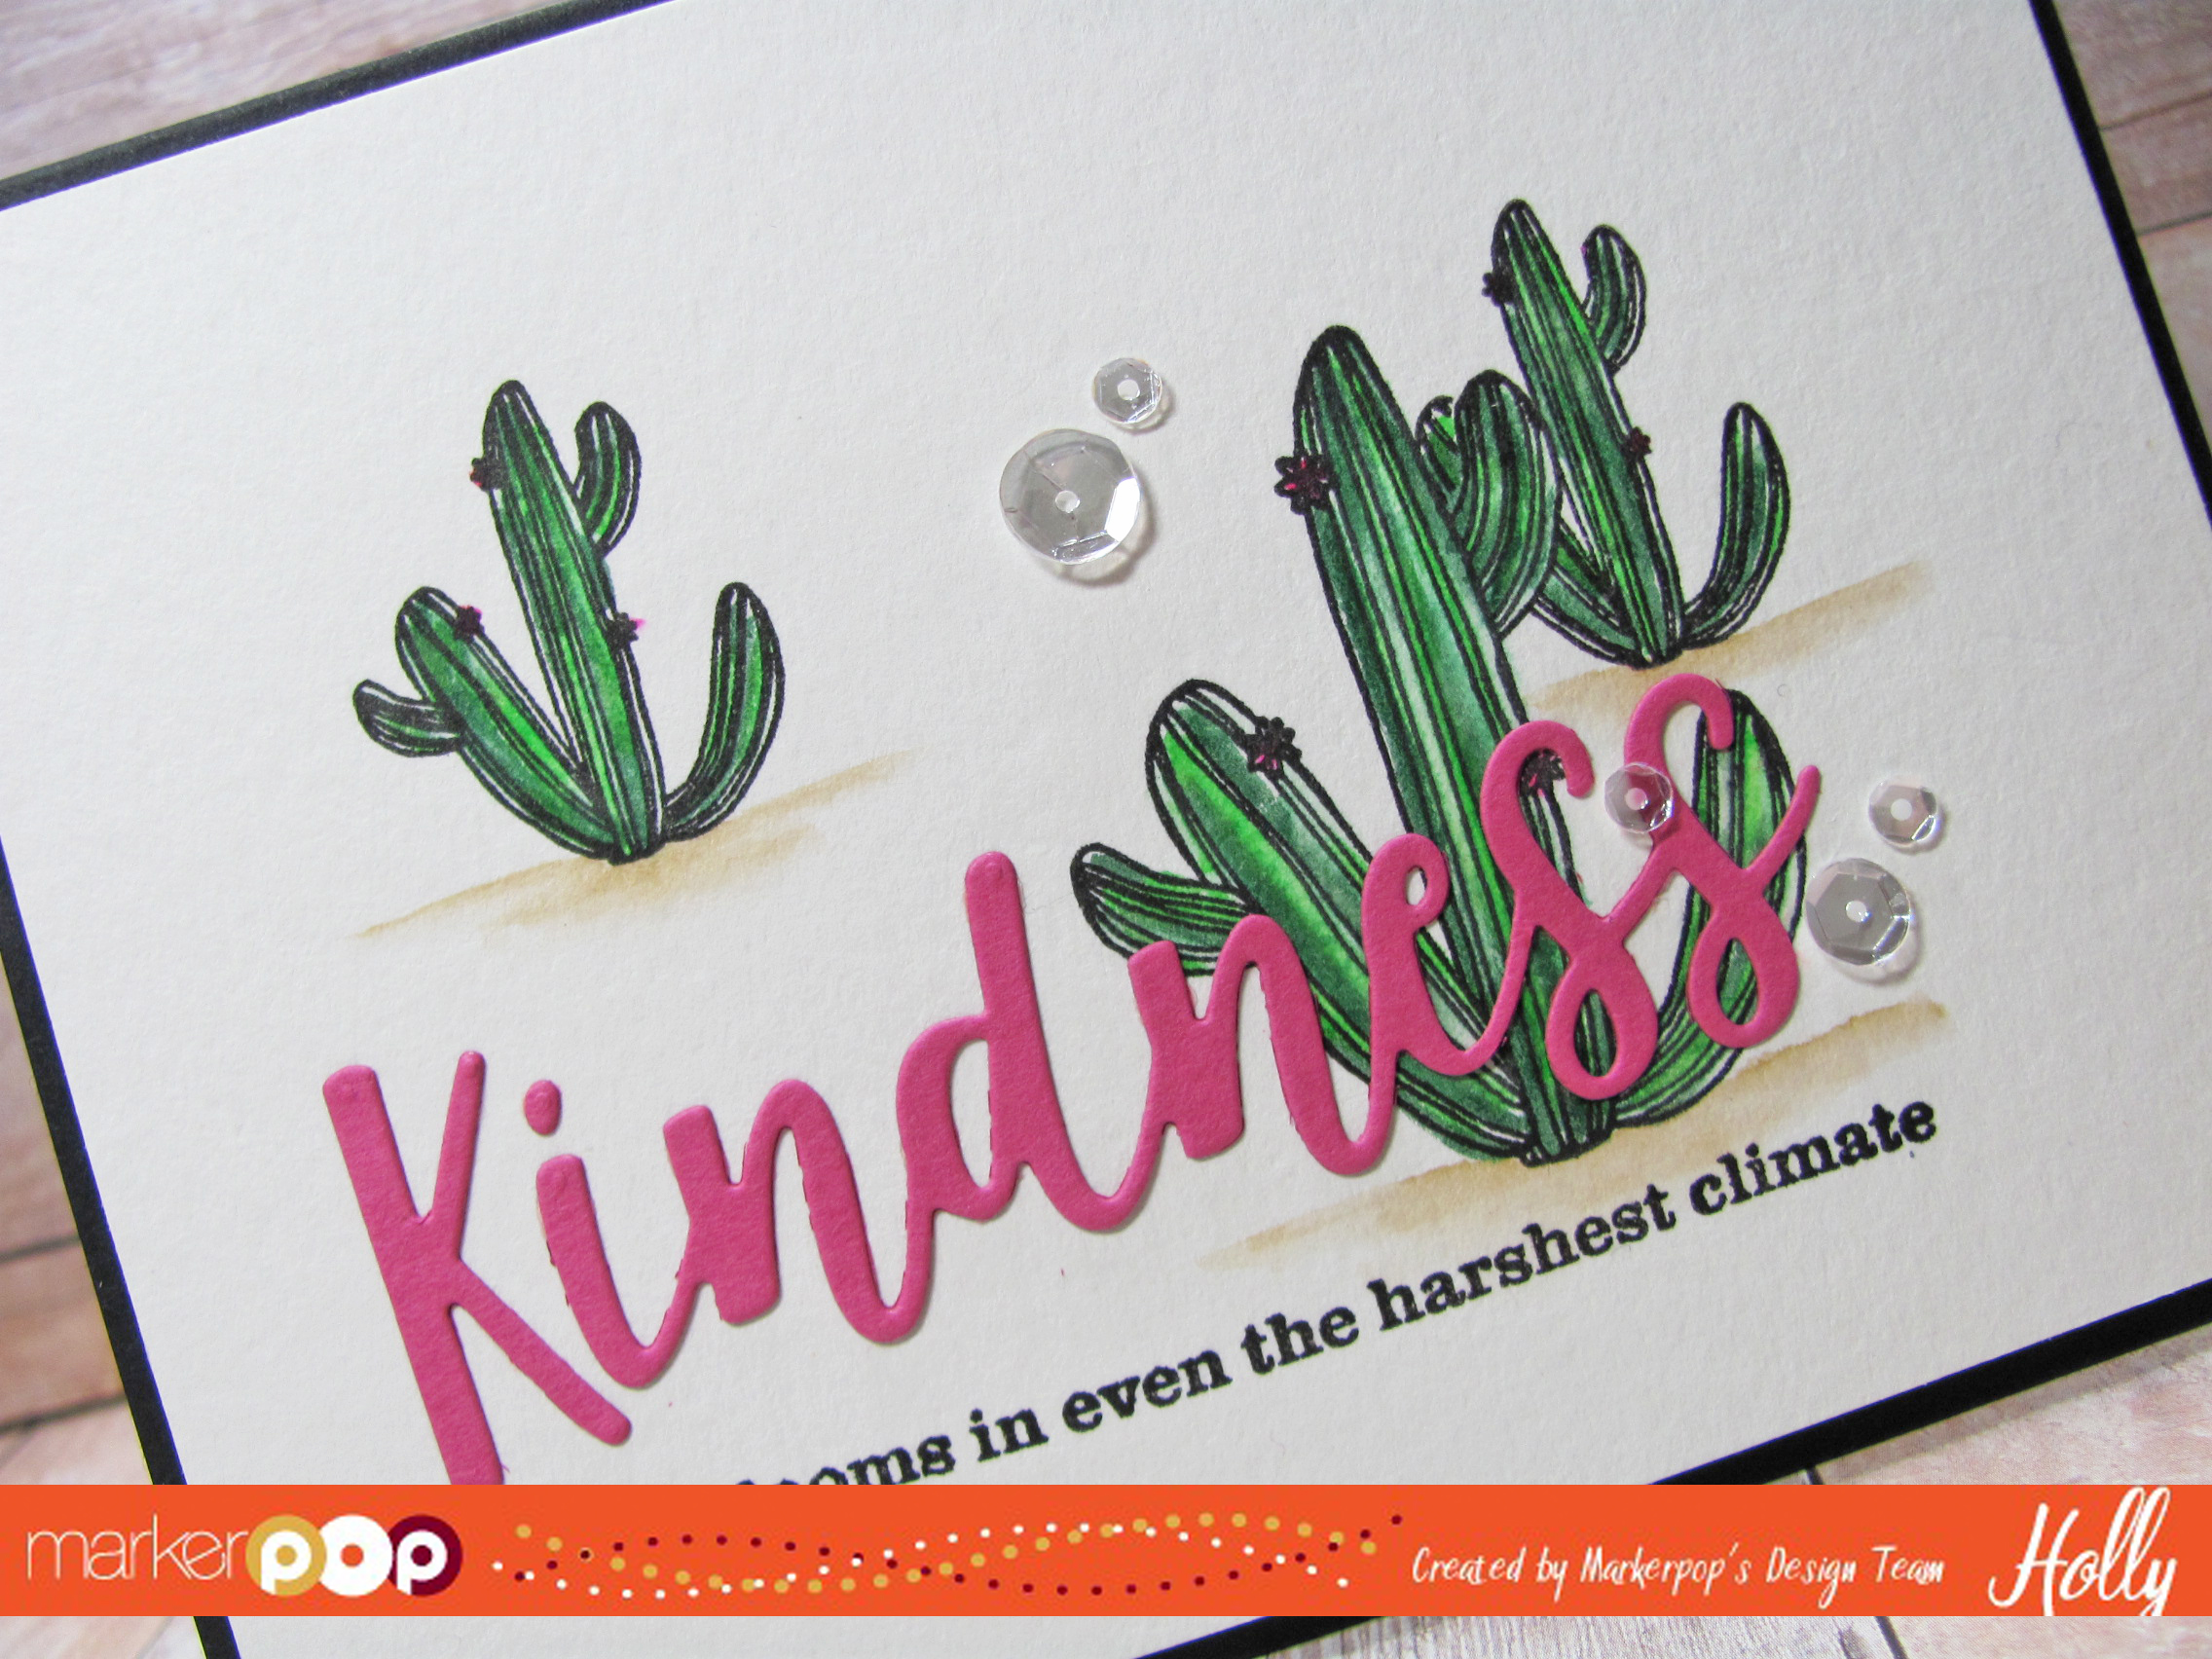
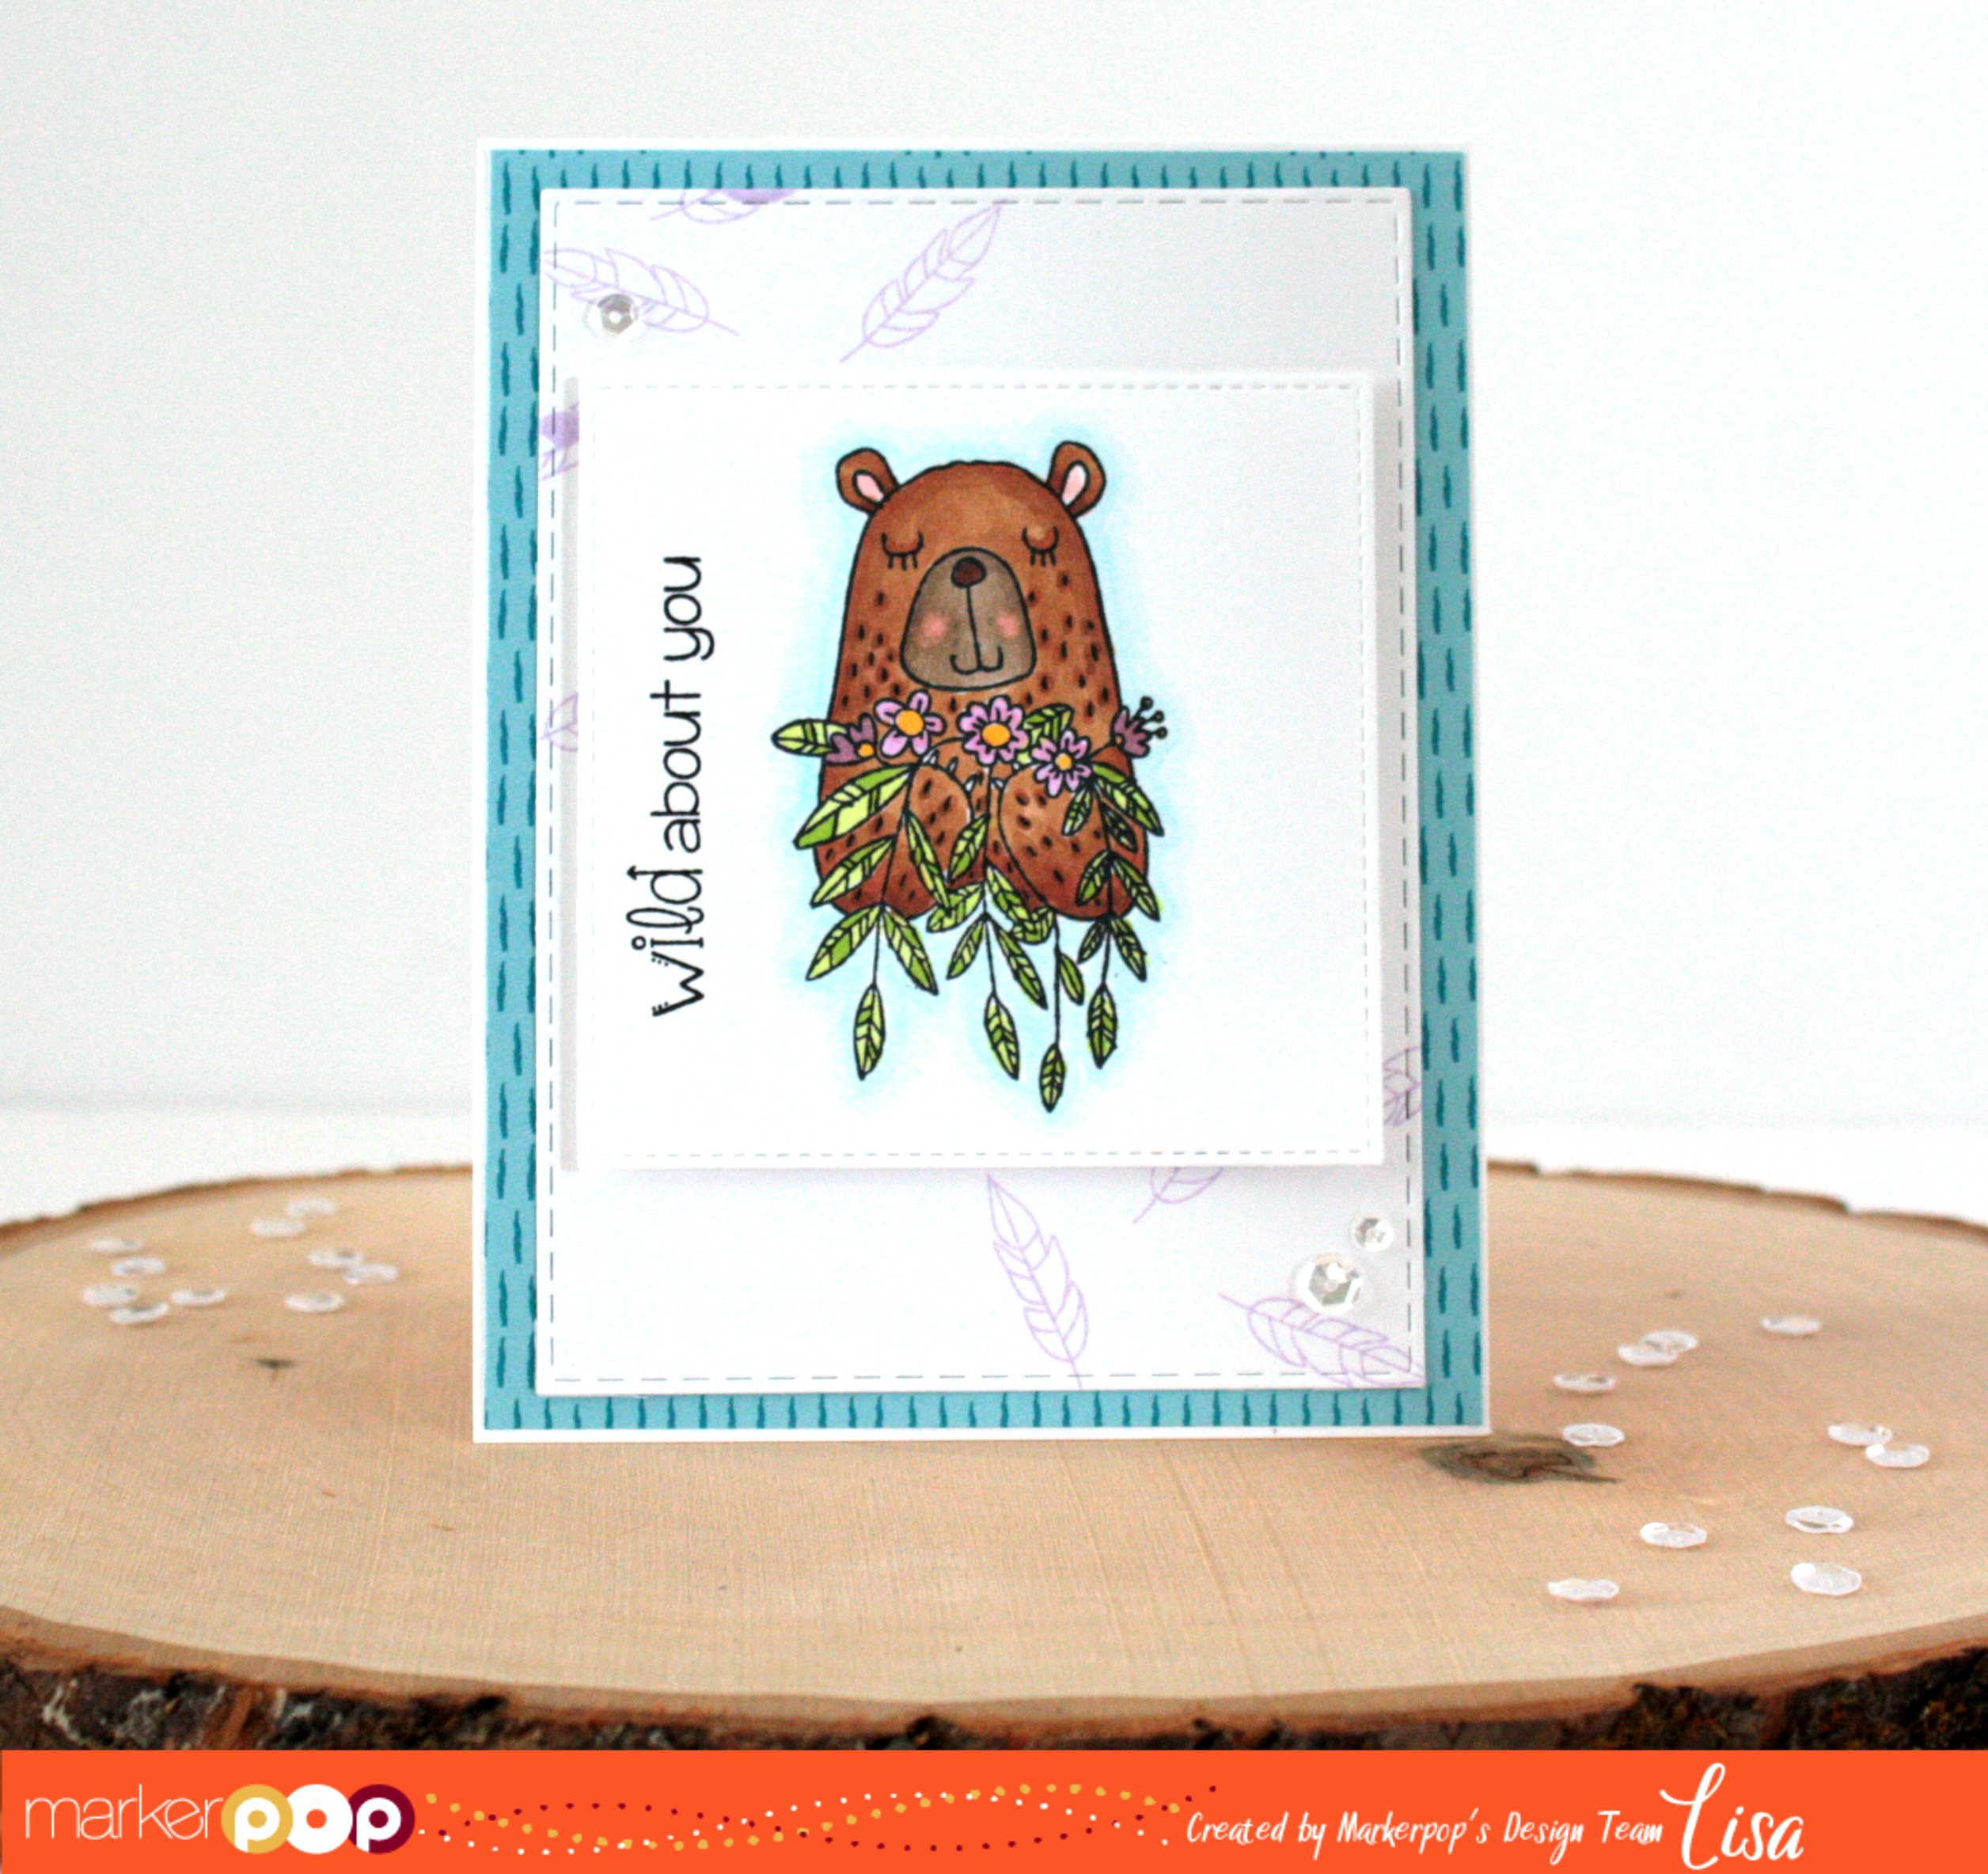
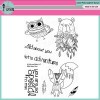
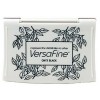
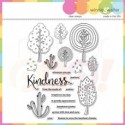
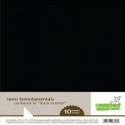
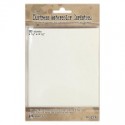
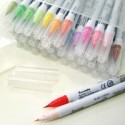
Today I’m using the Winnie & Walter Kindness Set. This set had a great collection of sentiments and a mix of Trees. I stamped the images onto a piece of  Tim Holtz watercolor card stock using VersaFine Onyx ink. Then I colored the images in with Zig Clean Color Real Brush Markers in #47 May Green, #44 Deep Green, #25 Pink & #64 Oatmeal. After applying the color I moved it around a little with a slightly damp paintbrush for a watercolor look. I stamped the sentiment onto the panel and trimmed it down to fit a Lawn Fawn Black Licorice card base.

mp1

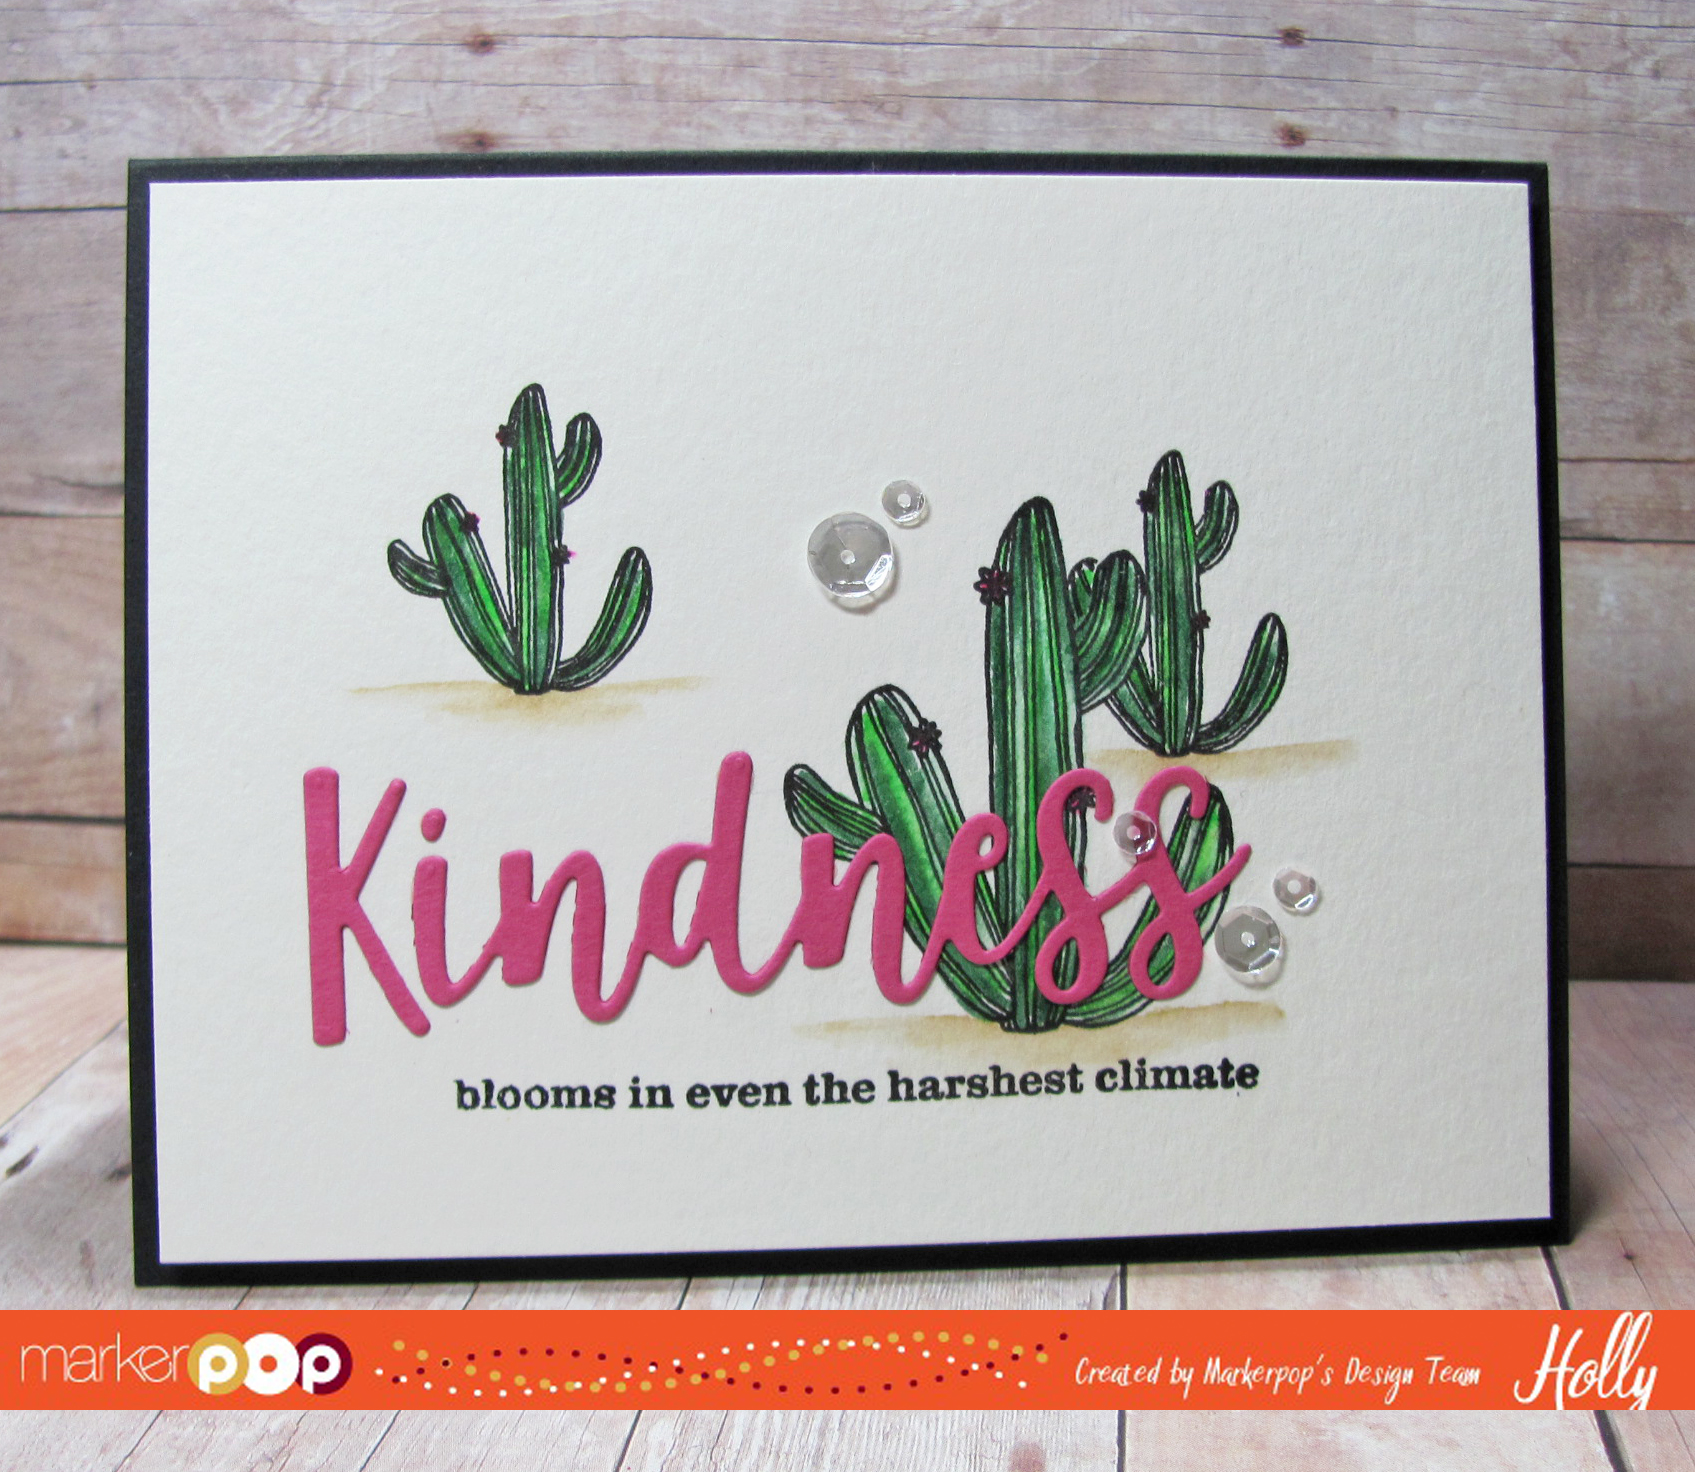
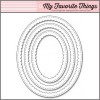
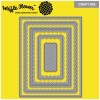
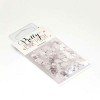
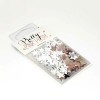
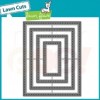
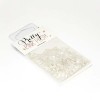
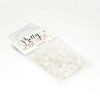
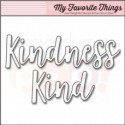
I die cut the word Kindness from the My Favorite Things Kind & Kindness Die-namics set using some Pink card stock. I adhered the sentient over the front of the card using some liquid glue. There’s no dimension I just kept it flat. For a touch of Sparkle I added some Pretty Pink Posh Mixed Sequins in Sparkling Clear. I really like the mix of the MFT die with the sentiment from Winnie & Walter.

Both the stamp set and the Die were new in my stash..lol I have a lot of stuff to get out and use. Stay tuned as I mix up a little old with some new! How do you make sure you use your new products? Or are you like me and tend to stash it all for later use?

Have a great day..Thank for stopping by!

It’s A Boy!: Use Copics For Dimension on Solid Stamped Images

Written by lisascreativeniche. Posted in Eye Candy (Projects)

Hello!  It is Lisa here with you today and I have a fun shaker card along with some tips to share with you today.  I have to admit when I first saw the WPlus9 Happy Gang Stamp set I was gushing over the cuteness, and feeling timid over the solid stamped images within the set.  Often times I find myself shying away from the stamp sets that are full of solid images, because I’m not quite sure what to do with them.  But when I kept looking at the super cute faces in this set I thought to myself, enough is enough!  So I put on my big girl pants, stamped some images and got to work.  Here is what I came up with…

img_8385

And I’m so glad I did, cause this is too cute!  Plus I learned a little something myself: Copic® Markers can do anything!  ( Ok, well not literally, but they sure did help me get over my solid image fear! )  I stamped a few more of these dogs to show you how I used my Copic® Markers to enhance this already adorable image…

img_8381

Colors Used: C0, C1, C3

By using matching Copic Colors to my Memento Dye Ink (London Fog) I was able to add depth, highlights and details to his cute little body and face.  I also used my White Gel Pen to add in eyes and a highlight on his nose.  Once I had tried this technique on the dog I used it on my balloons as well using Memento Dye Ink in Summer Sky and Copic Markers: B12, B32.  Now remember if you are going to use your Copic® Markers over a stamped image make sure you are using an ink that works with your markers as I did here with the Memento Dy Inks.

img_8386

Other Copic Markers used include: G40, G43 for the grass, and R20 for his cheeks.  I then turned my stamped scene into a shaker card with the My Favorite Things STAX Stitched Mini Scallop Oval Set, some acetate, Pretty Pink Posh Sequins, and Lawn Fawn Paper Pack: Beachside.

img_8384

Thanks so much for stopping by today and I hope I’ve encouraged you to look at your solid images in a new way!

Happy Crafting!

Lisa

Happy Thanksgiving

Written by lisascreativeniche. Posted in Eye Candy (Projects)

112316_copic

Hello!  It is Lisa here with you today and I wanted to start by wishing all of my American friends a Happy Thanksgiving!  I have also created a card that is perfect for the special day using the new Pretty Pink Posh: Giving Thanks Stamp Set and even better there’s a great Sale on Copic Markers in the store today through tomorrow. Use Promo Code: THANKS2016 at checkout now through 11/24 for an additional 8% off all Copic Markers! 

img_8182

To create this card I started by trimming down my patterned paper and diecutting the tag shape from the Pretty Pink Posh Craft Die Set – Stitched Duo 1.  I also die cut a yellow edge with the Pretty Pink Posh Stitched Borders 1 Die Set.  I then stamped the cute little gophers and leaves onto separate white cardstock and colored them in with various Copic® Markers: E44, E33, E35, E37, E15, E25, E27, R20, RV91, RV95, Y15, V25, BG70, BG72, BG75.  Once I had them all colored I cut them out and layered them onto the card and tag.  Then sentiment was stamped along the bottom with Memento Rich CoaCoa Dye Ink. I also added some Pretty Pink Posh Clear Sequins.

img_8183


Thanks so much for stopping by and Happy Crafting!

designteam2016lisa

Supplies Used:

Wild About You: Featuring Pink & Main

Written by lisascreativeniche. Posted in Uncategorized

Hello wonderful coloring friends!  It is Lisa here with you today, and I am sharing a card made with a newly released set by Pink & Main called Wild About You.  The little critters in this card are awesomely filled with details that give off an Indie Chic vibe.  Check out the card I’ve created with the bear and feather images…

img_7930

To create this card I started by stamping my bear onto Neenah Solar White Cardstock with Tuxedo Black Memento Ink.  I then colored the image with Copic® Markers (E15, E35, E43, E44, E57, E59, Y17, YG01, YG25, BG0000, B000, R20, R83, RV63, RV95).  The My Favorite Things Inside & Out Stitched Square Die was perfect for framing my image.  For a different look I decided to stamp my sentiment down the left side of the image with Versafine Onyx Black Ink.  I love the perfect impression I can achieve on my sentiments with this ink.  For a background panel I used the feather images in Lulu Lavender Memento Ink.  This panel was then die cut using the Lawn Fawn Large Stitched Rectangle.  I then layered this all onto a piece of patterned paper from the Tribal Prints 6×6 paper pack by My Favorite Things.

img_7931

Thank you so much for stopping by today and Happy Crafting!

PS – Don’t forget to join our challenge with just 1 day left!

designteam2016lisa

Grab Our Button

i Luv MarkerPOP
Show some MarkerPOP LUV,

add this button to your blog.

I’m a Winner!

I'm a Winner on MarkerPOP Blog
Copy and paste the code under the badge

to claim your bragging rights!

I’ve Made Top 3!

WoHooooo I made it to the Top 3 on MarkerPOP Blog
Copy and paste the code under the badge

to claim your bragging rights!

Visit Us!

MarkerPOP Free Shipping MarkerPOP Boutique
18299 Mount Baldy Cir
Fountain Valley, CA 92708
Toll Free: 1-855-312-1222
Phone: 1-714-249-1222