$10 Gift Voucher - Leave a Comment

Posts Tagged ‘Pretty Pink Posh’

Happy Thanksgiving with Cute Critters!

Written by lisascreativeniche. Posted in Tutorials

Hello wonderful crafty friends!  It is Lisa here with you today, and while I know so many of us are getting ready for Halloween, the very next Holiday (Thanksgiving) will be upon us in America in not time at all.  So I’m just getting a little jump on things and sharing this super cute Thanksgiving card with all of you today…

img_7905

img_7906


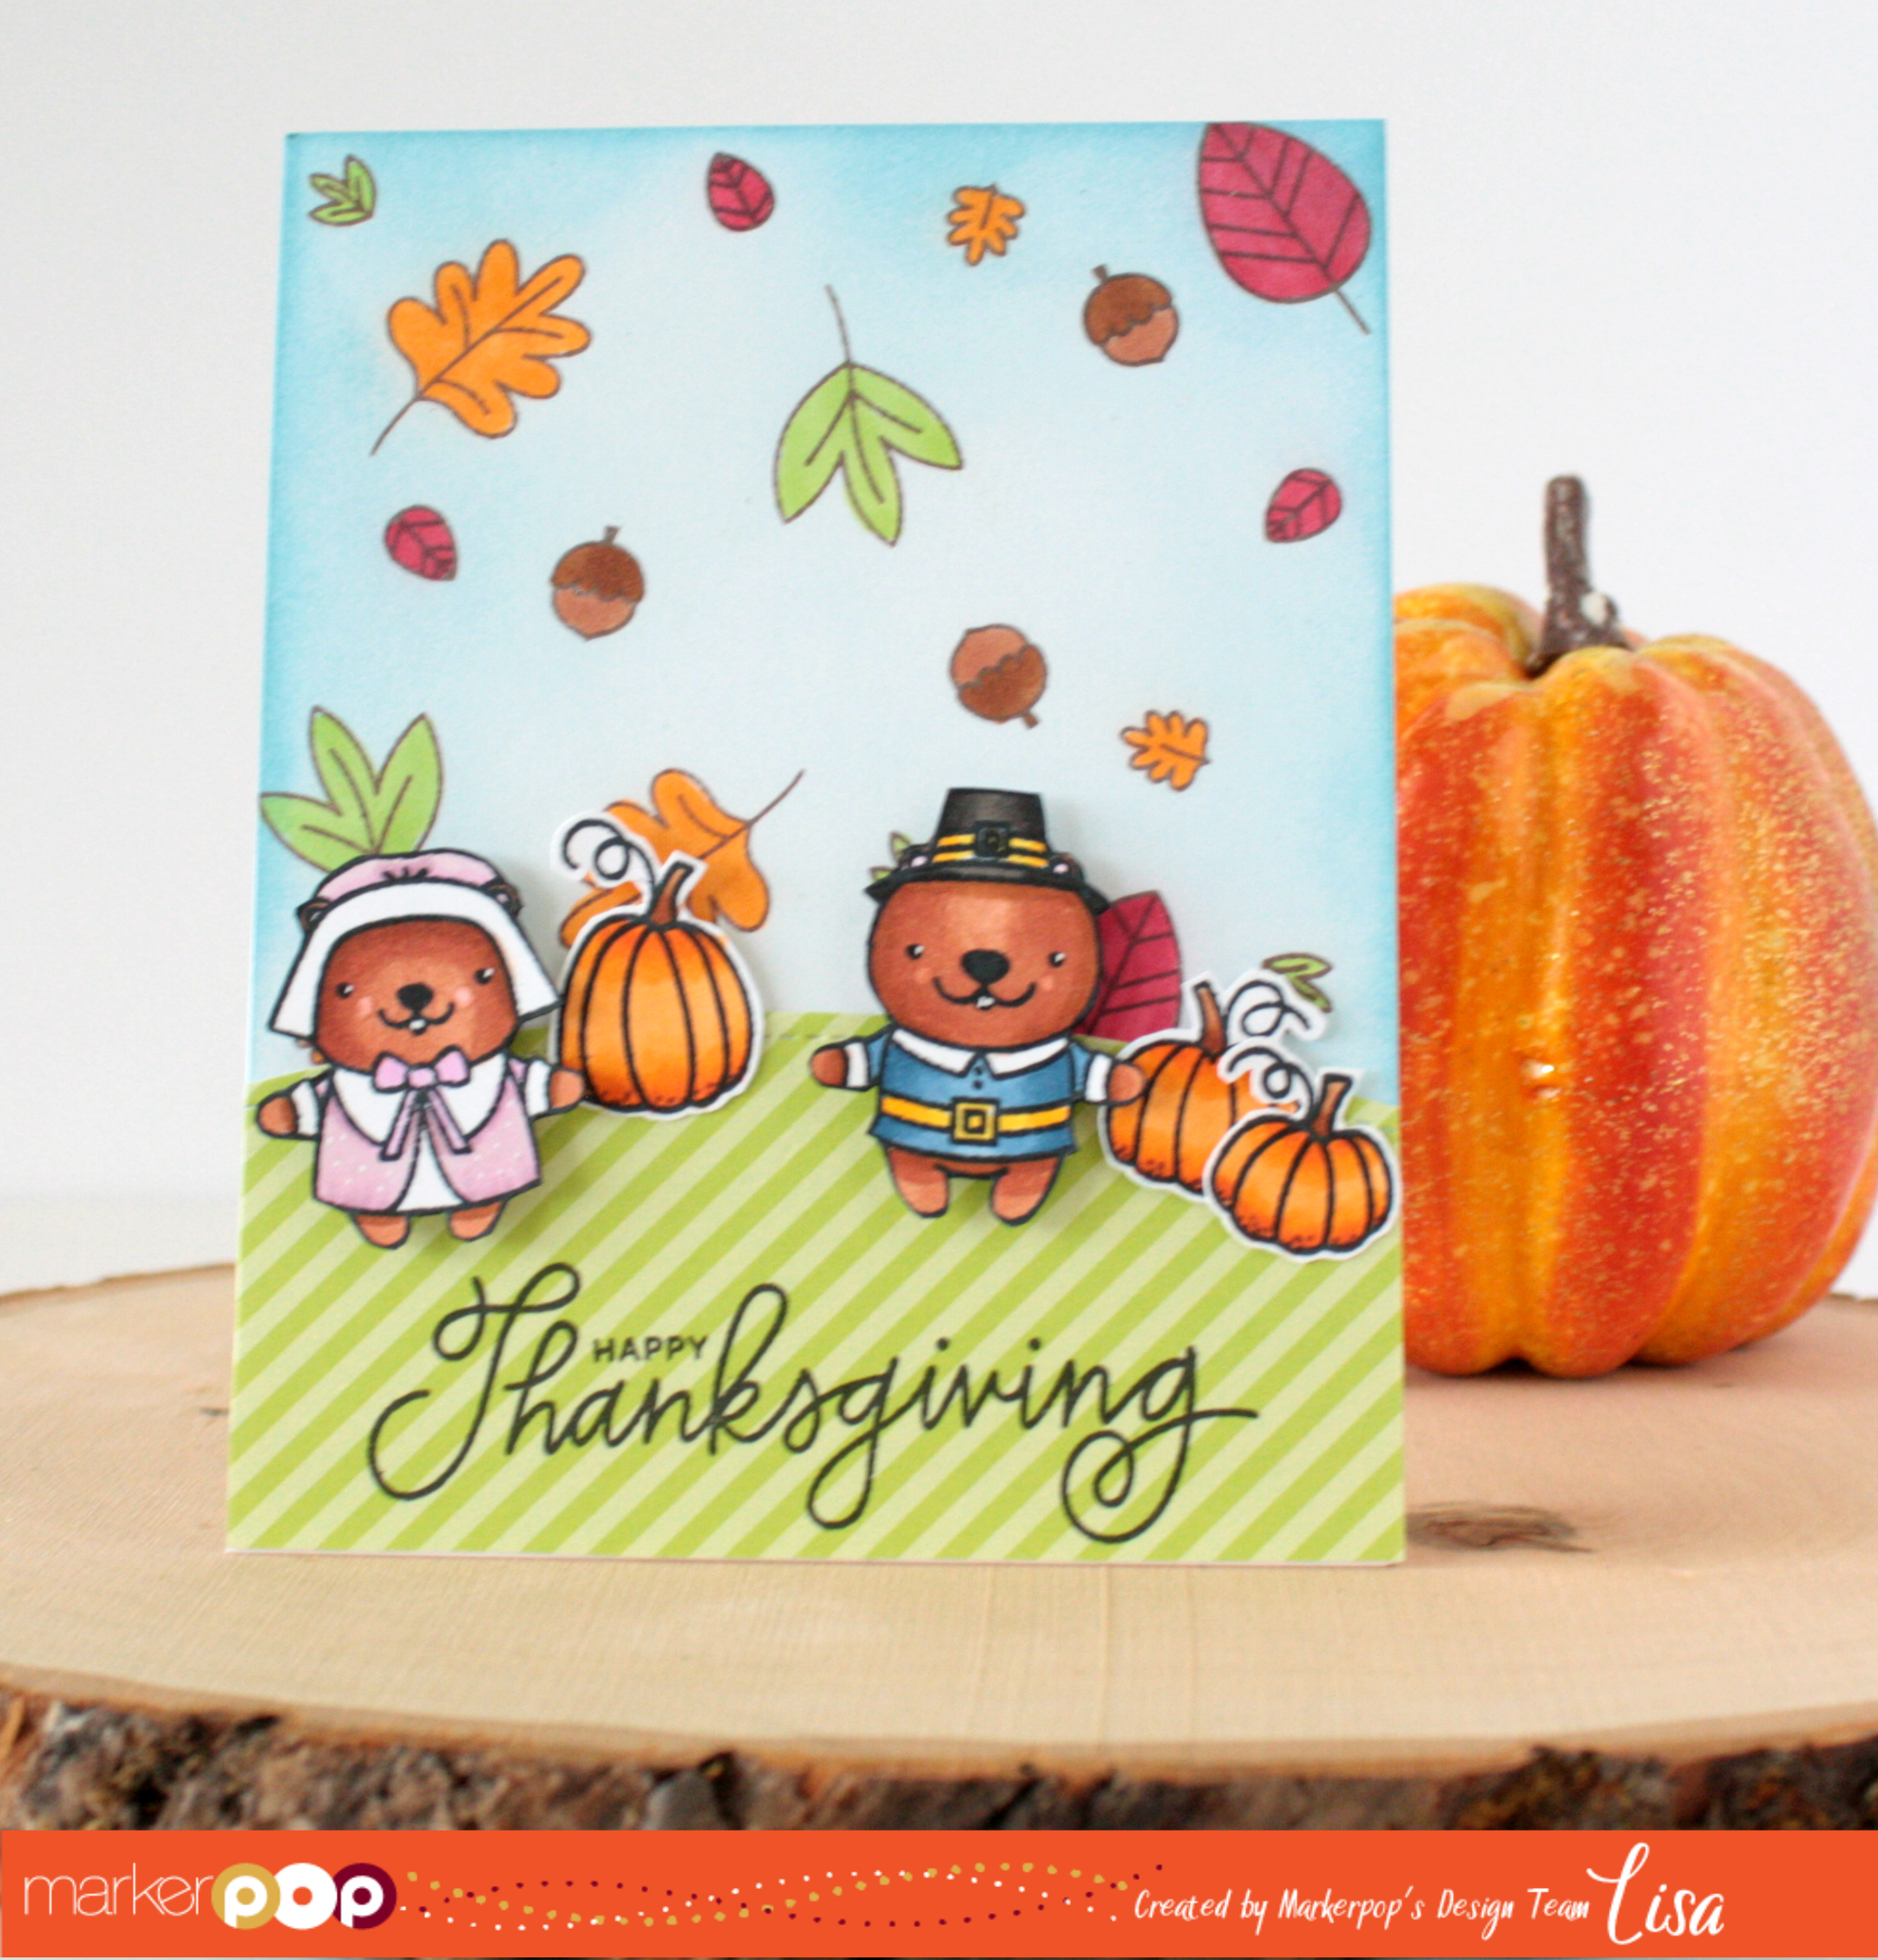
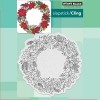
To create this card I started by stamping the pumpkins and little pilgrim beavers from the Giving Thanks set by Pretty Pink Posh onto Neenah Solar White Cardstock and colored them in with Copic Markers (E11, E15, E37, YR04, YR15, YR18, B95, B97, Y15, Y17, RV10, RV63, RV91, RV95). I then cut all of them out and set to the side.  I then stamped the leaf and acorn images all over the front of my cardbase, colored these in with Copic Markers (YG03, YR15, R46, E15, E27).  This time I did not add any shading as this was just for the background and I wanted the main focus to be on the characters.  I then went over the background with Tumbled Glass Distress Ink.  I wanted to add a green little hill for my critters to stand on and to double as a place for my sentiment so I die cut a hill from the Lawn Fawn Let’s Polka in the Meadow Paper Pack and with the Pretty Pink Posh Stitched Borders Die Set.  I then stamped my sentiment with Versafine ink and added the critters with foam adhesive for more dimension.

img_7907

Thanks so much for stopping by today and Happy Crafting!

designteam2016lisa

Joy : A Watercolor Holiday Card

Written by lisascreativeniche. Posted in Tutorials

Hello it is Lisa here, and I can not tell you how excited I am to be here today sharing my first post as part of the Marker Pop Design Team! eeeeekkk!!!  As I’m sure you’ve seen there are lots of new Holiday images making their debuts.  I’ve chosen a classic and elegant wreath image by Penny Black called Poinsettia Wreath for today’s card.  This stamp set is so beautifully detailed that you can’t help but have fun when coloring, or in this case, watercoloring it in.

img_7704

To create this card I started by stamping the wreath in the center of a piece of Tim Holtz Distress Watercolor Cardstock with Versafine ink.  Once the ink had dried I used various Distress Markers (Pine Needles, Peeled Paint, Shabby Shutters, Festive Berries, Barn Door, Fired Brick, Tattered Rose, and Mustard Seed) and Ranger Artist Brushes (Round 2 and 6).  When the entire panel was dry I used the largest die in the Lawn Fawn Cut STAX Small Stitched Rectangles to trim the panel down and add stitched lines.  I then popped the panel up with foam adhesive onto Lawn Fawn Cardstock in Red, and finished it all off with some Pretty Pink Posh Mixed Sparkling Clear Sequins.

img_7706

img_7703

Thanks so much for visiting today and I can’t wait to be back here next week!

Happy Crafting!

designteam2016lisa

Boo!

Written by Holly Endress. Posted in Eye Candy (Projects), Tutorials, Videos

Happy Saturday everyone! Today I’m using the new Spooky Sweets set and coordinating dies from My Favorite Things.

mp3

There’s a video below with all the details on how I made this card as well. I started by created a fun Distress Ink background on a piece of Tim Holtz Watercolor card stock that I die cut with the Wonky Stitched Rectangle dies from My Favorite things. I heat embossed the stars cluster image from the Spooky Sweets set using some WOW White embossing powder.  (P.S. We are carrying  WOW embossing powders in the store now.. there are so many Gorgeous Colors!) Then I “smooched” some Mustard Seed Distress ink onto the background.

mp2

I stamped the Pumpkins with Lawn Fawn inks in Carrot, Fake Tan and Pumpkin Spice. I layered each color to create the shading. The bats are stamped in VersaFine Black Onyx ink on some Neenah Solar White card stock. The images are die cut with the coordinating dies and then I adhered them to the distressed panel with liquid glue and foam tape. I stamped the sentiment onto a banner die cut from the MFT Blueprints 27 die set. I created a top folding White card base and added an offset panel of Black Licorice card stock cut with the same size Wonky Stitched die. Then I added the image panel and some Sparkling Clear Sequins from the Pretty Pink Posh mix.

mp1

You can see more details on how I created this card on my YouTube Channel or watch below…Have a Great Weekend!

2


Merry & Bright!

Written by Holly Endress. Posted in Eye Candy (Projects)

It’s beginning to look a lot like Christmas around here. Well not in my house anyways, but in the MarkerPop store it is. There’s a lot of new arrivals of Holiday products from all your favorite brands. We are also welcoming Concord and 9th to the shop this month. For my project today I’m using Concord and 9th’s Sophisticated Script and the Shine Brighter stamp sets. These will be available on Aug. 31st but you can pre-order them now.

mp2

I stamped the images from the Shine Bright set onto some Watercolor Paper using VersaFine Onyx ink and my Misti Tool. Then I colored in each of the bulb images with the Kuretake Gansai Tambi Watercolor set. I used the colors: No. 35 Carmine Red, No.43 Mid Yellow, No.52 Ocean Green, No. 62. Cobalt Blue and No.20 Black. I used the Black on the tops of the lightbulbs just along the edge. I used a small amount and then faded it out with a damp clean brush. I was trying to make it look Silver. I have the Large 36 set and it includes No. 95 Silver I added a tiny bit of that over the top of the bulbs then dabbed it off with a paper towel to give it just a hint of shimmer. You could also achieve this with a Wink of Stella pen.

mp1

After the images were dry I added a few splatters of the same colors around each bulb. I die cut the panel with the My Favorite Things Blueprints #15. I lined the Sophisticated Script letters up in the Misti and stamped the word Merry. And then I used the Merry and Bright sentient from Shine Bright and covered the Merry portion and selective stamped and Bright. Once everything was dry I added some foam tape to the back of the panel and adhered it to a Black Licorice A2 size Card base. For a touch of Sparkle I added some Pretty Pink Posh Sparkling Clear Mix Sequins. For a highlight on each bulb I added some lines with a White Gel Pen.

Be sure to head over to the store and check out the Concord and 9th Collection and grab your favs!! Thanks for stopping by today, I’ll be back next week with a new video!

2

Grab Our Button

i Luv MarkerPOP
Show some MarkerPOP LUV,

add this button to your blog.

I’m a Winner!

I'm a Winner on MarkerPOP Blog
Copy and paste the code under the badge

to claim your bragging rights!

I’ve Made Top 3!

WoHooooo I made it to the Top 3 on MarkerPOP Blog
Copy and paste the code under the badge

to claim your bragging rights!

Visit Us!

MarkerPOP Free Shipping MarkerPOP Boutique
18299 Mount Baldy Cir
Fountain Valley, CA 92708
Toll Free: 1-855-312-1222
Phone: 1-714-249-1222