$10 Gift Voucher - Leave a Comment

More Altenew With Multi-Step Florals

Written by lisascreativeniche. Posted in Uncategorized

Hello!  It’s Lisa back again today with another Altenew floral project, but this time with a multi-step stamp set called Winter Rose.  If you’ve seen a few of my projects then you know I just love floral images, and Altenew makes some of the best multi-step flowers around.  When I saw the Winter Rose set during the last release I had to have it.

For today’s card I used another whimsy color scheme, and I really like it…

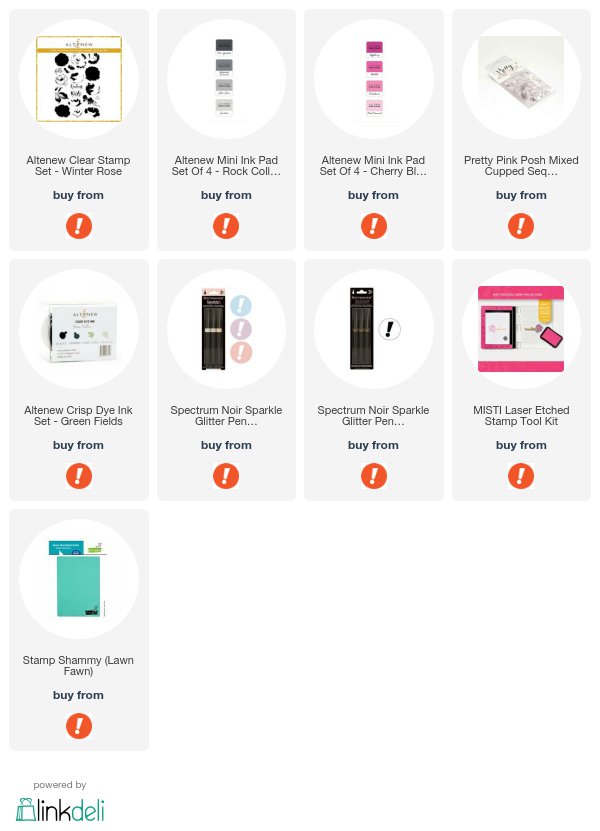
To create this card I stamped the flowers following the guide on the back of the stamp set with Altenew Cherry Blossom Ink Pad Set of 4, and Jet Black.  The leaves were stamped with the Altenew Rock Collection Ink Pad Set of 4.  Next, I decided to add some shimmer with Spectrum Noir Glitter Pens.  I brushed  two of the corners and added some clear over the flowers.

I love the shine from these pens, and in person they are so much better!  The finishing touch came with the Pretty Pink Posh Clear Sequins.

Thank you so much for stopping by today, and don’t forget there is still a little bit of time left to enter the Fall Contest!

Happy Crafting!

Supplies Used:


Altenew and Die Cut Flowers

Written by lisascreativeniche. Posted in Uncategorized

Today’s card is a bit whimsy and pretty!  Hi!  It’s Lisa here today with you and the card I’ve created mixes unrealistic floral colors with a beautiful and sparkly stenciled background.

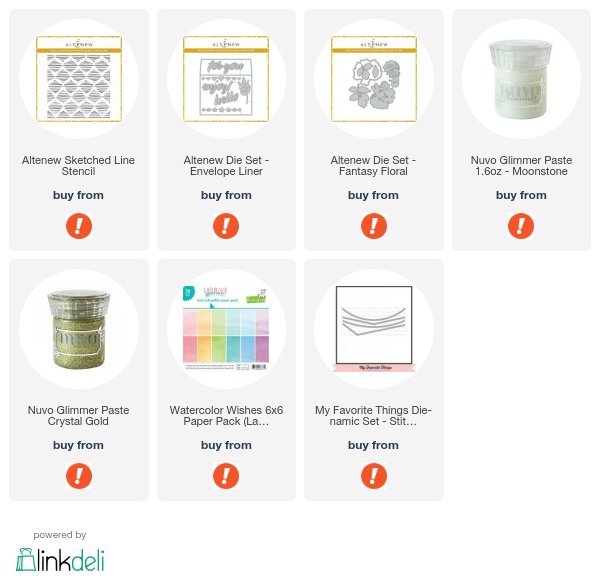
I loved the Fantasy Floral Die Set by Altenew the minute I saw it!  It’s so unique, creates depth, and you can mix and match colors to your heart content.  For my flower and leaves I used the Lawn Fawn Watercolors Paper Pad.  After I cut flower and put it all together I decided it needed a sparkly background to pop off the page.  The Nuvo Glimmer pastes are perfect for such a thing and I chose the Golden Crystal and Moonstone to mix over the Altenew Sketched Lines Stencil.

For a unique edge I used the My Favorite Things Stitched Basic Edge Dies.  The only thing left was which sentiment to use.  I decided to use a large sentiment, and the Altenew Envelope Liner Die Set worked.  A few Gold and Sparkling Clear Sequins.

Don’t forget about the awesome Video Contest going on and join in!

Thank you so much for stopping by today!

Happy Crafting!

Supplies Used:
 

Lawn Fawn Bookmarks: Front and Back

Written by lisascreativeniche. Posted in Eye Candy (Projects), Uncategorized

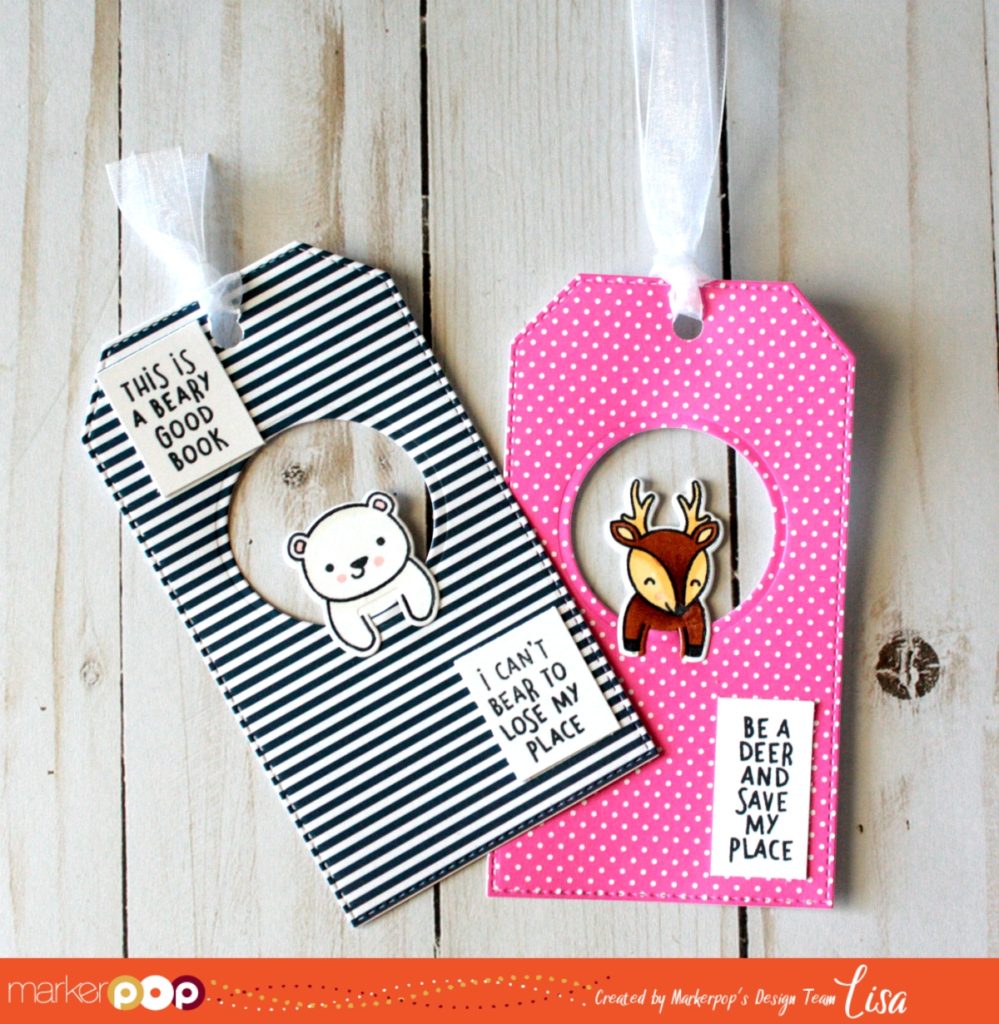
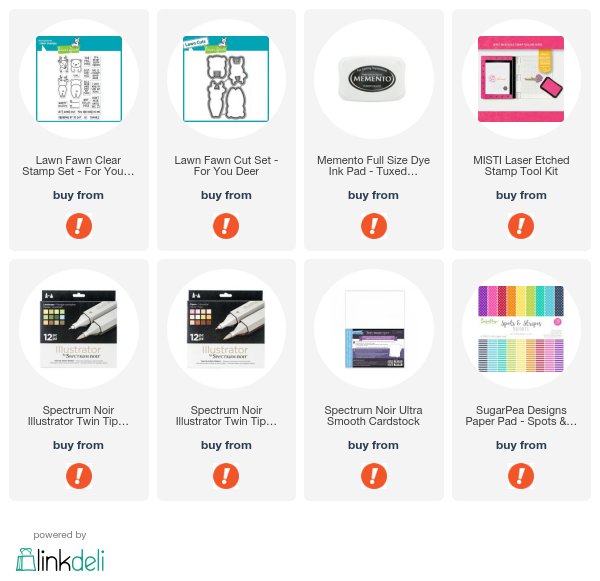
Hello!  It is Lisa here with you today and I could no longer resist the cuteness of the Lawn Fawn For You Deer Set, so I’m bringing these cuties your way…

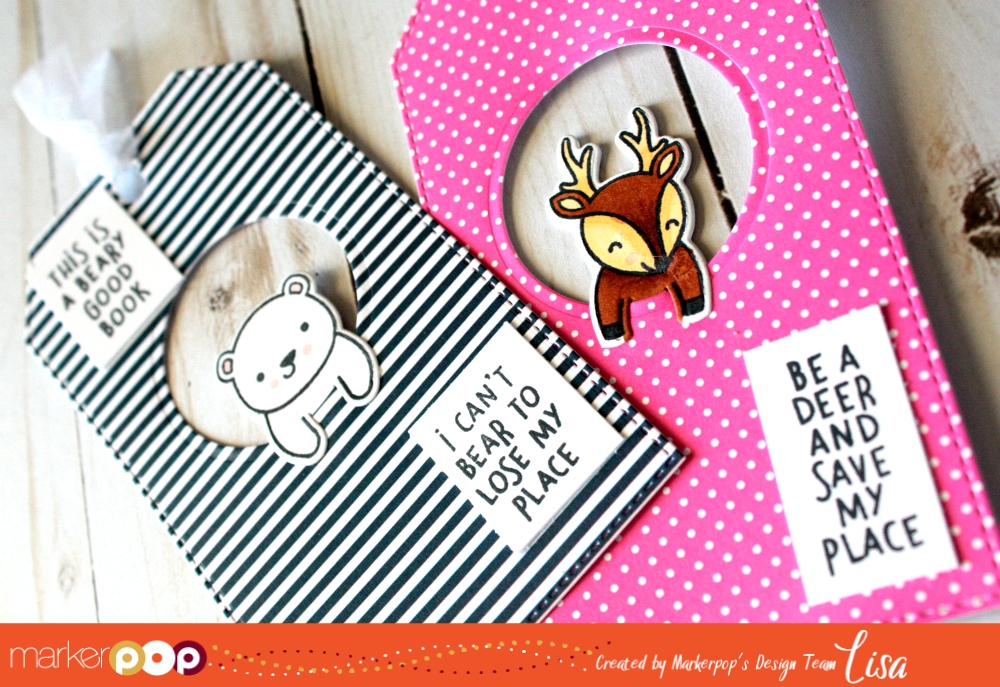
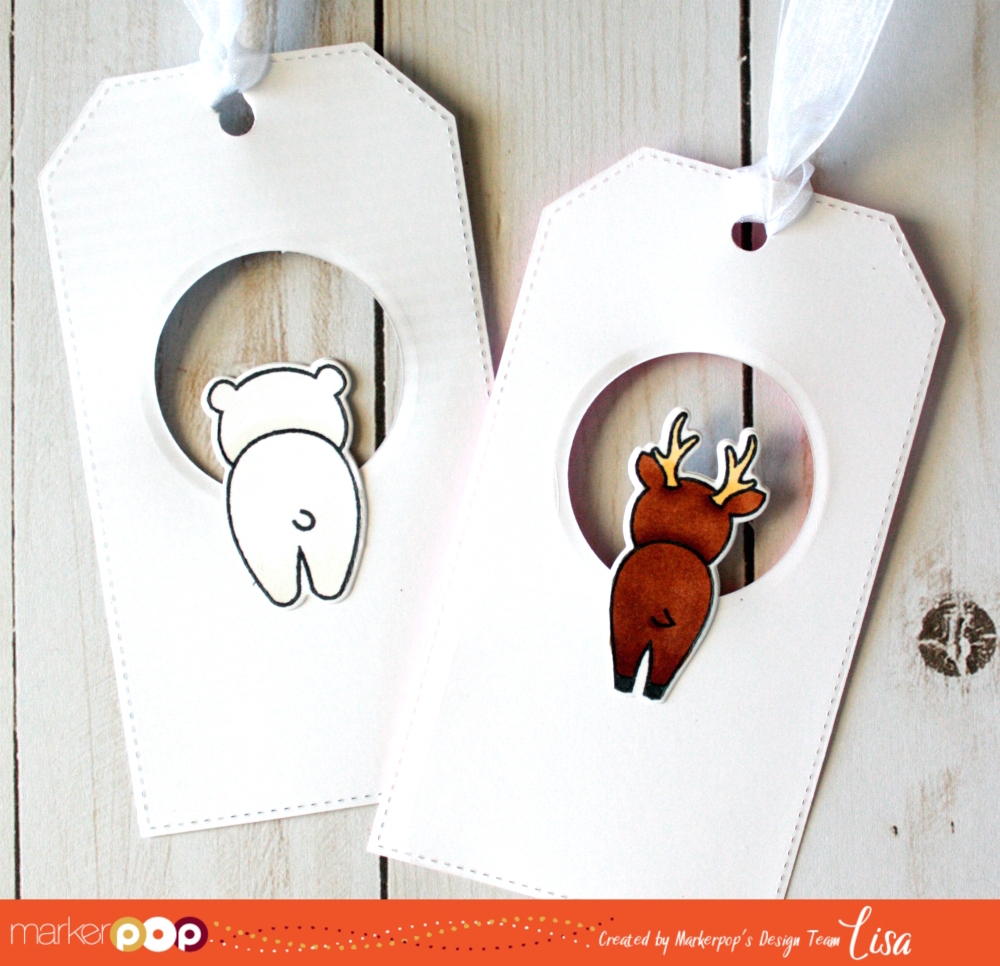
Aren’t they just so cute?!  While there is a matching Add On Die, I didn’t use that and instead used a MFT Tag Die that I already owned as the base for my bookmark.  I then added a window with a circle die for my critters to peek through.  The new Sugar Pea Designs Spots and Stripes Brights paper pad was the perfect designer paper to add a pop of color to my bookmarks.

As for my critters I stamped them with Memento Tuxedo Black ink and colored them in with my Spectrum Noir Markers.  I used the matching Lawn Fawn For You Deer Die Set to cute them  out and set them up in the window.  The sentiments were the last things stamped and cut to put on the front of the bookmarks.

Thanks so much for stopping by today!  Don’t forget about the amazing giveaway going on, the video challenge, and our bi-weekly challenge!  Whew!

Happy Crafting!

Supplies Used:

Fur-Friends Forever

Written by jpascarella. Posted in Eye Candy (Projects), Uncategorized

Hello, MarkerPOP friends! Are you a pet person? If so, what is your favorite kind? I am a dog person. We currently have one dog, Olive. She is an adorable Mastiff mix. Definitely, another child I have to take care of!

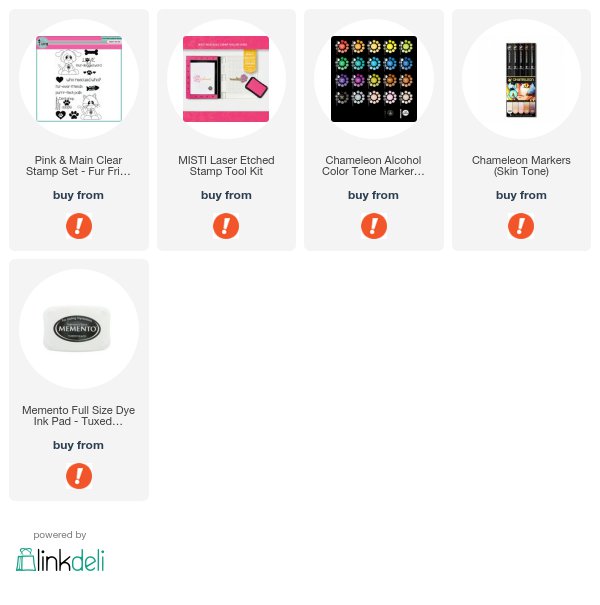
Today, I am working with the Pink & Main’s Fur-Friends stamp set and Chameleon markers:

To start this card, I repeatedly stamped the bone image down the side of the card. The dog image is stamped and cut out using a circle die. The image is colored in and attached to the card. To add some extra color to the card, I added three hearts to the card. The final step for the card was to stamp the sentiment .

The following Chameleon markers were used on today’s card:
BR4, BR5, RD2, RD4, YO2, YL3, NU0, NU1, NU3, PR2

Thank you for stopping by and have a wonderful day!

Jessi


Grab Our Button

i Luv MarkerPOP
Show some MarkerPOP LUV,

add this button to your blog.

I’m a Winner!

I'm a Winner on MarkerPOP Blog
Copy and paste the code under the badge

to claim your bragging rights!

I’ve Made Top 3!

WoHooooo I made it to the Top 3 on MarkerPOP Blog
Copy and paste the code under the badge

to claim your bragging rights!

Visit Us!

MarkerPOP Free Shipping MarkerPOP Boutique
18299 Mount Baldy Cir
Fountain Valley, CA 92708
Toll Free: 1-855-312-1222
Phone: 1-714-249-1222