Coloring on Vellum with Copic Markers
Hi Everyone! Carisa here with you today and I wanted to try something different today. Vellum is pretty popular in papercrafting right now and I wanted to try a new technique by coloring on it with my Copic markers. Vellum is a slick surface so there are a couple of ways to approach this when you want to color a stamped image with your Copic markers. Both techniques involve stamping your image and flipping the vellum over to the back to color. I don’t have a video for you today but I did take some photos of the process for you. Let’s get started.
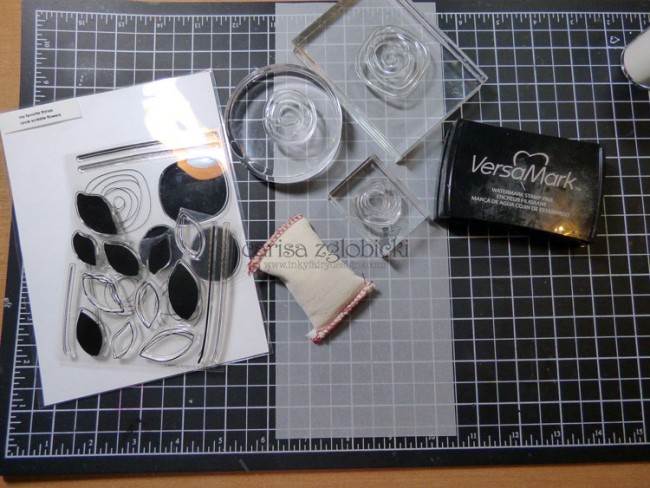
To do this you will need:
Vellum
Stamps
Tsukineko Versamark Ink (we have Tim Holtz Embossing Ink in our store)
Embossing Powder
Embossing Buddy
To start, I cut down my vellum to 4.25 x 11. I wasn’t sure how big I wanted my panel to be but I knew I wanted to fit it on a card front so this seemed to be a good size for me to work with to start stamping. I prepped my surface using the embossing buddy. This places a thin coat of powder on the paper so your embossing powder will only stick to the places you have stamped. Next I started stamping my pattern. I am using the Circle Scribble Flowers by My Favorite Things (there are 2 great matching die sets, too). I used the 3 different sizes of flowers and two sizes of leaves to fill in.
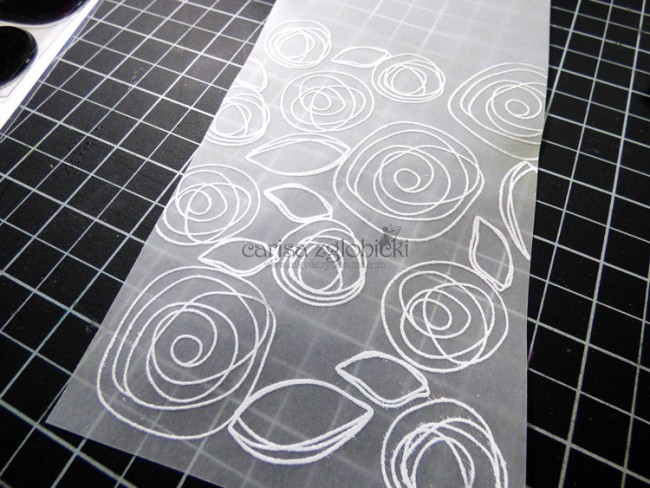
I stamped my images in Tsukineko Versamark Ink (Tim Holtz has a Distress Ink, too) and used white embossing powder. I am fairly new to embossing; what can I say, I started in this hobby by coloring! So, a good thing I’ve learned is to let your heat tool get good and hot before bringing it to your paper – especially vellum! It only takes about 15-20 seconds and then you can bring the heat to your embossing and watch it melt really fast. This helps minimize the warping to the vellum. It will look like this when finished.
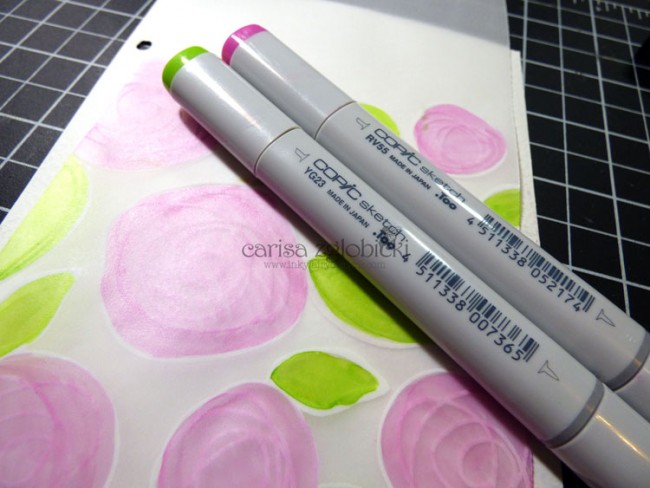
You do not want to color on the front where your embossing is for two reasons. ONE: vellum is slick and your markers will take a bit to dry completely – and honestly, it can still smear even once dry. TWO: Embossing can damage the nibs on your markers so you really don’t want to color on the embossed side. If you do (on other types of paper since I know a lot of people like to emboss their images before coloring) just take care along the edges of the embossing. So, turn your vellum over and you’ll be able to see exactly where your images are to start coloring.
For this technique, I do a very simple color blend. Two at the most. Vellum is not going to blend like your other card stock so it just is pointless to try to blend (well, it was for me, I tried!) I found that keeping it simple is the key to this fun technique. So, I chose one color for my flower and another for my leaves. I ended up choosing another color for the sky around my flowers in the end. Check the end of this post for a list of all the colors used on this project. This is how it will look from the back. Not too impressive. 😉
BUT, this is how it looks from the front!!! So pretty! I think it is so elegant. Don’t stress about brush strokes. I find this adds to the texture and unique look with this technique.
I decided to fill in the white space with blue and did VERY simple outline shading with two shades a bit darker than what I first laid down. I simply outlined the leaves and the scribble flowers with this darker color. I love the way it looks more painted from the front now.
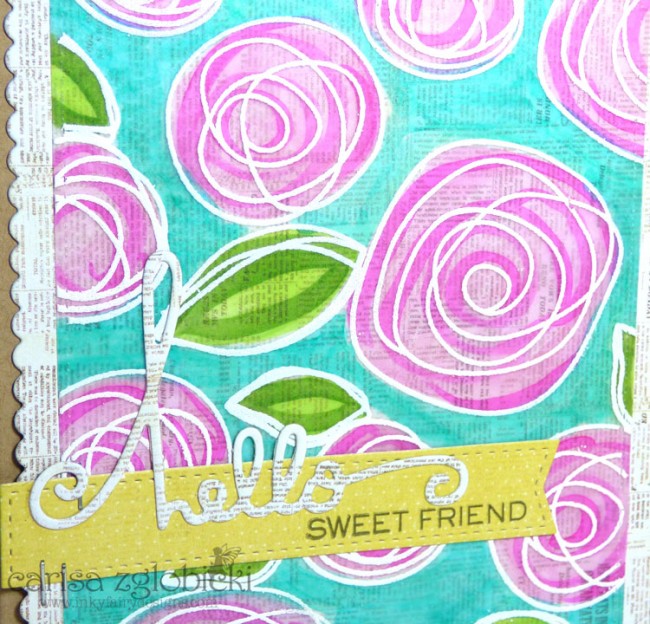
Here is a close up of the colored vellum on my card front. I layer it on some book text card stock. To adhere the vellum, I used tiny dots of Tombow Mono Multi Liquid Glue in the corners and behind the stamping. This helps to camouflage the adhesive but I found that with the pattern peeking through and the coloring, you don’t even notice it.
Here is another look at my completed card. I love it! I have also tried this with Gold and Silver embossing and it looks very elegant. I will share those on my blog at a later date once the sun starts shining again around here and I can get better pictures of that embossing. I chose this stamp set with our current challenge #69: Flowers in mind. I hope I have given you more inspiration today and look forward to seeing your entries! I would love to see your projects using vellum to color on if you have enjoyed this tutorial! Thanks so much for stopping by and I will see you next week with another coloring tutorial.
Supplies:
Copic Markers: RV55, RV06, YG23, YG67, BG15
Tsukineko Versamark Ink (we carry Ranger)
White embossing powder
Embossing Buddy
My Favorite Things (Circle Scribble Flowers) (they have 2 coordinating die sets, too)
My favorite Things Die-namics (Blueprints 20)
Paper Smooches (Hello Words Die)
Prima Marketing, Inc (Coffee Break 6×6 Paper Pad)
Tombow Mono Multi Liquid Glue
Tim Holtz Tiny Attacher
Tags: Carisa Zglobicki, Coloring, Copic Markers, How To, My Favorite Things
Trackback from your site.


Comments (4)
Heidi Brawley
| #
Oh Carisa this is Beautiful! !!!!!!!!
Reply
Carisa
| #
Thank you, Heidi!
Reply
Valerie Ward
| #
Oh my gosh, this card is so gorgeous! I have to make a 50th wedding anniversary card, and I think I might go this route instead of what I was originally thinking. I’ve done this technique before, and it’s supe reasy and always comes out perfect! Thanks for the wonderul inspiration!
Reply
Carisa
| #
Thank you, Valerie! I think gold embossing would be perfect for the 50th anniversary card! I can’t wait to see how it turned out. 🙂
Reply