$10 Gift Voucher - Leave a Comment

Posts Tagged ‘Die-Namics’

Fangs for everything!!

Written by Holly Endress. Posted in Eye Candy (Projects)

Hi everyone.. It’s Holly here today! Halloween is just around the corner and I’m loving all the fun Halloween and Fall sets that have been released this year. It makes it really hard to pick a Favorite! Today I’m using the My Favorite Things Frightful Friends and Grave Situation stamp sets.

mp3

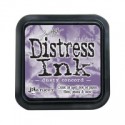
I started out by cutting two pieces of Neenah Solar White cardstock to 4 1/4 x 5 1/2. Then I die cut one panel using the Pizzaz Pieces Creative Cuts die set from Mama Elephant. I lined the die cut panel up with the other panel and made some pencils marks inside the circle window. Then using some Distress inks in Squeezed LemonadeDusty Concord and Spiced Marmalade I created a background for the window opening. Once the Distress inks were dry I stamped the Fence and Bat images from the Frightful Friends set using some VersaFine Onyx Black ink. I added some Foam tape to the back of the window panel and adhered it over the Distressed panel. Then I adhered both panels to a Black top folding card base.

mp2

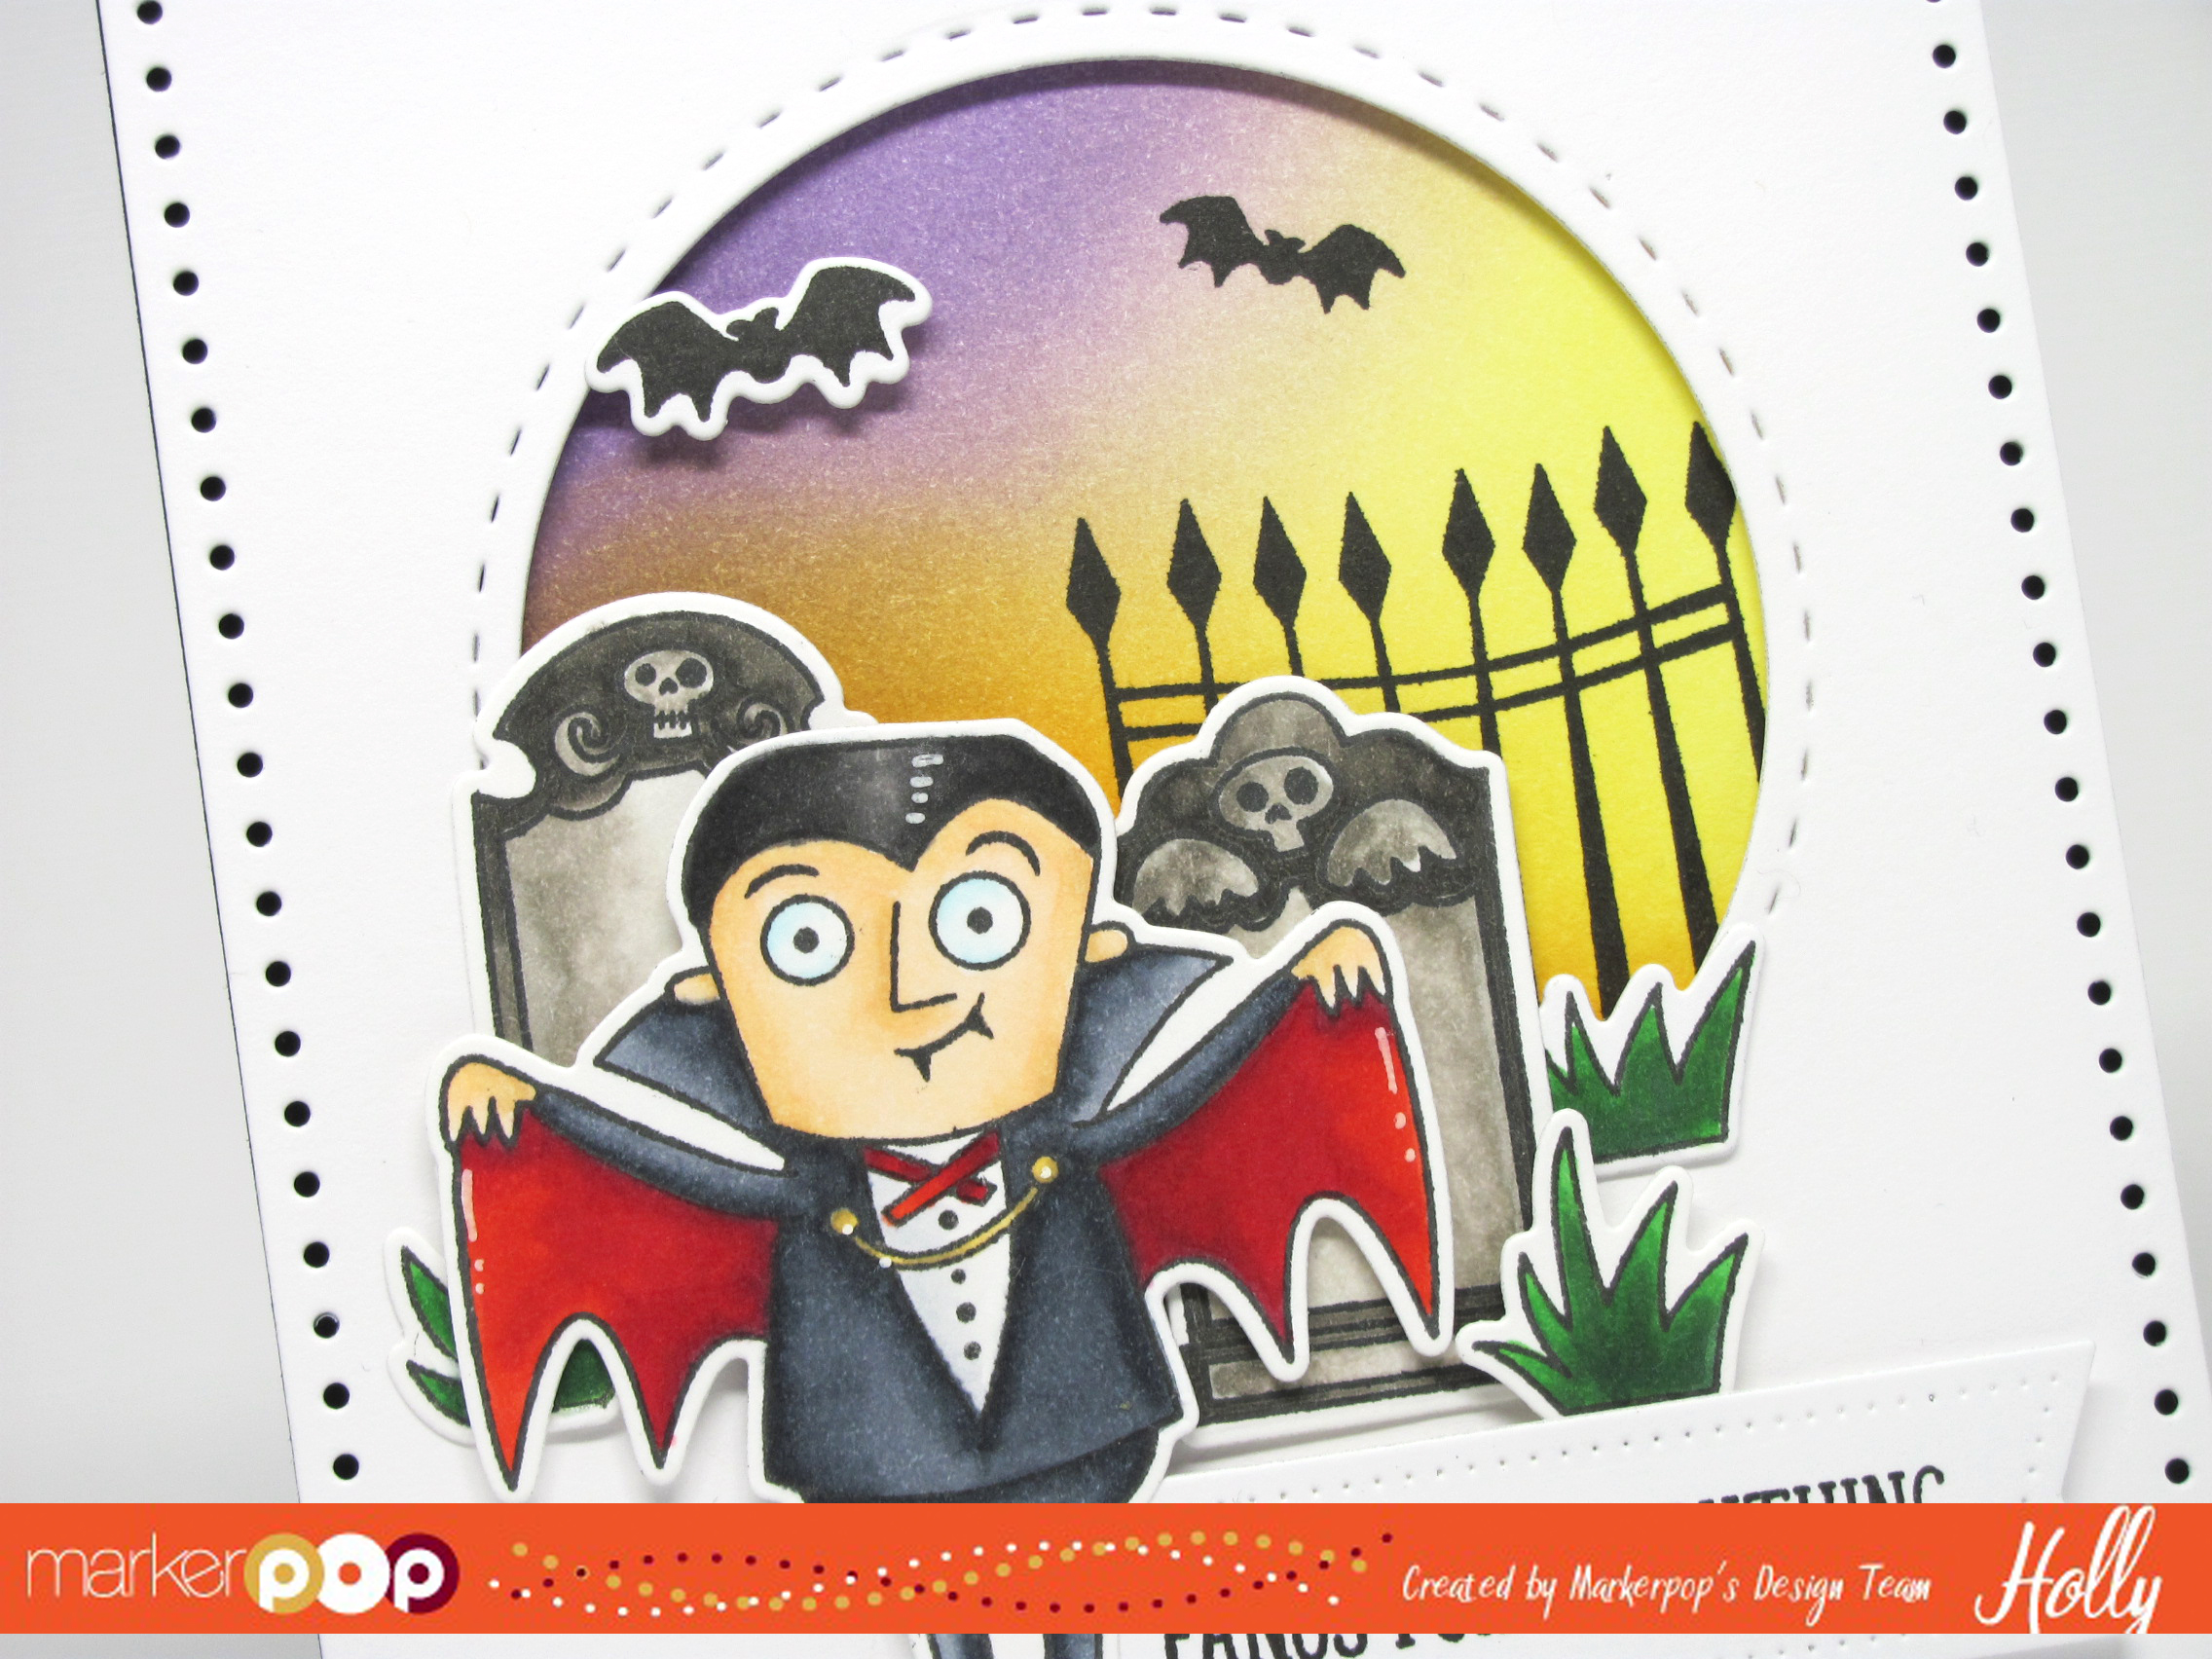
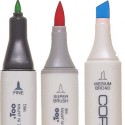
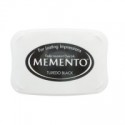
I stamped the Vampire, Bat and Grass images from Frightful Friends and the Gravestones from Grave Situation sets onto some White cardstock using Memento Tuxedo Black ink and colored them in with Copics. Then I die cut them using the coordinating die sets and my Big Shot. I adhered them with liquid glue and foam tape.

mp1

I stamped the sentiment from Frightful Friends onto a piece of White cardstock in VersaFine Onyx Black ink and die cut it using the Avery Elle Pierced Banners Die set. Then I adhered it just behind the Vampire image with some additional Foam tape. I wanted a little extra highlight so I added some white with a White Gel Pen. Super Cute!!

I used the following Copic Sketch Markers:

Vampire: (Cap & Boots) R29, R17, R39, Y23, Y28 (Shirt) C1,C00 (eyes) B00,B000 (Suit) C8,C6, C4, C1 (Skin) E000, E00,E51, E53 (Hair)T8, T6, T5,T3 (Grave Stones) W0,W2,W4,W6, W8 (Grass) YG09,G07,G28.

Thanks for stopping by today!

2

Bonjour

Written by Holly Endress. Posted in Eye Candy (Projects), Uncategorized

Hi everyone.. It’s Holly here popping in today to share a card using some of the new Products from WPlus9.

mp2

I’m using the cute new addition to the Friends for All Seasons Collection. Friends for All Seasons: Summer stamp set and the Coordinating Die Cuts. I started by stamping and die cutting the images onto some Neenah Solar White card stock using Memento Tuxedo Black ink. Then I colored them in with Copics. I used the coordinating dies to cut them out with my Big Shot and I set them aside. I stamped the inside of the Kite with some Mermaid Ink from Lawn Fawn. 

mp1

Then I created a Distressed background for my images using some Tim Holtz Watercolor paper and Distress Inks in Twisted Citron, Mowed Lawn, Tumbled Glass & Salty Ocean. I die cut a panel of Watercolor Paper with the Sew Fancy Creative Cuts from Mama Elephant. and then I used the Tree Border Die from WPlus9 and cut a tree line. I cute a hillside using the Lawn Fawn Stitched Hillside Border dies as well. Using a mini ink blender I added the Distress Ink to the pieces and spritzed them with some Water to create a Distressed look. Then I reassembled the pieces to create my scene. I die cut a piece of Lawn Fawn Perfectly Plaid paper from the 6×6 pack using the Blueprints 29 from MFT and adhered it to the card front. Then I added the image panel with some Foam Adhesive.

mp3

I added a sentiment inside the card along with and extra image that I colored and die cut as well. This is a great Friendship card or a card to just say Bonjour!

I used the following Copics to color my images:

E70,71,74,77,79, R20,Y08,R05, 27, 39 & 0

Thanks for popping in today!

12741890_10208671583206779_8747021650263878740_n

How to Color White with Copic Markers

Written by carisa_zglobicki. Posted in Eye Candy (Projects), Tips & Tricks, Tutorials

Hi everyone! Carisa here with you today with an adorable baby card featuring The Greeting Farm stamps!

I just adore the Build A Onesie sets and they even have an available coordinating die set now which I just had to have – it really makes fussy cutting so much easier on these smaller images in the set. I used what might be vintage October Afternoon papers at this point. LOL I swear, I have got to stop this hoarding thing. I held on to this paper even when I pretty much sold off my entire craft room a year ago just because I love my boys and my girls love space…so, here I am using it on a baby card. haha Don’t ask! Who knows. Anyway, it’s still super cute and I love the colors.

I’ve also pulled out some My Favorite Things Blueprints dies to build my card. I can’t say enough about how much I love these dies! They are an awesome investment for every single card maker. I used to never use dies and now with these I can’t stop – it also has inspired me to use other dies in combination with them! 

I thought using this set would be a great time to show you how I color, yes, color white using Copic Markers. Sounds funny to say I’m coloring white, but really you still want to give that illusion of depth and dimension to your image so you need to add some shadows and it is really easy to do. I give you three different combinations and two techniques on how I do this in a video. I hope you enjoy and be sure to like, subscribe and share to let me know that you would like to see more videos!

Here is a close up of the onesie – you can see how the subtle shadows of the Warm Grays just around the edge of the image and blended in toward the center really gives some added dimension and you still look at the image as white but it has some pop to it.

For the inside of my card (which I forgot to photograph) I used some sentiment stamps from the Mama Elephant – Just Hatched stamp set. This is another great baby set with some adorable images!

Also, be sure to join in MarkerPop’s current ‘Anything Goes’ challenge for your chance to win another cute Mama Elephant stamp set!

Thanks so much for stopping by today!

Carisa

Copic Coloring with Paper Smooches

Written by carisa_zglobicki. Posted in Challenges, Tips & Tricks, Tutorials

Hi everyone! I have a fun Easter card to share with you today along with a video! I couldn’t wait to ink up this adorable Paper Smooches stamp set called Spring Fling and just in time for Easter, too. Don’t forget you have a few more days to enter our Easter Challenge where you have a chance to win an awesome prize! We love to stop by your blog and see what fabulous projects you make.

This adorable bunny just makes me smile. I had a hard time choosing between all the super cute images in this set but in the end, this bunny kept calling my name. I stamped him with Tsukineko Memento Tuxedo Black Ink on Copic Xpress It Blending Card. I die cut the panel using the Lawn Fawn Stitched Party Banners/” die – one of these days I’m gonna make an actual banner with this die but I love the fun element it adds to cards. I stamped my sentiment using Tsukineko Versafine Onyx Black Ink.

I promised a video so here it is. The coloring I use today is very simple so you don’t have to be intimidated using Copic Markers! 
 

I love these fun critters and usually color them up using one or two color blends which makes coloring fast and easy yet the results are still stunning. I hope you will be inspired and know that you don’t have to use complicated shadings to create awesome cards. 

 
In my video, I also create my card with you using the fun Blueprints 20 die set by My Favorite Things. I am in LOVE with these dies! They take the guess work out of card design as all the elements are right there in each set plus you can let your creative juices flow as you mix and match the different sets or incorporate other dies as I have done. They’ve also made decorating the inside of my cards so much easier as I keep a stash of the stitched rectangle panels on hand and just use the pattern paper I already have out to finish the card! Sometimes I just keep it simple and sometimes I’ll add a few accents like I have with the banner here. I also love stamping a coordinating sentiment on the inside but decided to keep this one plain for more room to write.

Thanks for stopping by – I hope you enjoyed my post today and be sure to join us in our Easter Challenge going on now! We love to see what you are creating!
 
Carisa

Grab Our Button

i Luv MarkerPOP
Show some MarkerPOP LUV,

add this button to your blog.

I’m a Winner!

I'm a Winner on MarkerPOP Blog
Copy and paste the code under the badge

to claim your bragging rights!

I’ve Made Top 3!

WoHooooo I made it to the Top 3 on MarkerPOP Blog
Copy and paste the code under the badge

to claim your bragging rights!

Visit Us!

MarkerPOP Free Shipping MarkerPOP Boutique
18299 Mount Baldy Cir
Fountain Valley, CA 92708
Toll Free: 1-855-312-1222
Phone: 1-714-249-1222