$10 Gift Voucher - Leave a Comment

Posts Tagged ‘Zig Clean Color Real brush markers’

Thanks a Million

Written by Jessica Frost. Posted in Eye Candy (Projects)

Good morning!  Jess here and I am so excited to be sharing my first post as a DT member for MarkerPop!  I’ll admit that I couldn’t quite decide what to share first but flowers are always a classic and I dearly love my zig clean color real brush markers so I thought that would be a good place to start! 😉

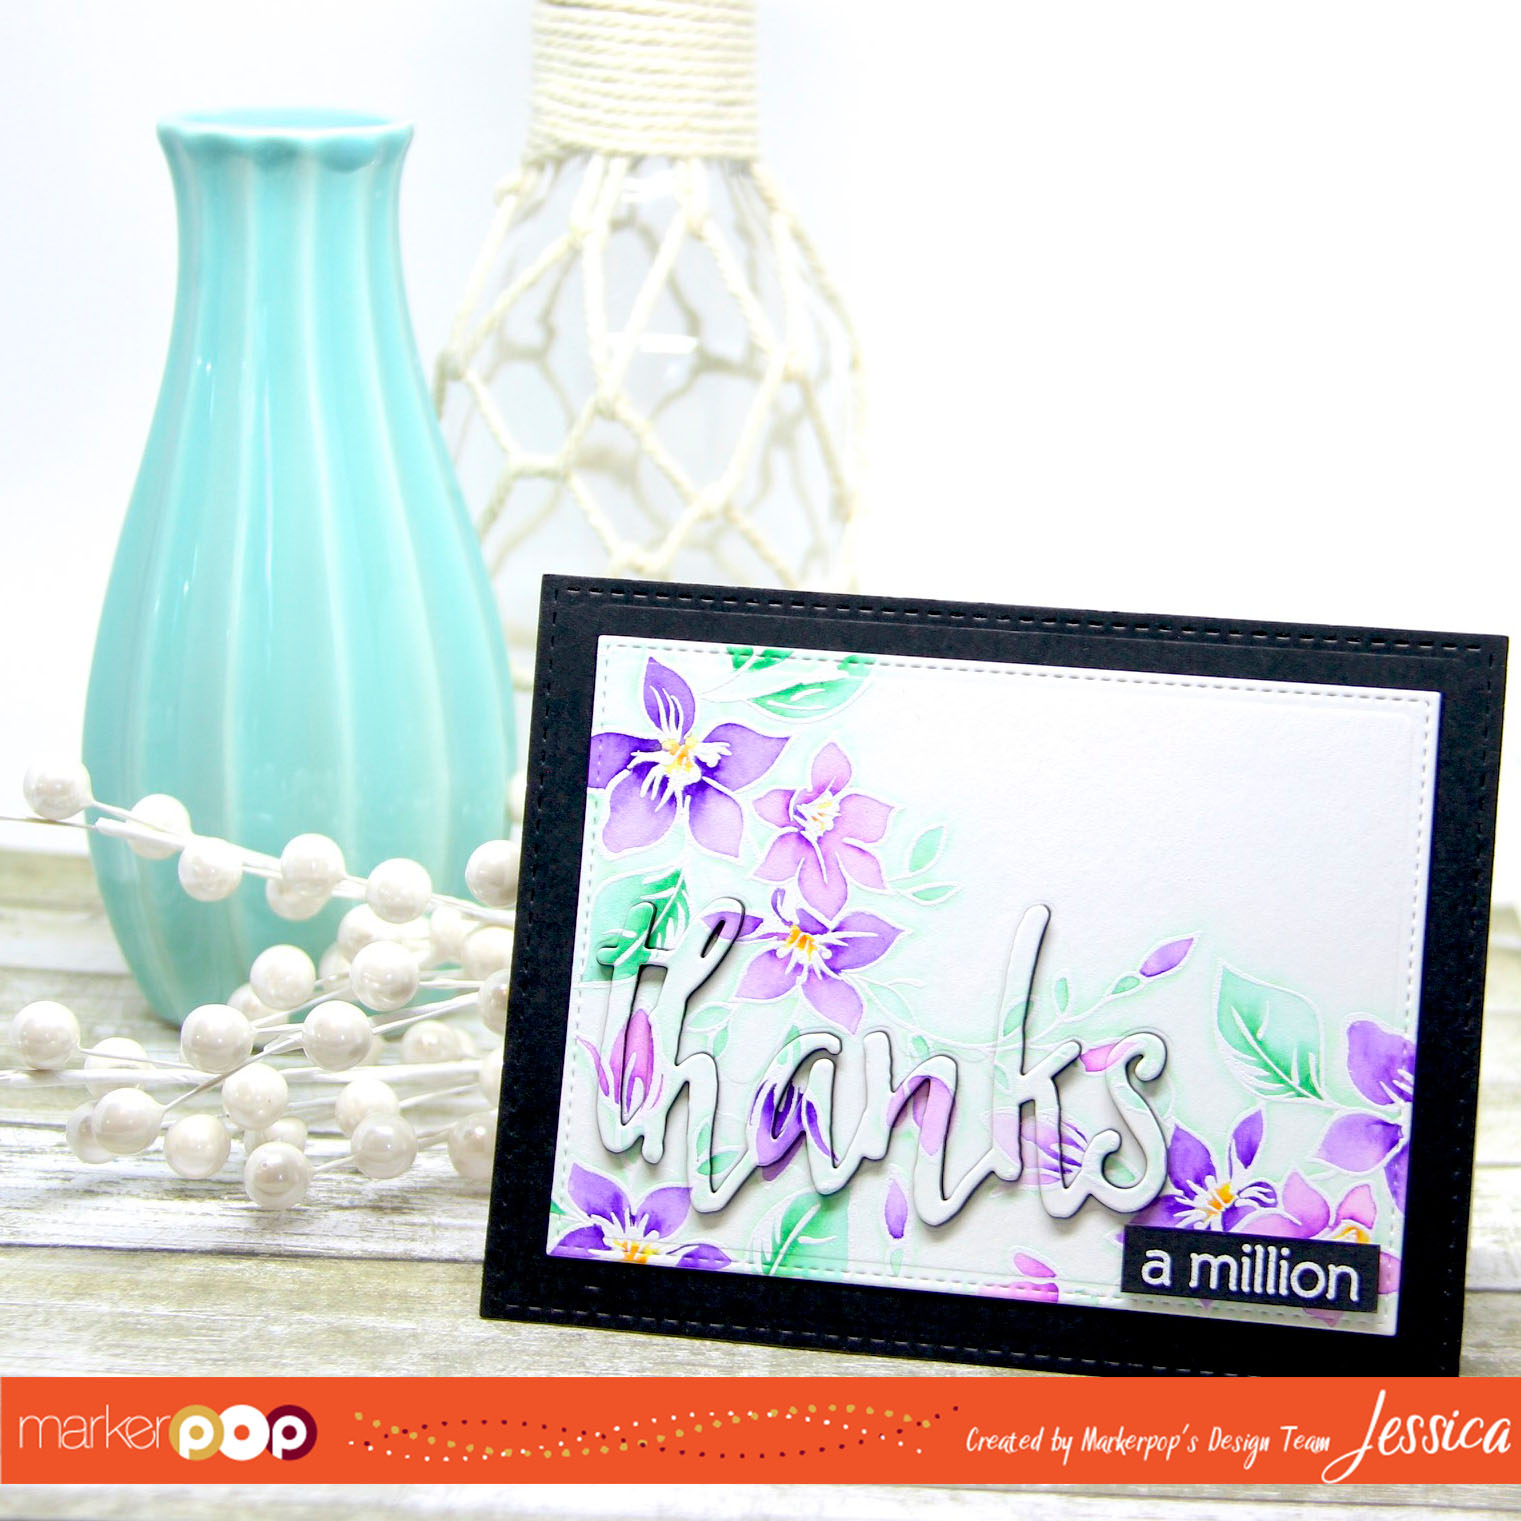
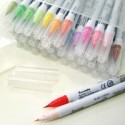
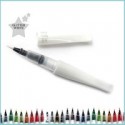
The florals in the Best Mom stamp set from Altenew are hands-down one of my favorites and they’re so fun to watercolor!  I started by stamping the flowers with versamark and then heat-embossing them with white embossing powder.  I stamped the flowers three times on my card base, rotating the stamp each time to get a different angle which helped fill the space with a more organic looking design.  Then it was time to watercolor!  First I scribbled a tiny bit of color into the petals using my zig clean color real brush markers and then I blended the color out with a waterbrush.  I used a combination of Lilac, Violet, Deep Violet, and Light Violet.

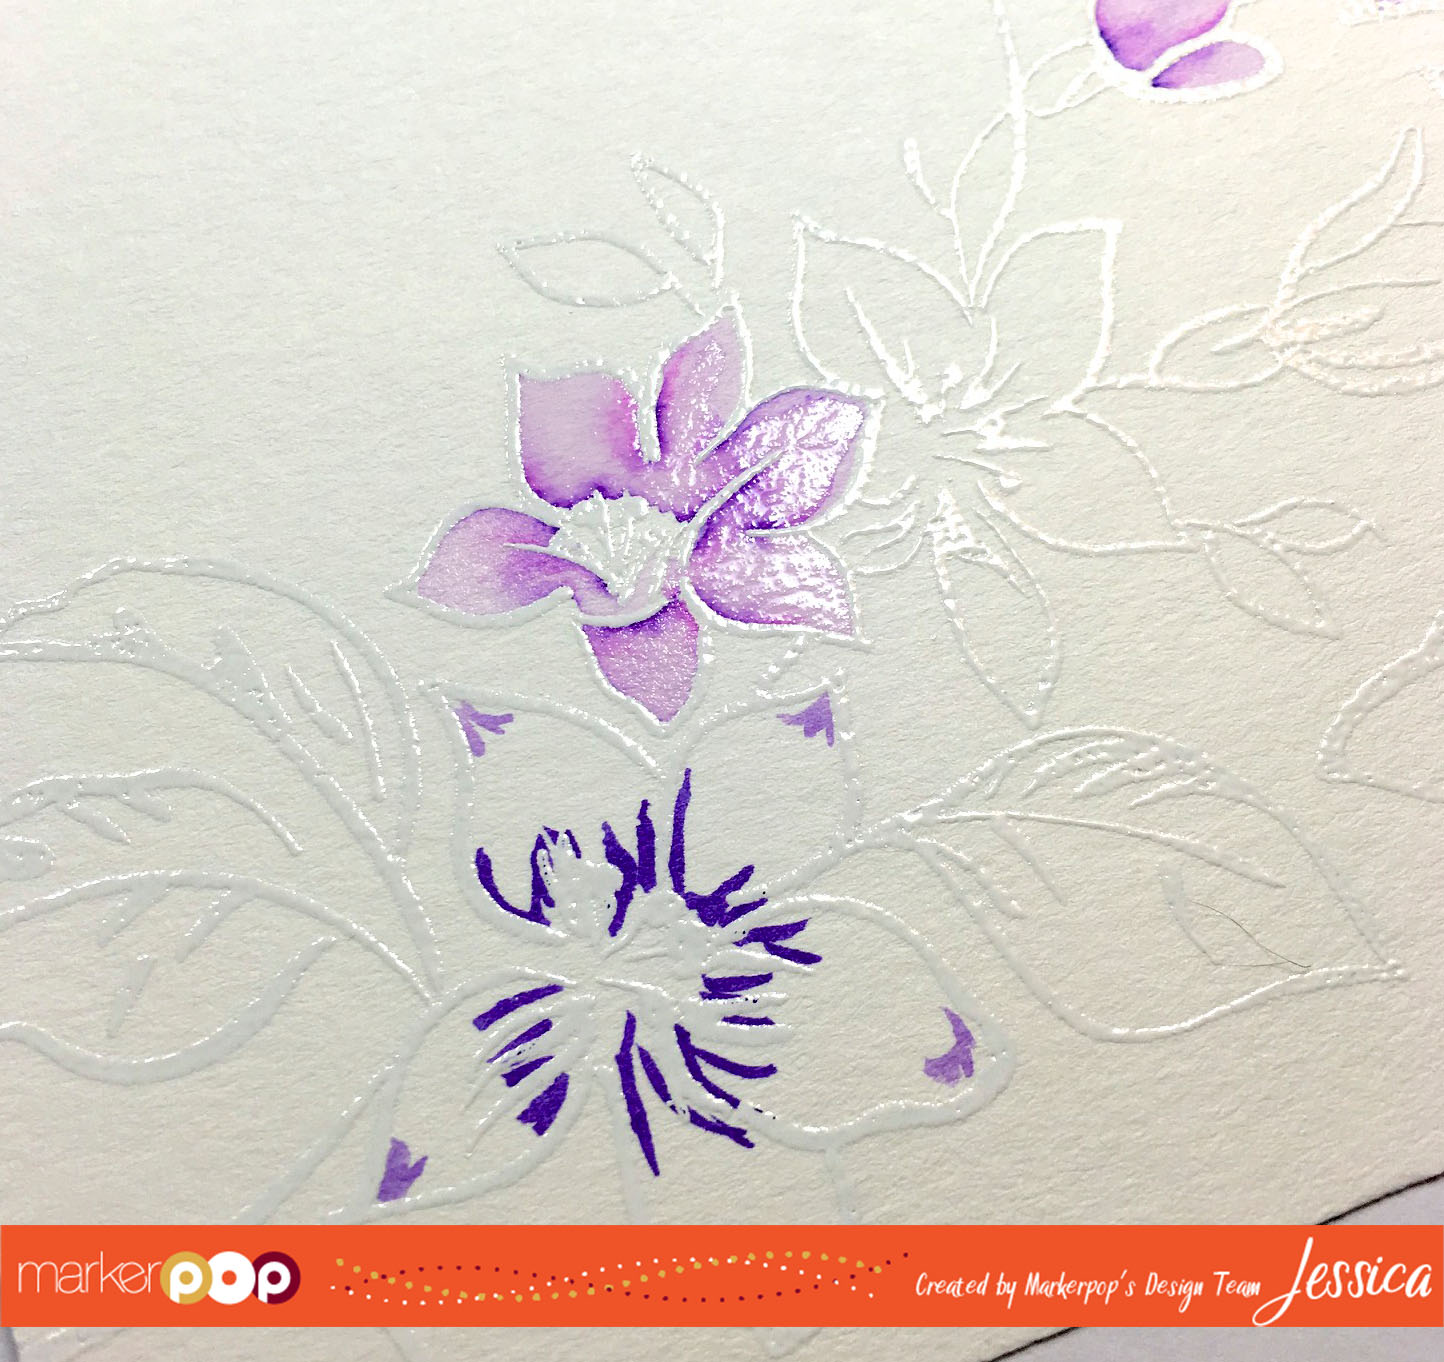
I kept the darker colors towards the middle of the flower and let the color get lighter as I worked towards the end of each petal.

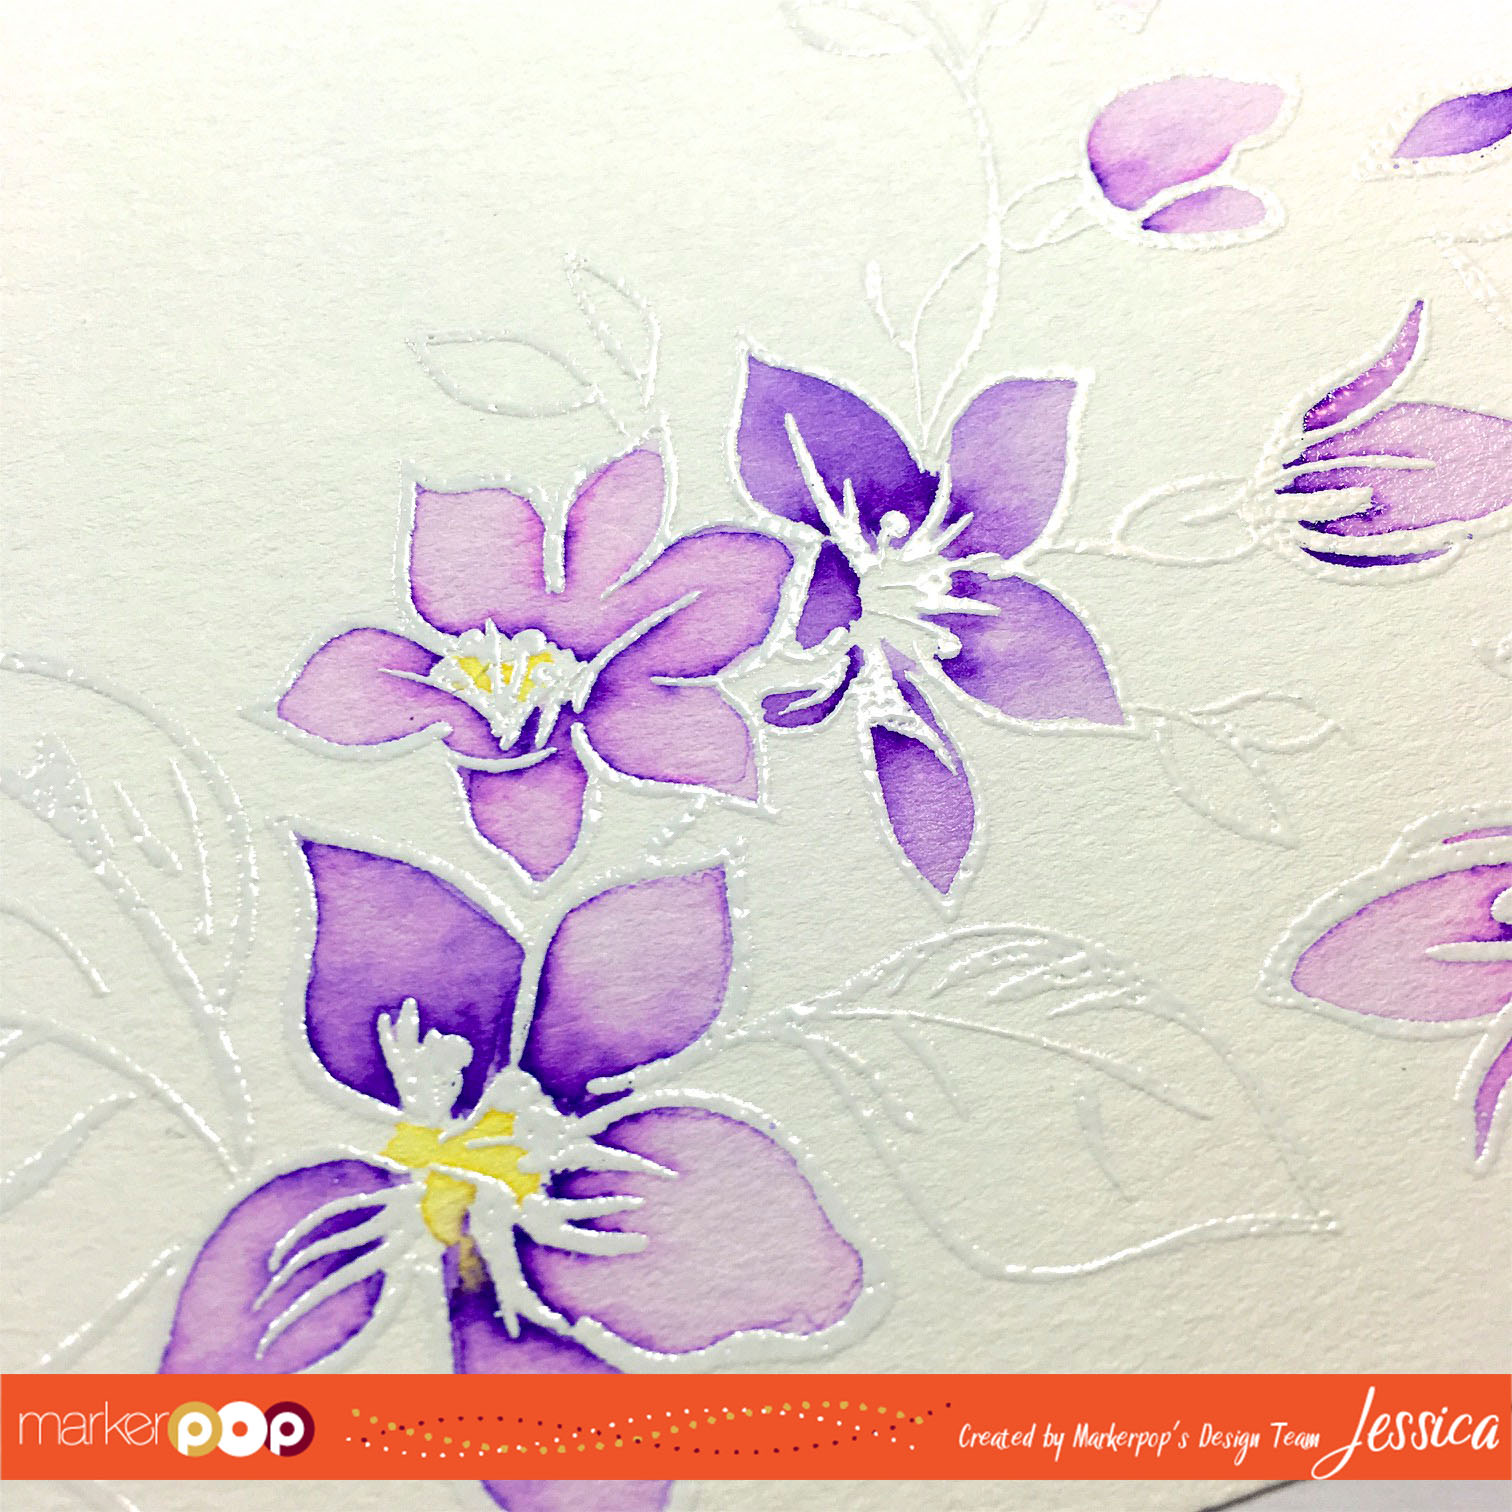
I let the petals dry naturally and then went back and added a little Yellow to the centers.  Before the Yellow dried completely I added a touch of Orange.  After the centers dried I added a second layer of purples to some of the flower petals.  I repeated the same process using Emerald Green and Green Shadow for the leaves.  Finally I added green shading around the entire image with Green Shadow.

Next I die-cut an A2 card base from black cardstock using stitched rectangle dies.  Then I die-cut my watercolor paper with a slightly smaller stitched rectangle die.  I laid the thanks word die over the watercolored panel and ran it through my die-cutting machine.  I made sure to keep all of the pieces of the die intact so I could fit them back into the card later.  I also cut the same thanks word die from 4 pieces of black cardstock.  I adhered the black cardstock word dies together and adhered the watercolored word die on top.  I fit them back into the watercolor paper and adhered them.  I like how the peek of black cardstock on the sides of the word allows the word to pop out!  Finally I stamped the rest of the sentiment from Halftone Thanks on a scrap of black cardstock, heat-embossed it with white embossing powder, and popped it up on the top of the watercolored panel with foam mounting tape.

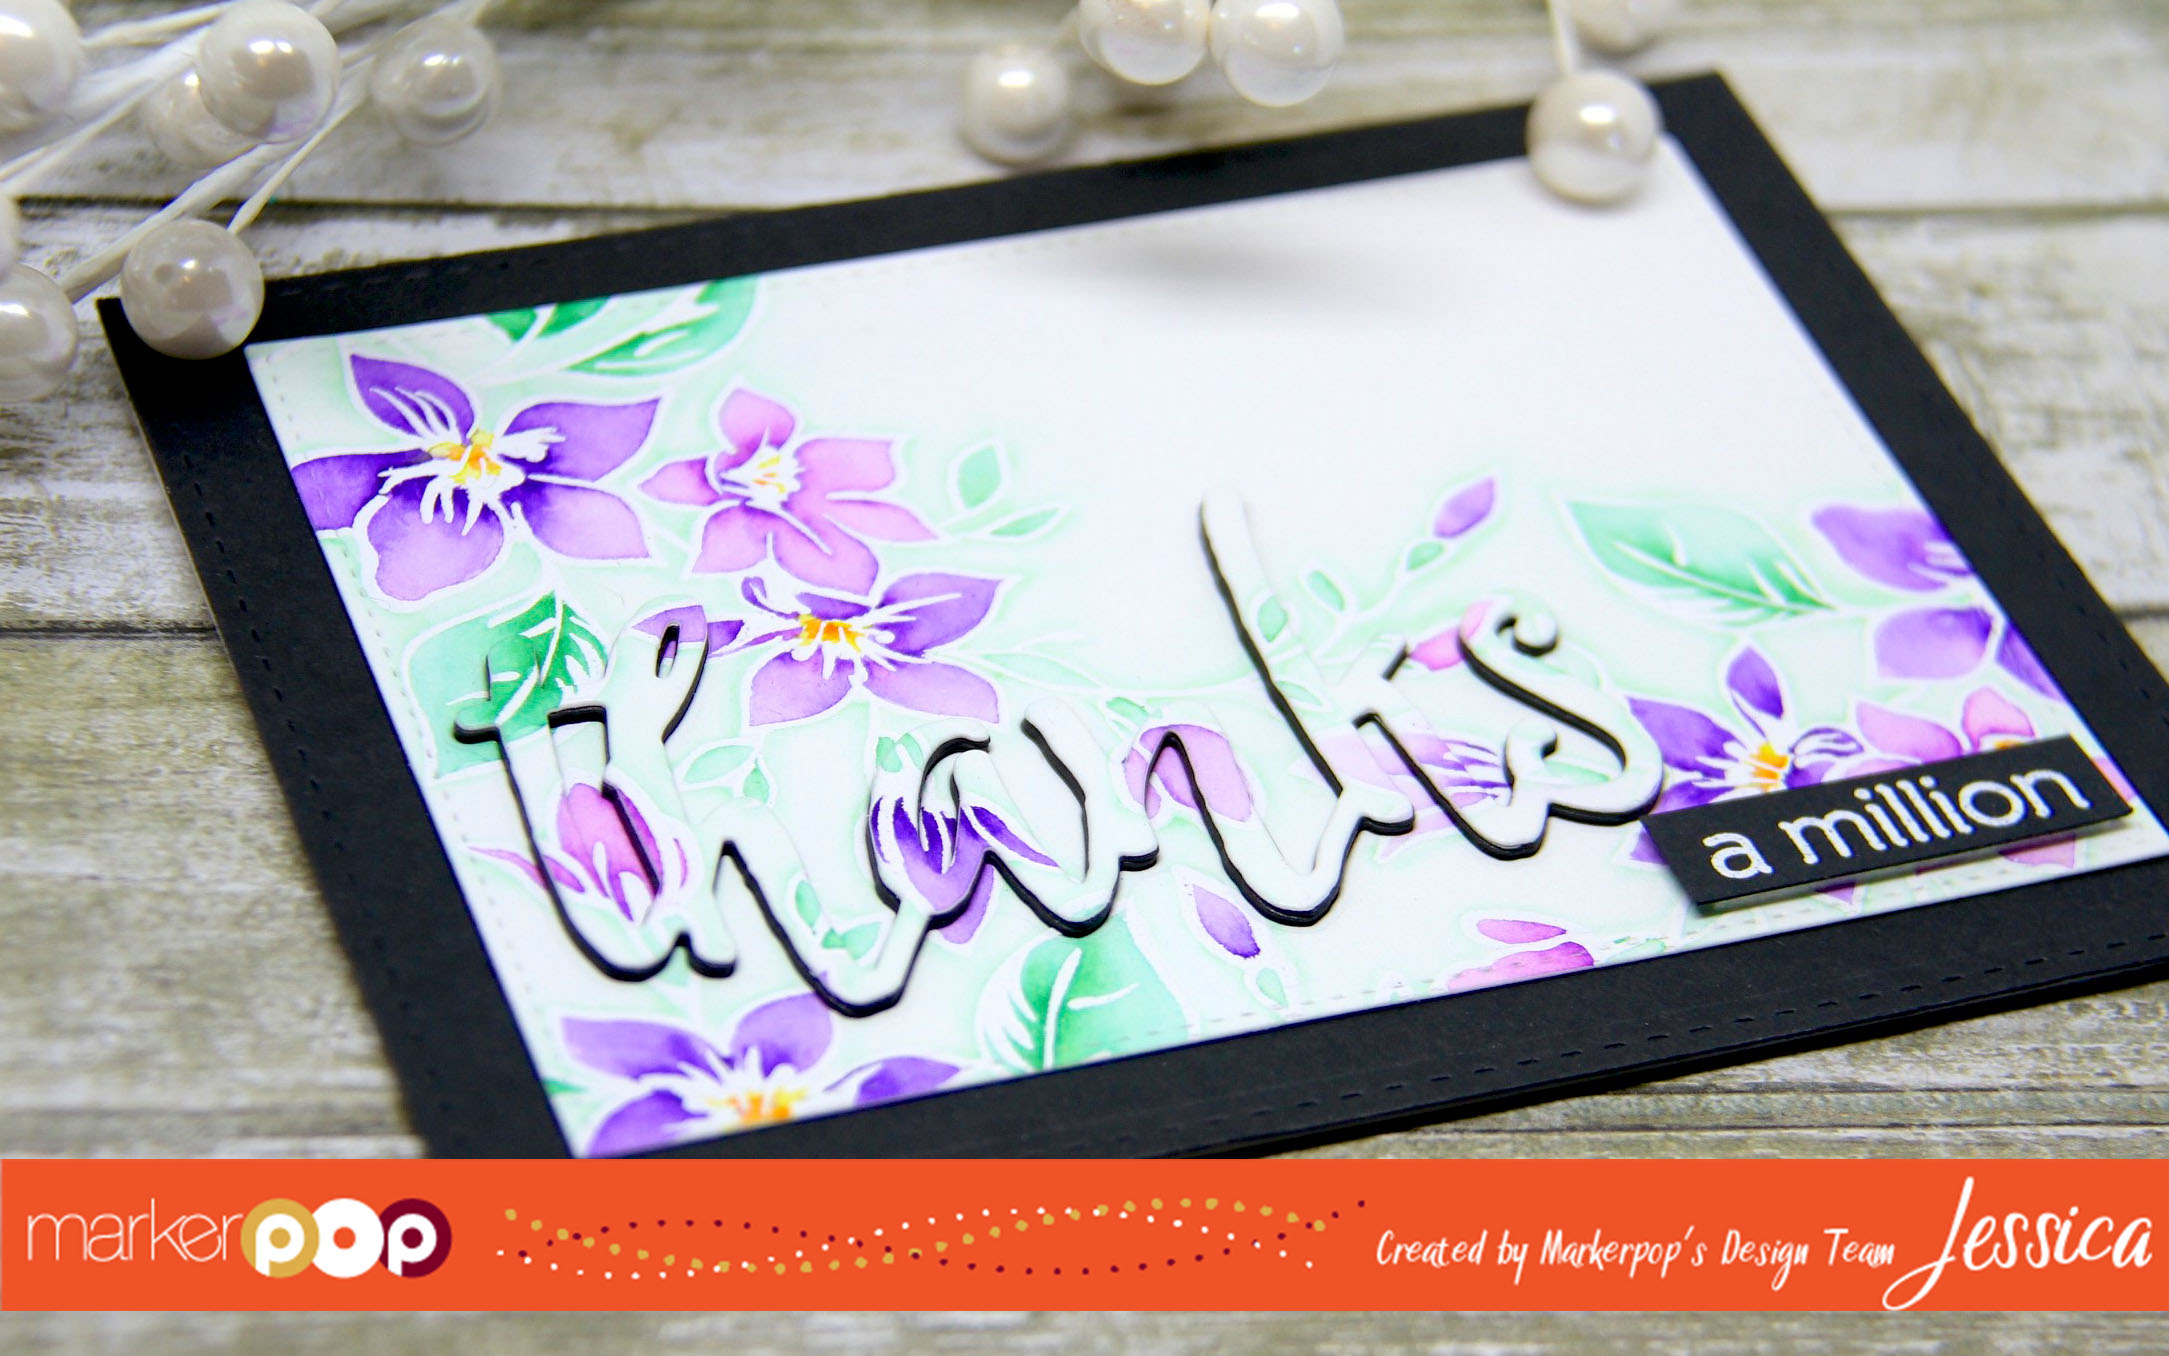
And that’s my card!  But I have more exciting news!  We have a fun giveaway all this week in celebration of the new Design Team.  Each day the Design Team will be giving away a $20 Gift Certificate to the MarkerPop Store.  Enter for a chance to win by subscribing to our newsletter and leaving a comment on each post welcoming each Designer and letting us know what type of projects you are looking forward to seeing from them.  The giveaway will be open until Friday, July 15th at 11:59pm EST and we’ll announce the Winners* on Sunday, July 17th. *International Winners will need to pay postage.  Good luck!

Thanks so much for visiting and have a fabulous day! 🙂

Supplies:

Rainbow and Unicorns..

Written by Holly Endress. Posted in Eye Candy (Projects)

Hello everyone! It’s Clare here today, sharing my first card for the blog! Today I’m showing off the super cute Mama Elephant Unicorns and Rainbows stamp set.
To start with, I heat embossed the flying unicorn and some pixies in gold embossing powder and then die cut it using the coordinating die cuts. I then colored it in using Zig Clean Color Real Brush pens. I’m Copic-impaired, but these pens blend like butter for me! I used Light Gray and Gray for the hair and hooves, Mustard for the horn (and pixie dresses), and Pale Pink for the wings. I added a little bit of clear Wink of Stella for some shimmer, and to help blend out the Mustard and Pale Pink.


I then die cut several clouds from a panel of tan cardstock, and stamped my sentiment in Hero Arts Soft Granite ink. I added some die cut vellum and white cardstock clouds to the base, and then die cut a white border frame by cutting the largest frame from the My Favorite Things STAX Pierced Rectangle out of a A2 card front, and using the larger piece for the border. I then adhered it along with the colored and die cut unicorn and pixies.

To create the sparkly shaker, I adhered a piece of clear acetate to the back of the die cut panel. Then I made a frame out of dimensional foam on the back, to create the enclosure for the glitter. I added my glitter, backed it with some pink cardstock, and then adhere the panel to the base.

That finishes up the card for my first post, but here’s some fun news!

We have a fun giveaway all this week in celebration of the new Design Team. Each day the Design Team will be giving away a $20 Gift Certificate to the MarkerPop Store. Enter for a chance to win by Subscribing to our Newsletter and leaving a comment on each post welcoming each Designer and let us know what type of projects you are looking forward to seeing from them. The Giveaway will be open until Friday July 15th at 11:59pm EST and we’ll announce the Winners* on Sunday July 17th. *International Winners will need to pay postage.

DT_Giveaway

Three Ways Watercolor Card

Written by Heidi. Posted in Eye Candy (Projects), Tips & Tricks, Uncategorized

Hello everybody, Heidi here, welcome back to the MarkerPOP blog, today I am sharing with you three easy to make cards suing the raise die cut technique over a water colored background.

For this card I used the new “Scripty Friends die” by Lawn Fawn, and to create the backgrounds I used the”Kuretake ZiG Clean Color Real Brush Markers

20160419_214126 It so easy to water color using the Zig real brush markers, the color is very intense and the brush tip makes the work so much fun and easier.

20160419_214100

I used four layers on each diecut piece so it has more dimension, I used Bazzil cardstock to cut the layers, which I adhered using Tombow liquid glue.

20160419_214115

I cut the scripty die using black, white and the watercolored cardstock.  You could also pop the water colored diecuts over a white background or even a black background, so you have lots of choices with this technique!

20160419_214247

If you have not tried this technique yet please give it a try it is fun and you can make quick and fun cards. All the products I used on today’s cards are available at the Marker POP store

Thanks so much for stopping by, have a lovely day!

Heidi

Love… Always

Written by Holly Endress. Posted in Eye Candy (Projects)

Hi everyone Happy Friday!!! It’s Holly here today with a card using one of the latest sets from Winnie & Walter called So Tweet.

mp2

I started with a piece of Bristol card stock and I created a cloud background. I created some stencils from the MFT Stitched Cloud Edges dies and added some Tumbled Glass Distress Ink to create the clouds. Then I die cut the panel with the MFT Wonky Stitched Rectangle Dies.  I also cut out a circle from the center using the Mama Elephant All Prettied Up Creative Cuts.

mp1

I stamped the Sentiment from the same set using some VersaFine Black ink and then I set the panel aside. I stamped the Birds using the same ink onto another piece of Bristol and colored them in with Zig Clean Color Real brush markers. Then I added some Distress Ink around the outside edges. I used a Copic Multiliner to draw in some Wires for them to sit on. I stamped the ballon image onto both pieces and an extra on some scrap to color and cut out.

mp3

I adhered some Foam tape to the back side of the front panel and attached it to the panel with the Birds and then the entire piece onto a White top folding card base. I cut the balloon image out from the scrap paper after coloring it in and I paper pieced it over the stamped balloon on the outside panel. I added some Clear Wink of Stella over parts of the birds and the love sentiment.

I used the Following Zig markers: 

90 Gray, 91 Light Gray, 25 Pink, 26 Light Pink, 80 Violet, 81 Light Violet, 45 Pale Green, 36 Light Blue, 63 Ochre and 50 Yellow

Thanks for stopping by today.

DesignTeam2016-04


Grab Our Button

i Luv MarkerPOP
Show some MarkerPOP LUV,

add this button to your blog.

I’m a Winner!

I'm a Winner on MarkerPOP Blog
Copy and paste the code under the badge

to claim your bragging rights!

I’ve Made Top 3!

WoHooooo I made it to the Top 3 on MarkerPOP Blog
Copy and paste the code under the badge

to claim your bragging rights!

Visit Us!

MarkerPOP Free Shipping MarkerPOP Boutique
18299 Mount Baldy Cir
Fountain Valley, CA 92708
Toll Free: 1-855-312-1222
Phone: 1-714-249-1222