$10 Gift Voucher - Leave a Comment

Posts Tagged ‘Mini Misters’

Happy {Hearts} Day

Written by Valerie Ward. Posted in Eye Candy (Projects)

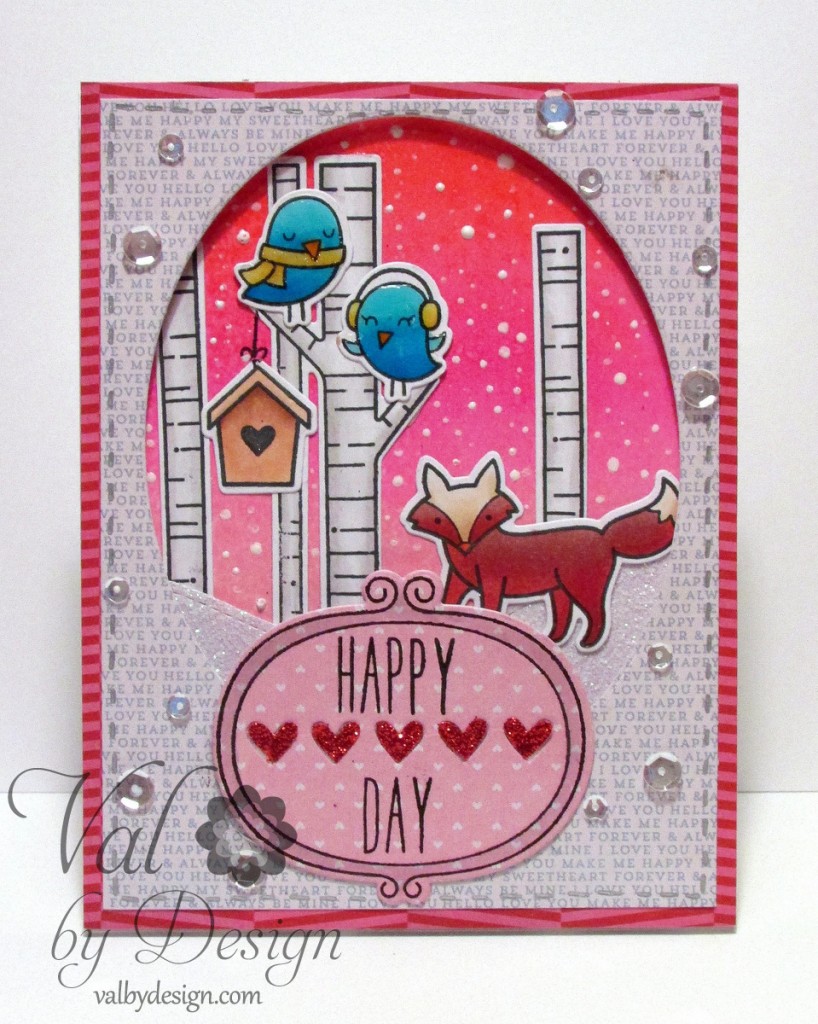
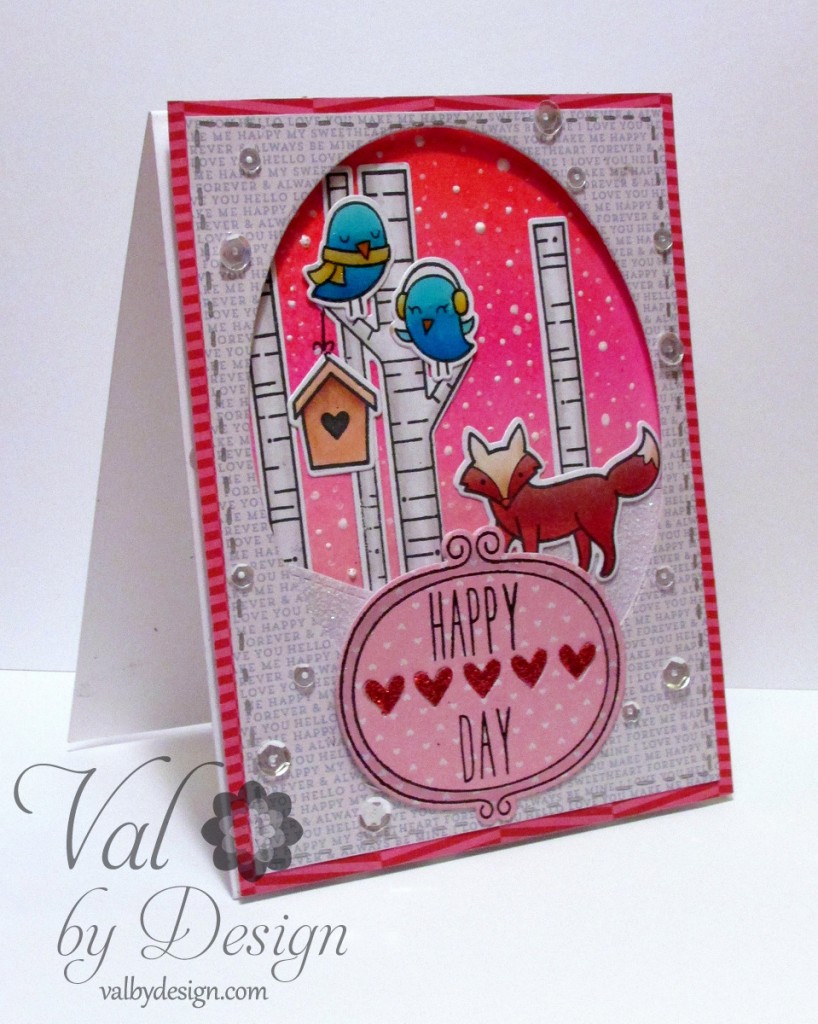
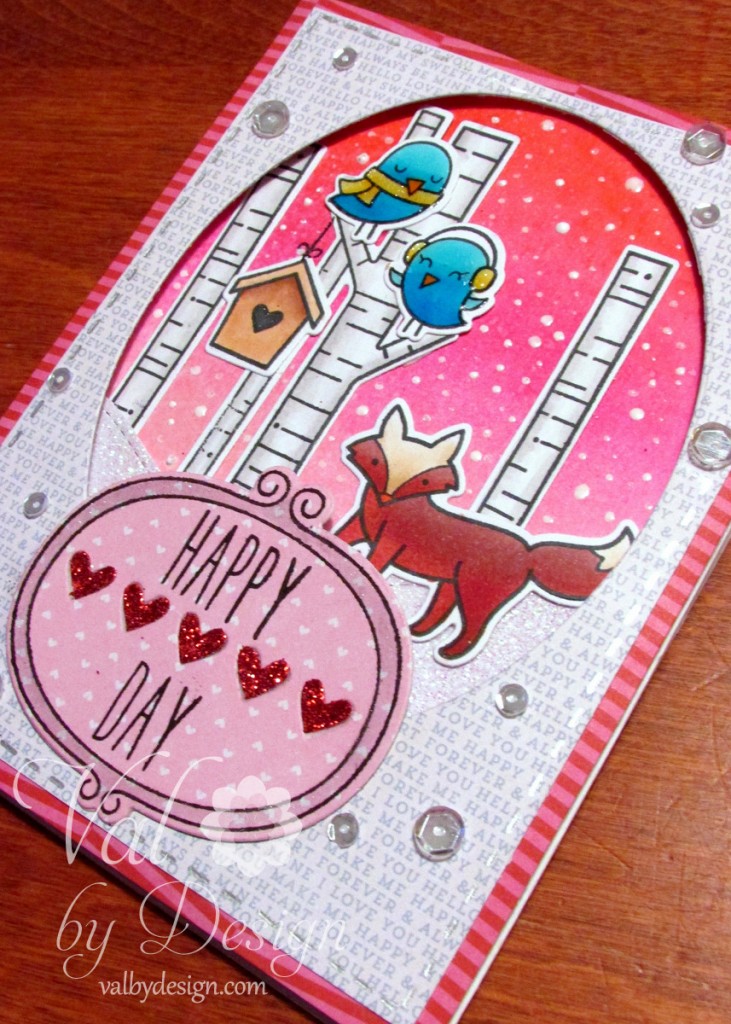
Hi Crafters! It’s Valerie here, and my card for today is a whole lotta cuteness, pink and hearts! 

For this sweet card, I used a bunch of Lawn Fawn products:

Lawn Fawn {ValByDesign, 2015}

The images are stamped with Memento Tuxedo Black Ink onto X-Press It lending Card Paper, and colored with Copic Sketch markers:

  • Blue Jays: B01, B04, B06 / Beaks: YR04 / Scarf & Ear Muffs: Y3, Y15 / 
  • Trees: T0, T2
  • Birdhouse: E21, E23
  • Fox: E04, E07, E19 / E50, E53 / Nose: R05
  • Frame Around Sentiment: C1

Lawn Fawn {ValByDesign, 2015}

The pink sky is Tim Holtz Distress Ink (Spun Sugar, Picked Raspberry, Festive Berries) applied to Distress Watercolor Cardstock with my 1″ Round Ranger Mini Ink Blending Tools. Then I spritzed the finished sky with water from my Ranger Mini Mister Spray Bottle.

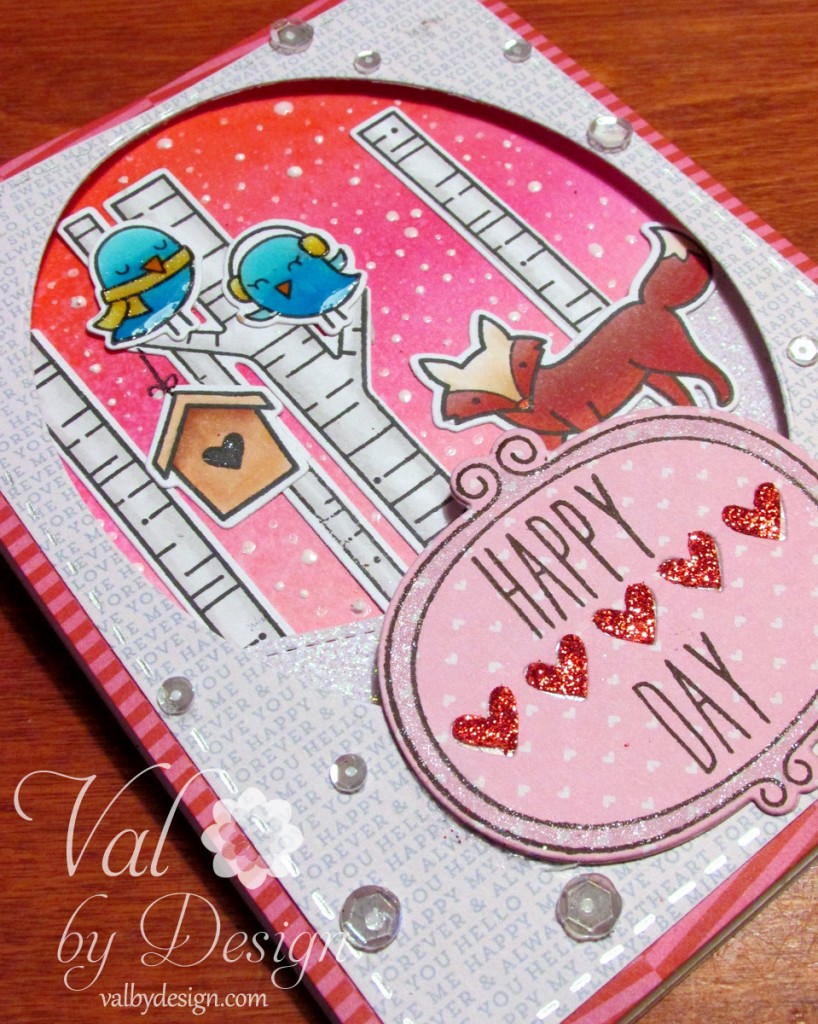
The falling snow is little dots of White Enamel Accents.

I painted the frame on the sentiment, and the birds’ scarf and earmuffs, with Zig Wink of Stella Clear Brush.
Lawn Fawn {ValByDesign, 2015}

The patterned cardstocked is all from the Pink Paislee’s 6×6 Pen Pals collection. I diecut the oval opening with my MFT Die-namics Stitched Oval die.

The sequins are Pretty Pink Posh’s Sparkling Clear Cupped 4mm  & 6mm

My adhesive of choice is the Crafter’s Companion tape runner

Lawn Fawn {ValByDesign, 2015}

Thanks so much for stopping by today, and I hope you’re keeping warm if you’re in the States; Happy Crafting!

Valerie

Congratulations Card with Paper Smooches

Written by Valerie Ward. Posted in Eye Candy (Projects)

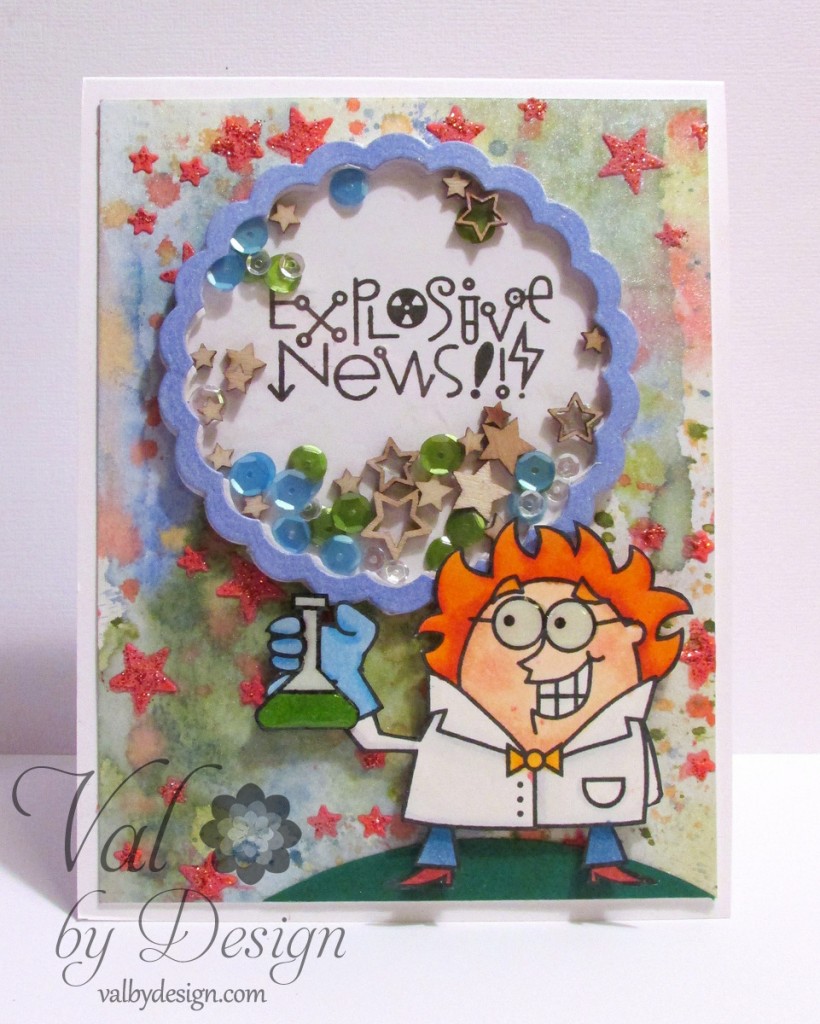
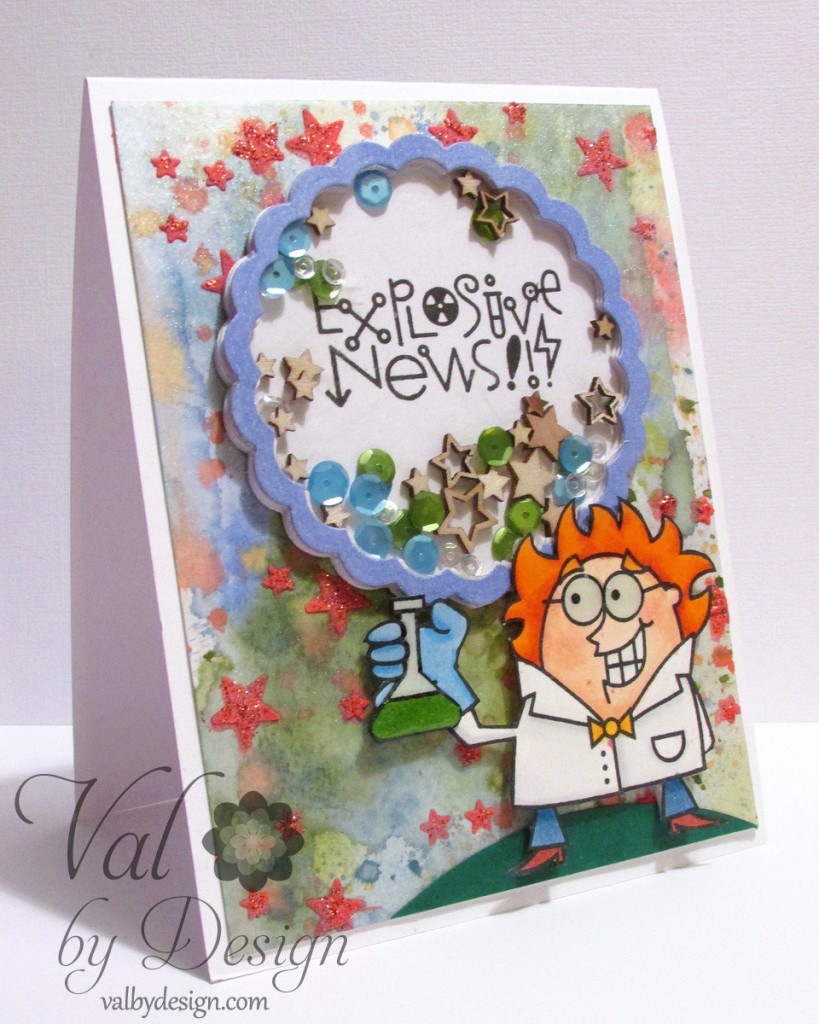
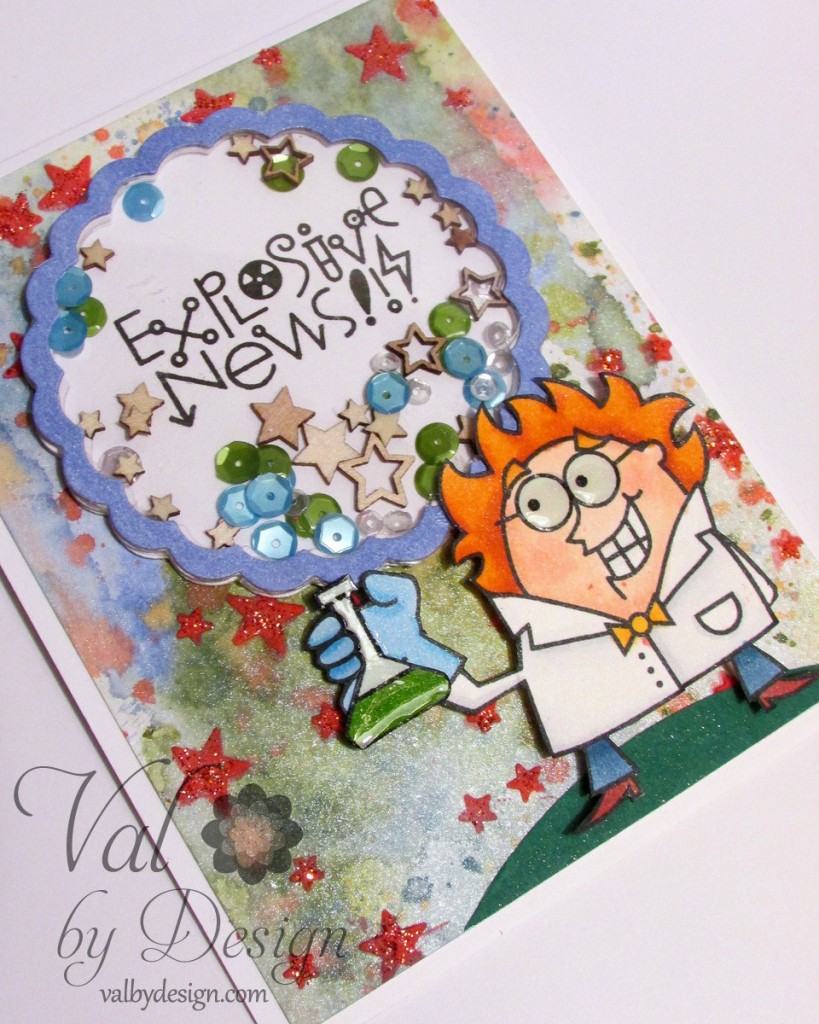
Hi Crafters! It’s Valerie here today, and I made a wild & crazy card! It was a lot of fun to make! It can either be used as a Congratulations card, or a “We have Great News!” announcement type card.

The mad scientist and the sentiment come from the Paper Smooches stamp set, Great Chemistry.

Paper Smooches

The imagesare stamped with Memento Tuxedo Black Ink. I colored the scientist with Copic markers:

  • Skin: E000, E00, E11, R20
  • Hair: YR12, YR15, YR18
  • Glasses: B0000
  • Coat: C00, C01
  • Pants: B34, B37
  • Boots: E17
  • Tie: Y35
  • Glove: B21, B24
  • Glass Beaker: BG0000
  • Liquid in beaker: YG17

I wiped ink from my Ranger Tim Holtz Distress Ink Pads onto my craft mat, and spritzed the ink with water from my Ranger Mini Misters spay bottles onto the ink; it then created little “puddles” of ink. I then rubbed my Ranger Tim Holtz Distress Watercolor Cardstock into the ink to create the blotchy colored paper background. The colors I used are Iced Spruce, Peeled Paint, Stormy Sky, Shaded Lilac, Barn Door, and Dried Marigold.

Paper Smooches

The “confetti” in the scalloped circle window are all Pretty Pink Posh (PPP) 6mm cupped sequins: Mossy Green, Amethyst, & Cornflower; I also added PPP 4mm Sparkling Clear cupped sequins.  

The white card base is a piece of Bazzill White Classic Smooth Cardstock. I adhered everything down with my Crafter’s Companion tape runner. I added sparkle to the purple scalloped frame circle with my with a Clear Zig Wink of Stella Brush Glitter Pen.

Paper Smooches

Hope you enjoyed my Mad Scientist; I think he’s hilarious! Have a great rest-of-the-week, and Happy Crafting!!

Valerie

Taste Testers

Written by Samantha Peyton. Posted in Uncategorized

Hey everyone! Samantha here. Are you ready for a scrapbooking project?

This scrapbook page is of my two adorable dogs, who love a treat. I was baking something with marshmallow fluff and I let them lick of the spatula. Boy, were they happy!!

This layout is one of my faves because it is retro, and it is inky!! Have I told you lately how much I LOVE Mini Misters ? Well it is true! They are so fun because you can fill them with anything and then ink away! I always love ink on a scrapbook layout!

One thing I may love more than my Mini Misters is my Handy Dandy Copic Multiliner! I use this thing on pretty much every layout I make, and on some cards too.

On this layout, I outlined many of the sticker elements with my handy dandy Copic Multiliner. I also did my journaling with it. This think comes in handy soooo often. I actually lost him a few weeks back and was struggling without him! Thankfully, he has now been found 🙂

For the background mist, I used a Mini Mister filled with Bermuda Bay reinker from Stampin’ UP. This was one of last years colors which is now retired. I just love the spray effect that a Mini Mister gives!!

Last but not least, I did my journaling on lines I stamped using the SP and Company Scallops and Lines stamp set. This set is ideal for scrapbooking because it has journaling shapes and these convenient lines.

Scrapmaster’s Paradise

Fall Hansel with Pumpkins and a Video Tutorial

Written by Ash. Posted in Uncategorized

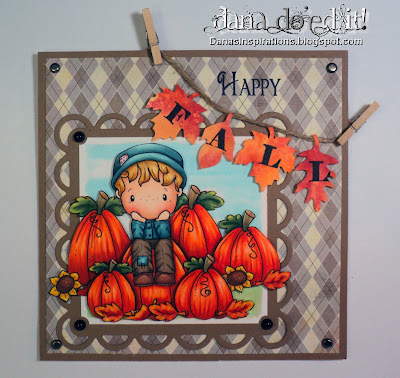
Hi all! Dana here to show you some adorable fall stamps from CC Designs. I used both Swiss Pixie Fall Hansel and Swiss Pixie Fall Scene stamped twice on either side to create this scene:

I wish I would’ve taken pics of the process! But I first stamped my Hansel on Mask It and cut it out.  You only need to do this once since you can save this with the stamp for future uses. I stamped Hansel as normal and then covered him with my mask it piece. Then I stamped both of the Fall scenes on either side.
Bonus with a warning.. lol! This is a very long tutorial but I share quite alot of info not just on coloring pumpkins but shading in general that really helps to make your images jump off the page.  If you don’t have the time to watch now, youtube has a great feature that allows you to chose to “watch later”.

Some of the other details that completed this card:

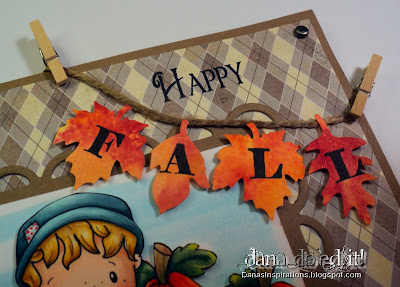
I used the Happy from SP and Company Christmas Emma Stamp set. I stamped the F A L L onto a EK Success Slim Edger Leaf Chain punch after cutting apart some of the leaves.

I created that look for the leaves by stamping my Distress Ink pads directly onto my work surface, which for me is a 1 foot square ceramic tile.   I misted the surface with plain water and then laid my paper down into the beaded up ink. I kept doing this until the paper was covered. I used a mix of Fired Brick, Spiced Marmalade and Wild Honey.
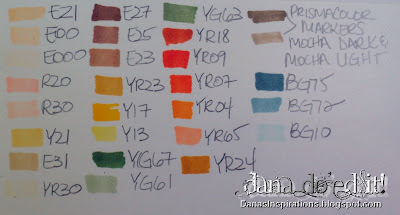
Here’s the colors I used for my coloring:

Misc. supplies that I use on almost every card:

I hope you join our challenge this week and don’t forget to share all those lovely copic creations with us on our Facebook page : )
Hugs~

Grab Our Button

i Luv MarkerPOP
Show some MarkerPOP LUV,

add this button to your blog.

I’m a Winner!

I'm a Winner on MarkerPOP Blog
Copy and paste the code under the badge

to claim your bragging rights!

I’ve Made Top 3!

WoHooooo I made it to the Top 3 on MarkerPOP Blog
Copy and paste the code under the badge

to claim your bragging rights!

Visit Us!

MarkerPOP Free Shipping MarkerPOP Boutique
18299 Mount Baldy Cir
Fountain Valley, CA 92708
Toll Free: 1-855-312-1222
Phone: 1-714-249-1222