Happy Dance!
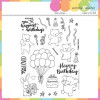
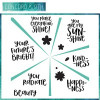
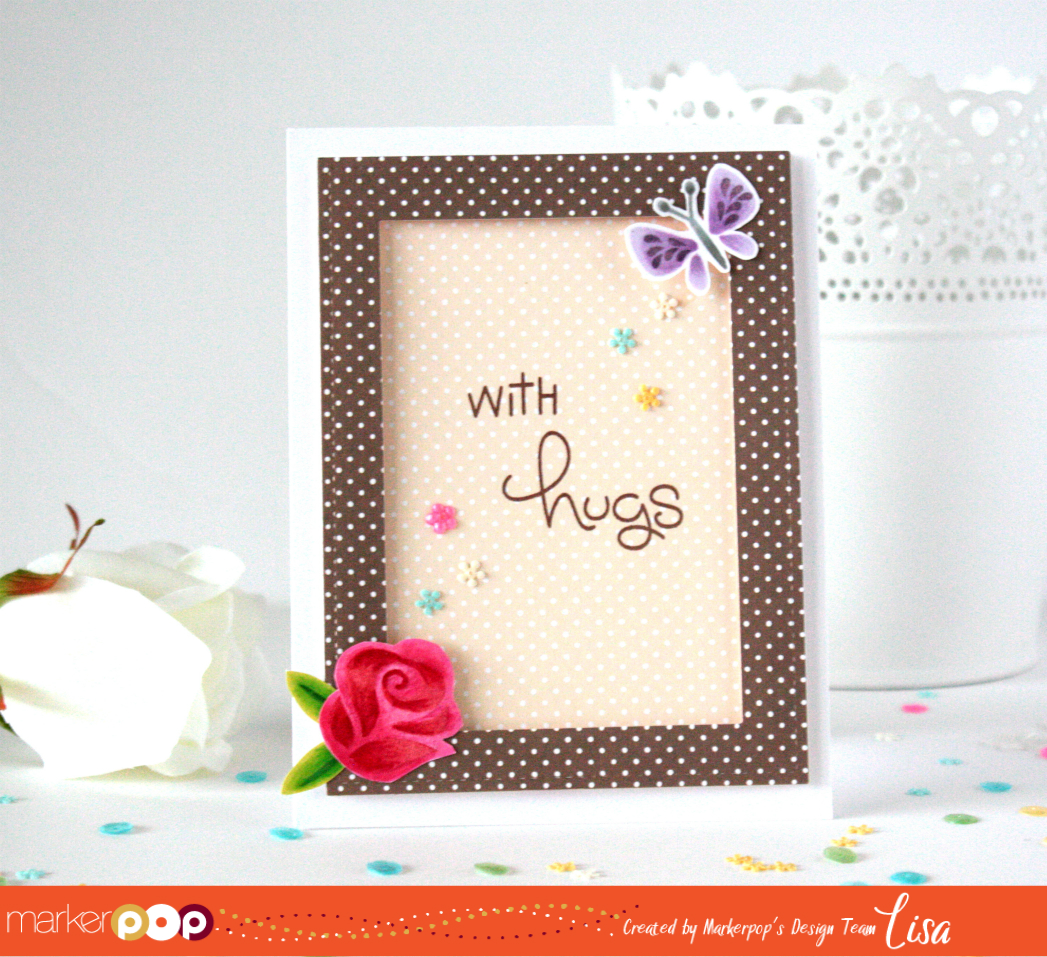
Hello, hello! It is Lisa here today and I have a happy little card that’s sure to make anyone’s Birthday even brighter! This card features the new Winnie and Walter Happy Dance Stamp Set and the Concord & 9th Sunshine Turnabout Stamp Set…

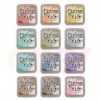
This was my first time using one of the Concord & 9th’s Turnabout sets, and I was pleasantly surprised at how easy it was! I do suggest that you visit their video on how to mark the center of your set and how to create your own template too. Once I had done these myself I used bright Memento Colored inks all the way around. I then set this panel to the side.
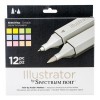
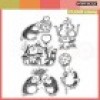
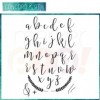
Next, I worked on my second panel by stamping this happy little guy in the middle and the sentiment from the Happy Dance Stamp Set with Memento Ink. To color my bear in I used a mix of Spectrum Noir Illustrator Markers in Warm Beige and Saddle Brown. I decided to go over the edges of this panel with Distress Oxide Ink in Wilted Violet and Broken China.
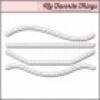
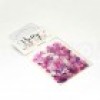
At this point I still felt like there was something missing so I decided to stamp, color and cut some of the streamers to add to the panel. After these were adhered to the front of the base I finished the card off with a few colorful sequins!

Thanks so much for stopping by today! And don’t forget to join our challenges and our current giveaway!

Happy Crafting!

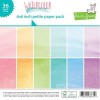
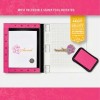
Supplies Used: