$10 Gift Voucher - Leave a Comment

Posts Tagged ‘Copics’

Squidgies!!!

Written by Holly Endress. Posted in Eye Candy (Projects)


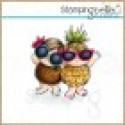
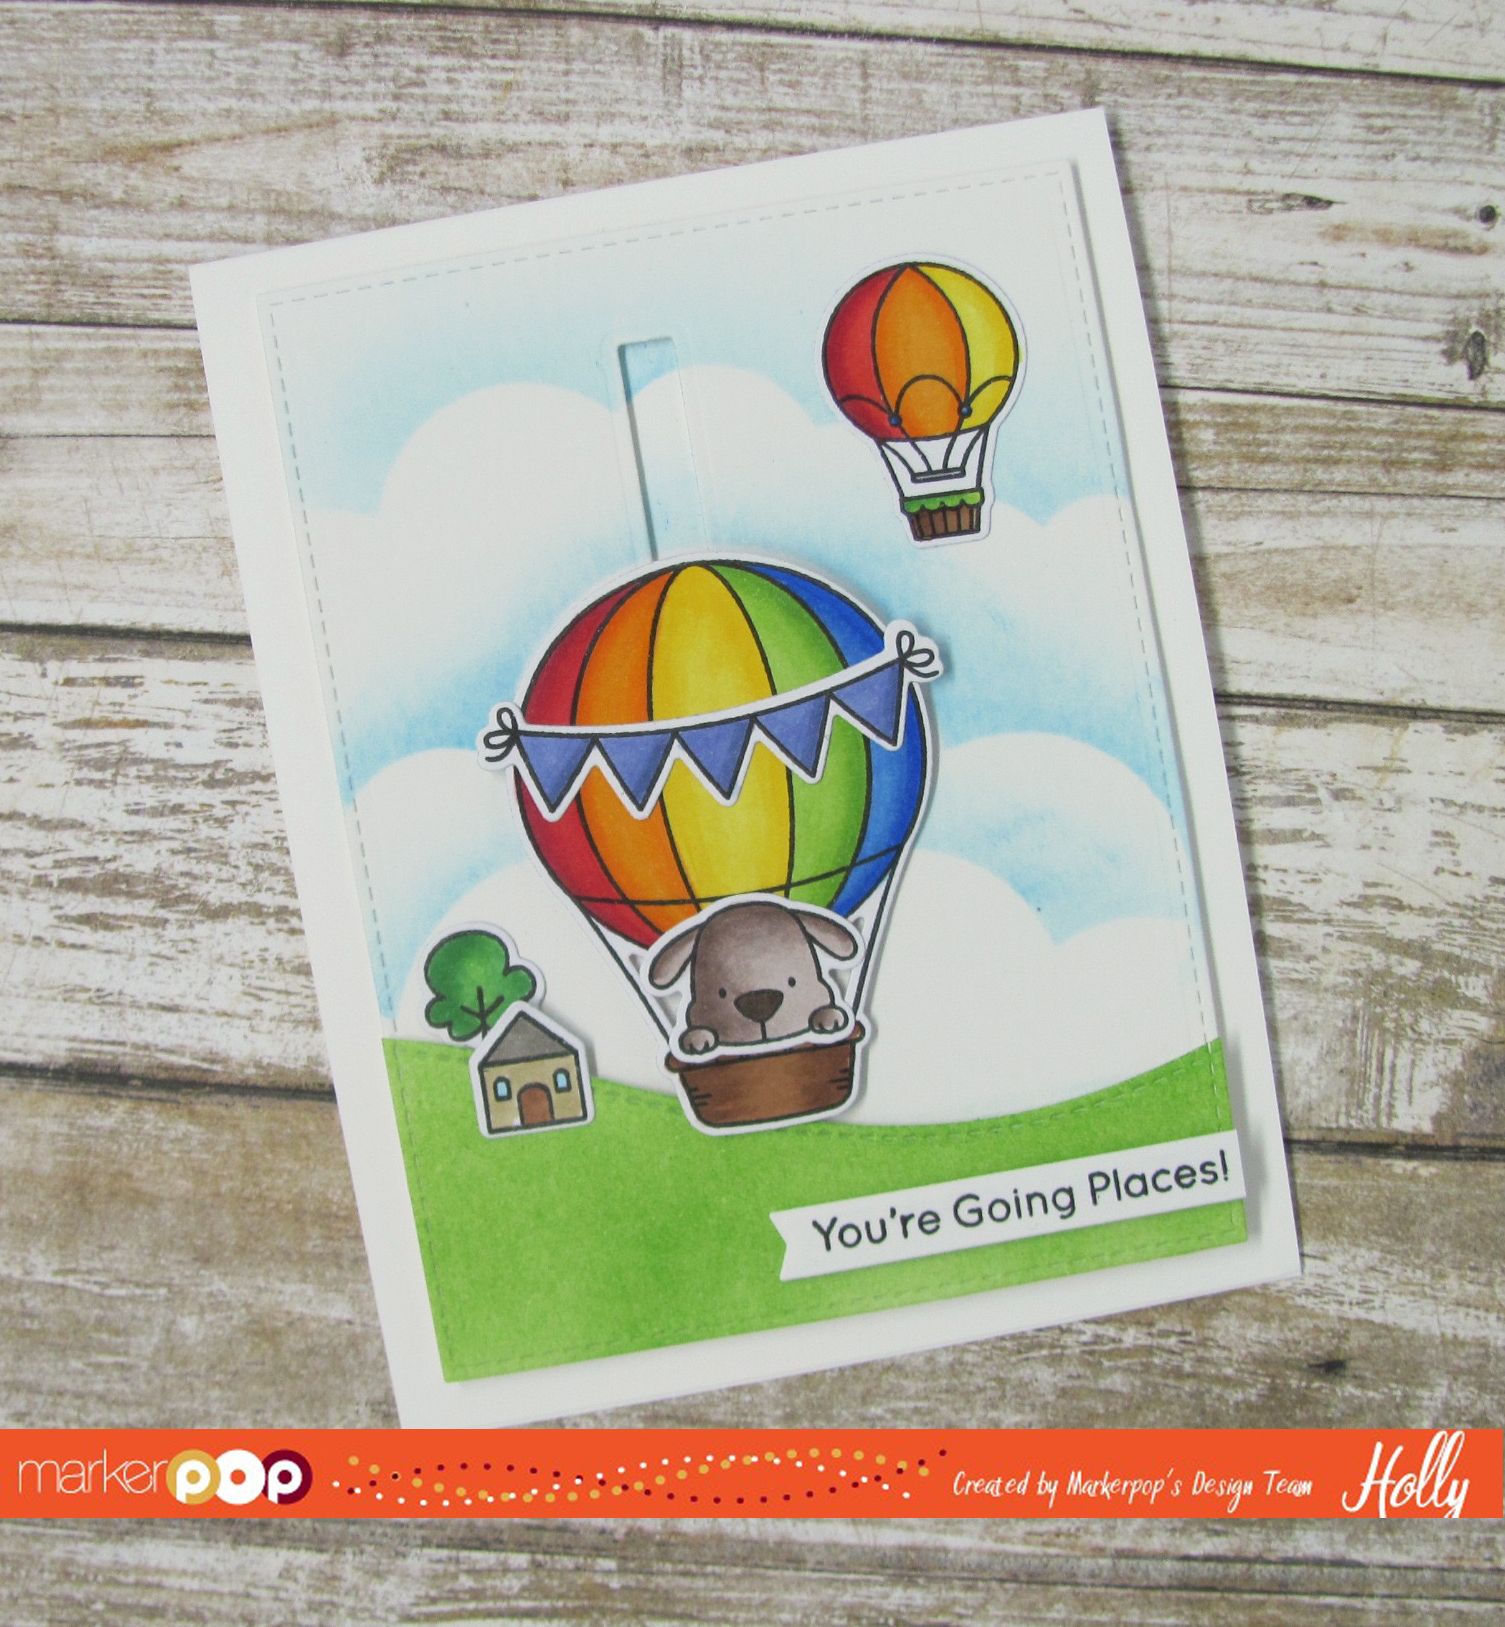
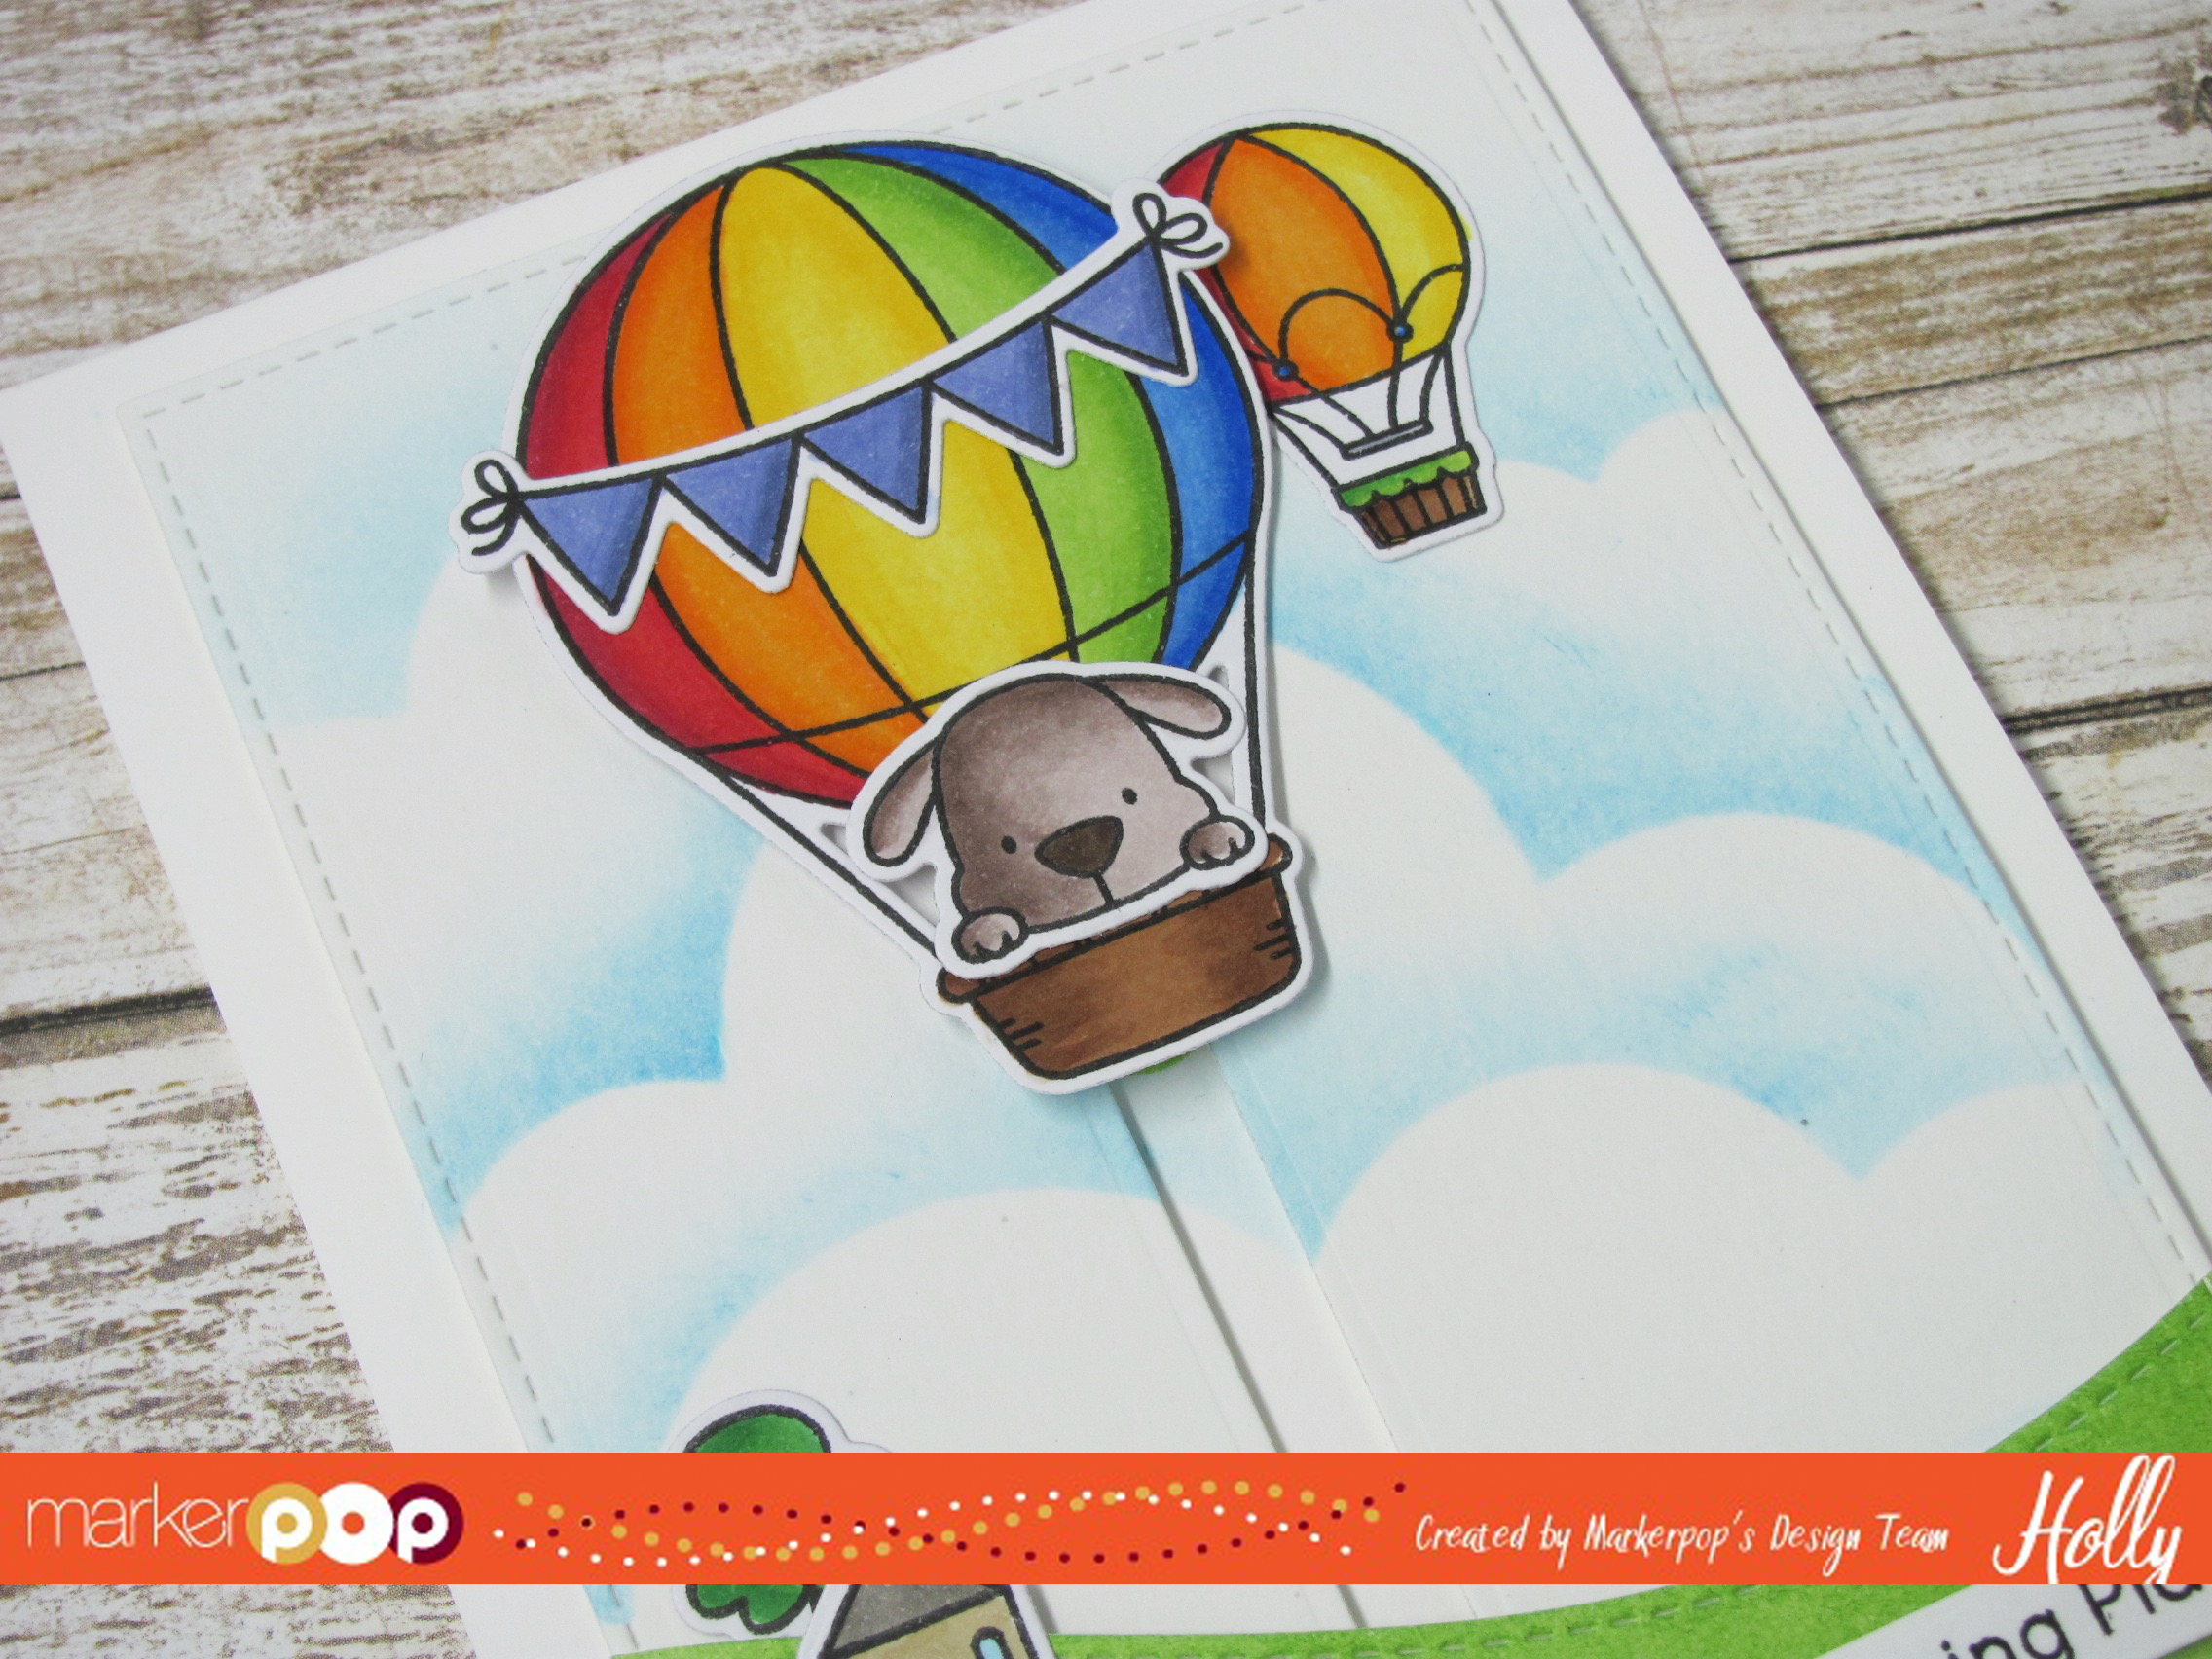
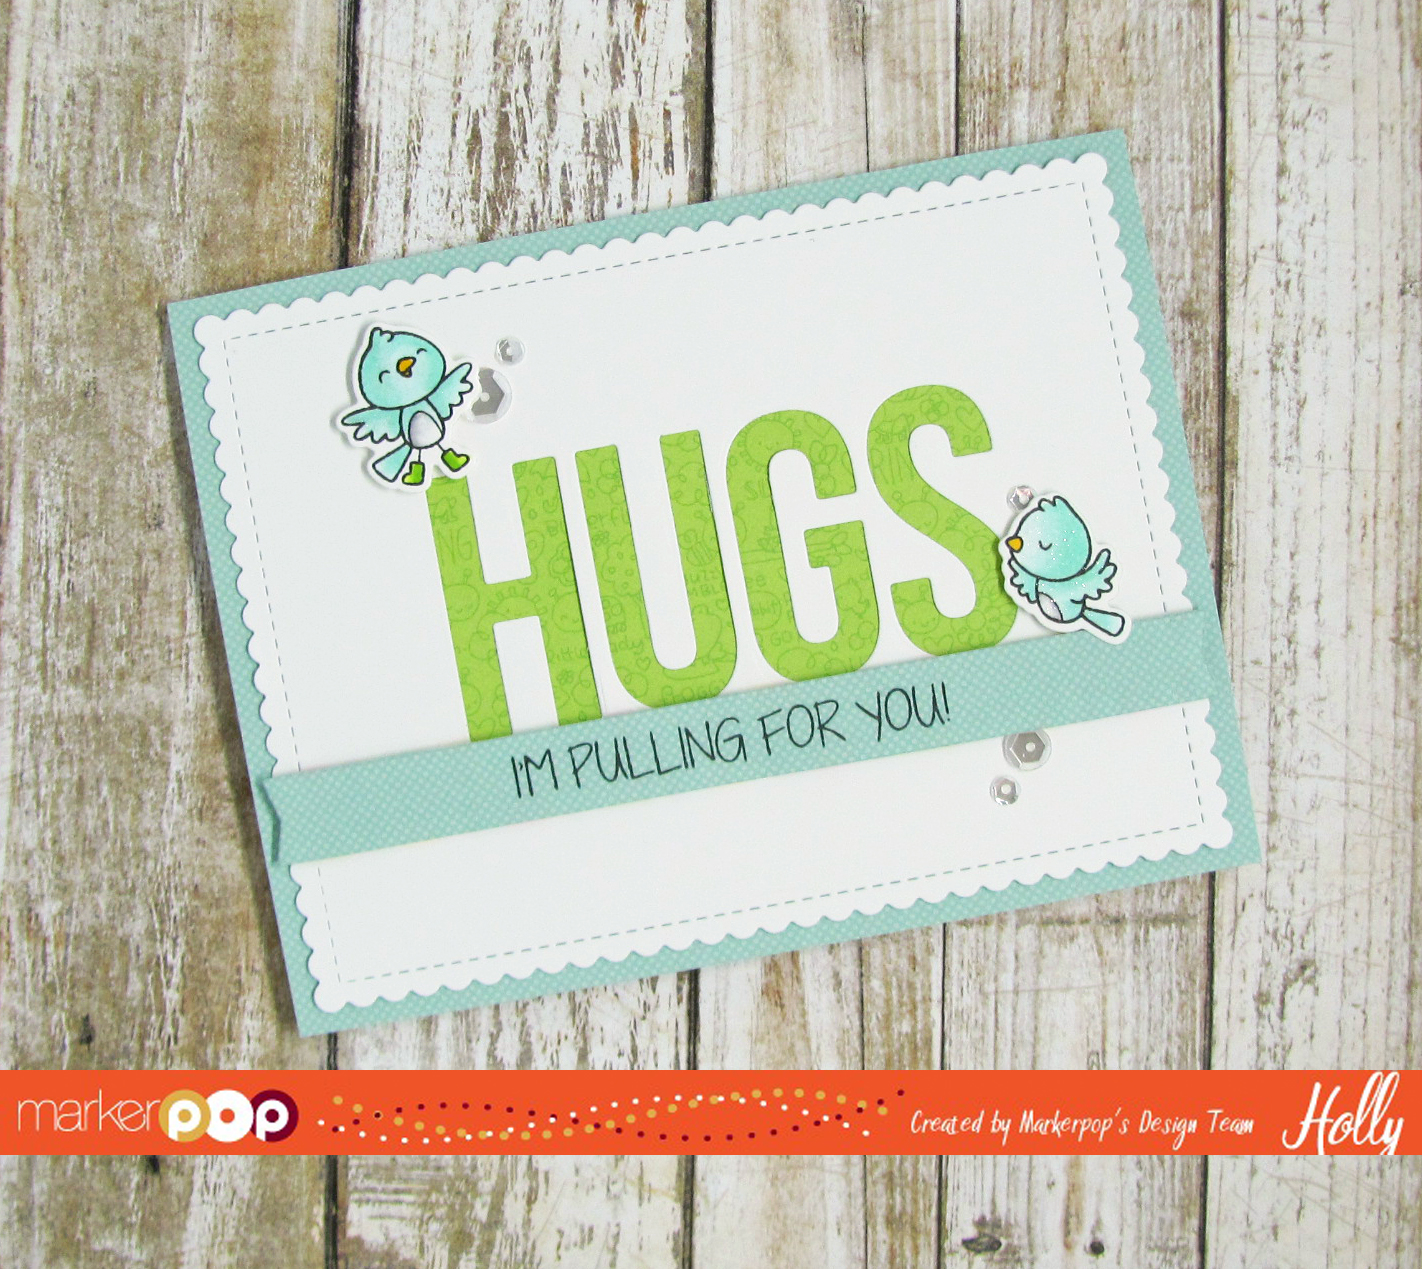
Happy Tuesday everyone… It’s Holly here today with a new Video on this Cute card featuring the Tropical Squidgies set from Stampingbella.

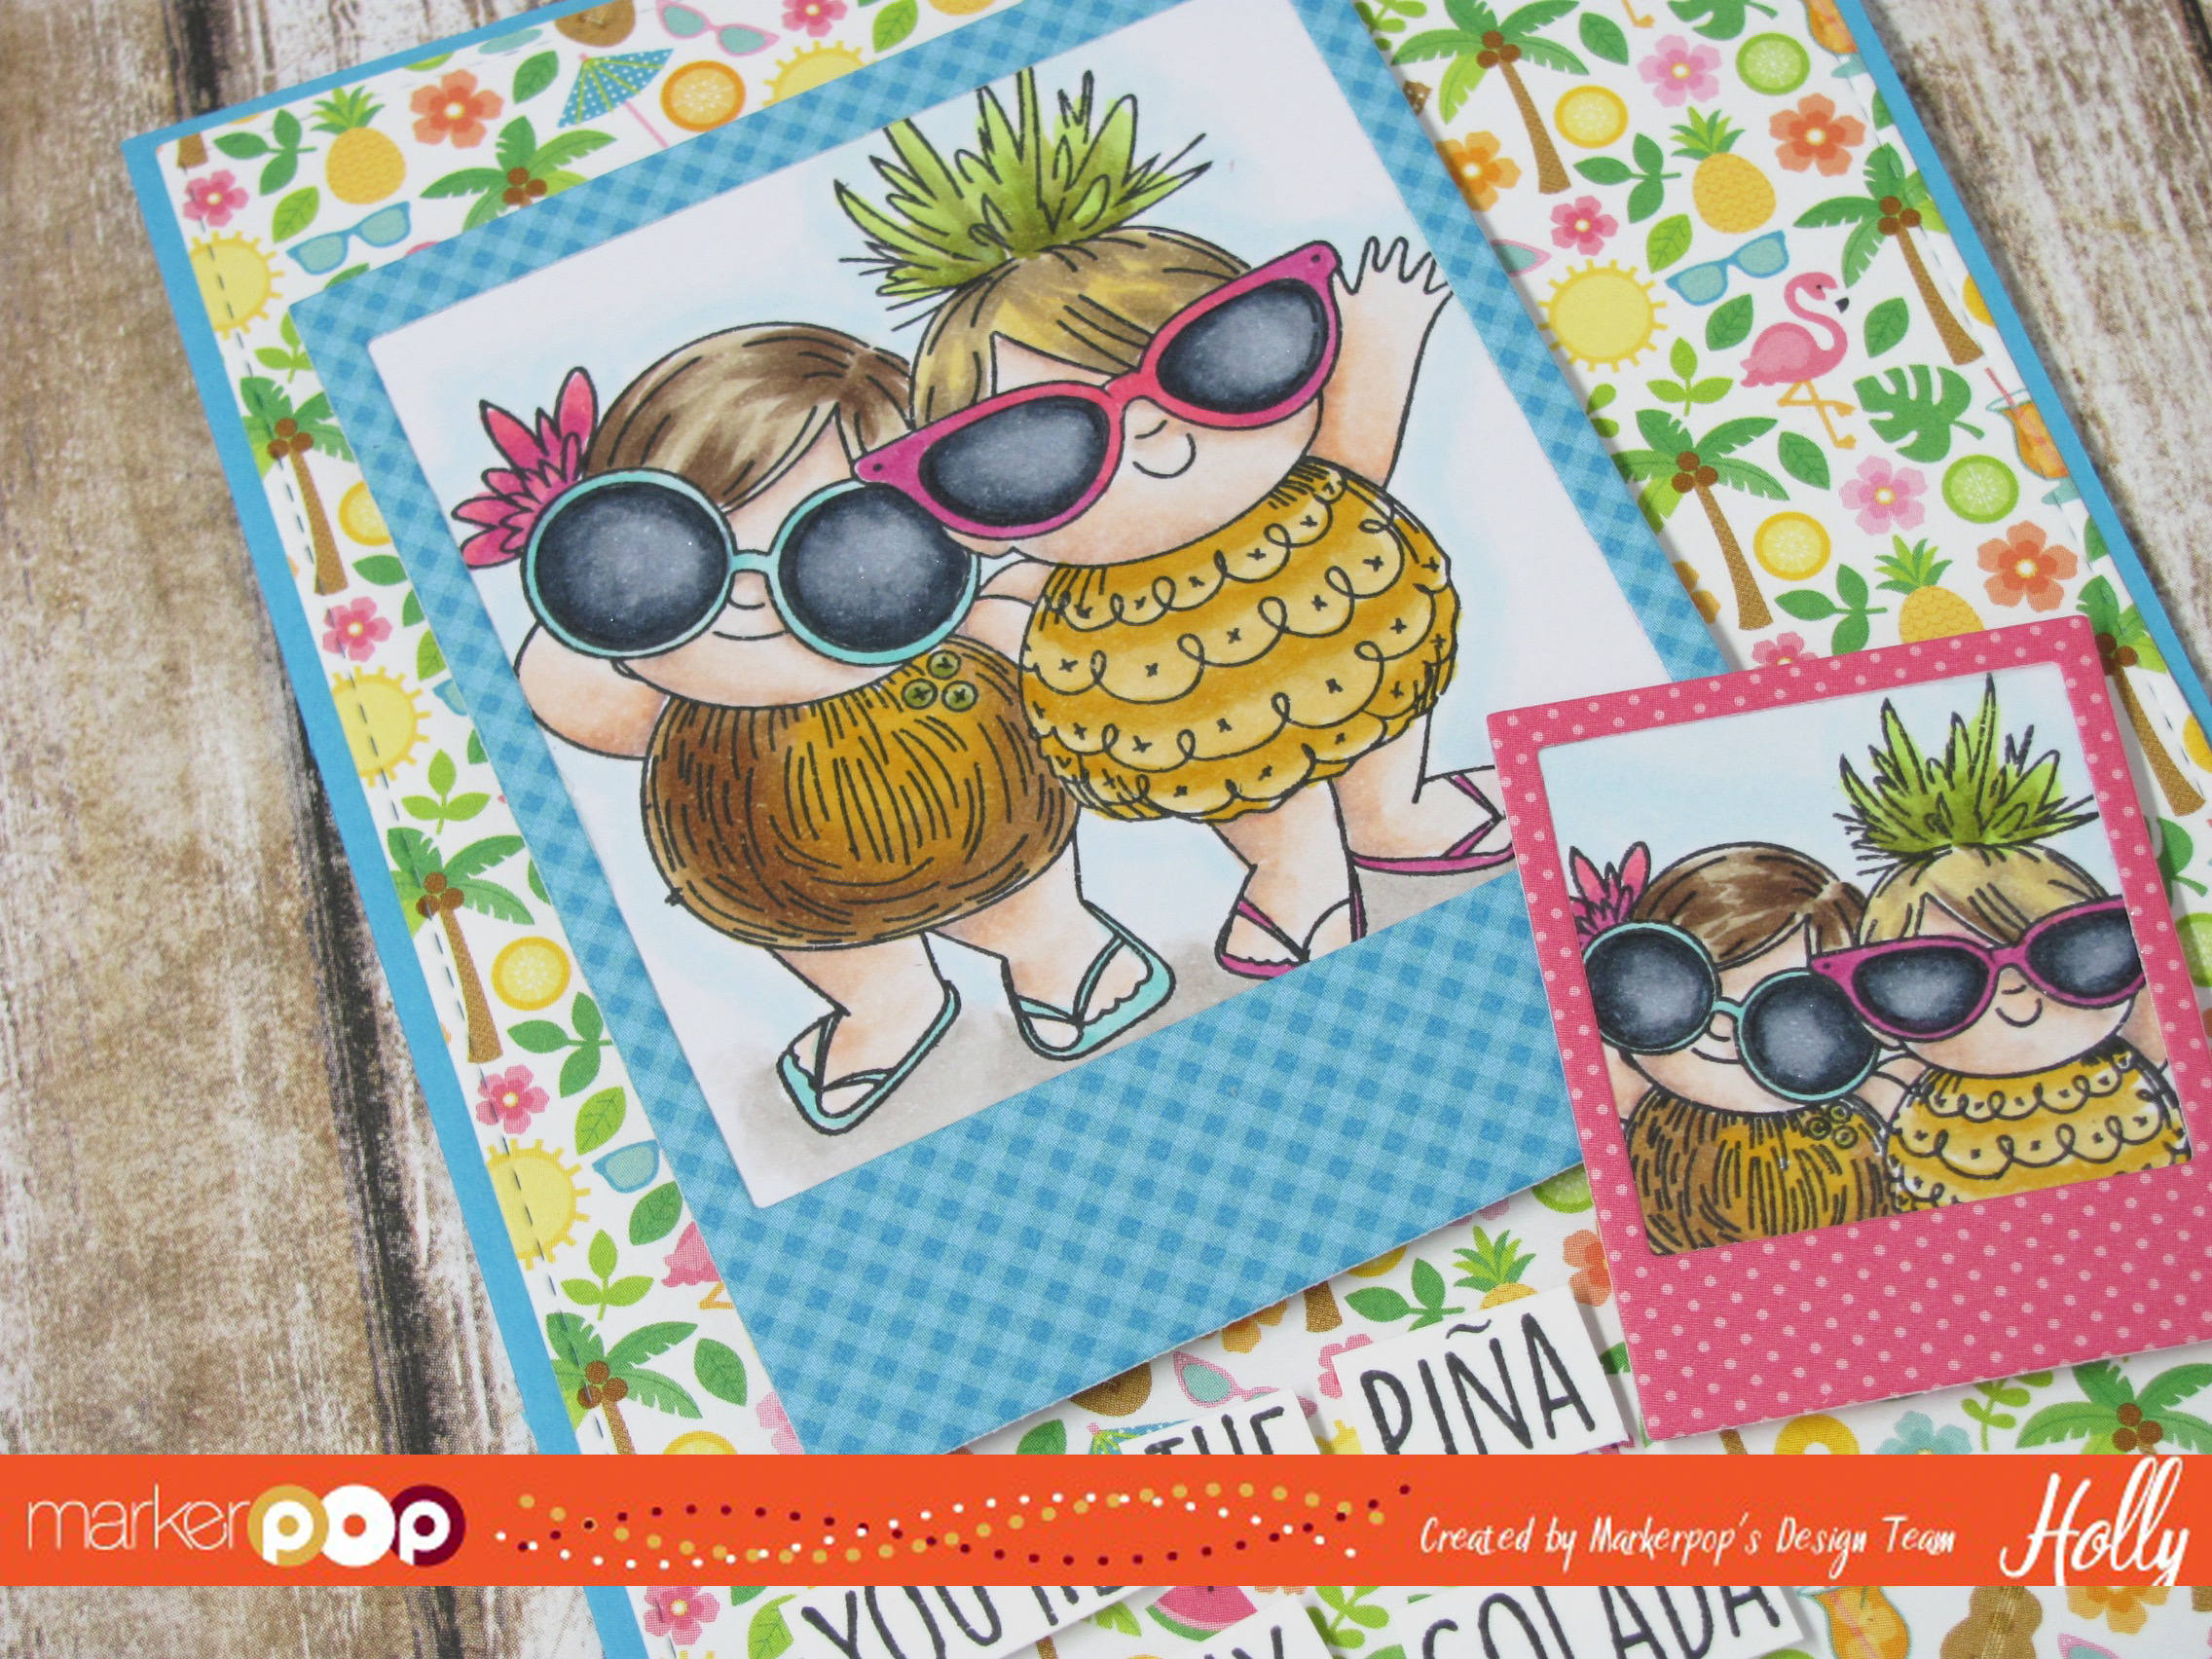
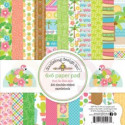
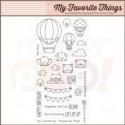
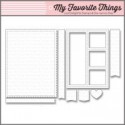
I die cut a piece of Doodlebug Fun in the Sun paper using the MFT Blueprints #15. Then I adhered the piece to a top folding A2 size Turquoise card. I stamped each of the images from the Tropical Squidgies set onto some X-Press it Blending cardstock using Lawn Fawn Jet Black ink. Then I colored each of the images with Copics in the following colors:

Skin: E000, E01, E11, E71 & E93 Coconut Girl Hair: E42, E44 & E47 Pineapple Girl Hair: E44, E42 & YR31 Pineapple Top: YG93, YG95, YG97 & YG23 Flower, Sunglasses and Flip Flops : RV14 & RV17 Sunglasses and Flip Flops: BG11 & BG23 Coconut: YR24, E35 & E37 Pineapple: YR21, YR23 & YR24 Center of Sunglasses:C6, C4 & C2 Ground: W0, W2 & W4 Sky: BG0000 & BG000

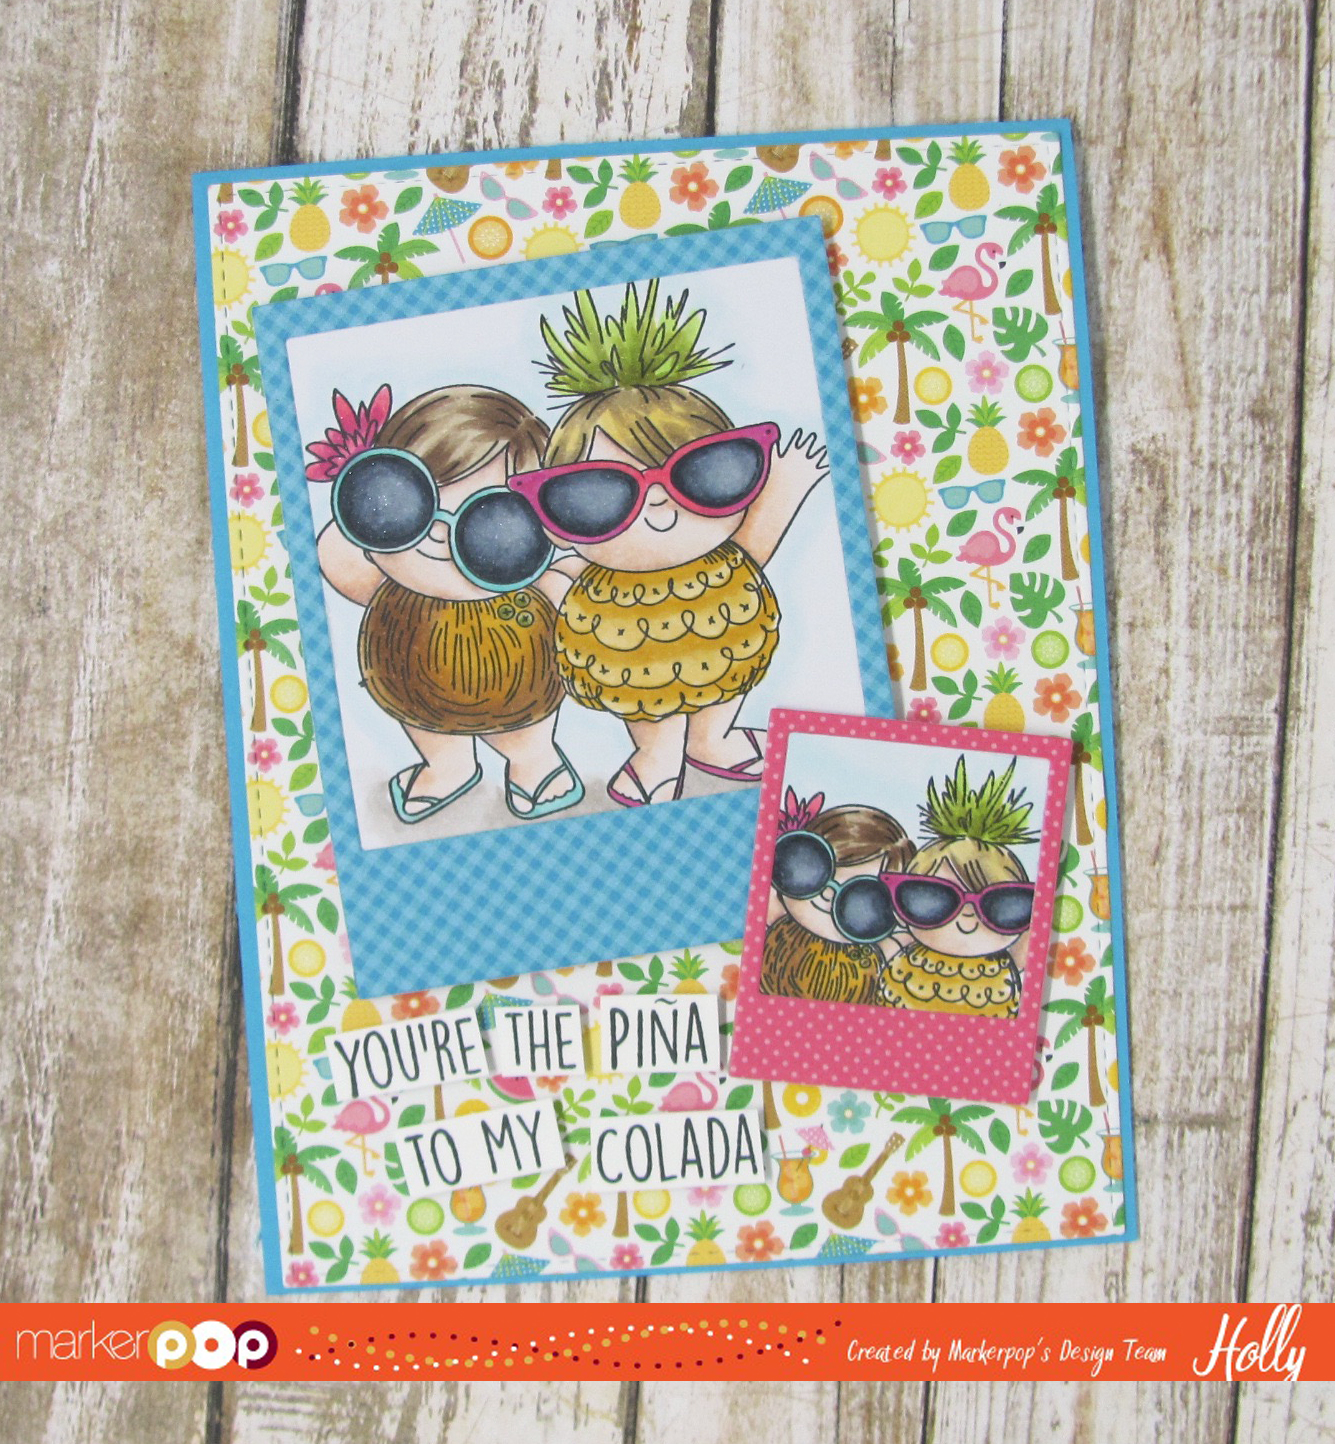
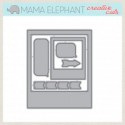
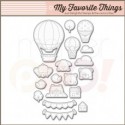
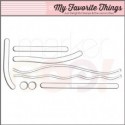
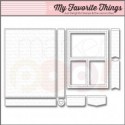
I die cut the large and small Polaroid shapes from the Mamma Elephant Polaroid Fun set from some additional coordinating Pattern papers and then I added the colored image behind them and adhered them to the card front. I stamped the sentiment onto some Neenah Solar White cardstock and then I trimmed each of the words out and used them along the bottom of the cards. I added some Spectrum Noir Sparkle Pen in Clear to parts of the images.

You can see more details on how I created this card in the video below….


You’re Going Places!

Written by Holly Endress. Posted in Eye Candy (Projects)

Hello everyone.. It’s Holly here today. I hope your week is starting off great! Today I have a fun slider card featuring the Adorable Up in the Air set from My Favorite Things and the coordinating dies.

I started by creating a White A2 size card base and then I created a cloud background using the MFT Stitched Cloud Edges to create a stencil and some Salty Ocean Distress Ink. Then I created another cloud background on a piece of White card stock that I die cut with the MFT Blueprints 29. Then I created a scene with some Mowed Lawn Distress Ink and the Stitched Snow Drifts Die-namics set. Then I die cut a channel into the panel using the MFT Slider Channel Die set.

I stamped all the images using Lawn Fawn Jet Black ink onto some X-Press It Blending card stock and colored the images in with Copics. Then I used the coordinating Dies to cut them out. I adhered some of the images directly onto the scene. I created a slider for the Larger Balloon with the Channel die and the small circles from the MFT Surf & Turf Die set and three of the MFT Spin & Slide Discs.  You can find many videos on YouTube on how to use these discs. Once I had the slider all set up I attached the panel to the front of the card with some foam adhesive.

I stamped the sentiment from the same set onto a strip of White card stock and used one of the banners from the MFT Blueprints 27 using VersaFine Black ink. I adhered t with some additional foam tape as well.

I used the following Copics to color the images:

Puppy: E70, E74 Baskets: E23, E25 Banner: BV13, BV17 Balloons: R24, R29, YR12, YR07, Y13, Y18, YG03, YG25, B24, B28. Tree: YG25, G07 House: E43, E44, E23, BG01, C2

Don’t forget to check out our Copic Sketch Book Giveaway!!! We have some Great prizes up for grabs.. you can find all the details in this post here.

Have a great Week!!!


Copic Various Ink Refills and Backgrounds

Written by lisascreativeniche. Posted in Eye Candy (Projects)

Hi!  It is Lisa here with you today, and I’m super excited to share a new to me technique with all of you! Todays technique is all about your Copic Refill Inks, and how to create your own dreamy and faux watercolor backgrounds.  Check it out…

First you will need glossy paper and your Copic Various Ink Refills.  I used old glossy photo paper that I had scraps of and it worked perfectly.

Next you will remove the lids of all of them so that you are able to add drops from each color quickly to your paper.  I made sure to keep my lid lined up behind my tube so I could keep them straight and know when to add a new color.

Yes, it looks like a whole lot of nothing but drops… but as you add each color letting them mix as you go you can really see the background form.  Sometimes I would let one layer dry before adding another drop of a different color.  I also used the Colorless Blender Various Ink while the other inks were wet to help spread the color and to create unique ripples.

And here is a picture of it dry and done…

My first intent with the finished piece was to die cut various shapes out of it, but after I saw the finished results I couldn’t bare to cut it so I decided to use it in it’s entirety on my project…

I just love how this turned out!  Other products used to create my card include Sugar Pea Designs, Altenew, and Pretty Pink Posh.  Thanks so much for stopping by and I hope you’ll give this technique a try!

Happy Crafting!

Supplies Used:

HUGS

Written by Holly Endress. Posted in Eye Candy (Projects), Tutorials, Uncategorized, Videos

Happy Tuesday everyone… It’s Holly here today and I have a new video and a Super Cute card featuring Your Next Stamp & My Favorite Things!

I started out with a piece of Neenah Solar White card stock and I die cut a panel using the Blueprints 27 die-namics from MFT. Then I die cut the Big Hugs from MFT from the center of the panel. I added a piece of pattern paper from Doodlebug’s new Spring Things 6×6 pad behind the HUGS opening. Then I added an additional piece of pattern paper from the same pack to a White Card base and adhered the sentiment panel.

I stamped some birds from the Your Next Stamp Word Critters- Gardening Birds set using Lawn Fawn’s Jet Black ink and colored them in with the following Copics. BG0000, BG10, BG11, Y17, No, N1, N3, YG01, YG03 & YG25 Then I used the coordinating die cuts to cut them out and I adhered them using foam tape.

I stamped the sentiment onto a scrap of the pattern paper and used the banner from the Blueprint 27 set to die cut it out. I adhered it just under the HUGS with some additional foam tape. For some shimmer I added some Clear Wink of Stella to the birds and some Sparkling Clear Sequins from Pretty Pink Posh.

Check out the vide below for more details on how I created this card.

Thanks for stopping by!!

Grab Our Button

i Luv MarkerPOP
Show some MarkerPOP LUV,

add this button to your blog.

I’m a Winner!

I'm a Winner on MarkerPOP Blog
Copy and paste the code under the badge

to claim your bragging rights!

I’ve Made Top 3!

WoHooooo I made it to the Top 3 on MarkerPOP Blog
Copy and paste the code under the badge

to claim your bragging rights!

Visit Us!

MarkerPOP Free Shipping MarkerPOP Boutique
18299 Mount Baldy Cir
Fountain Valley, CA 92708
Toll Free: 1-855-312-1222
Phone: 1-714-249-1222