$10 Gift Voucher - Leave a Comment

Posts Tagged ‘MFT’

I Hope It’s Magical

Written by Valerie Ward. Posted in Eye Candy (Projects)

Well HELLO, MarkerPop Fans! Guess who THIS is… Valerie, and I’M BACK! I can’t tell you how much I’ve missed the MarkerPop World the past few months, but I’m all settled in to my new home (in a great suburb next door to Iowa City), and I’m READY to get crafting again! I was THRILLED when my friend, Holly (the MarlerPop Design Team Leader), asked me if I’d like to come back; it was a quick and easy “Yes!” for me. So anyway, today I’m working with a bunch of great new products from My Favorite Things!
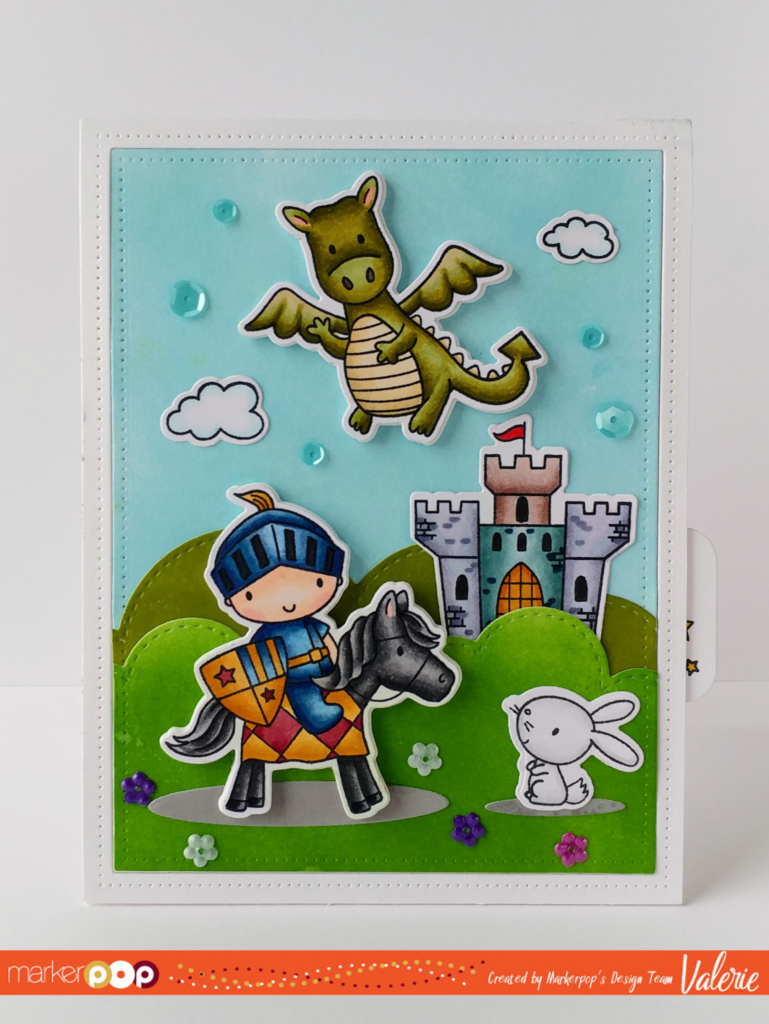
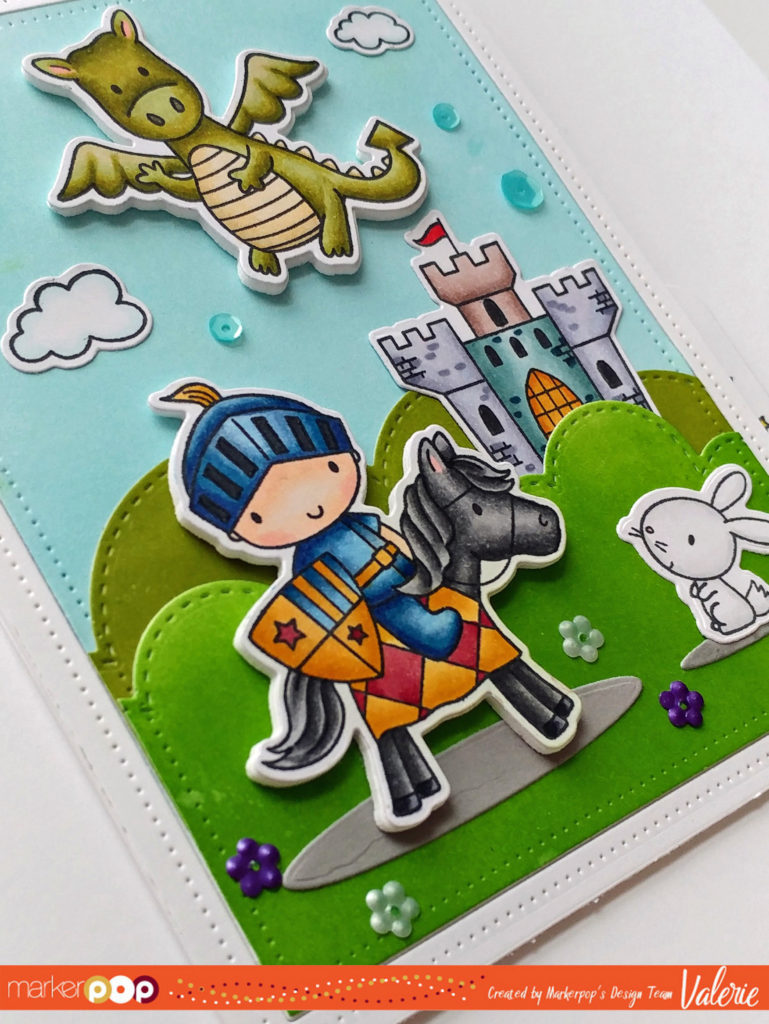
I created an adorable Birthday Card, and the main features of this card are the MFT Knight in Shining Armor stamp set & coordinating Die-namics set; I used a ton of other MFT products, also, and you can see them in the supply list below.

One of the fun things about this card is pulling the sentiment out! You can do this very easily to any card using MFT’s great new Slider Channel Builder Die-namics set.

The images are all stamped using Memento Tuxedo Black ink, onto X-Press It Blending Card Paper, and colored with Copic markers. I added a little bling with Pretty Pink Posh sequins: Lilac Garden Flower Confetti sequins and Aquamarine Cupped sequins. The background sky and grasses are created using various Ranger Tim Holtz Distress Ink Pad inks (see specific colors in Supply List below).
I hope you enjoyed this project, and that it gave you some inspiration! Have a great day, and Happy Crafting!

Valerie

Supplies Used

You’re a Blessing

Written by Holly Endress. Posted in Eye Candy (Projects)

Happy Monday everyone.. It’s Holly here today and I’m running a little behind but after all it is Monday right! Today I have a cute card using some products from My Favorite Things.

mp3

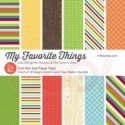
I started out by creating a standard A2 size card base and then I added a piece of the Trail Mix Patter Paper from MFT that I die cut with the MFT Blueprints #29.Then I trimmed another piece of the same pattern paper from the strip on the front and matted it in a similar color card stock and adhered that to the front.

mp2

I stamped all the images onto some Watercolor paper using archival Black ink from Ranger. I colored the images in with Zig Clean Color Real Brush markers in the following colors:

44 Deep Green, 50 Yellow, 72 Beige, 41 Light Green, 60 Brown & 62 Dark Brown.

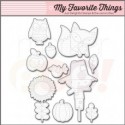
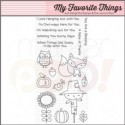
I colored the images from the Fall Friends set from MFT on one side and then pulled the color out with a damp paintbrush. Once the images were dry I used the coordinating Die Cuts to cut the images out.

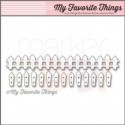
For a ground area I die cut the Stitched Valley Die from MFT using some more of the same Trail Mix pattern paper and adhered them to the lower part of the blue panel. Then I adhered the sunflower images using an adhesive tape runner. I die cut the Farm Fence from MFT using the same paper I created the card base with. I adhered the scarecrow over the images with some foam tape.
mp1

I stamped the sentiment from the Fall Friends set onto a piece of Yellow card stock and I die cut it with the small banner in the MFT Blueprints 27 set. Then I ran it through the big shot again a second time partially die cutting just the end with the banner. This is a great way to customize your banners. I adhered it with some additional Foam Tape.

Thanks for stopping by today!

2

You Make My Life Magical!

Written by Jessica Frost. Posted in Eye Candy (Projects)

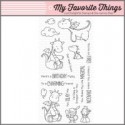
Good morning!  Jess here with a card using the new ADORABLE Magical Dragons from My Favorite Things!

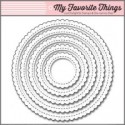
Isn’t that dragon cute?!  I started by stamping him onto watercolor paper with versamark and heat-embossing him with silver embossing powder.  Then I colored him with zig markers and blended him with a spectrum noir clear sparkle brush.  I wanted the scene to be super sparkly and blending with the spectrum noir brush gives the same effect as blending with a waterbrush but with a ridiculous amount of sparkle! Next I added a little grass and sky to my scene and blended it out.  I die-cut it with a Scalloped Circle and then set him aside while I worked on the rest of the card.

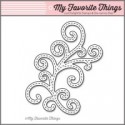
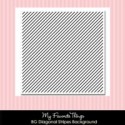
Next I inked up the Diagonal Stripes background stamp with versamark and stamped it onto a piece of Jelly Bean cardstock before heat-embossing it with clear embossing powder for a tone on tone look.  I stamped the sentiment onto white cardstock and die-cut it with a stitched fishtail banner.  Finally I die-cut the Flourish die with silver glitter paper and cut it in half.  To finish the card I adhered the flourish behind the dragon, adhered the sentiment banner, and then mounted the dragon and sentiment to the background panel.

I really love these dragons…you’ll be seeing a lot more of them from me soon! 😉  I hope you have a fabulous Friday and thanks so much for visiting!

jess

Supplies:

MarkerPop! Challenge #96: SUMMERTIME

Written by Valerie Ward. Posted in Challenges, Eye Candy (Projects)

Hello, Crafters!! It’s time for our next Challenge, and the theme is Summertime!

MarkerPop! Challenge #96: Summertime

Create a project using your Copics or any of the markers that we carry!

You may play along with other challenges, but excessive challenge pile-ons (more than 10) will result in disqualification for our amazing prize. As always, have fun creating!

For the prize, we have a Mystery Box filled with crafting goodies!

MarkerPOP! Prize

One entry will be chosen at random to receive our prize. Three additional entries will be chosen for the ‘Top 3′ based on their amazing coloring skills. The prize winner and top three can all proudly post their brag buttons on their blogs for the world to see!

Entries are due by Sunday, June 12, 2015 at noon CST. Winner will have TWO weeks to claim their prize.

**International winners will be responsible for shipping costs if they choose to claim their prize**

___________________________________________________________

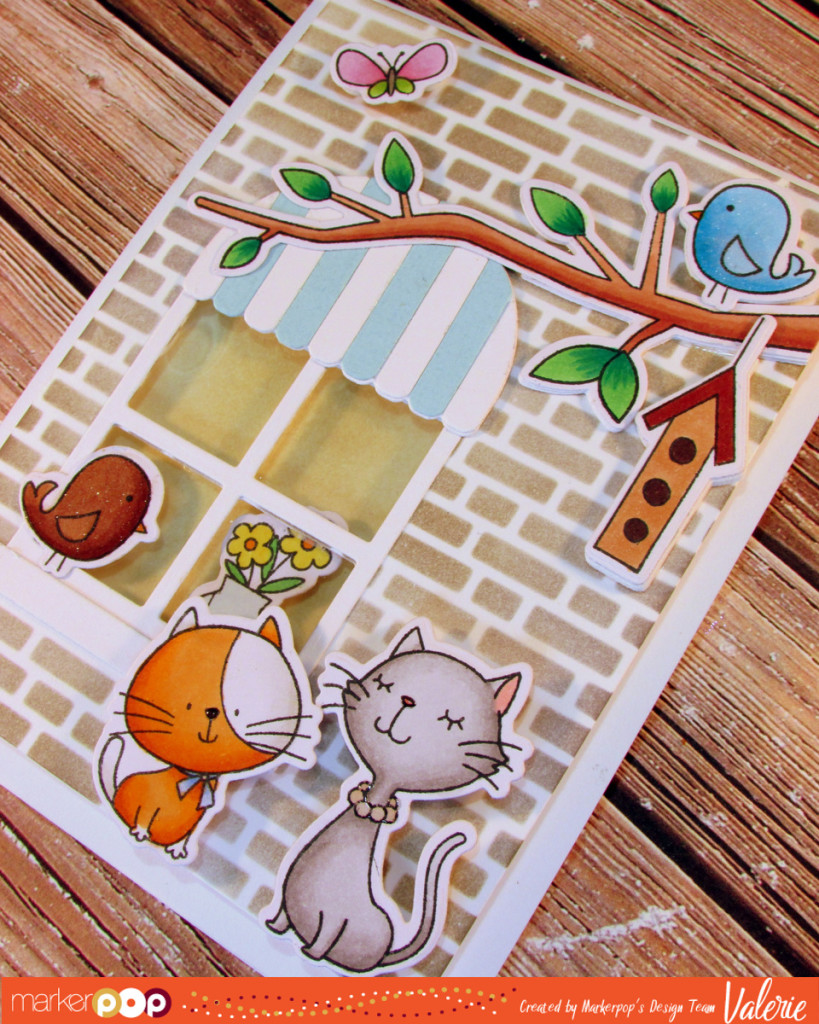
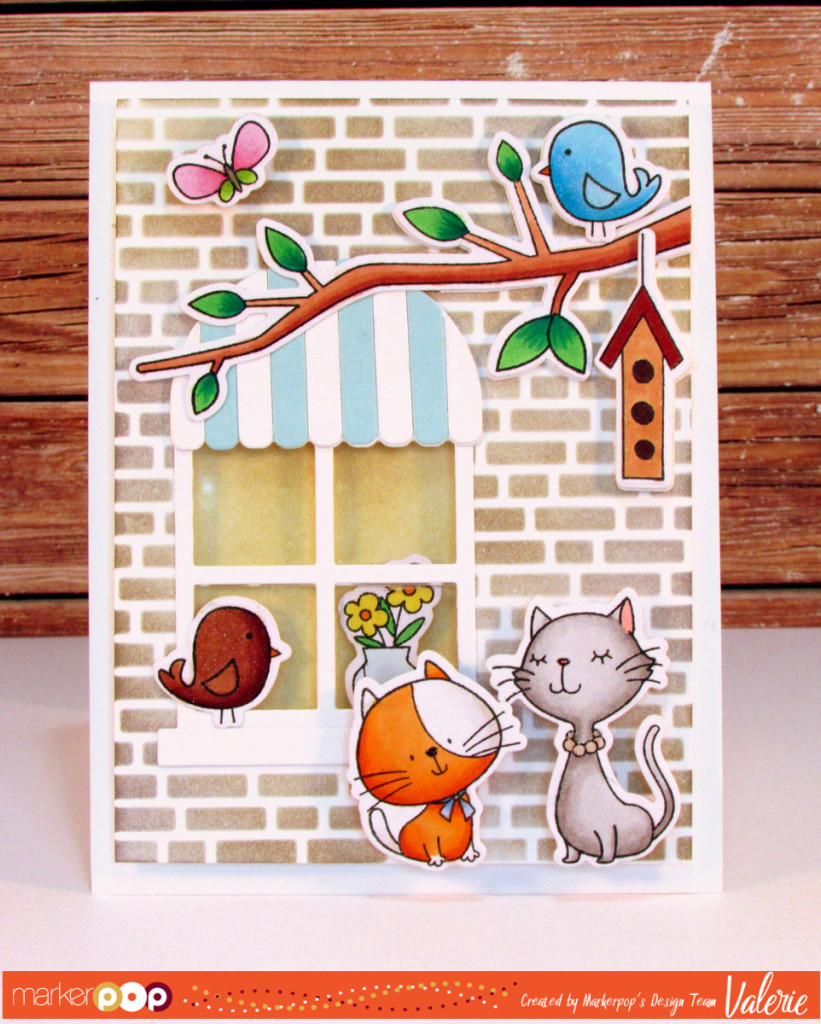
It’s Valerie here, and I decided to pull out a bunch of MFT goodies and create a cute scene. I’m featuring these MFT products: 

MFT stamps & dies & stencil, Copics {ValByDesign, 2016}

All of the images are stamped using my Mini Misti, with Memento Tuxedo Black ink onto X-Press IT Blending Card paper, and colored with my Copics (colors listed at end).

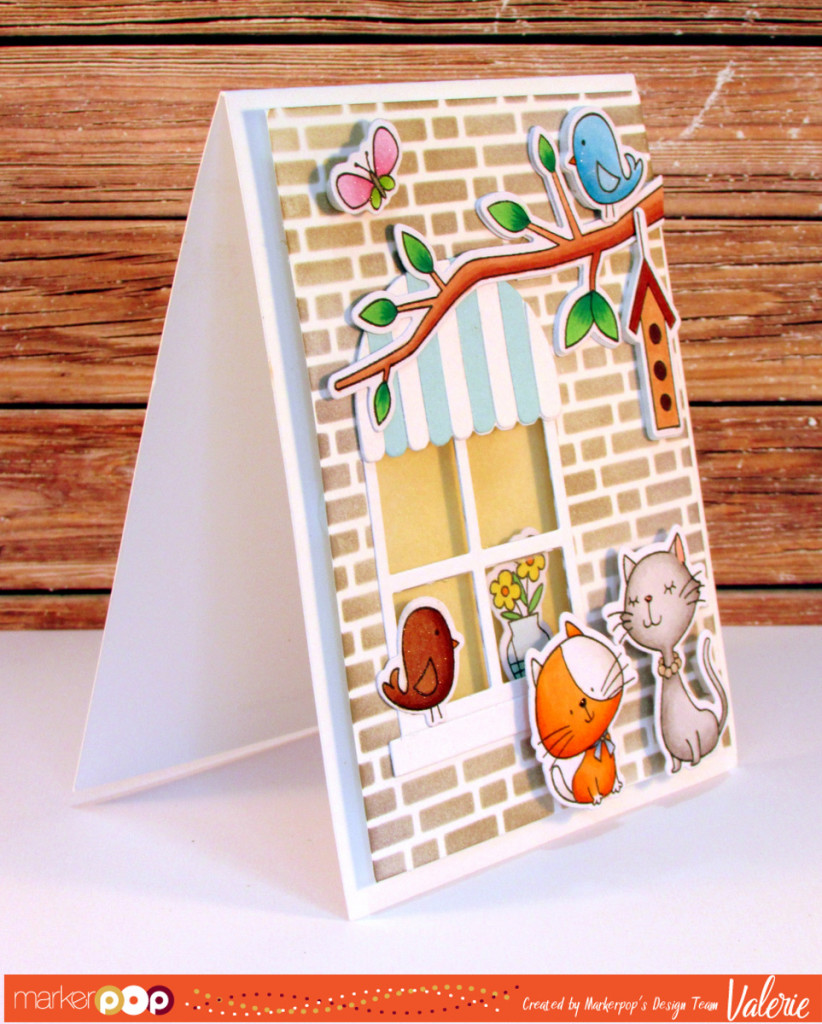
The brick wall is created using the MFT English Brick Wall stencil, and Tim Holtz Distress Inks (Pumice Stone & Hickory Smoke) & my Mini Ink Blending Tool.

MFT stamps & dies & stencil, Copics {ValByDesign, 2016}

The card base is and the “brick wall layer” are both Bazzill Classic Smooth White paper. I painted the 2 birds, the butterfly, and the orange cat’s collar with Zig Clear Wink of Stella. And I added Glossy Accents to the grey cat’s pearl collar.

MFT stamps & dies & stencil, Copics {ValByDesign, 2016}

So that’s it! This is the type of card where you could save it for when you need it, and then it’s perfect for almost any sentiment on the inside! Thanks so much for stopping by! Have a wonderful day, and Happy Crafting!

The Copics I used are:

  • Branch: E11, E13, E15, E17 / Leaves: G14, G16
  • Grey Cat: T0, T2, T4 / Nose: R22 / Ear: R20 / Necklace: E000, E00
  • Orange Cat: YR12, YR15, YR18 / Nose: T8 / Collar: B21, B24
  • Blue Bird: BG01, BG02 , BG05 / Beak: YR27
  • Brown Bird: E23, E25, E27, E29 / Beak: YR27
  • Bird House: E33 / Roof: E18 / Holes: E79
  • Butterfly: RV52, RV55 / YG23, YG25 / Body: W5

Valerie


Grab Our Button

i Luv MarkerPOP
Show some MarkerPOP LUV,

add this button to your blog.

I’m a Winner!

I'm a Winner on MarkerPOP Blog
Copy and paste the code under the badge

to claim your bragging rights!

I’ve Made Top 3!

WoHooooo I made it to the Top 3 on MarkerPOP Blog
Copy and paste the code under the badge

to claim your bragging rights!

Visit Us!

MarkerPOP Free Shipping MarkerPOP Boutique
18299 Mount Baldy Cir
Fountain Valley, CA 92708
Toll Free: 1-855-312-1222
Phone: 1-714-249-1222