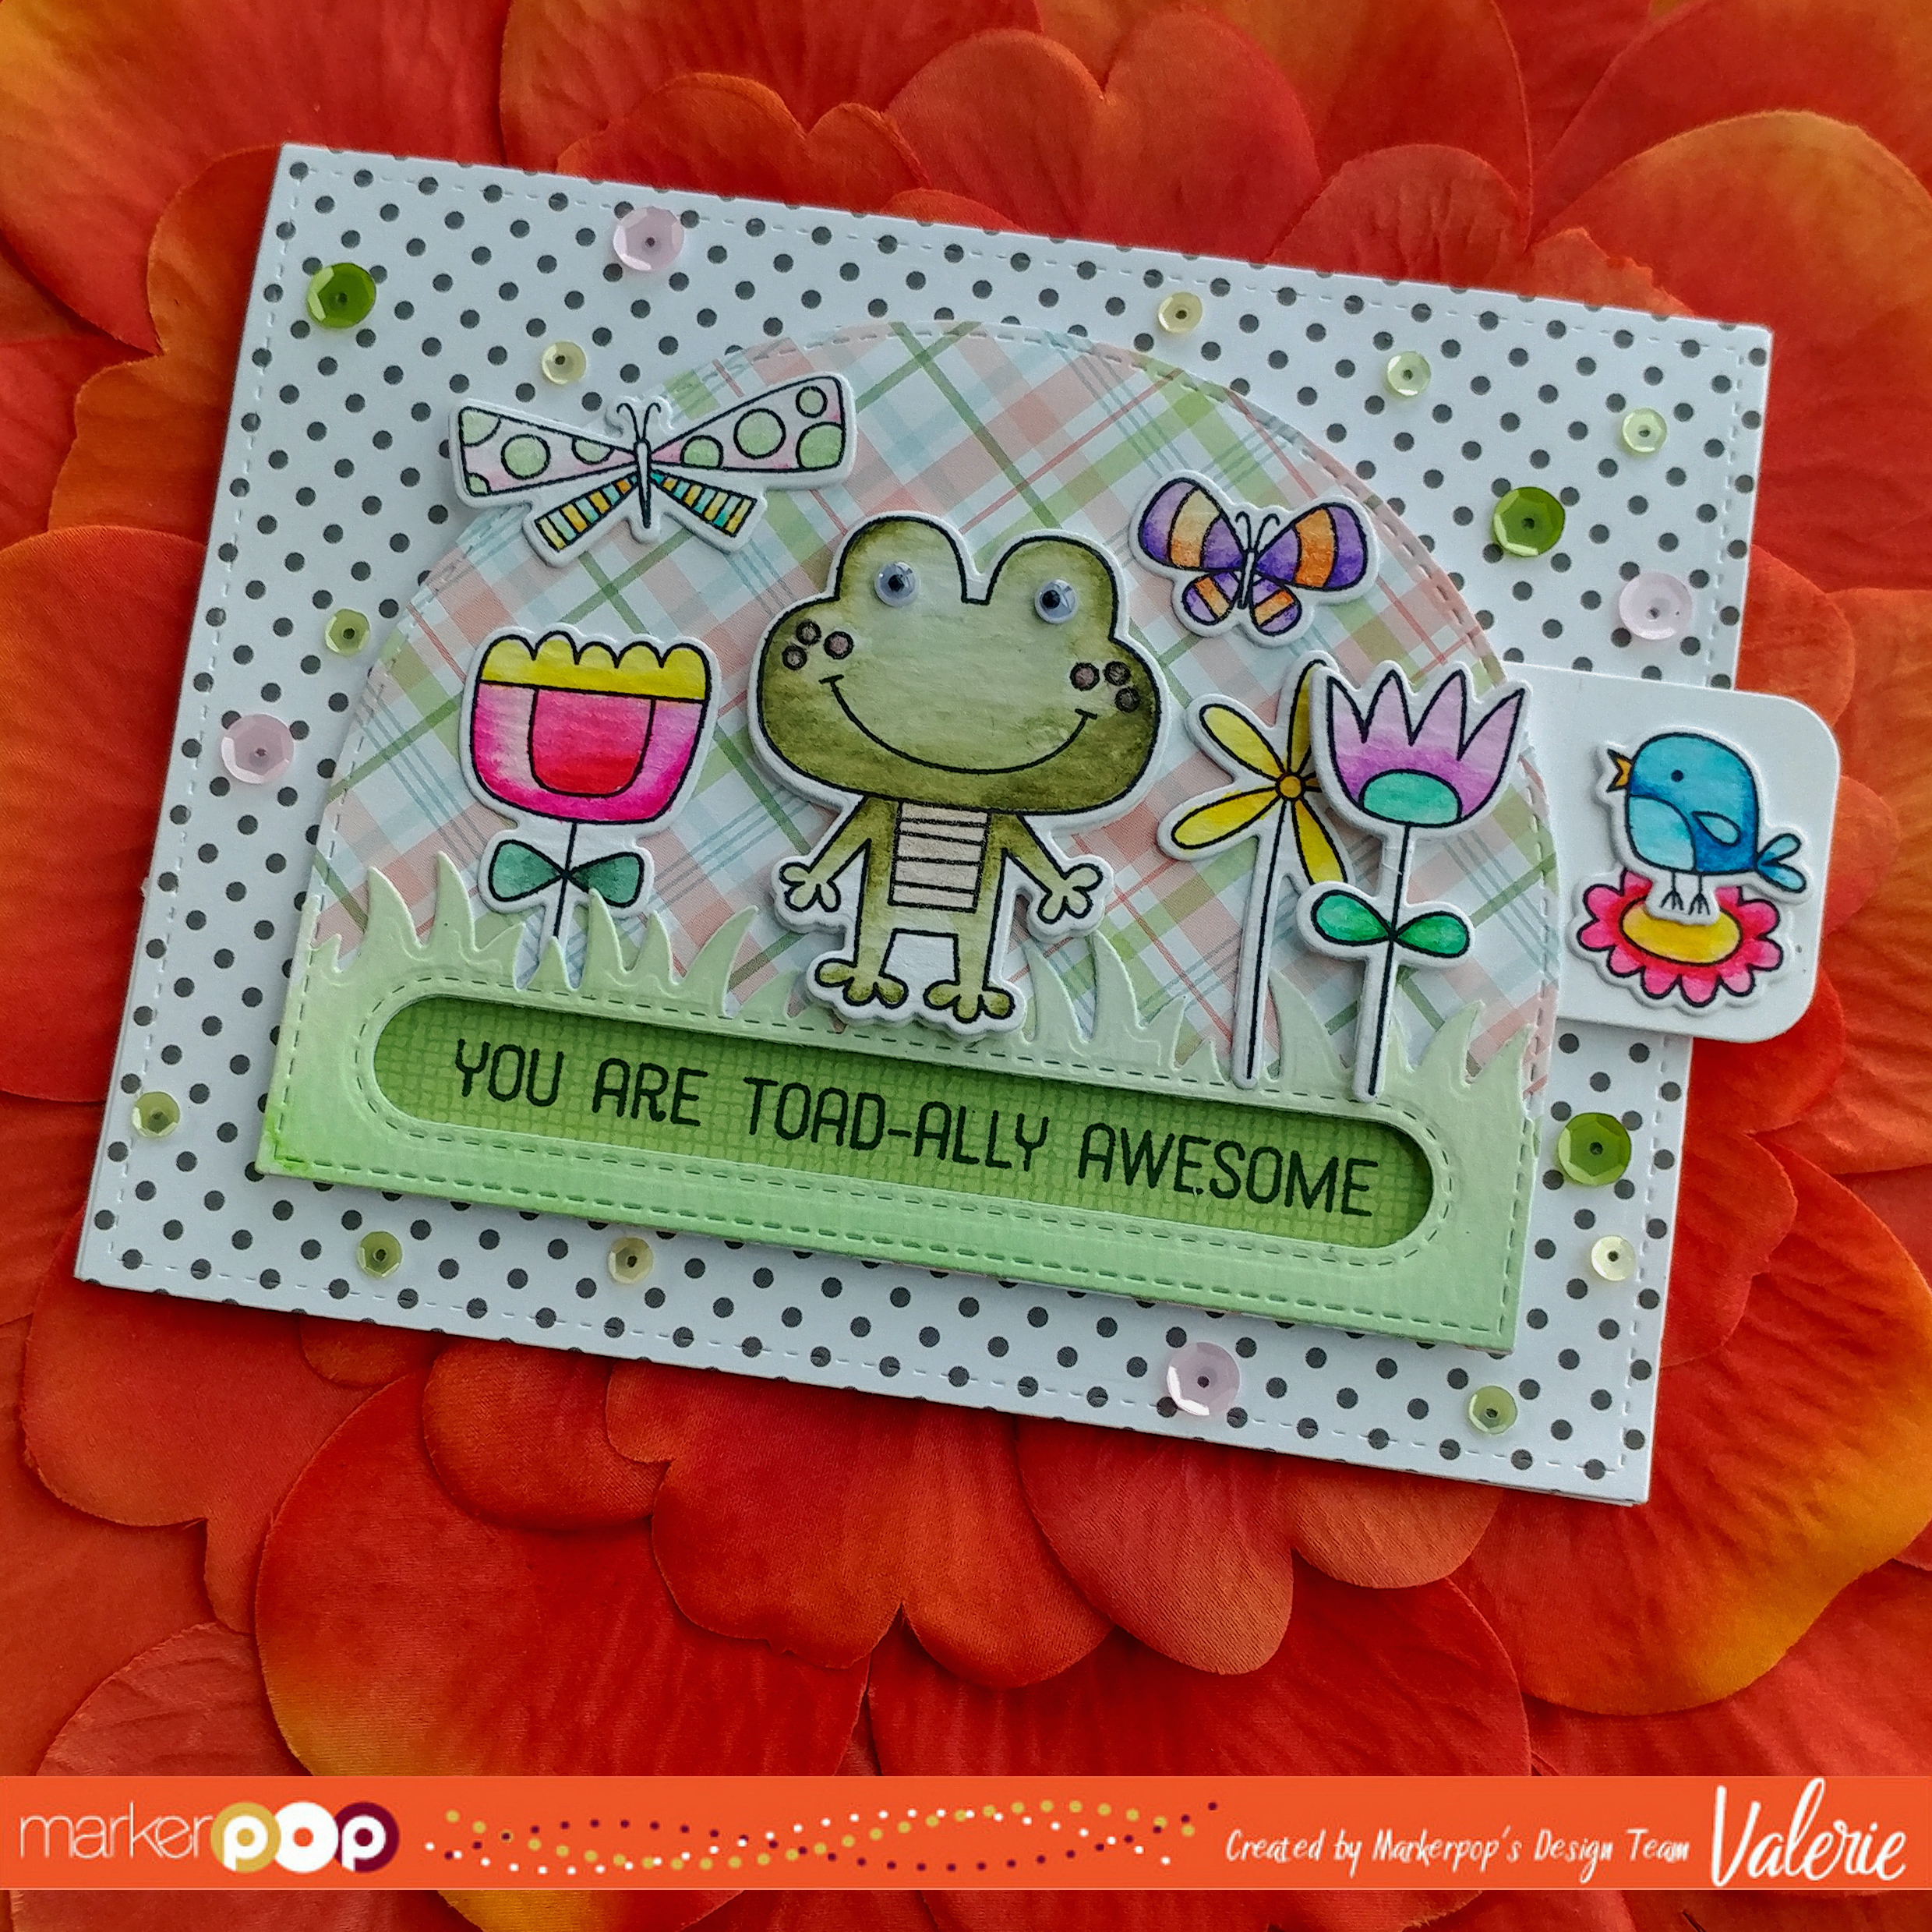
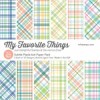
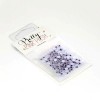
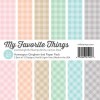
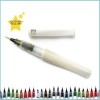
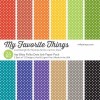
Today I’m featuring a bunch of new products in the MarkerPop store! First, my set of Zig Clean Color Brush Markers, and then My Favorite Things‘ (MFT) new (and a tad older!) stamp & die sets.
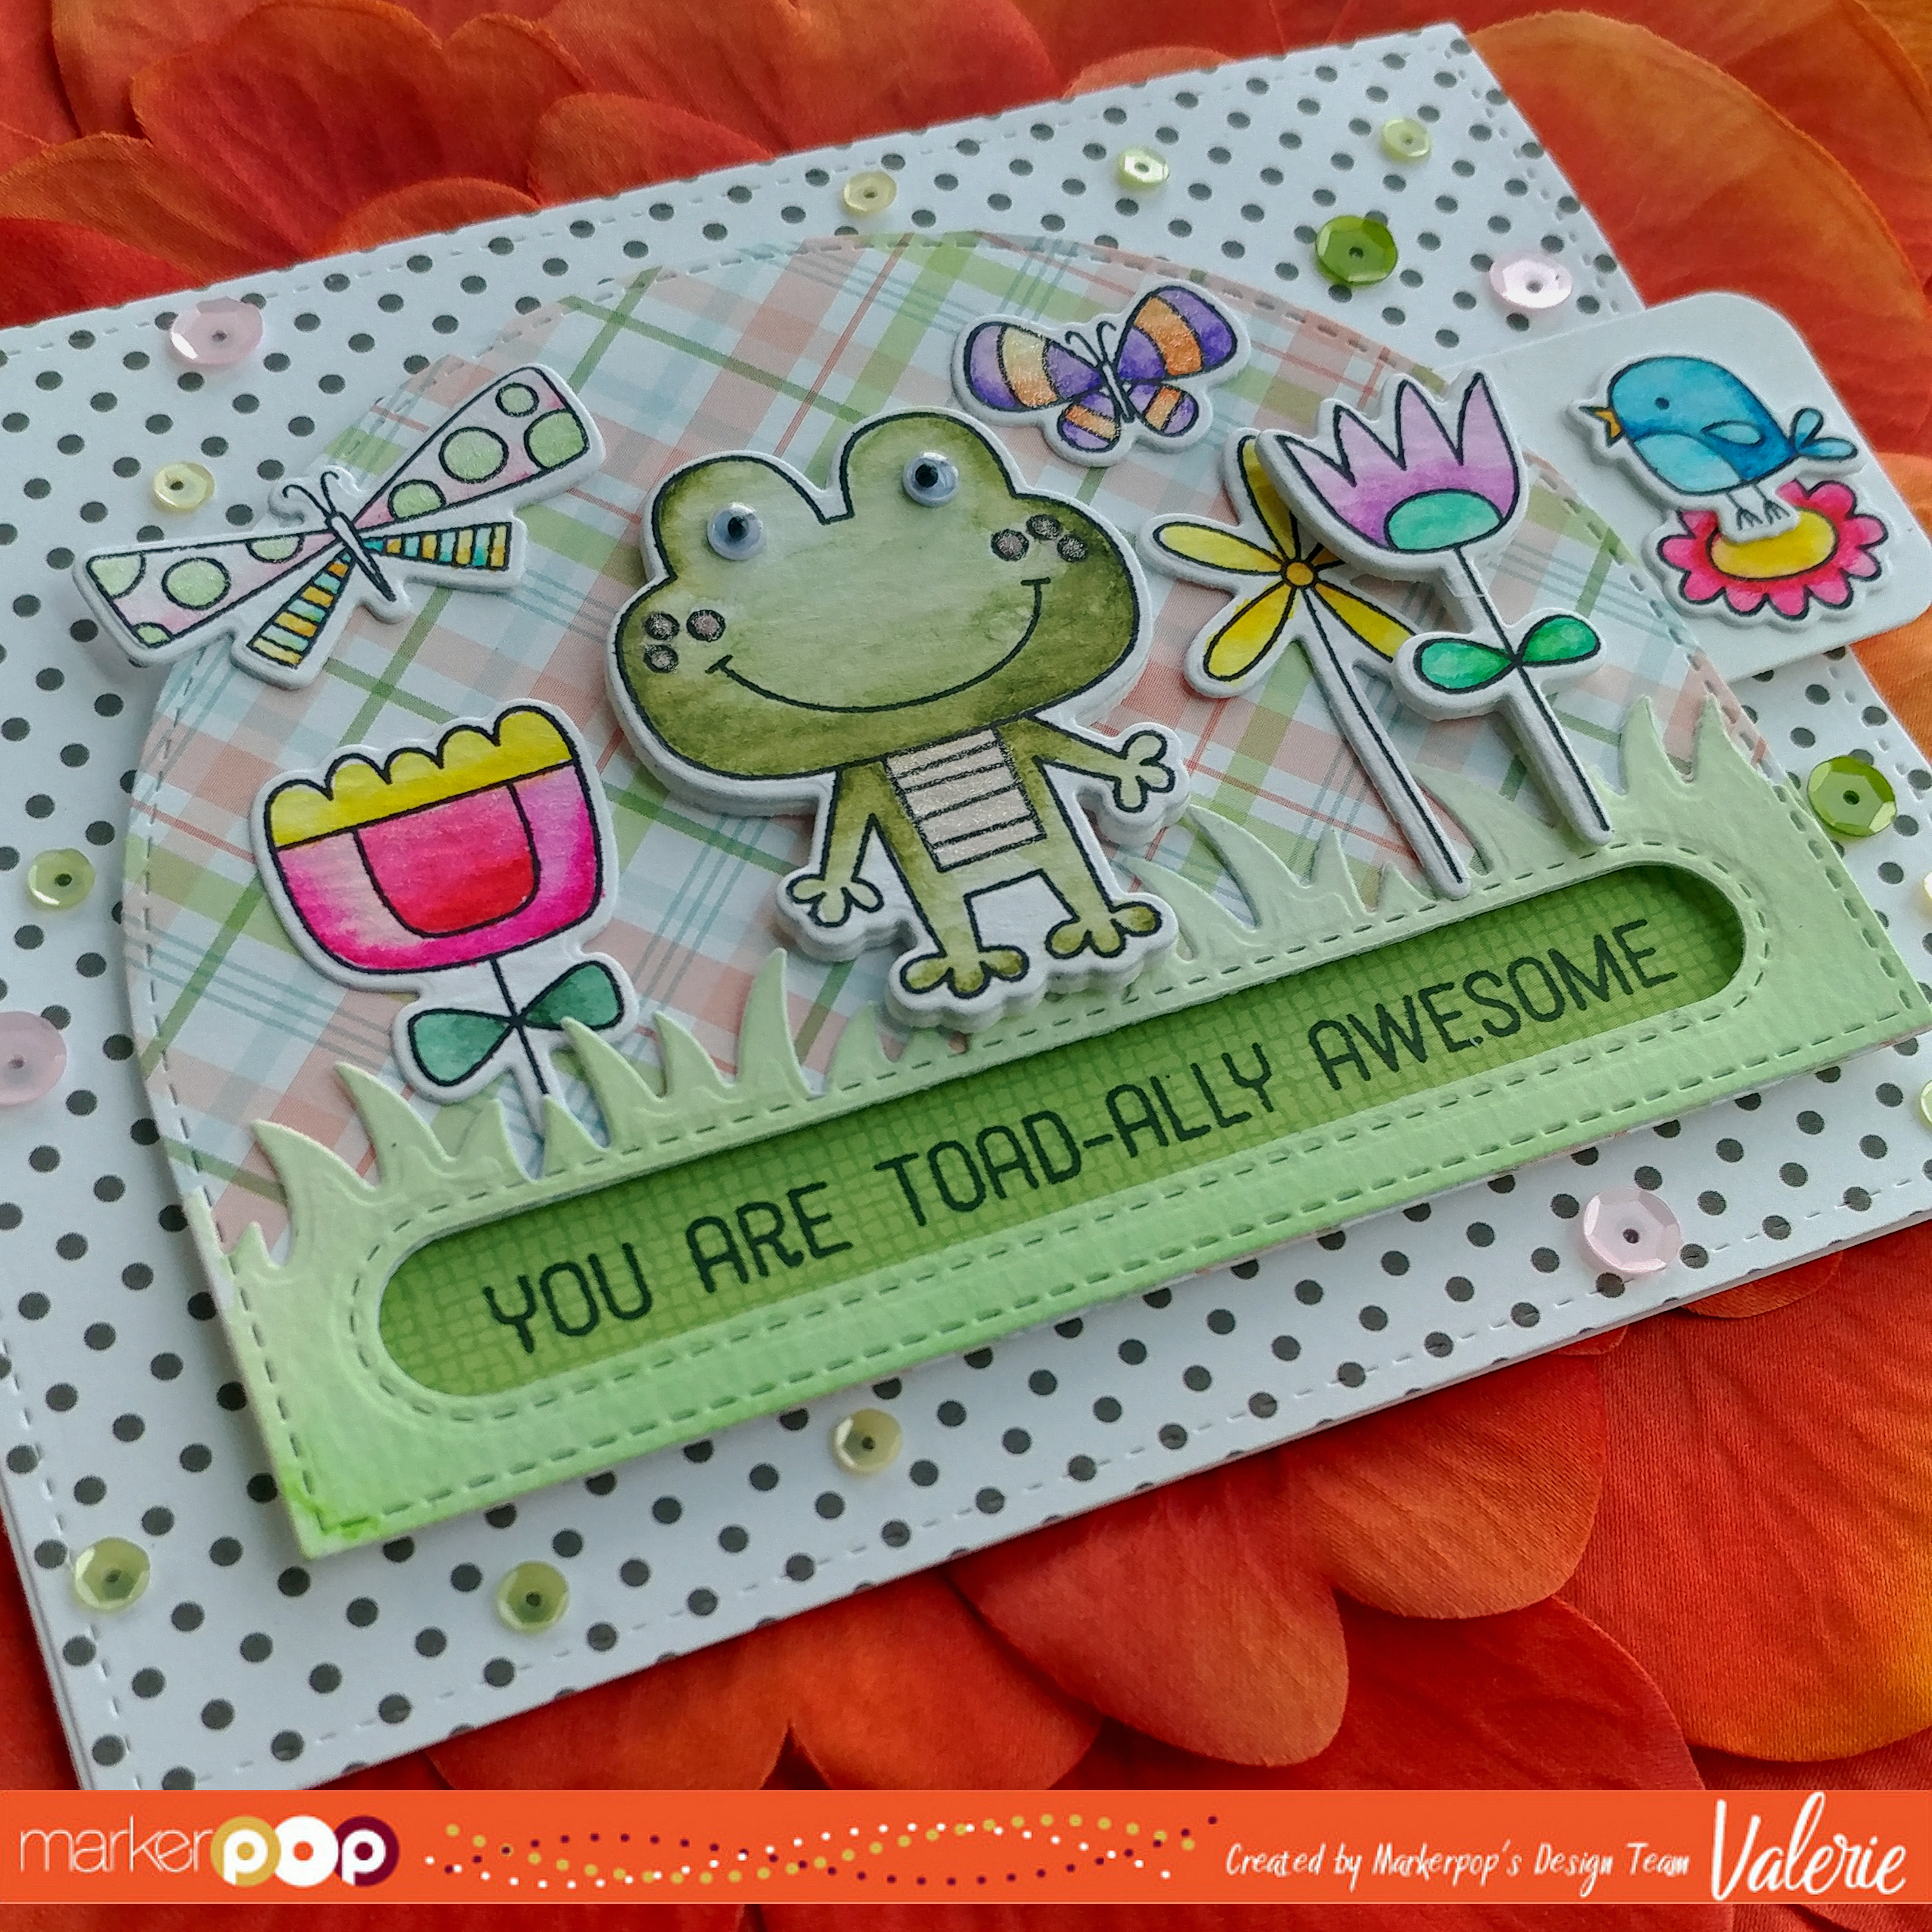
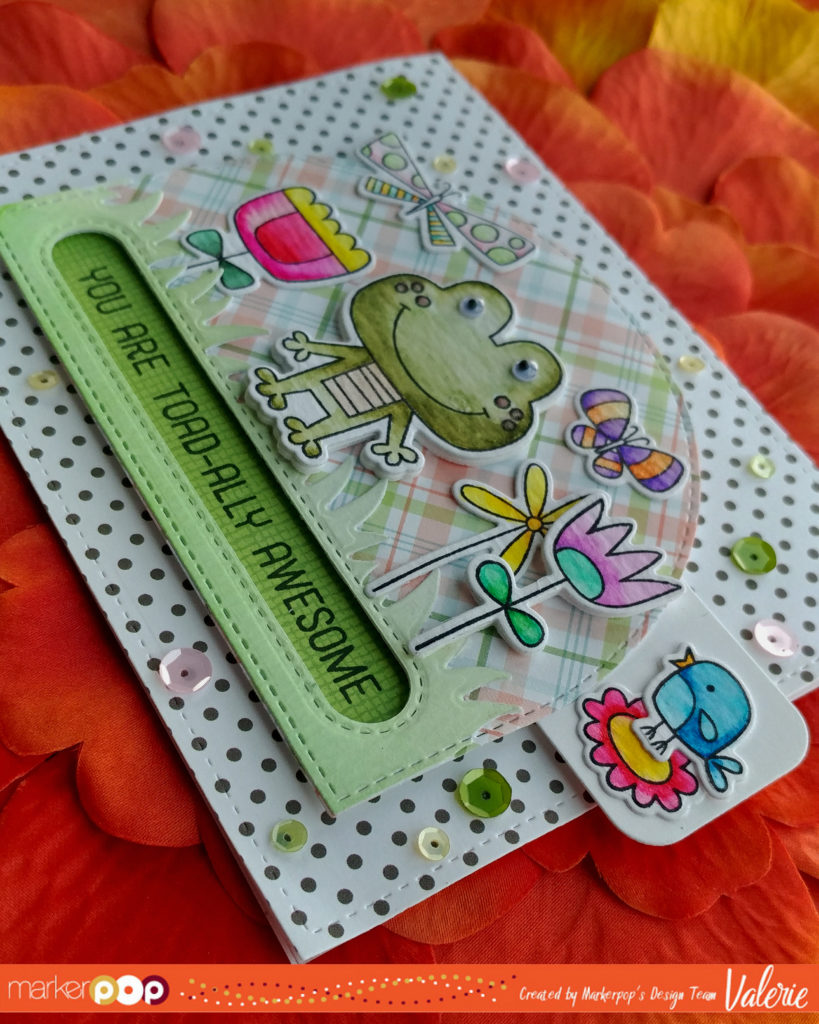
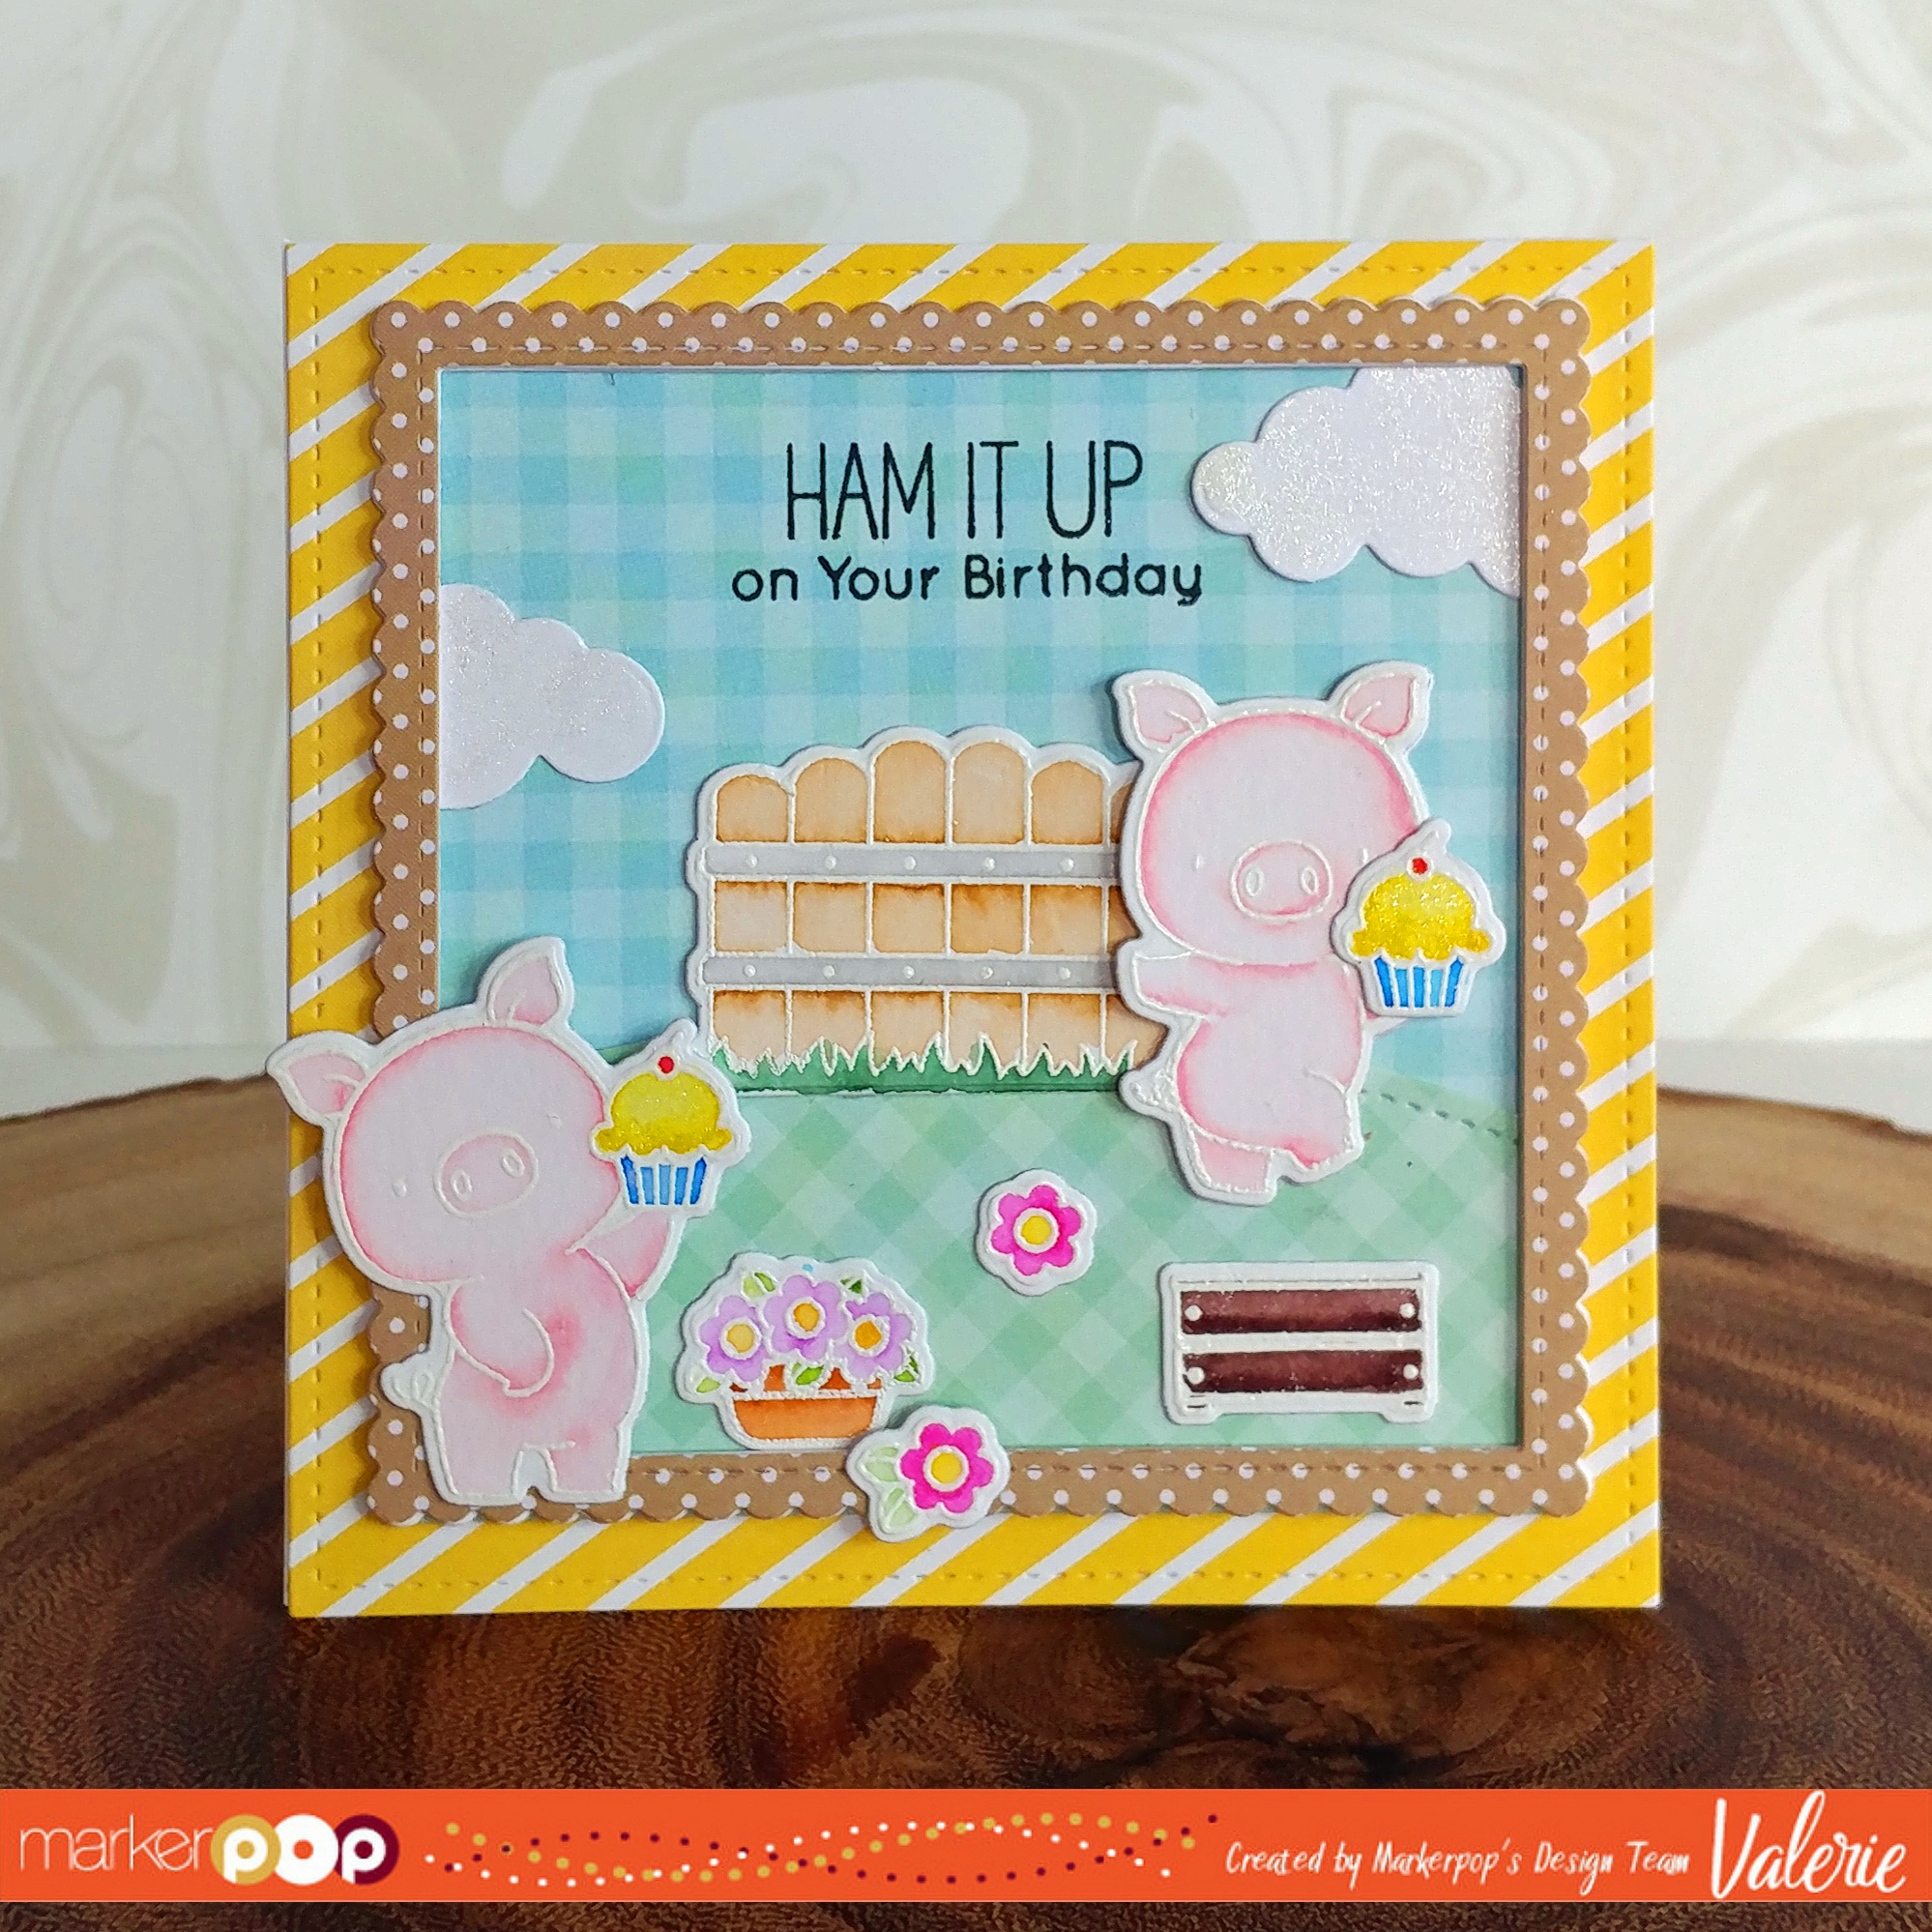
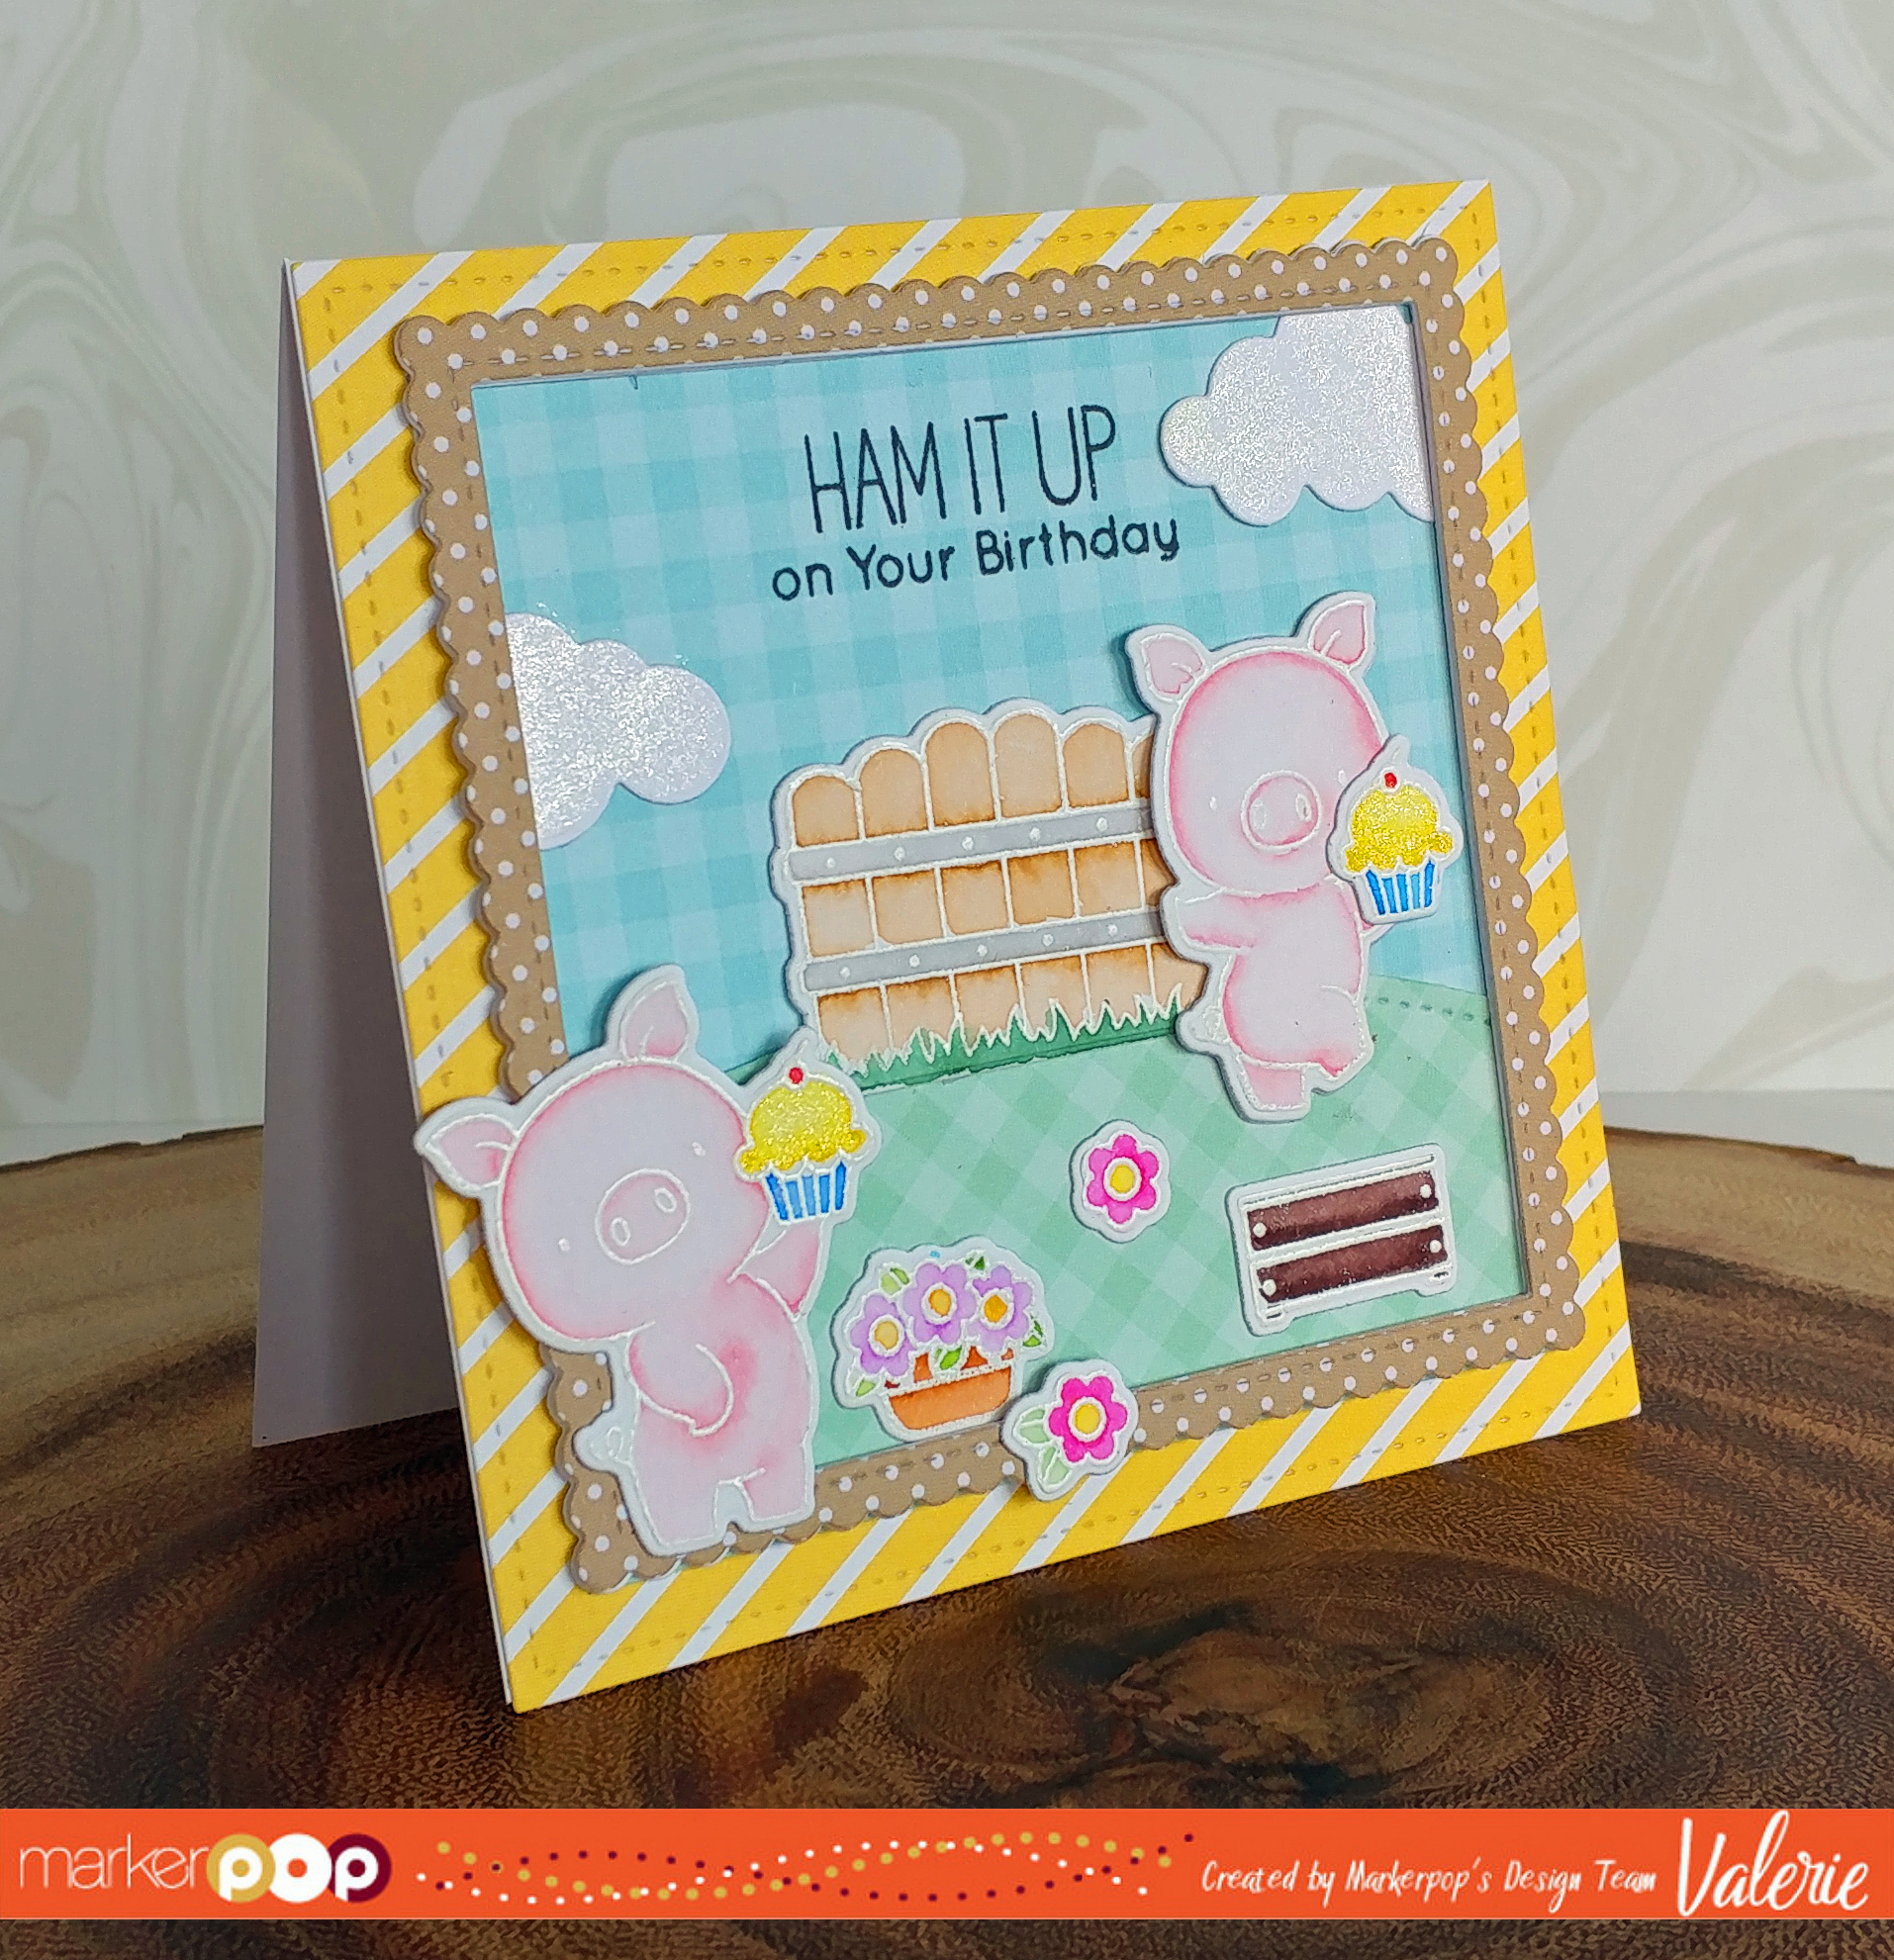
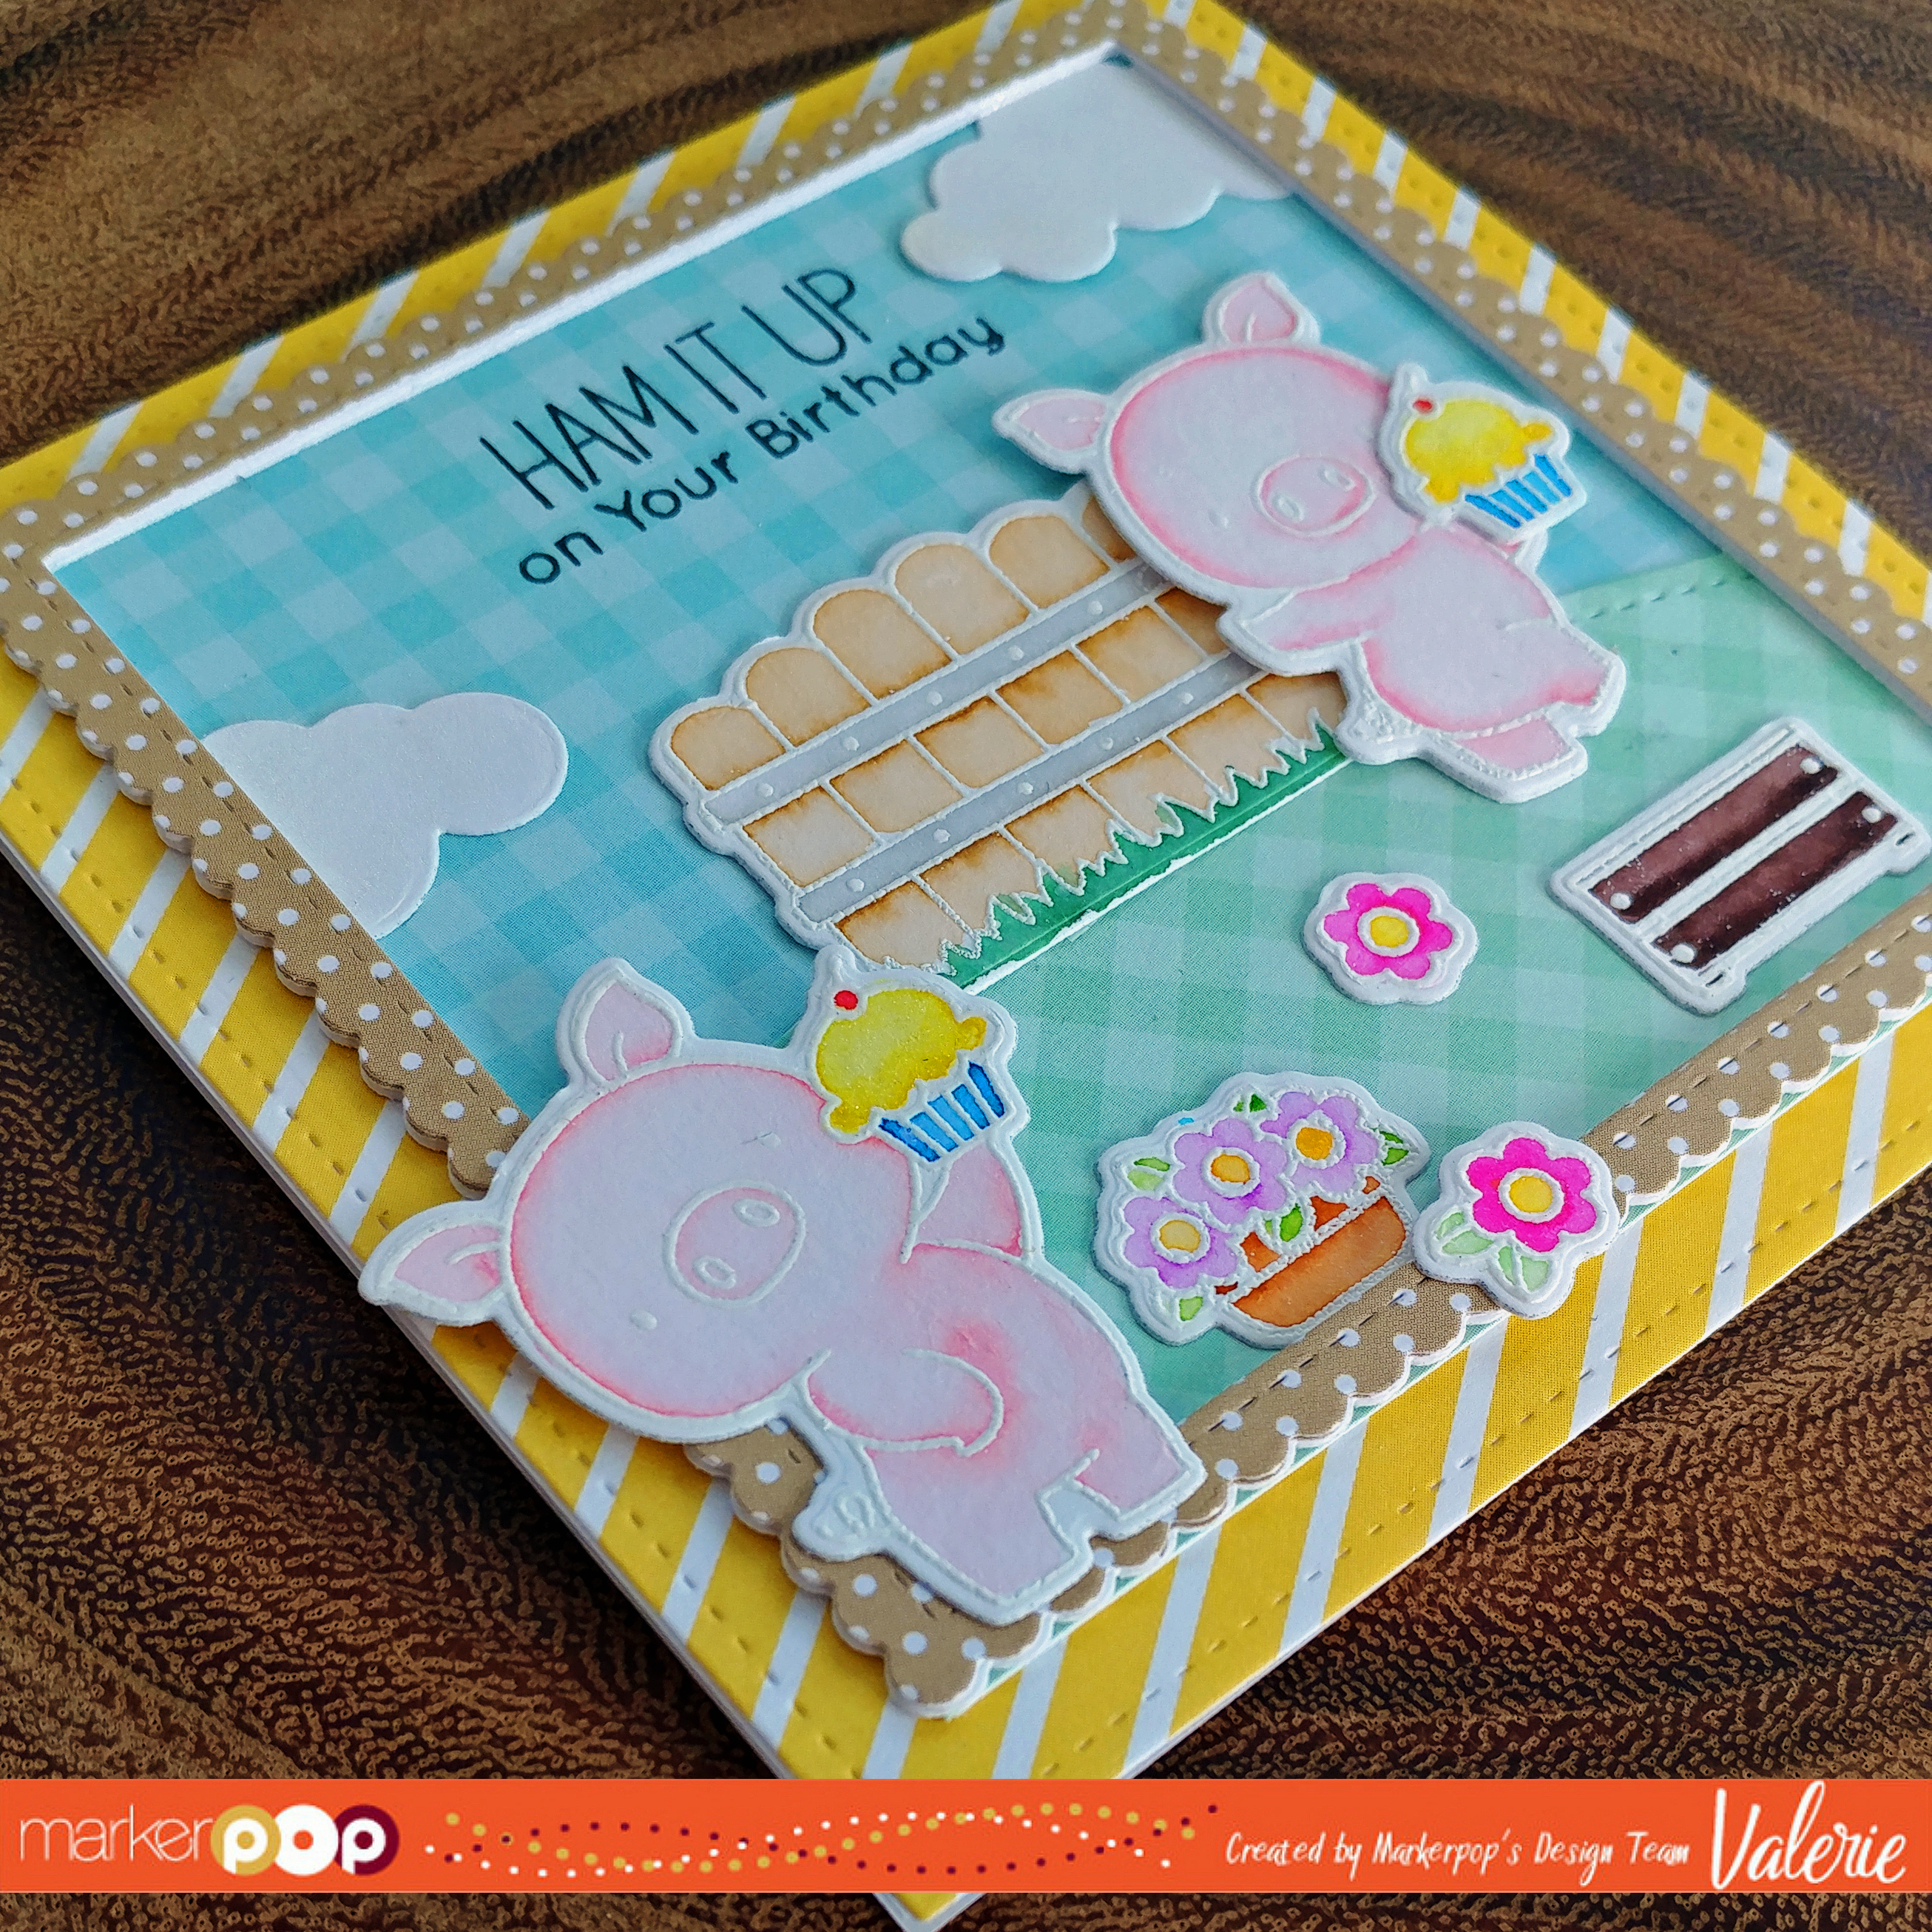
I created a fun interactive card that combines these MFT products:
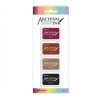
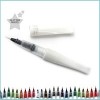
Join us as we celebrate watercolor all month here on the blog. The Design Team will be sharing lots of great projects and fun techniques. We will have two Challenges this month focusing on Watercolor, and we have Prizes! We will pick 2 winners for a Prima Confections Watercolor Pan Set Of 12 in Pastel Dreams, and a Zig Watercolor BrusH2O Long Detailer Tip. And 1 Grand Prize – The New Winsor & Newton Cotman Watercolor Brush Pen Set of 12.
To enter, join us for each of our Challenges this month and share the contest info with your friends using the Hashtag#mpwatercolorgiveaway
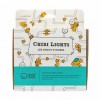
Hi Crafters! Have you heard of Chibitronics?! Well, MarkerPop is carrying them! This system is where you use LED circuit stickers to build circuits and create little lights on your projects!
Here’s their pageexplaining what’s possible. The following video shows how to complete a simple circuit; there are other videos on the above linked page, too.
On my project I’m usingChibitronics for the first time; my project is very simple and basic; of course you can go detailed and all fancy, too.
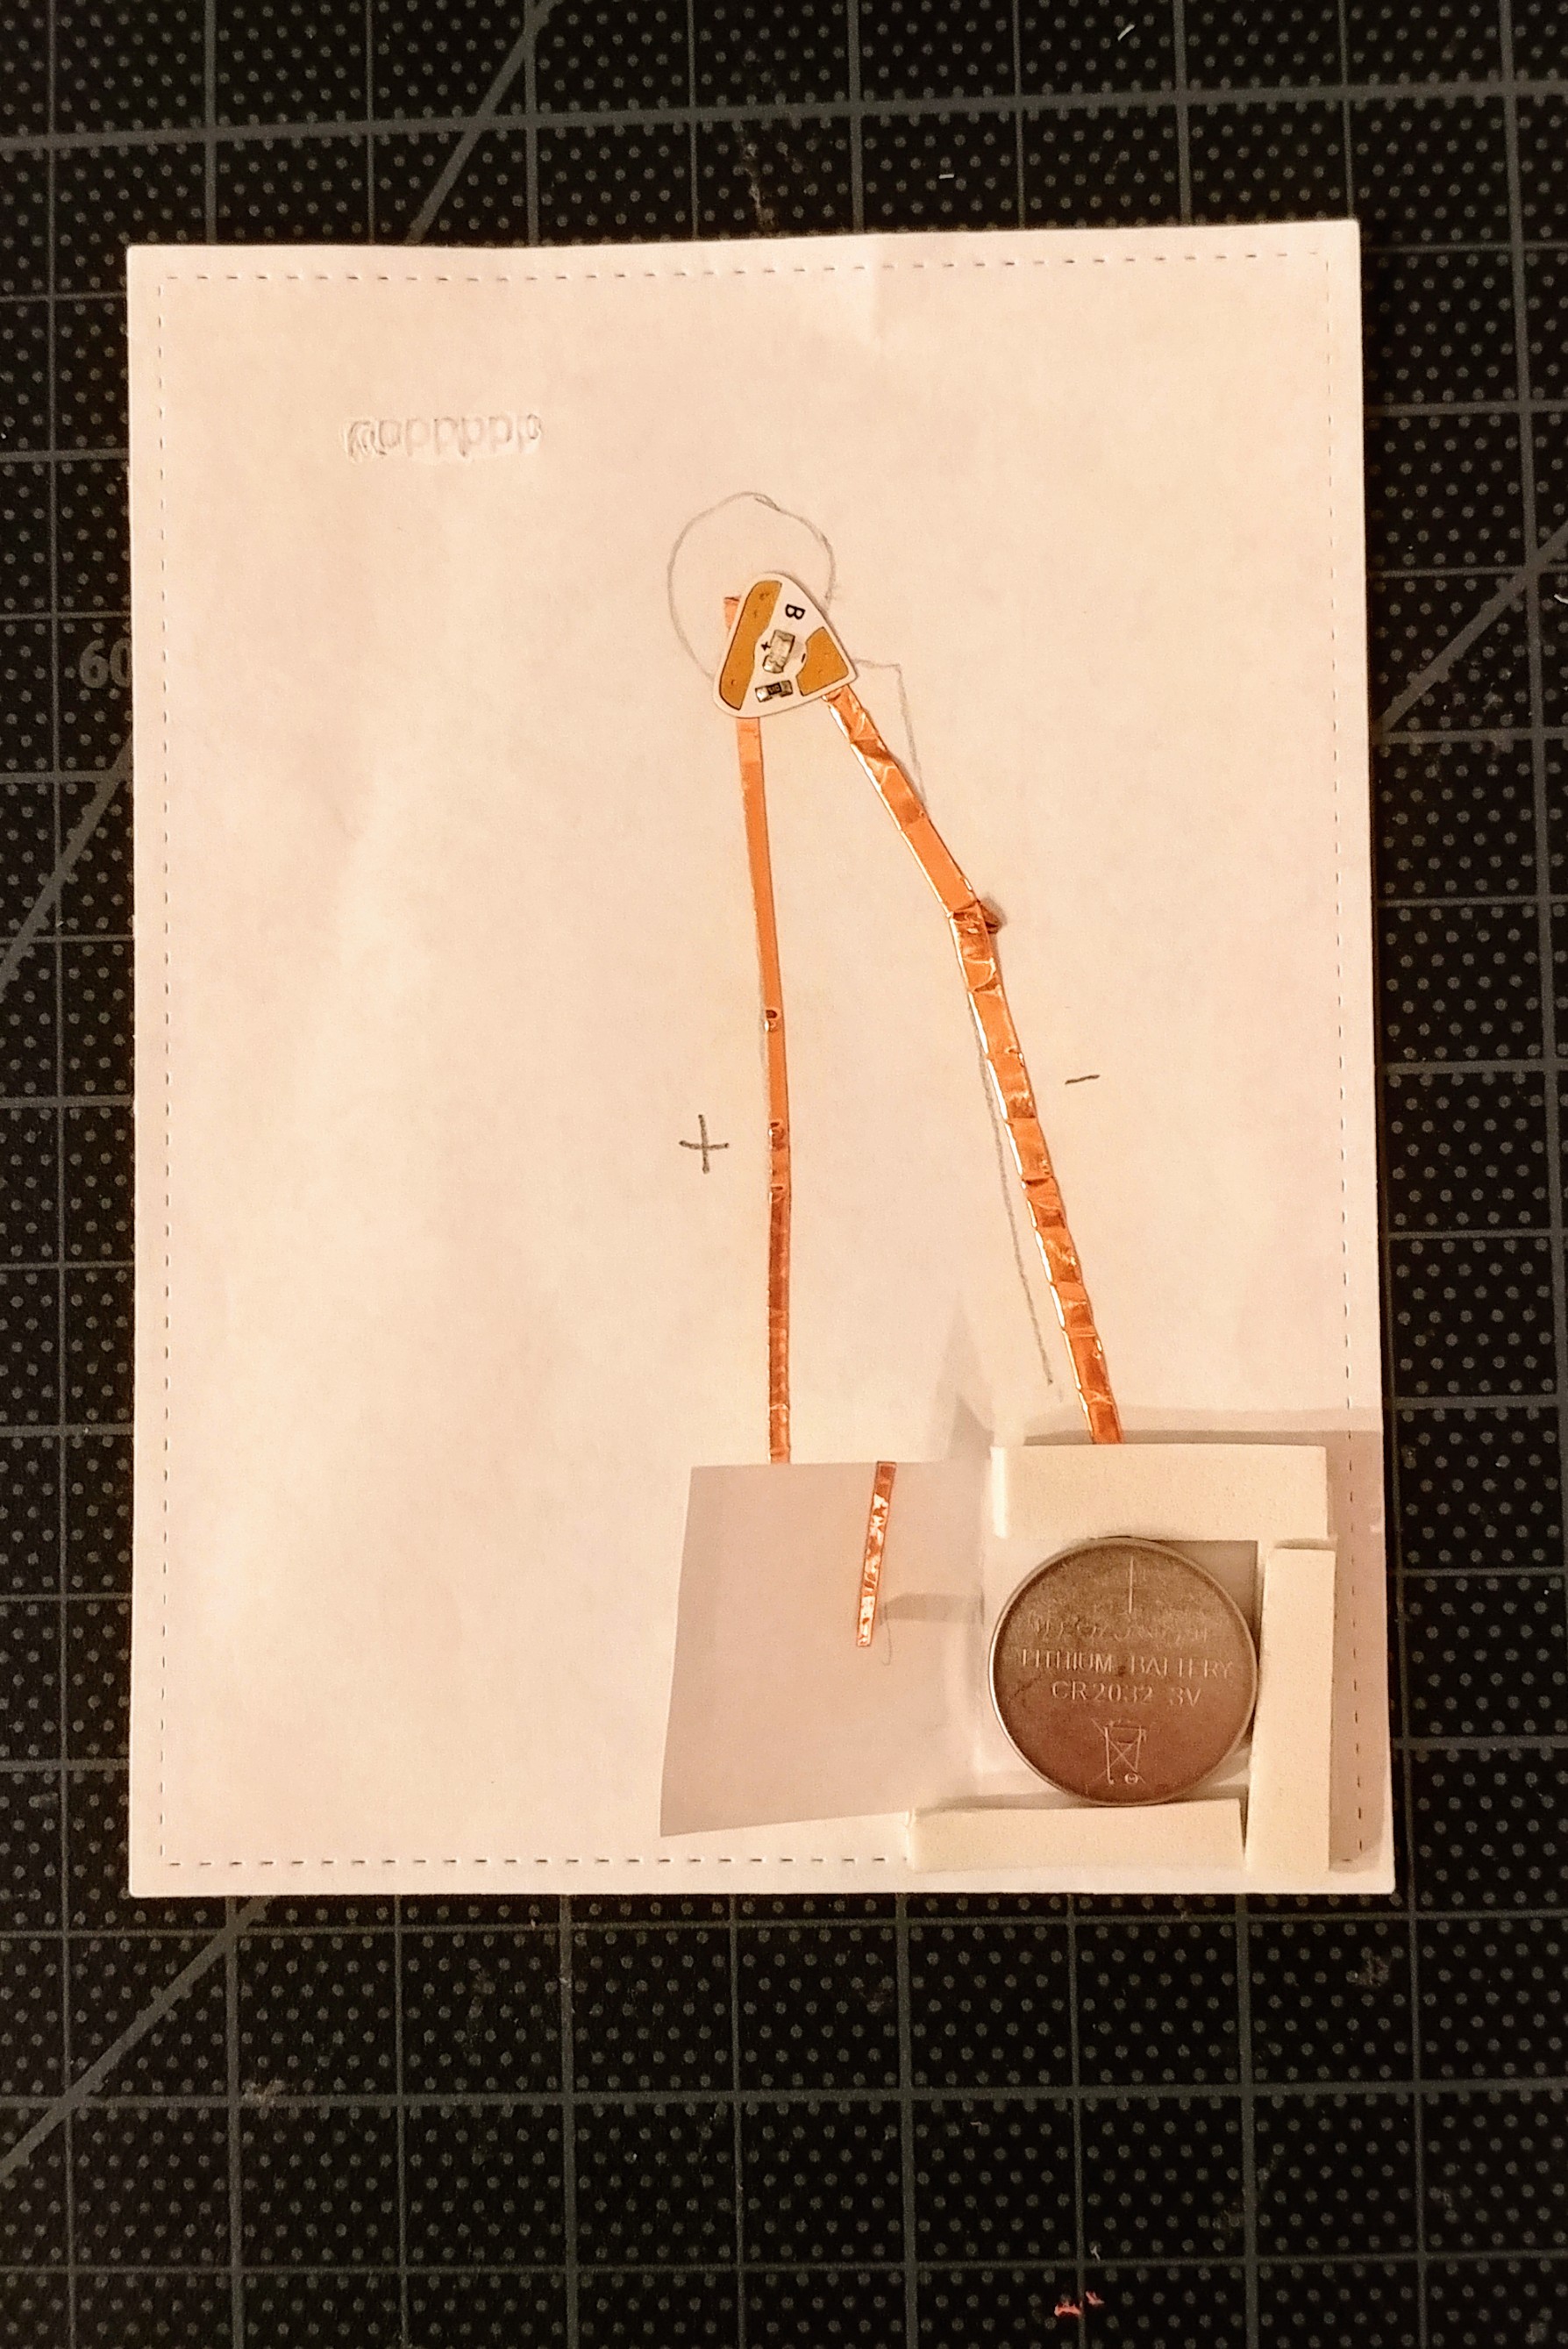
Here you’ll see my pencil sketch of where the light is going to be, and the path for the currents to the battery. And in the 2nd picture, you see me pressing the current onto the battery so the light will light up!
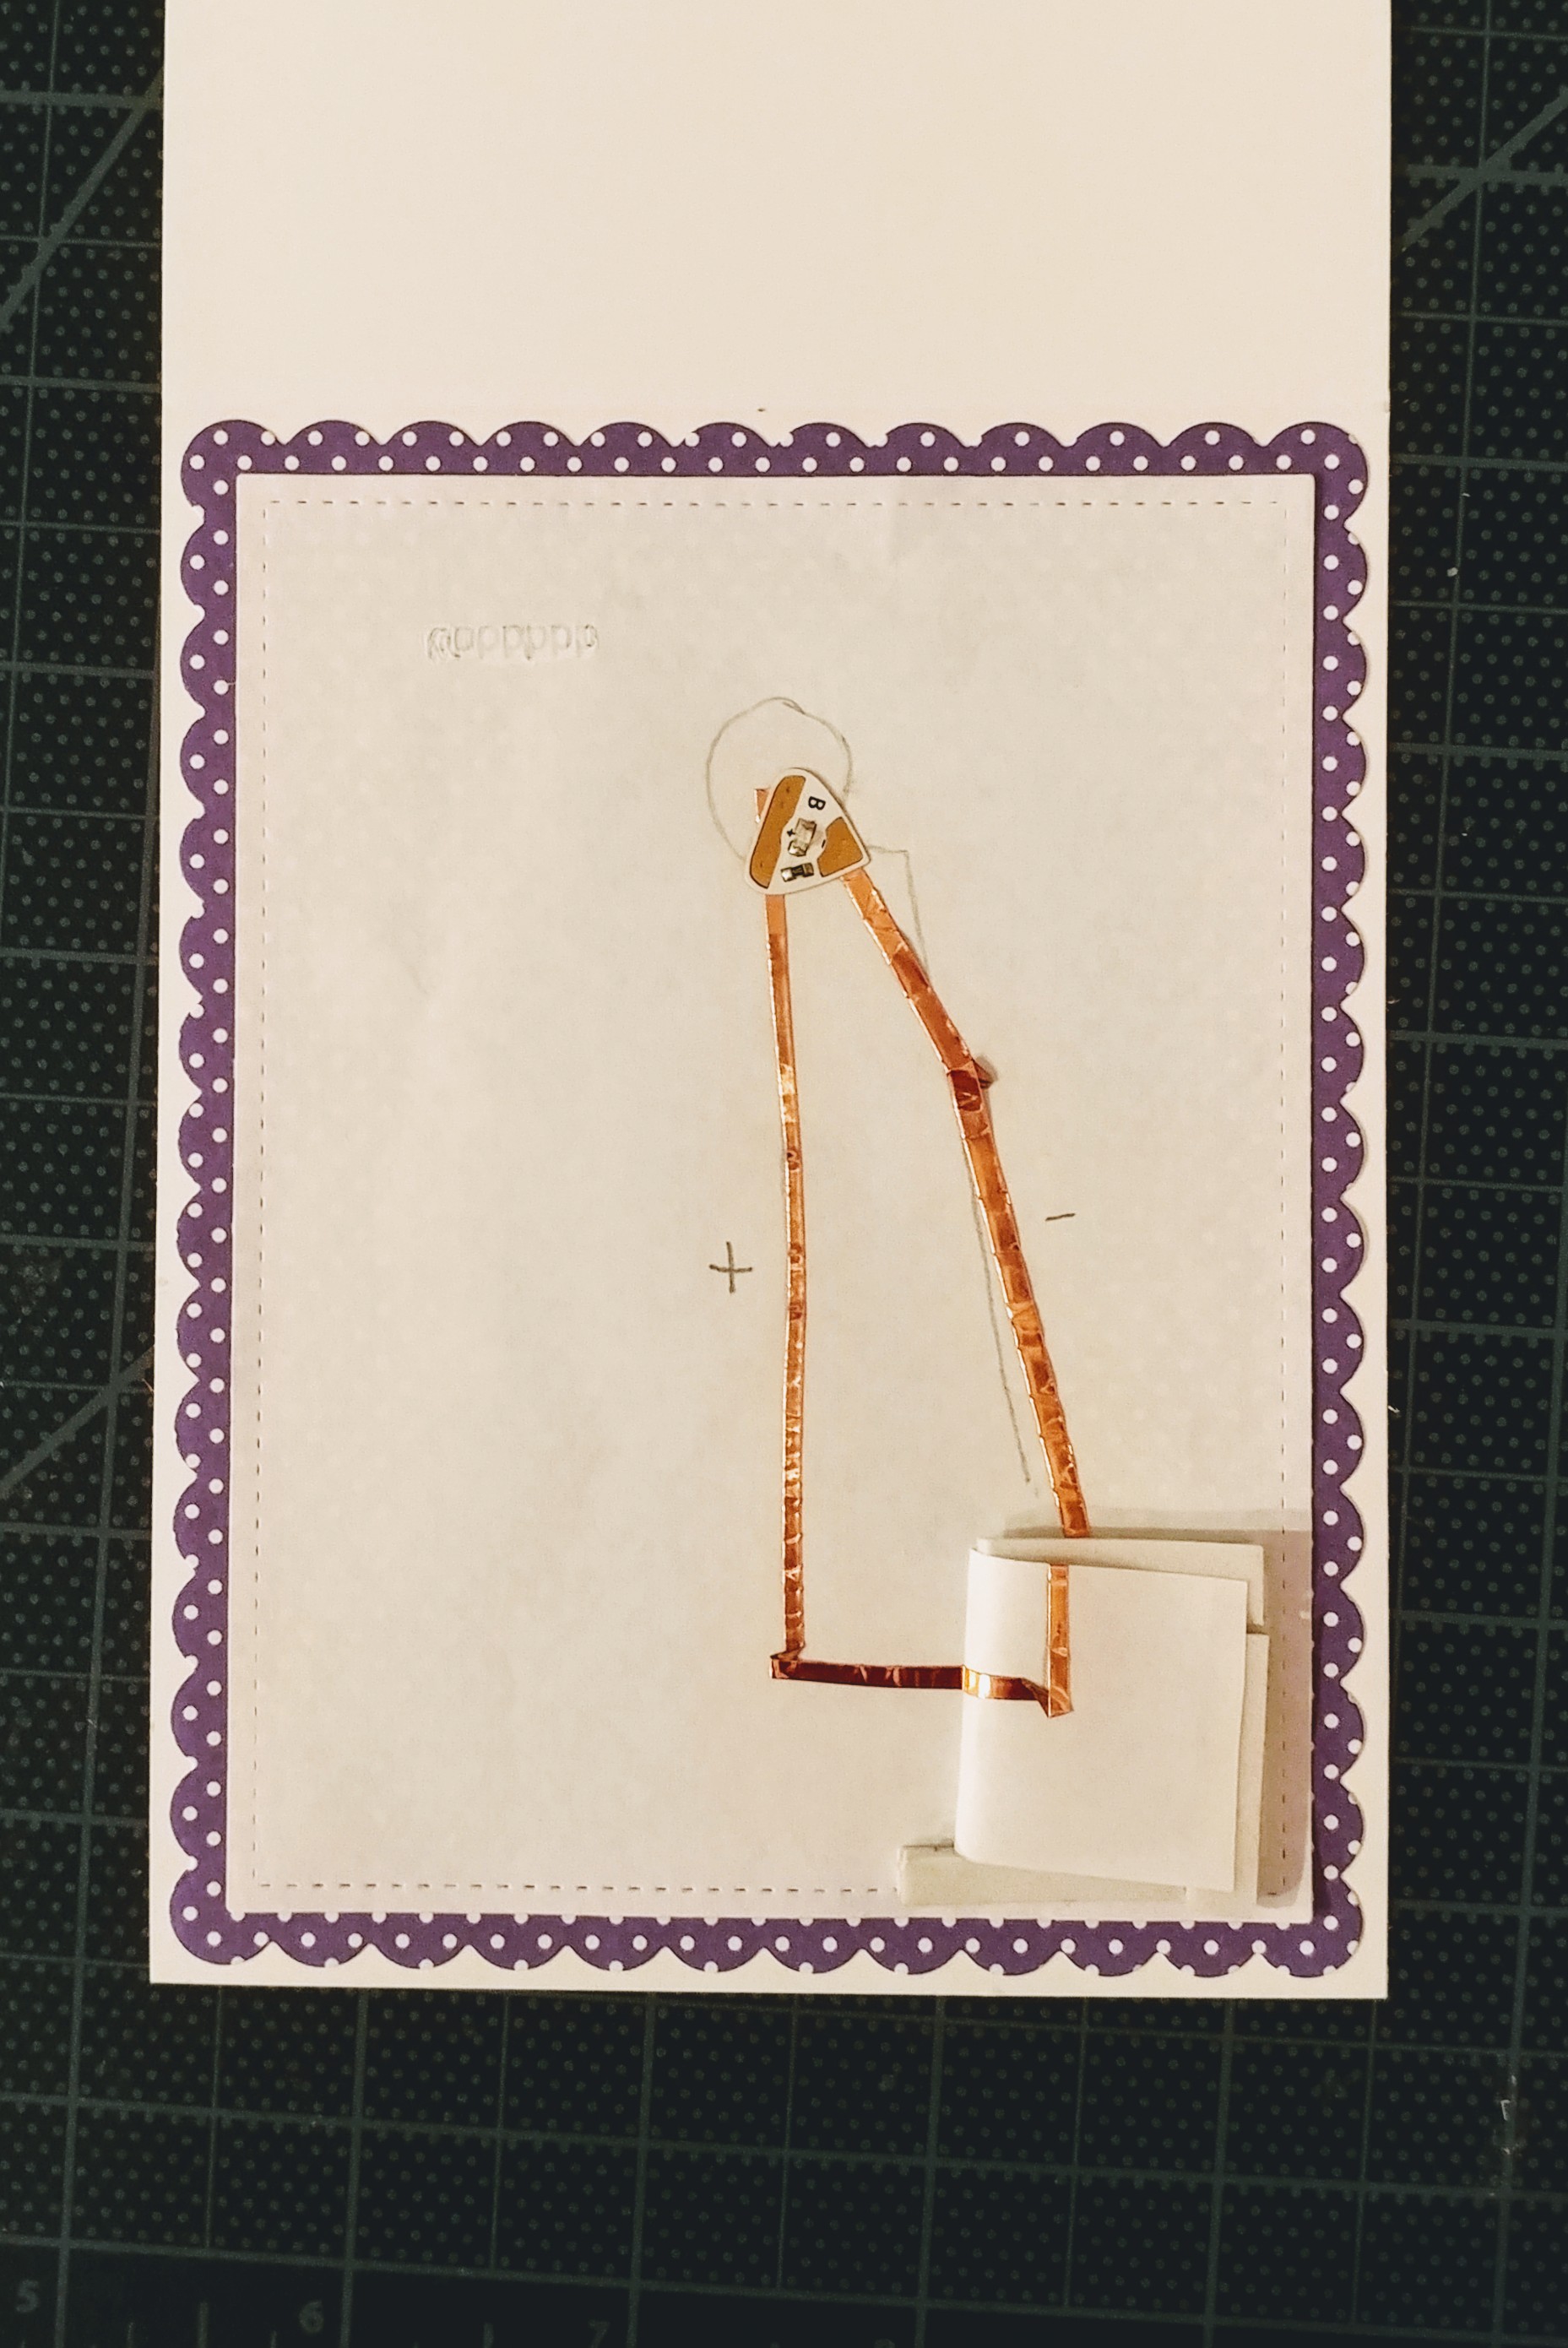
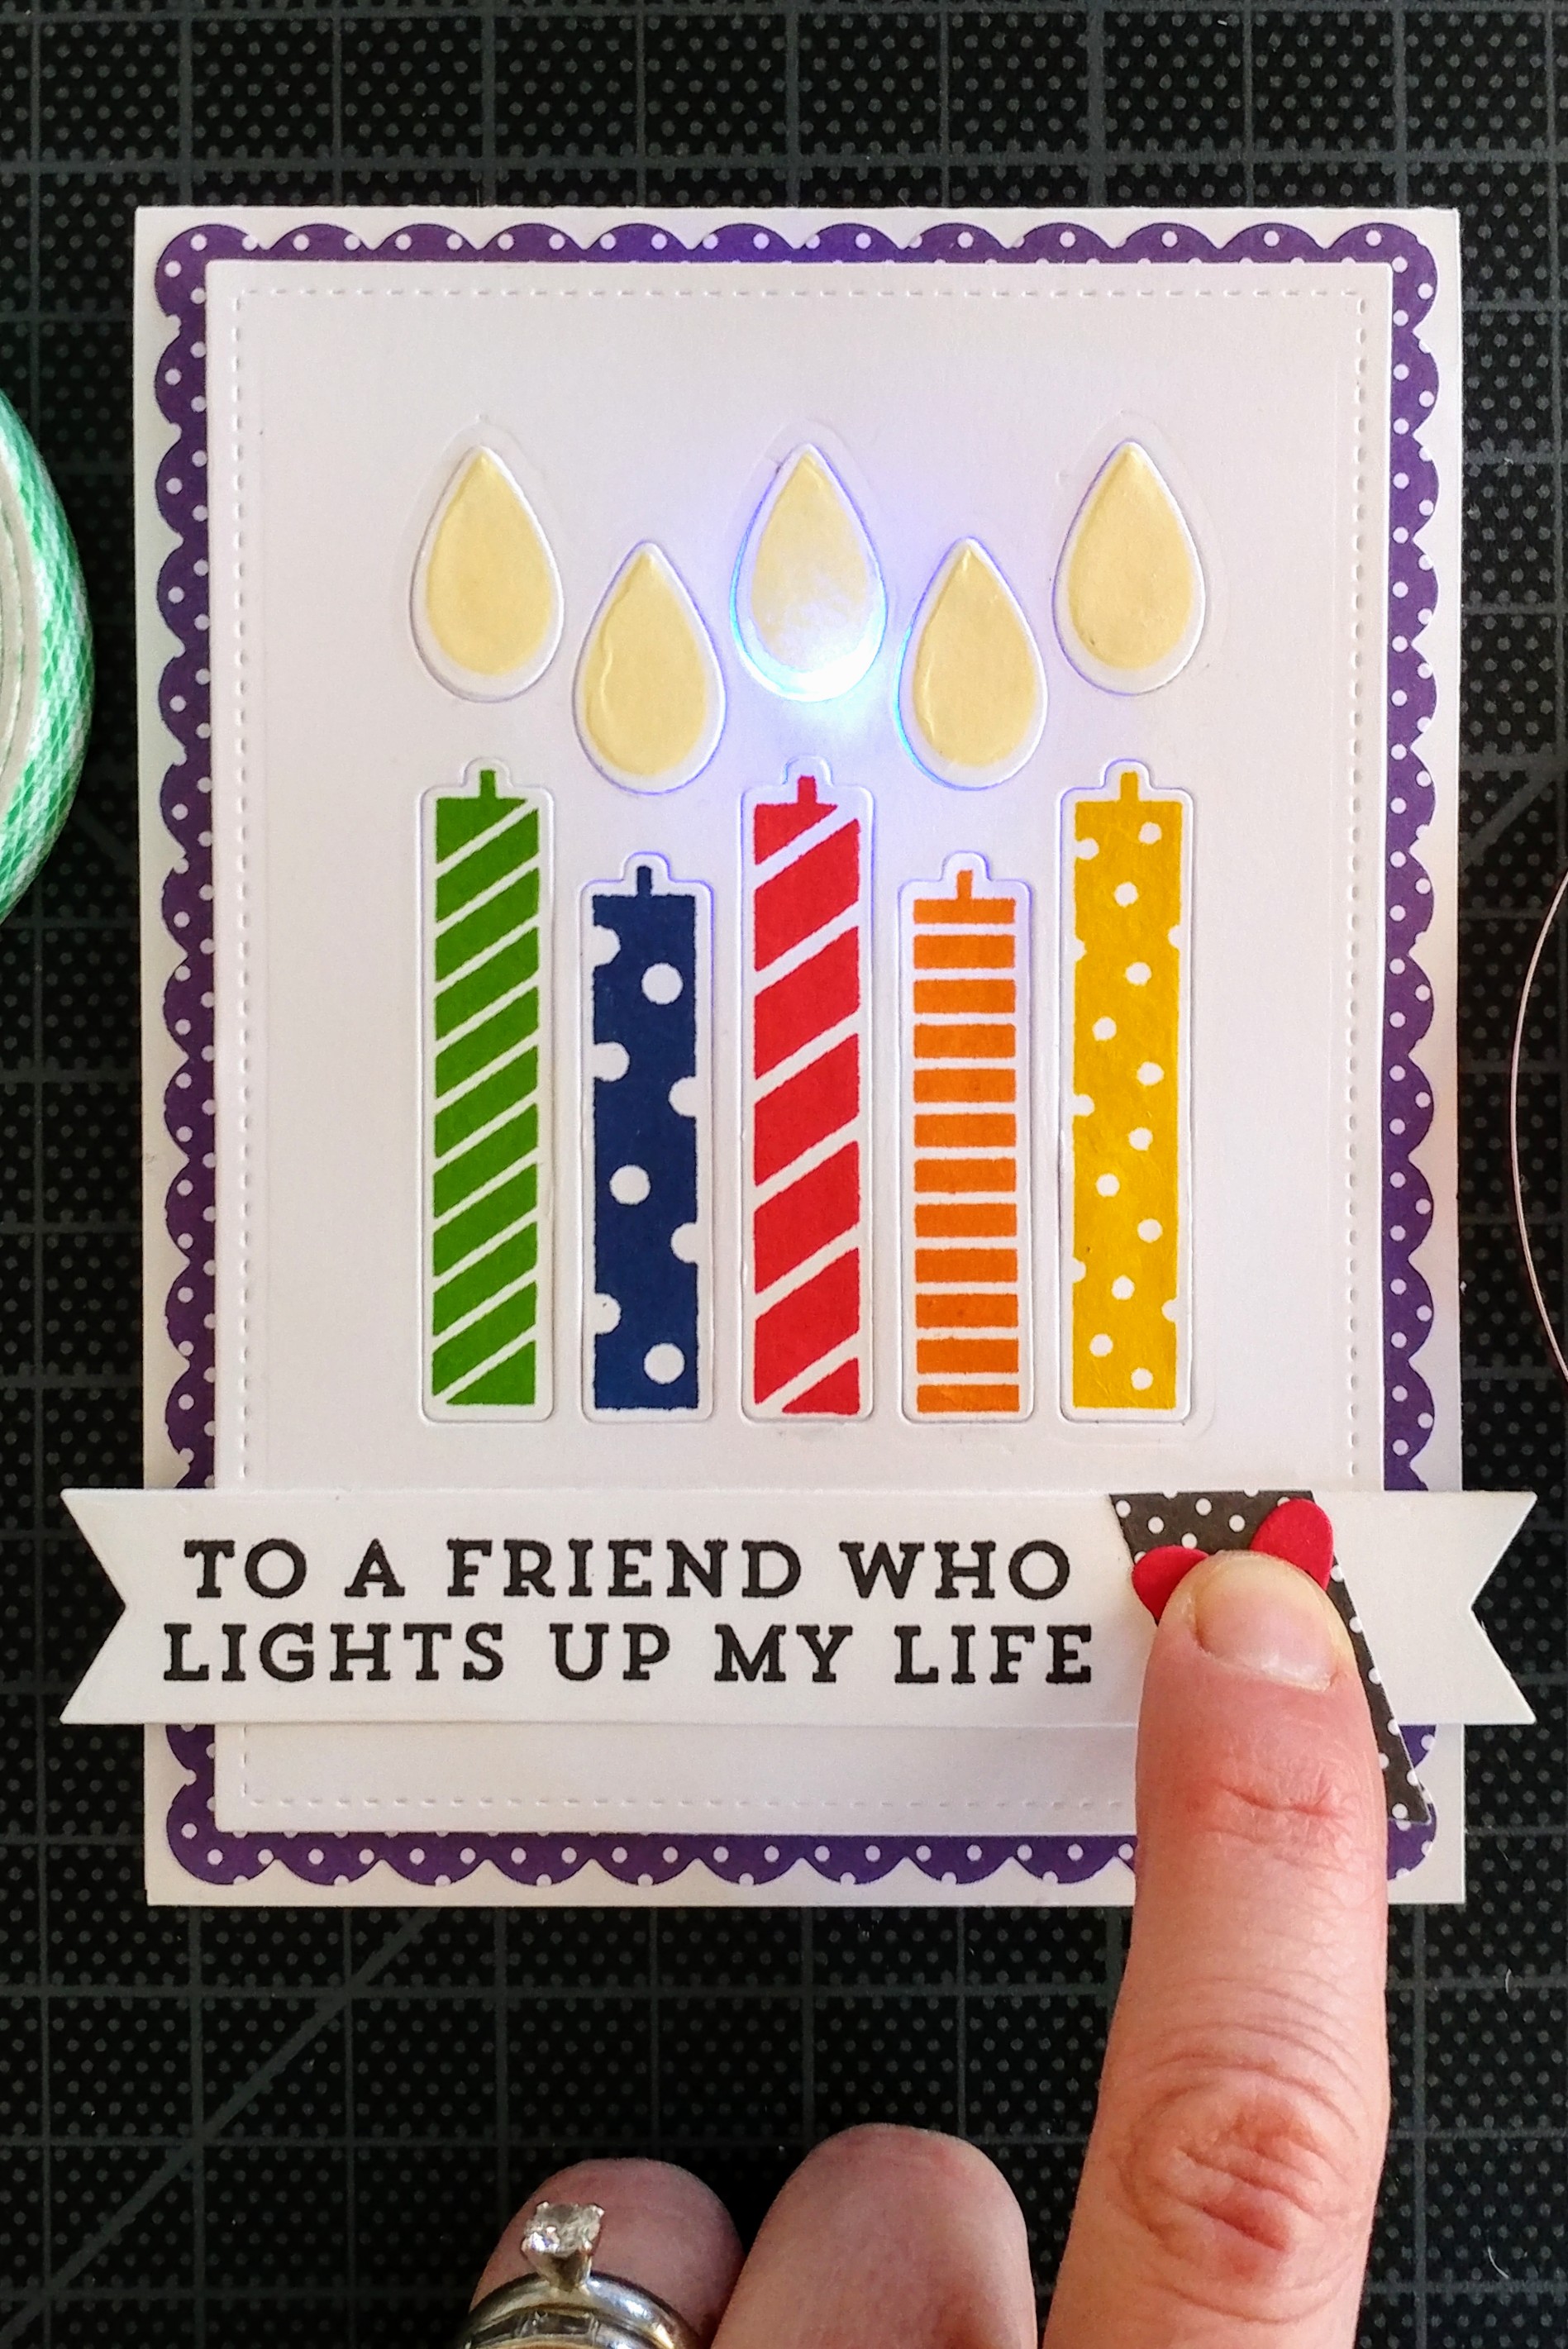
Now the background current “stuff” is mounted onto the scalloped background piece. And then you can see the finished product in action!
My project was part of a set I created; here’s my set and how I created it:
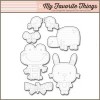
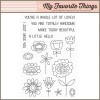
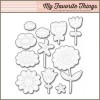
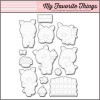
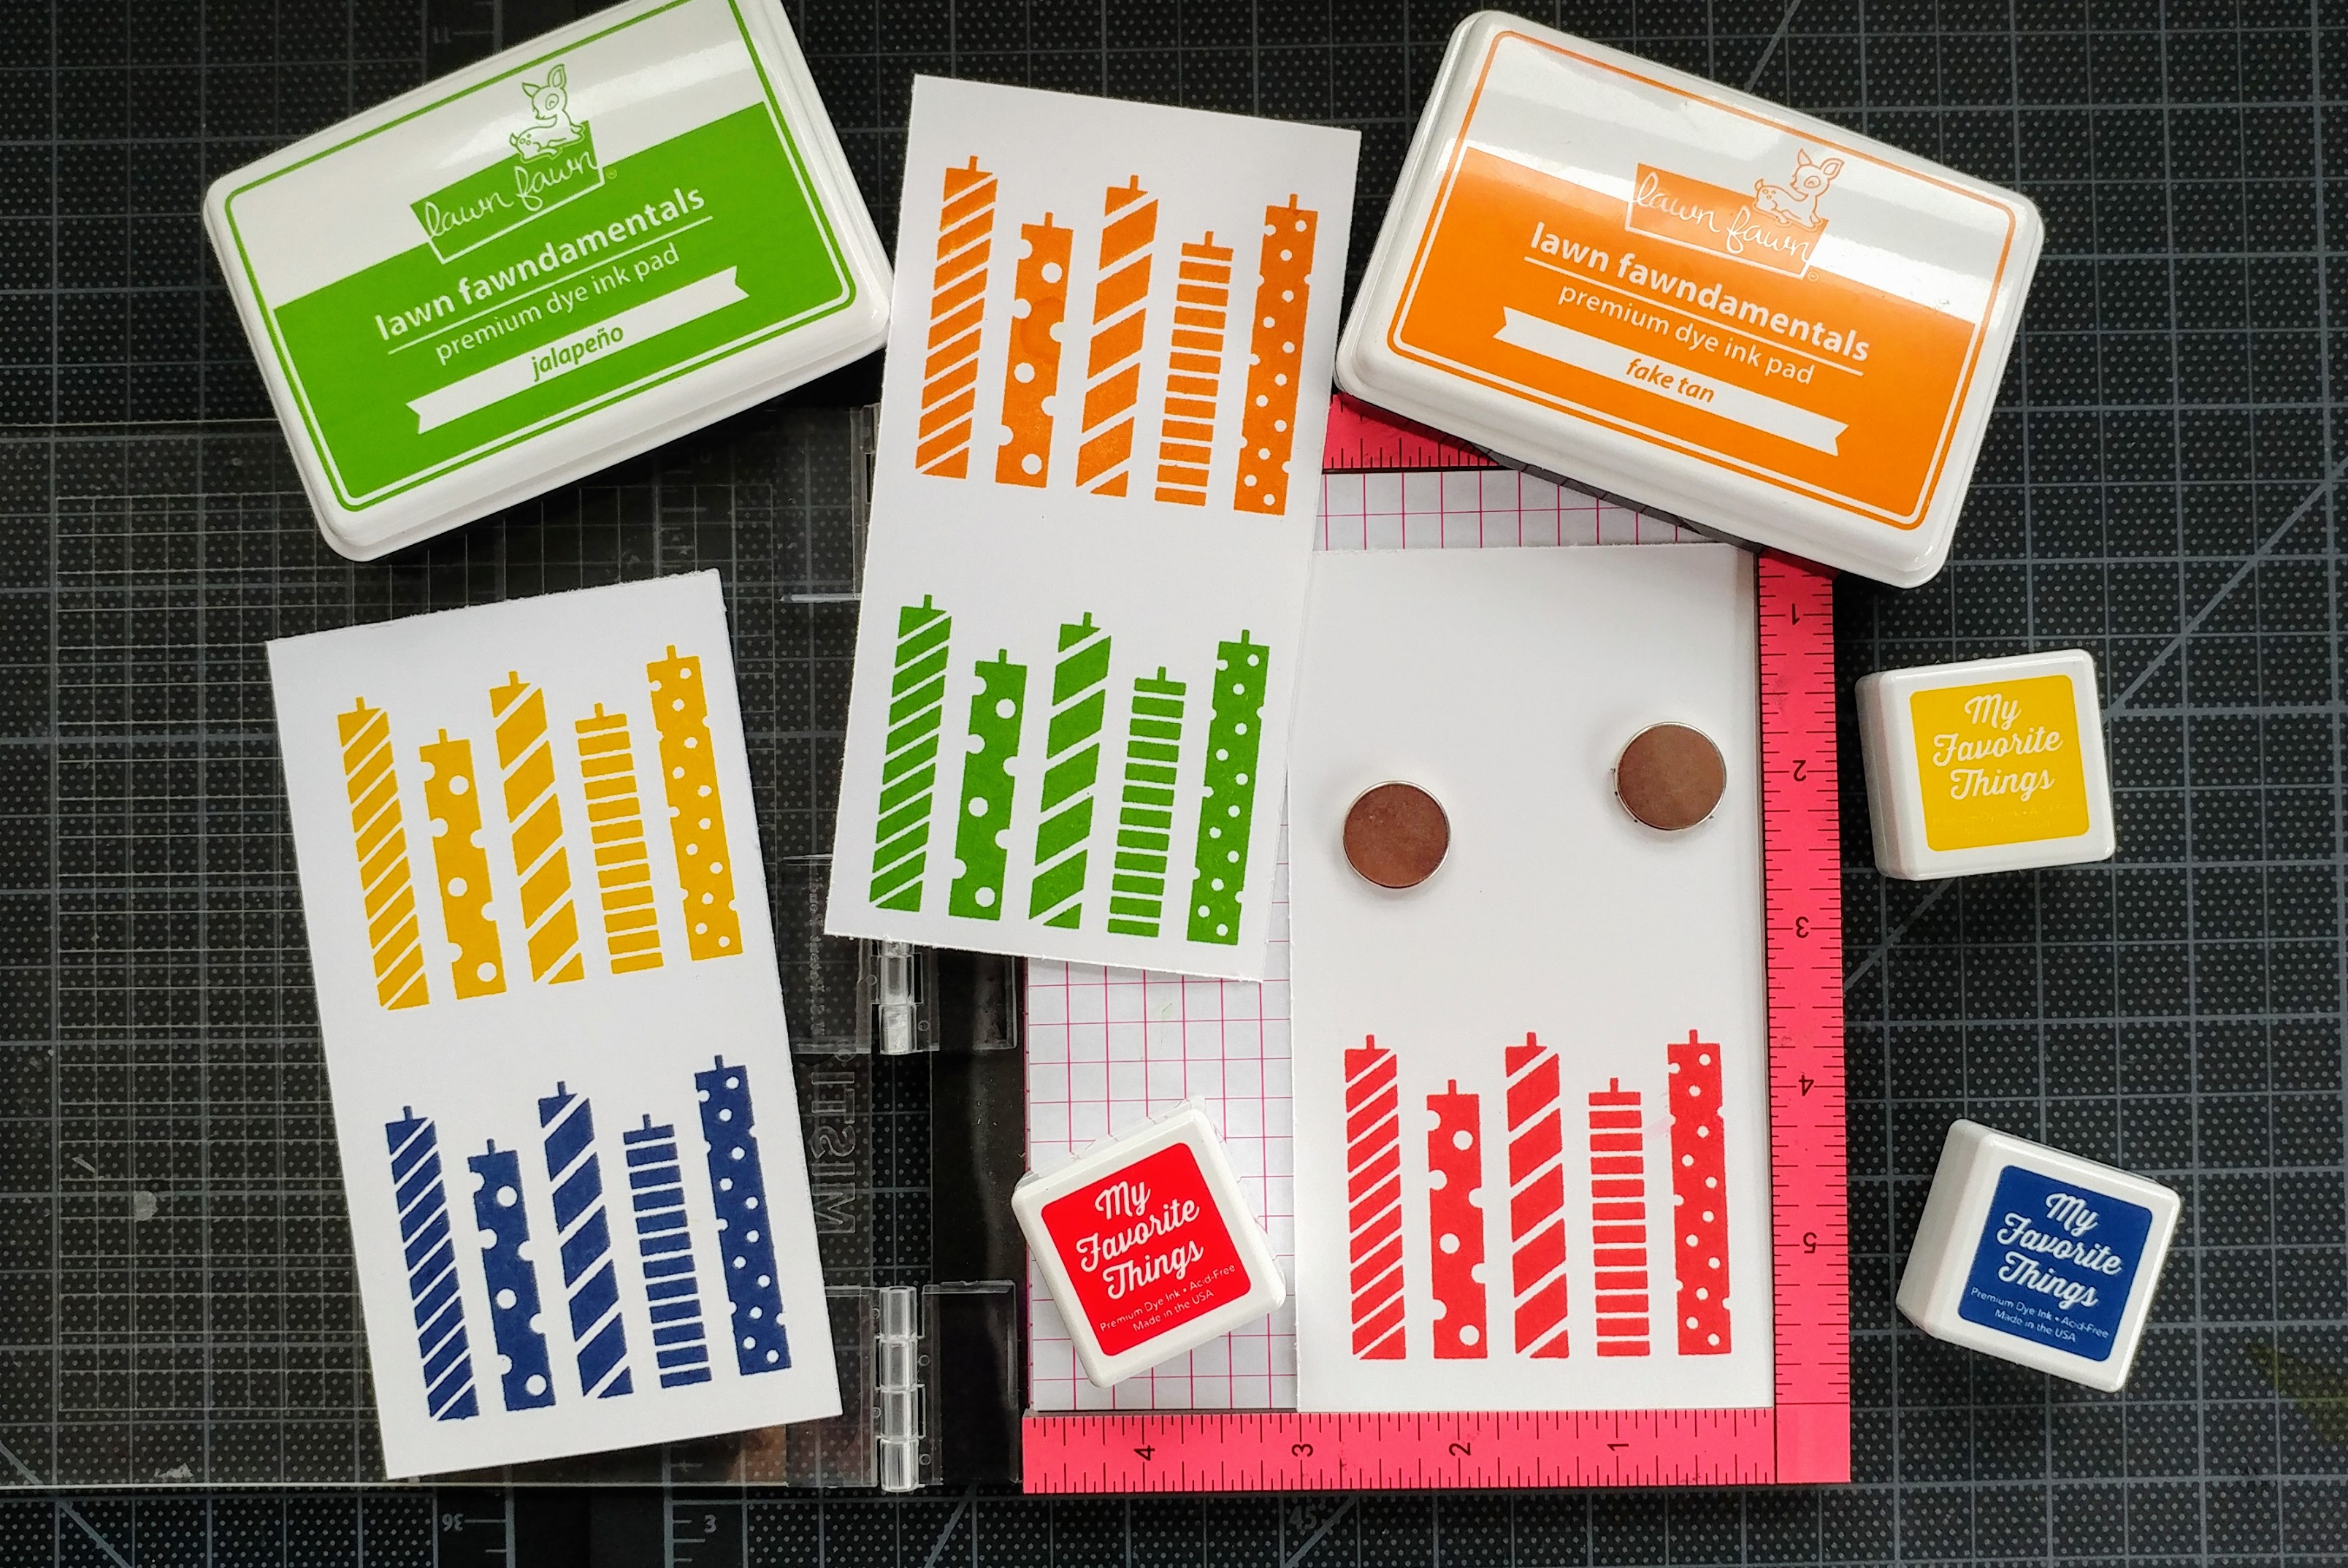
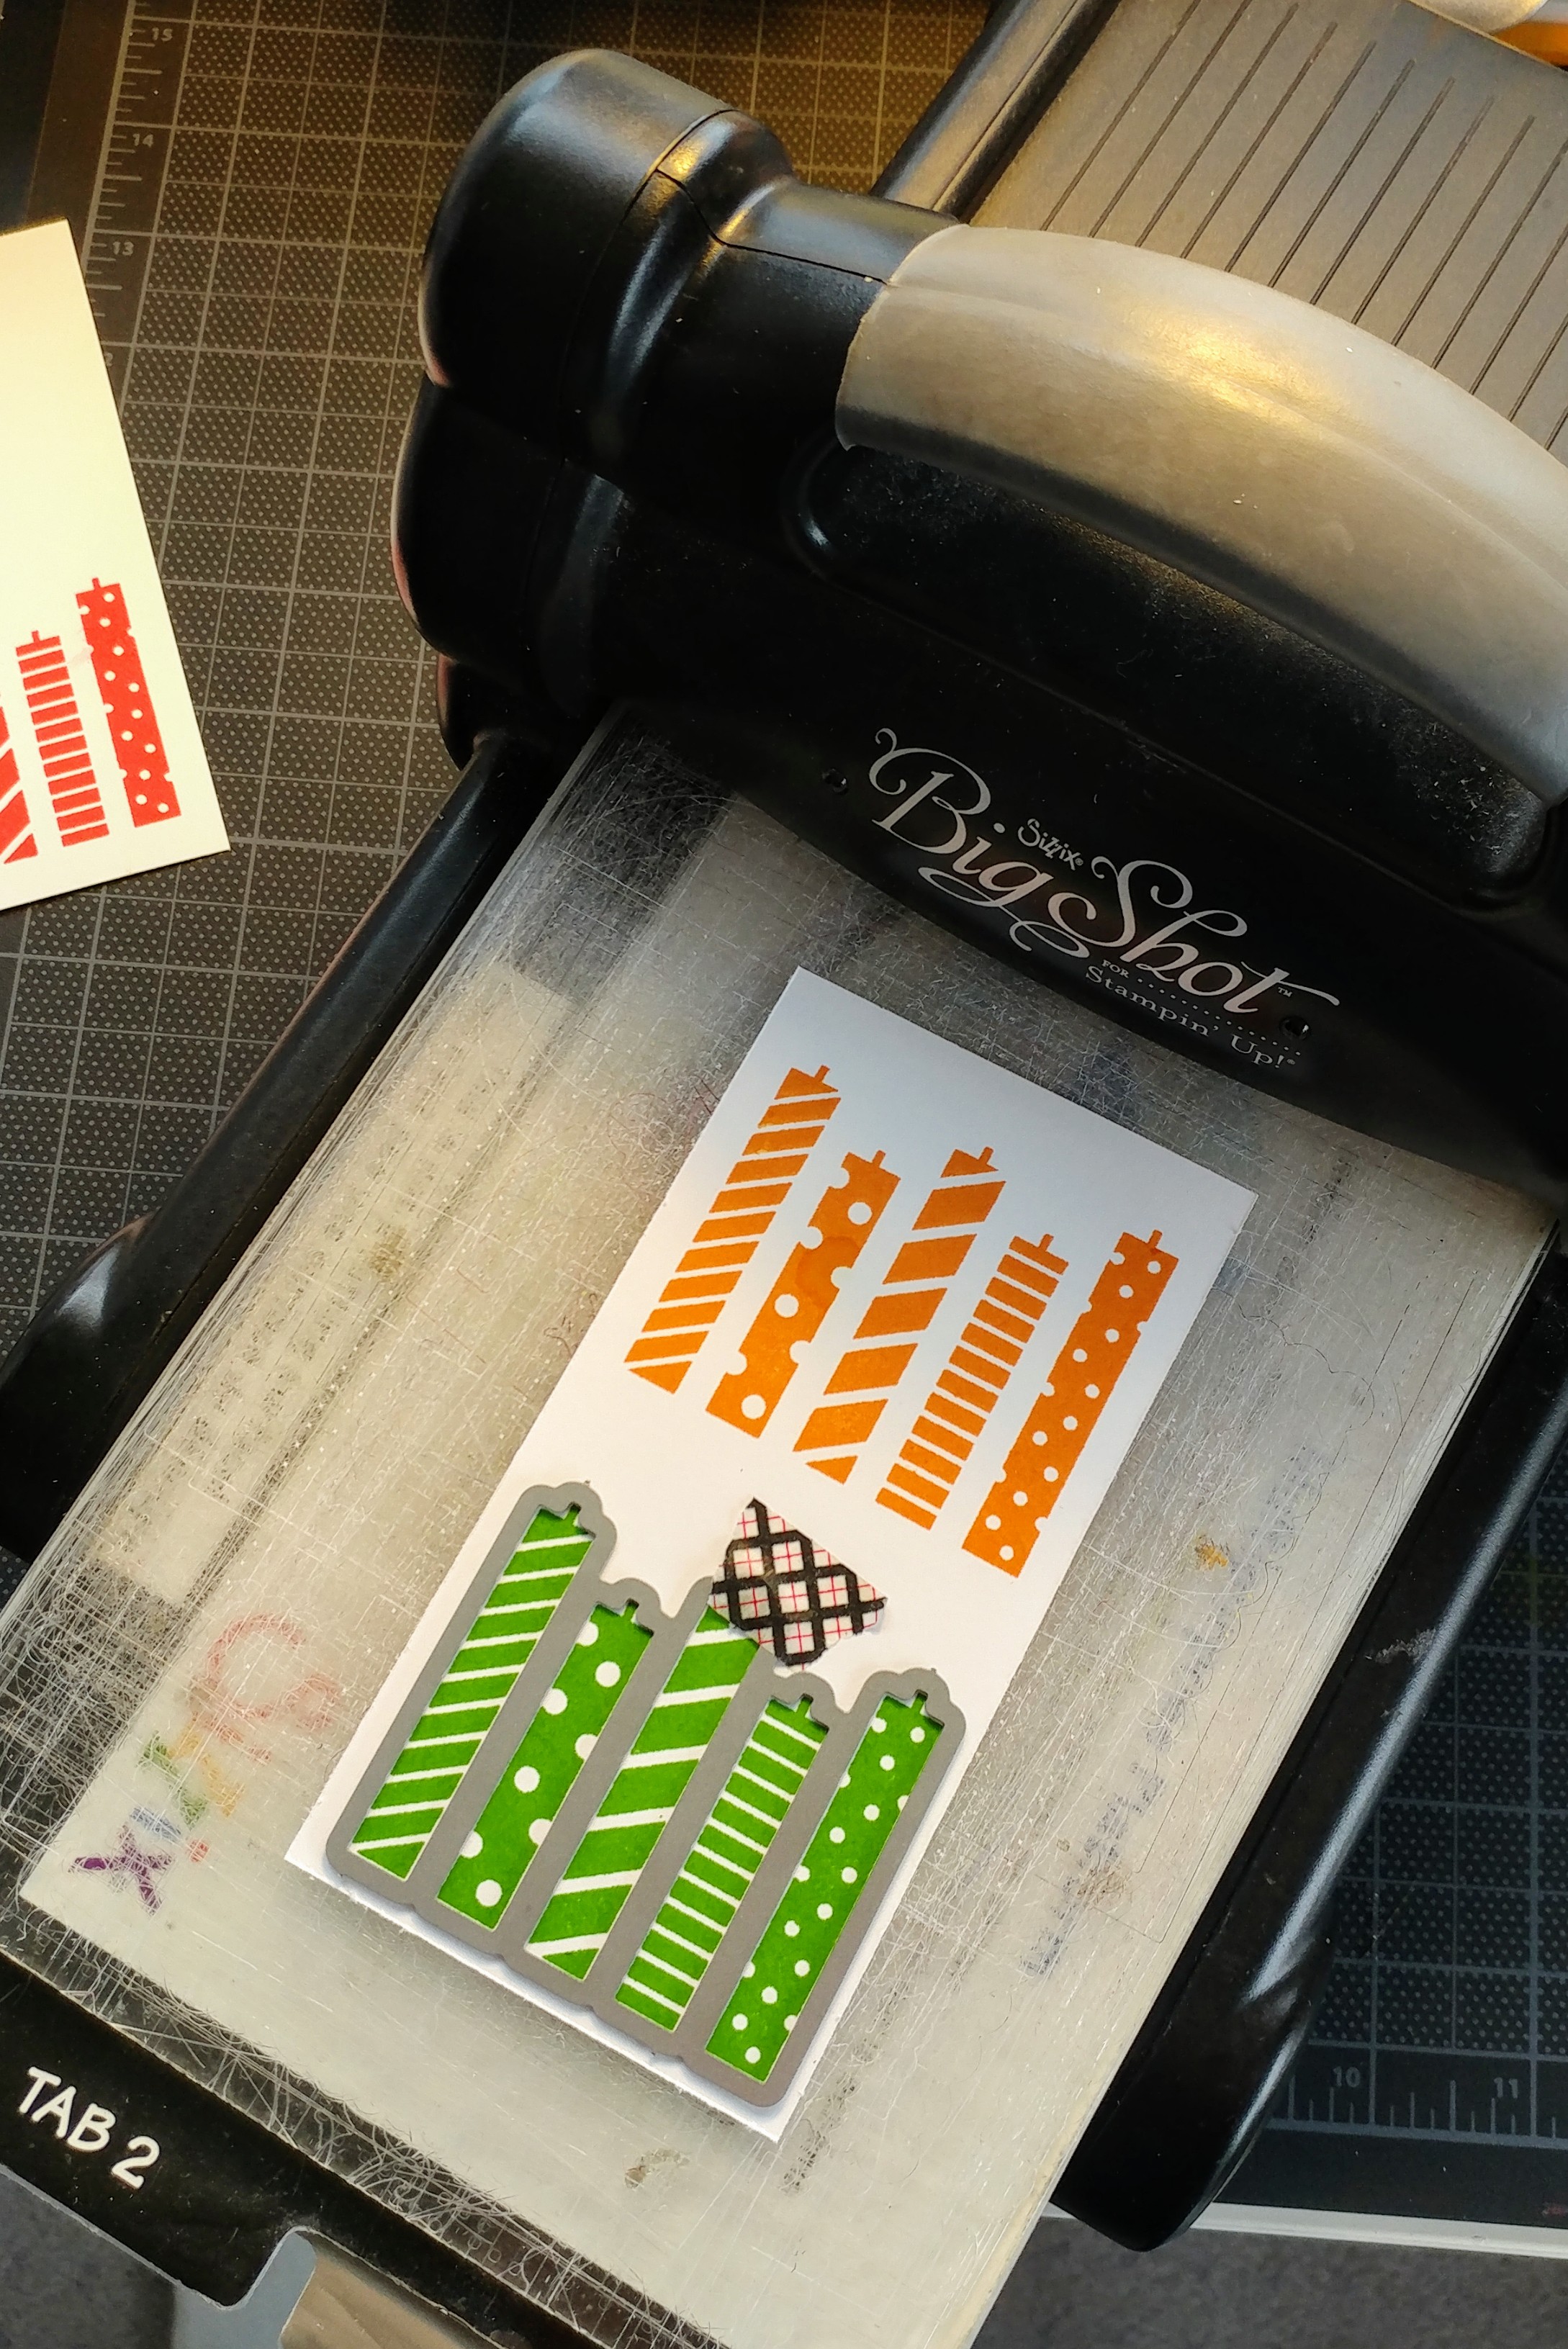
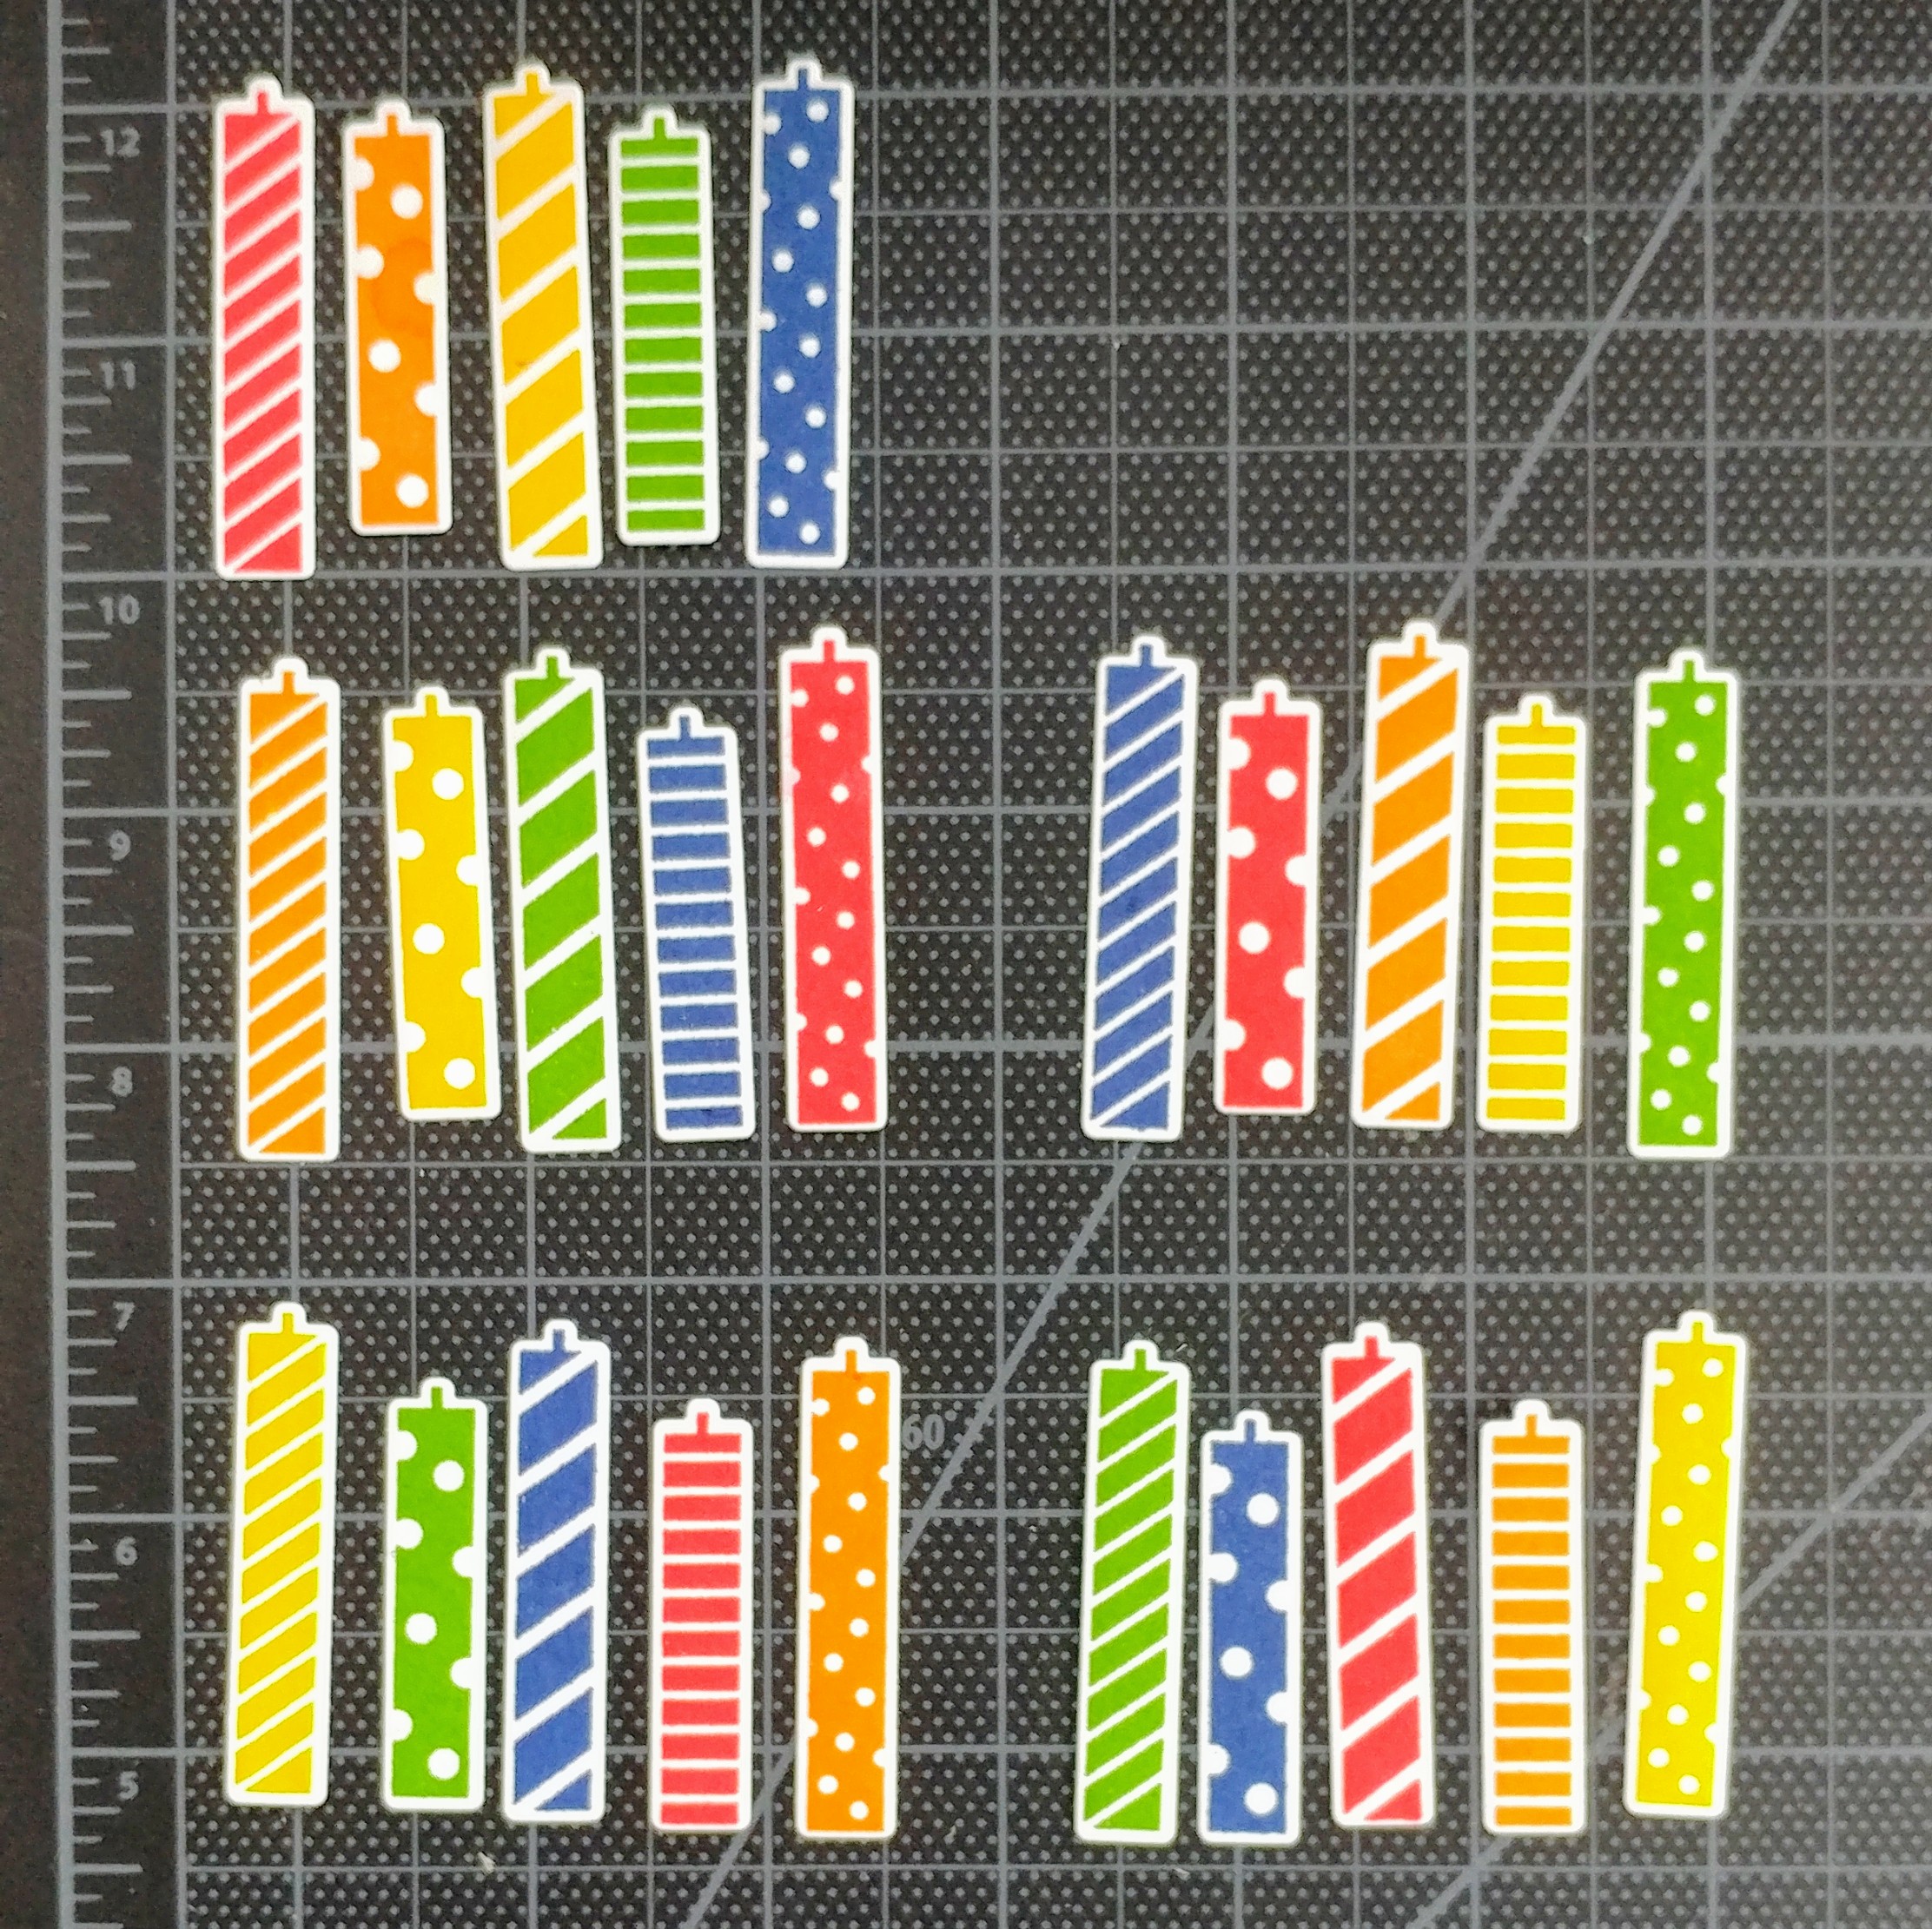
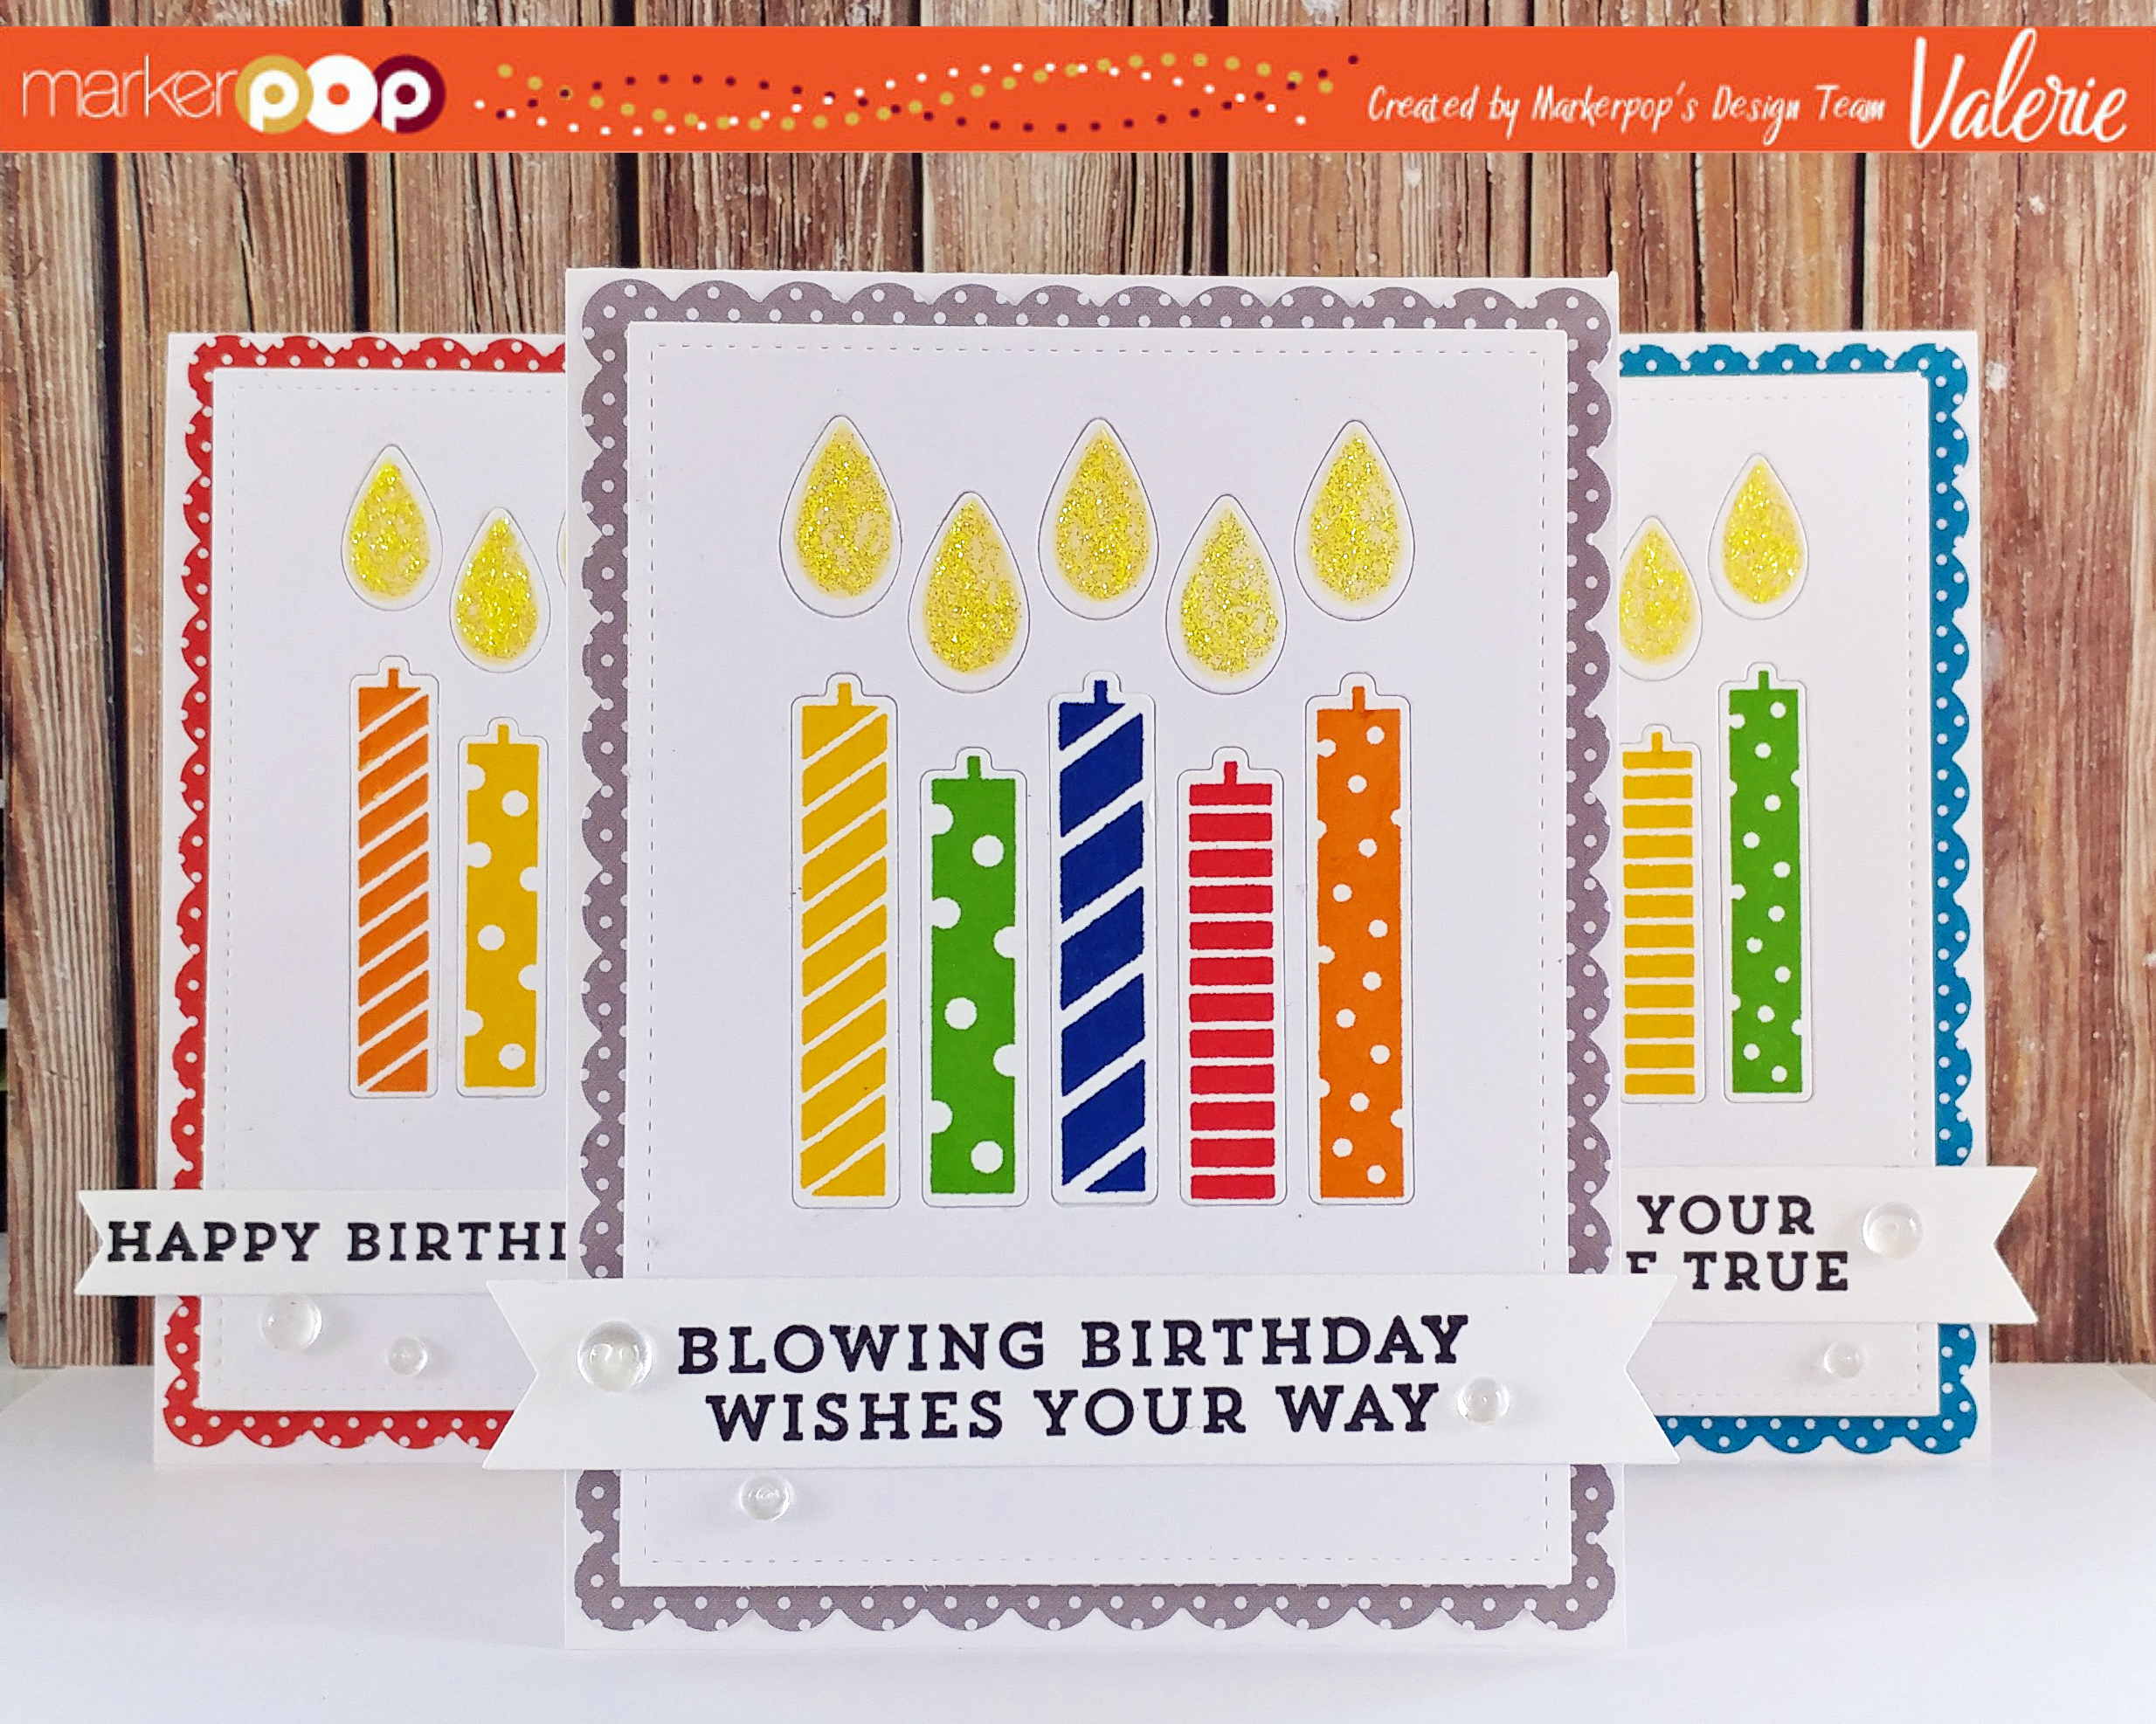
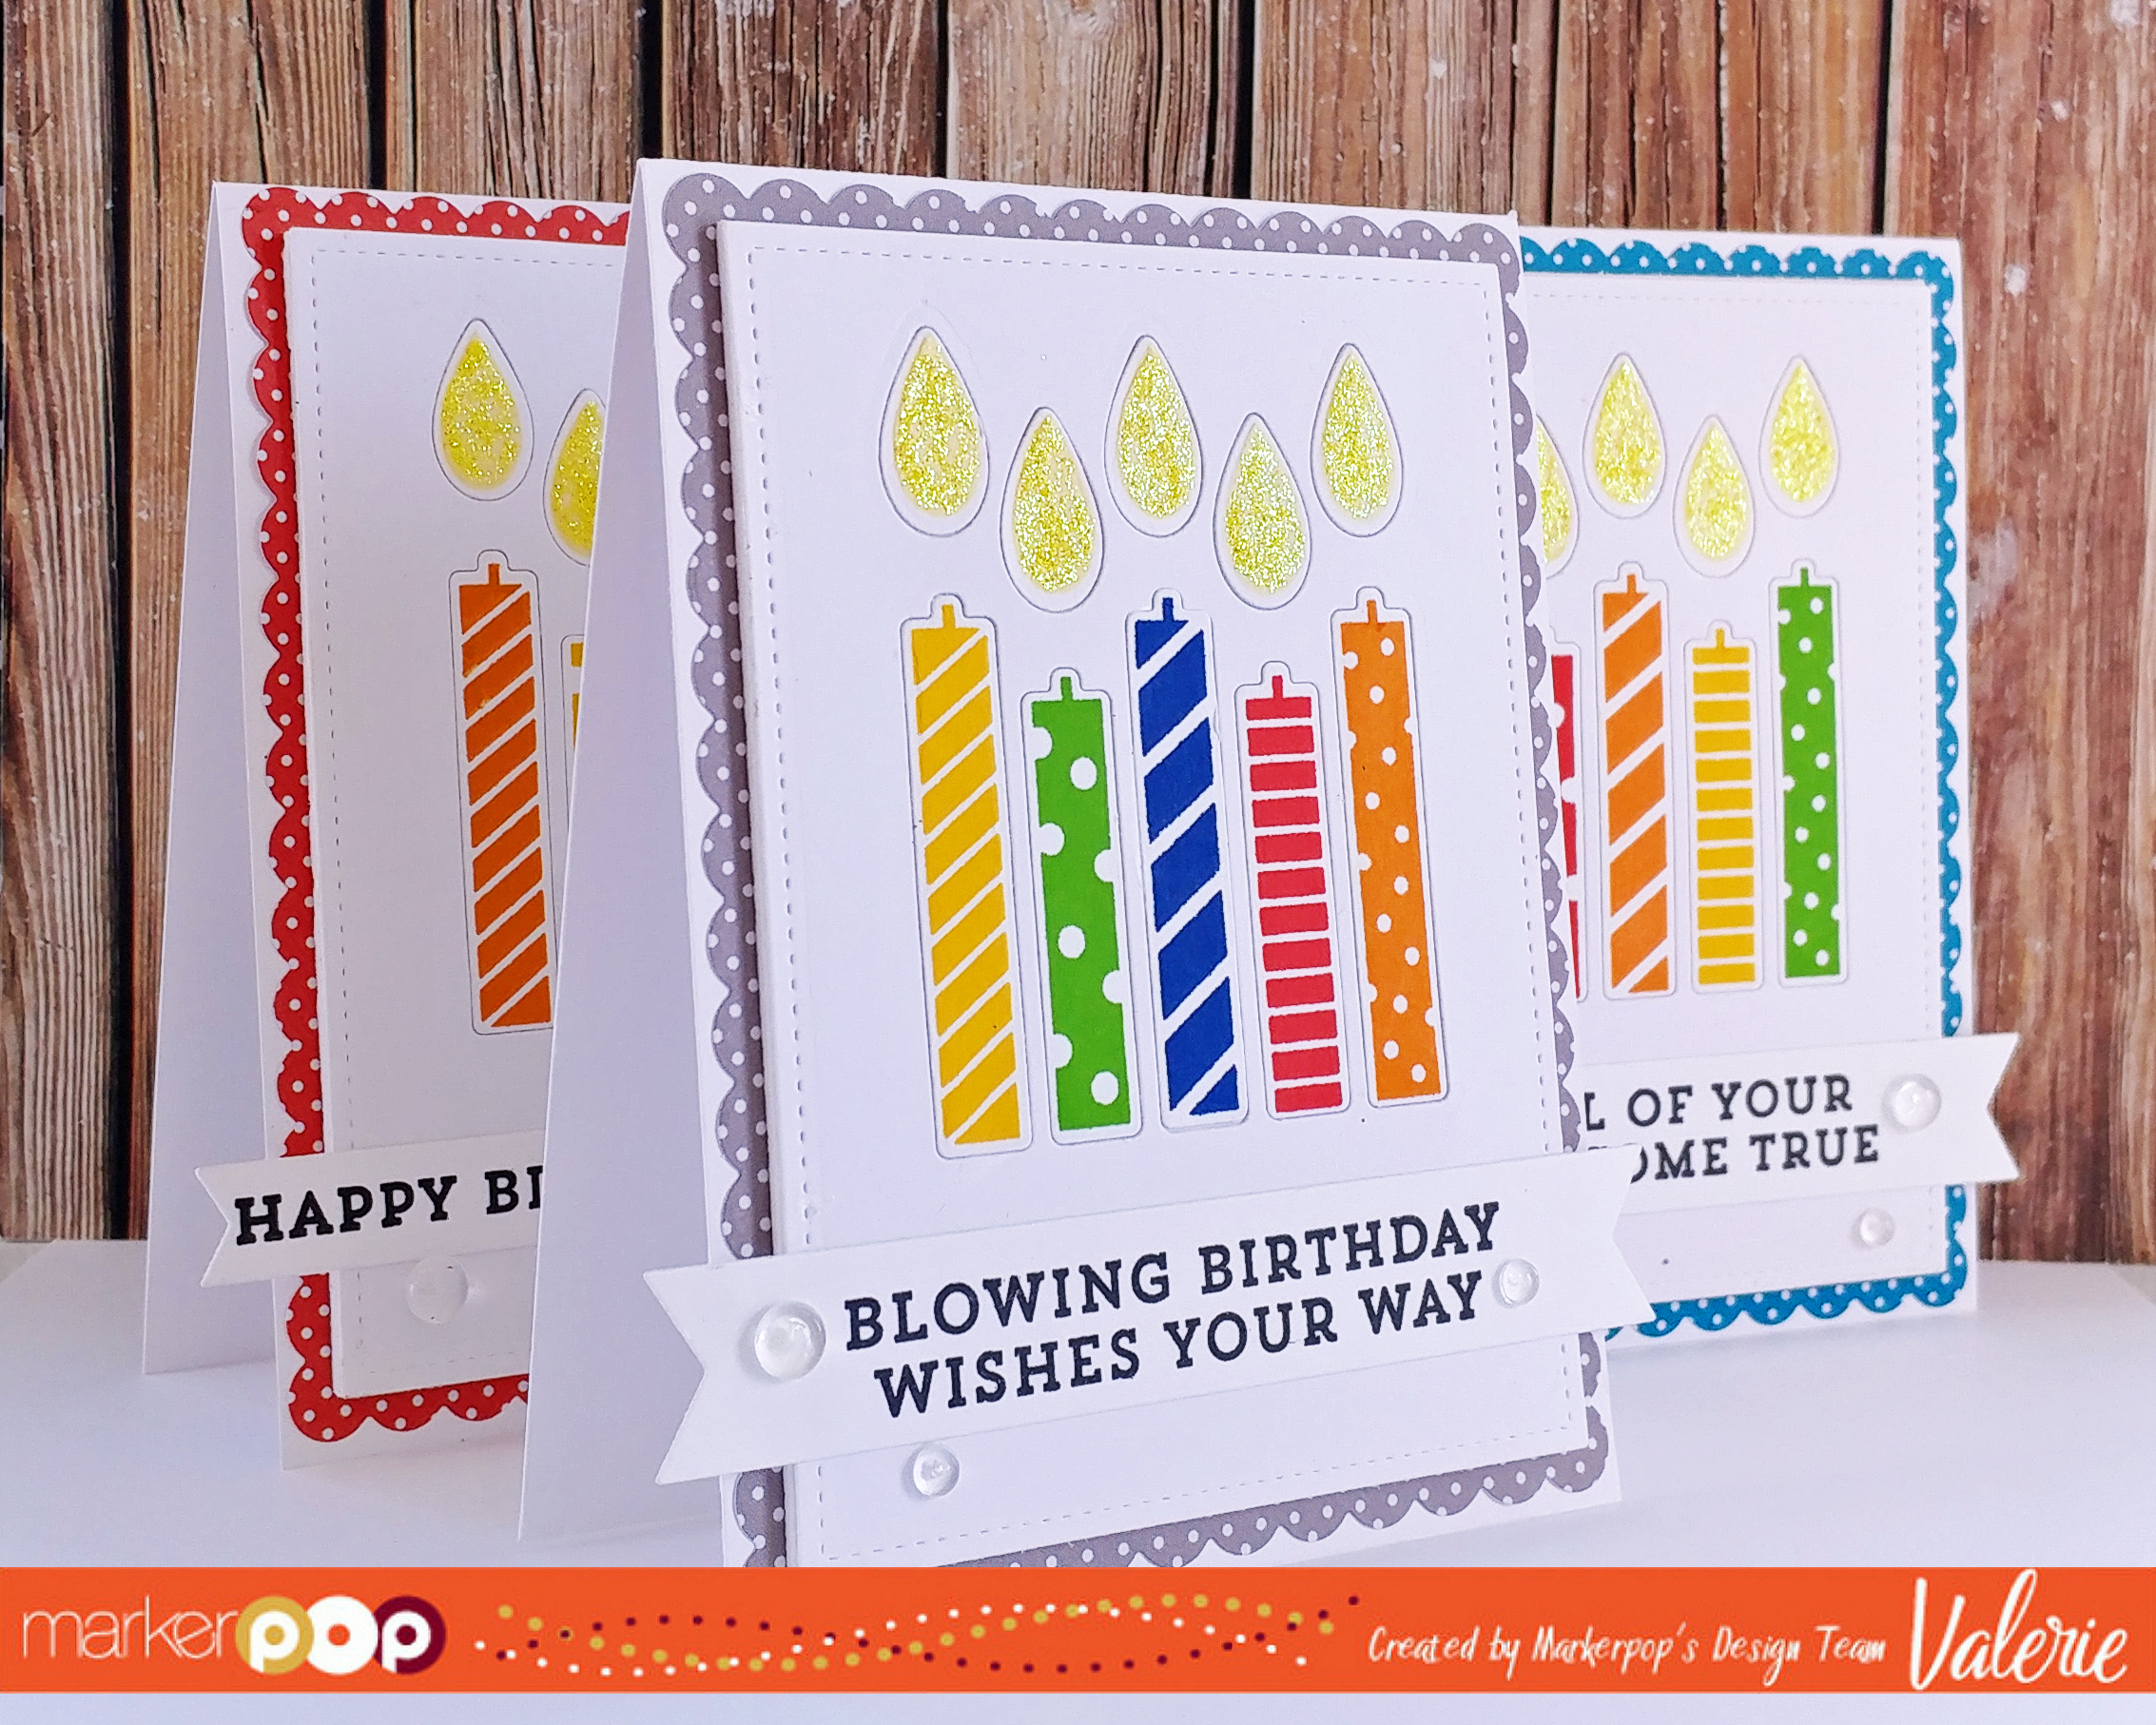
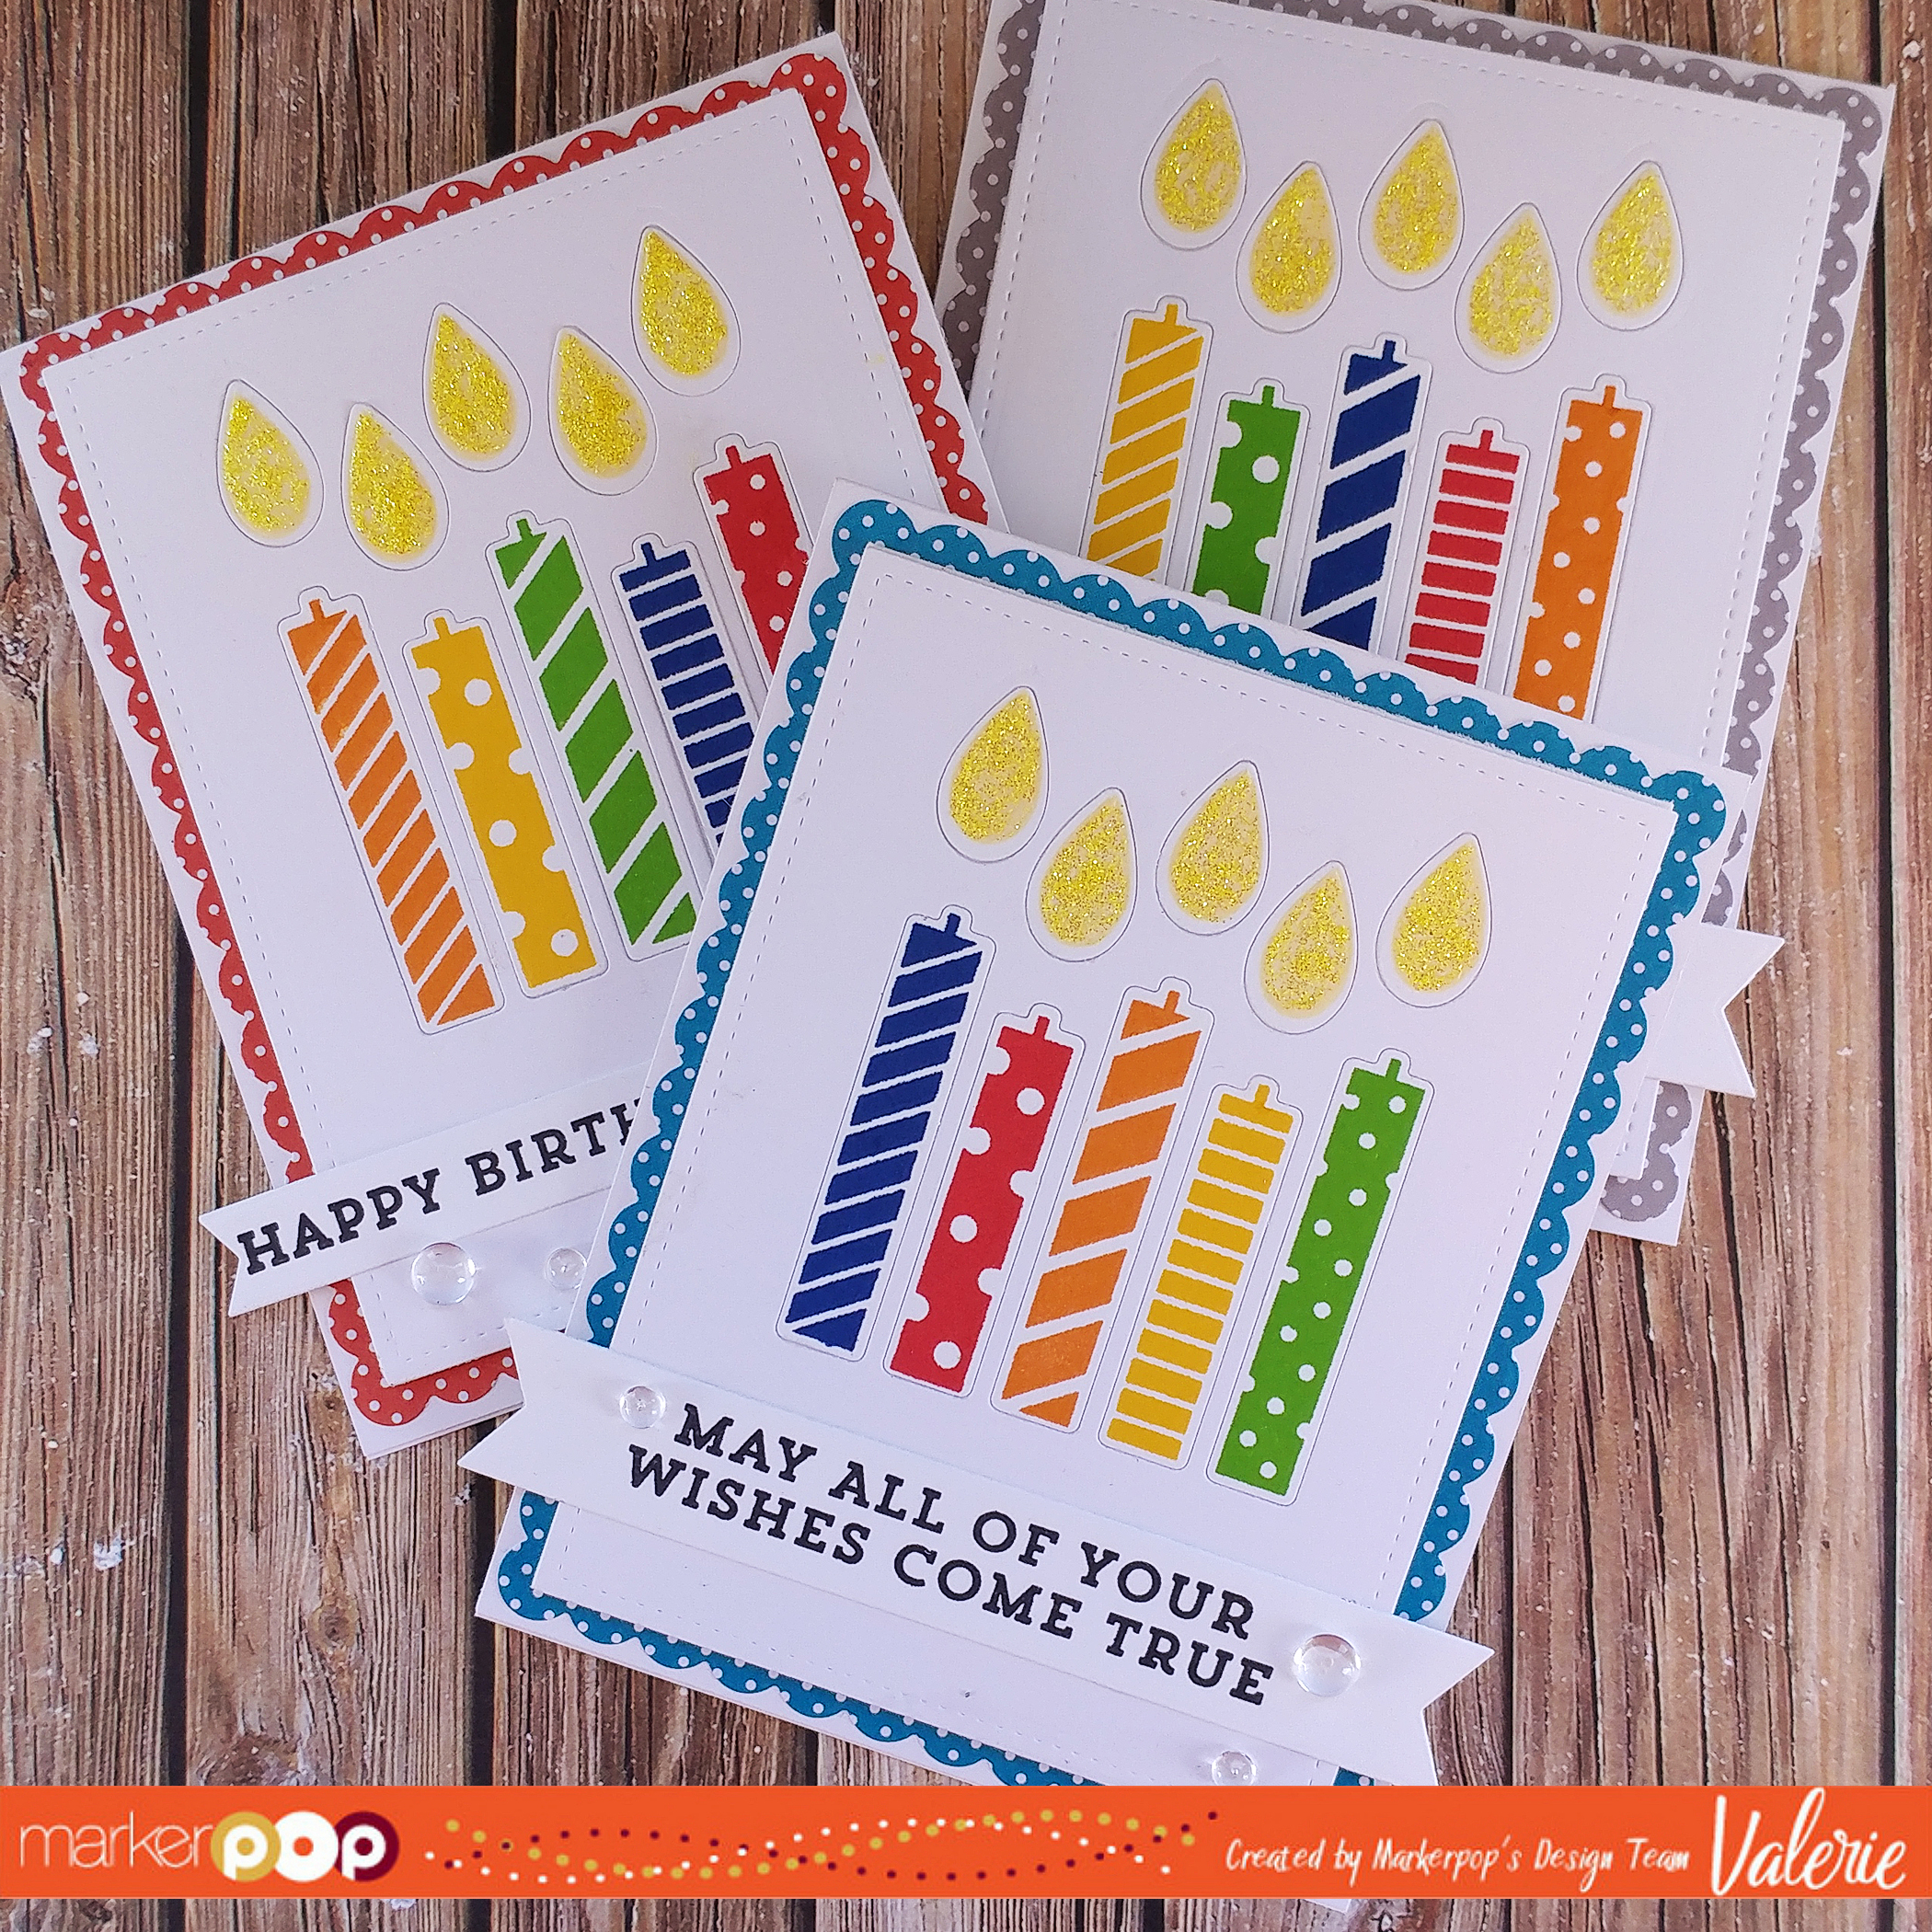
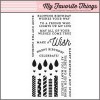
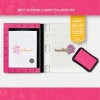
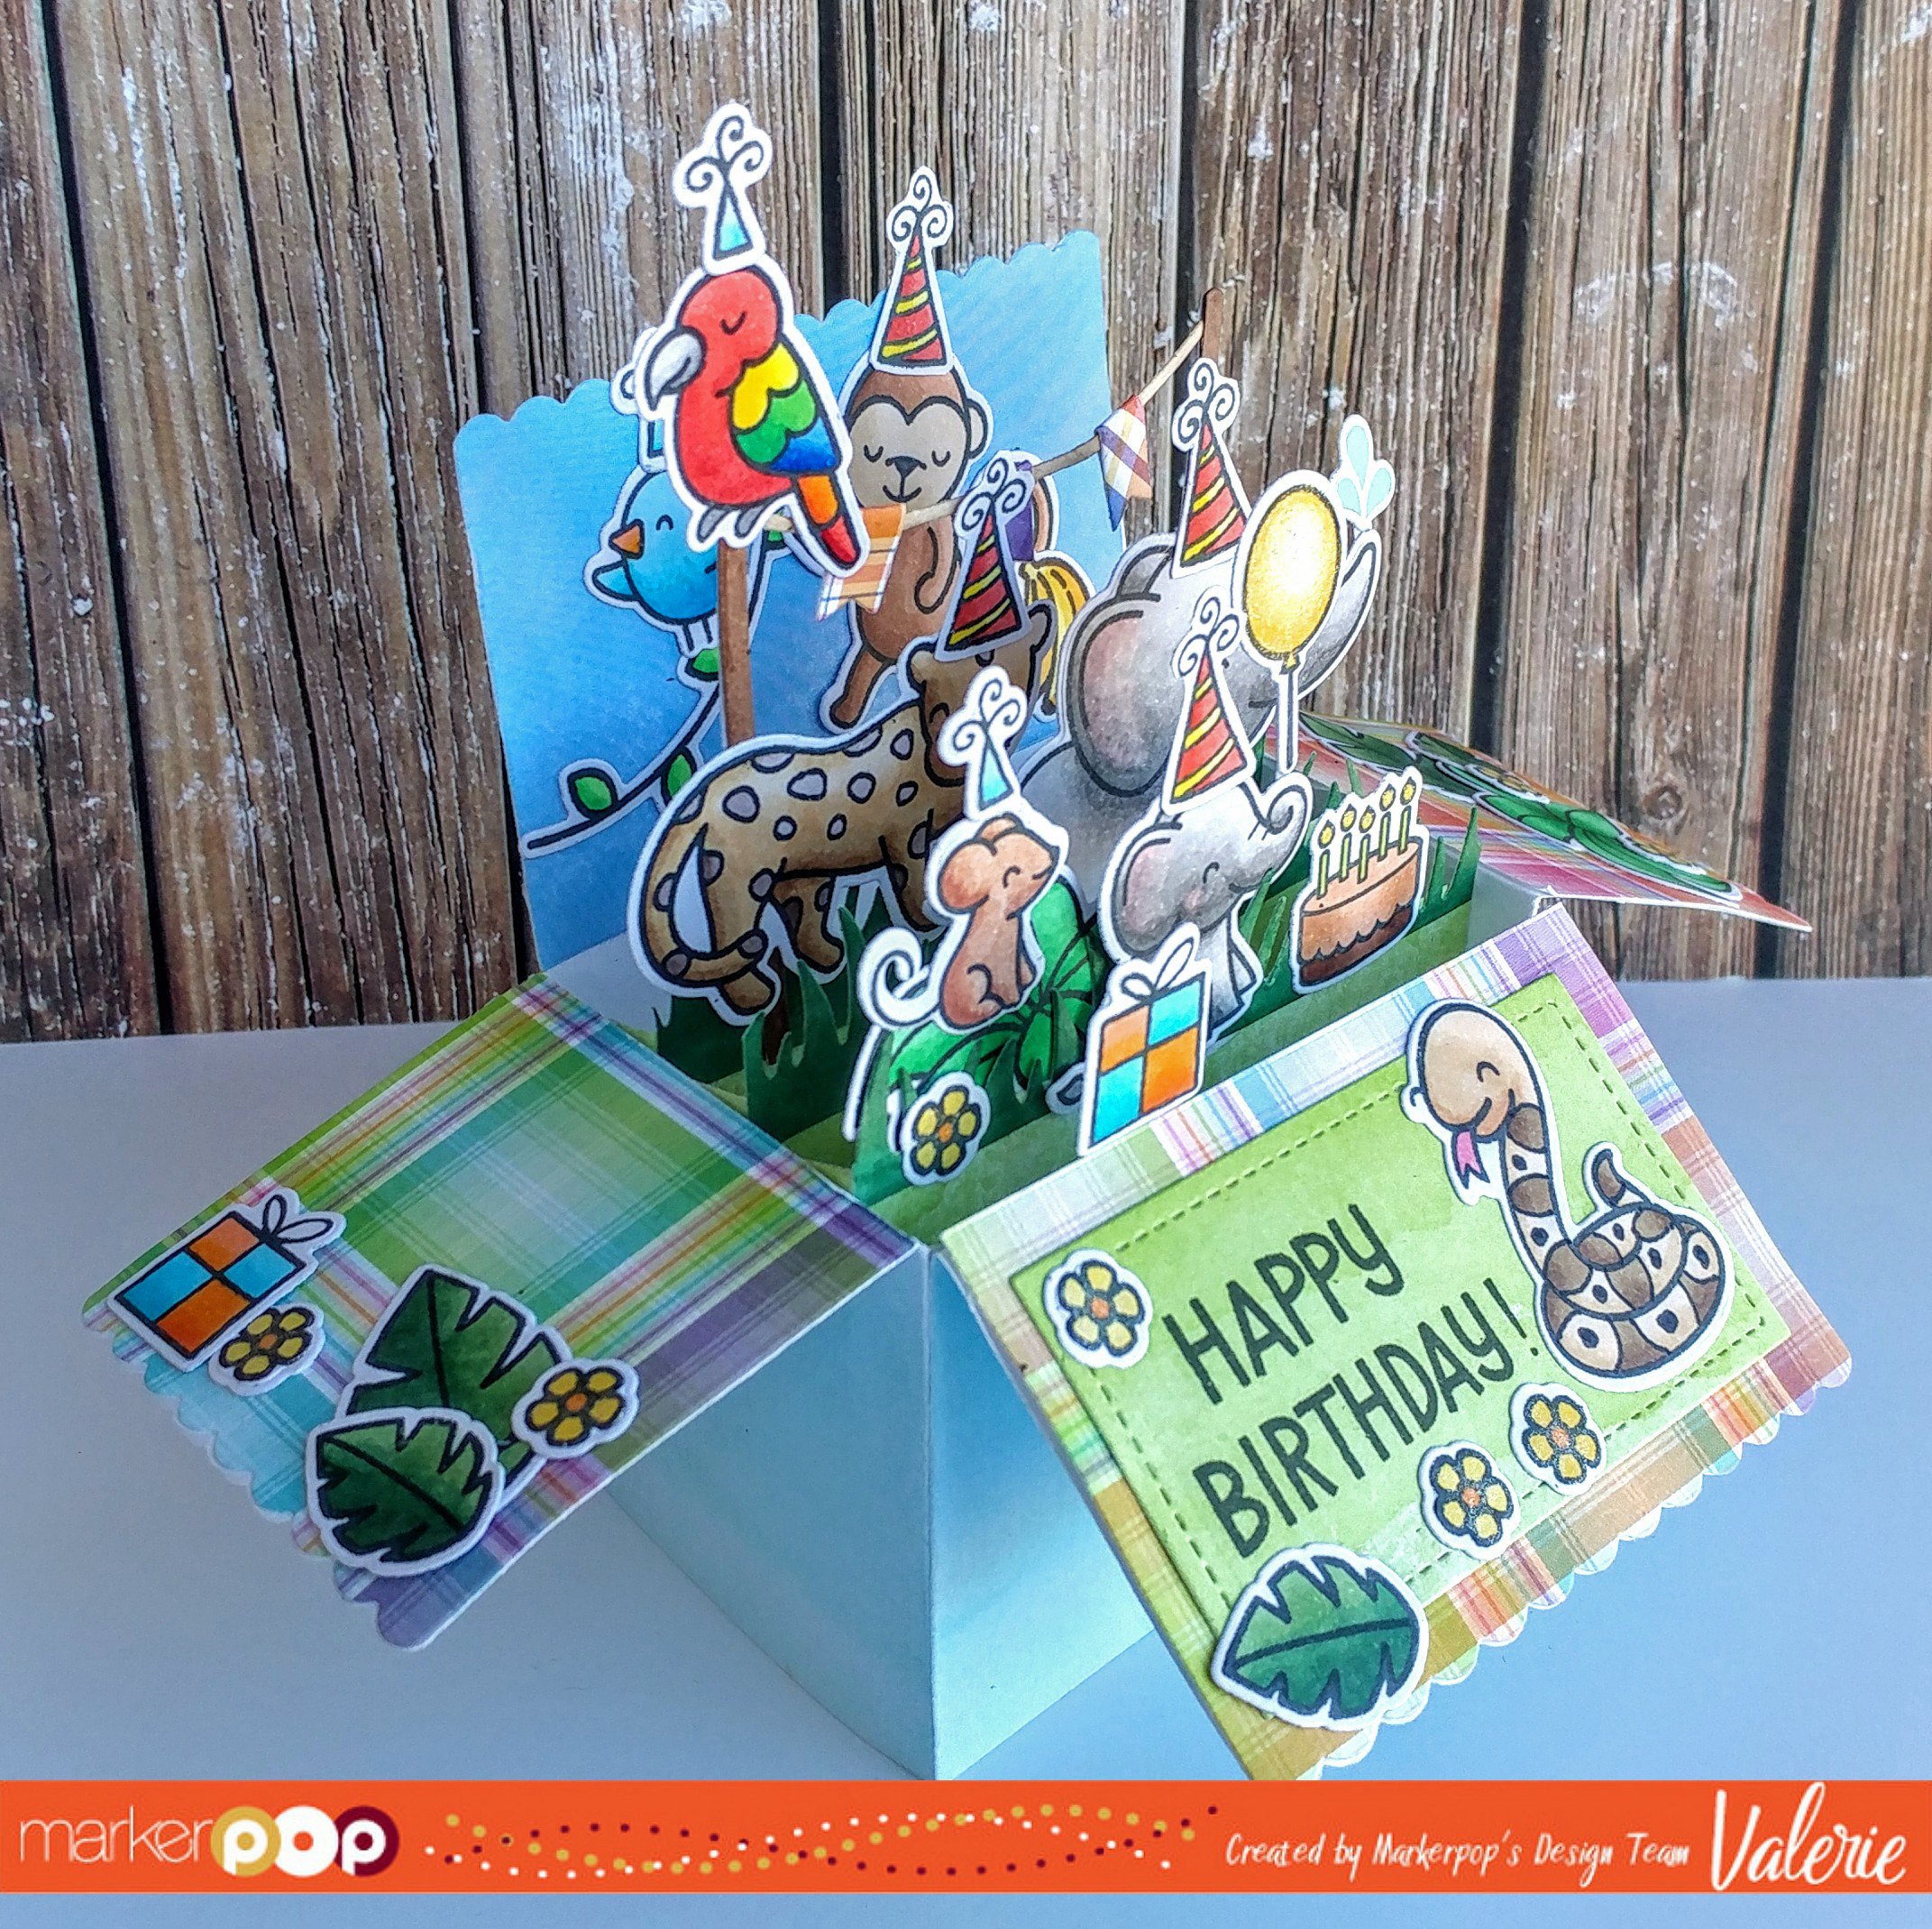
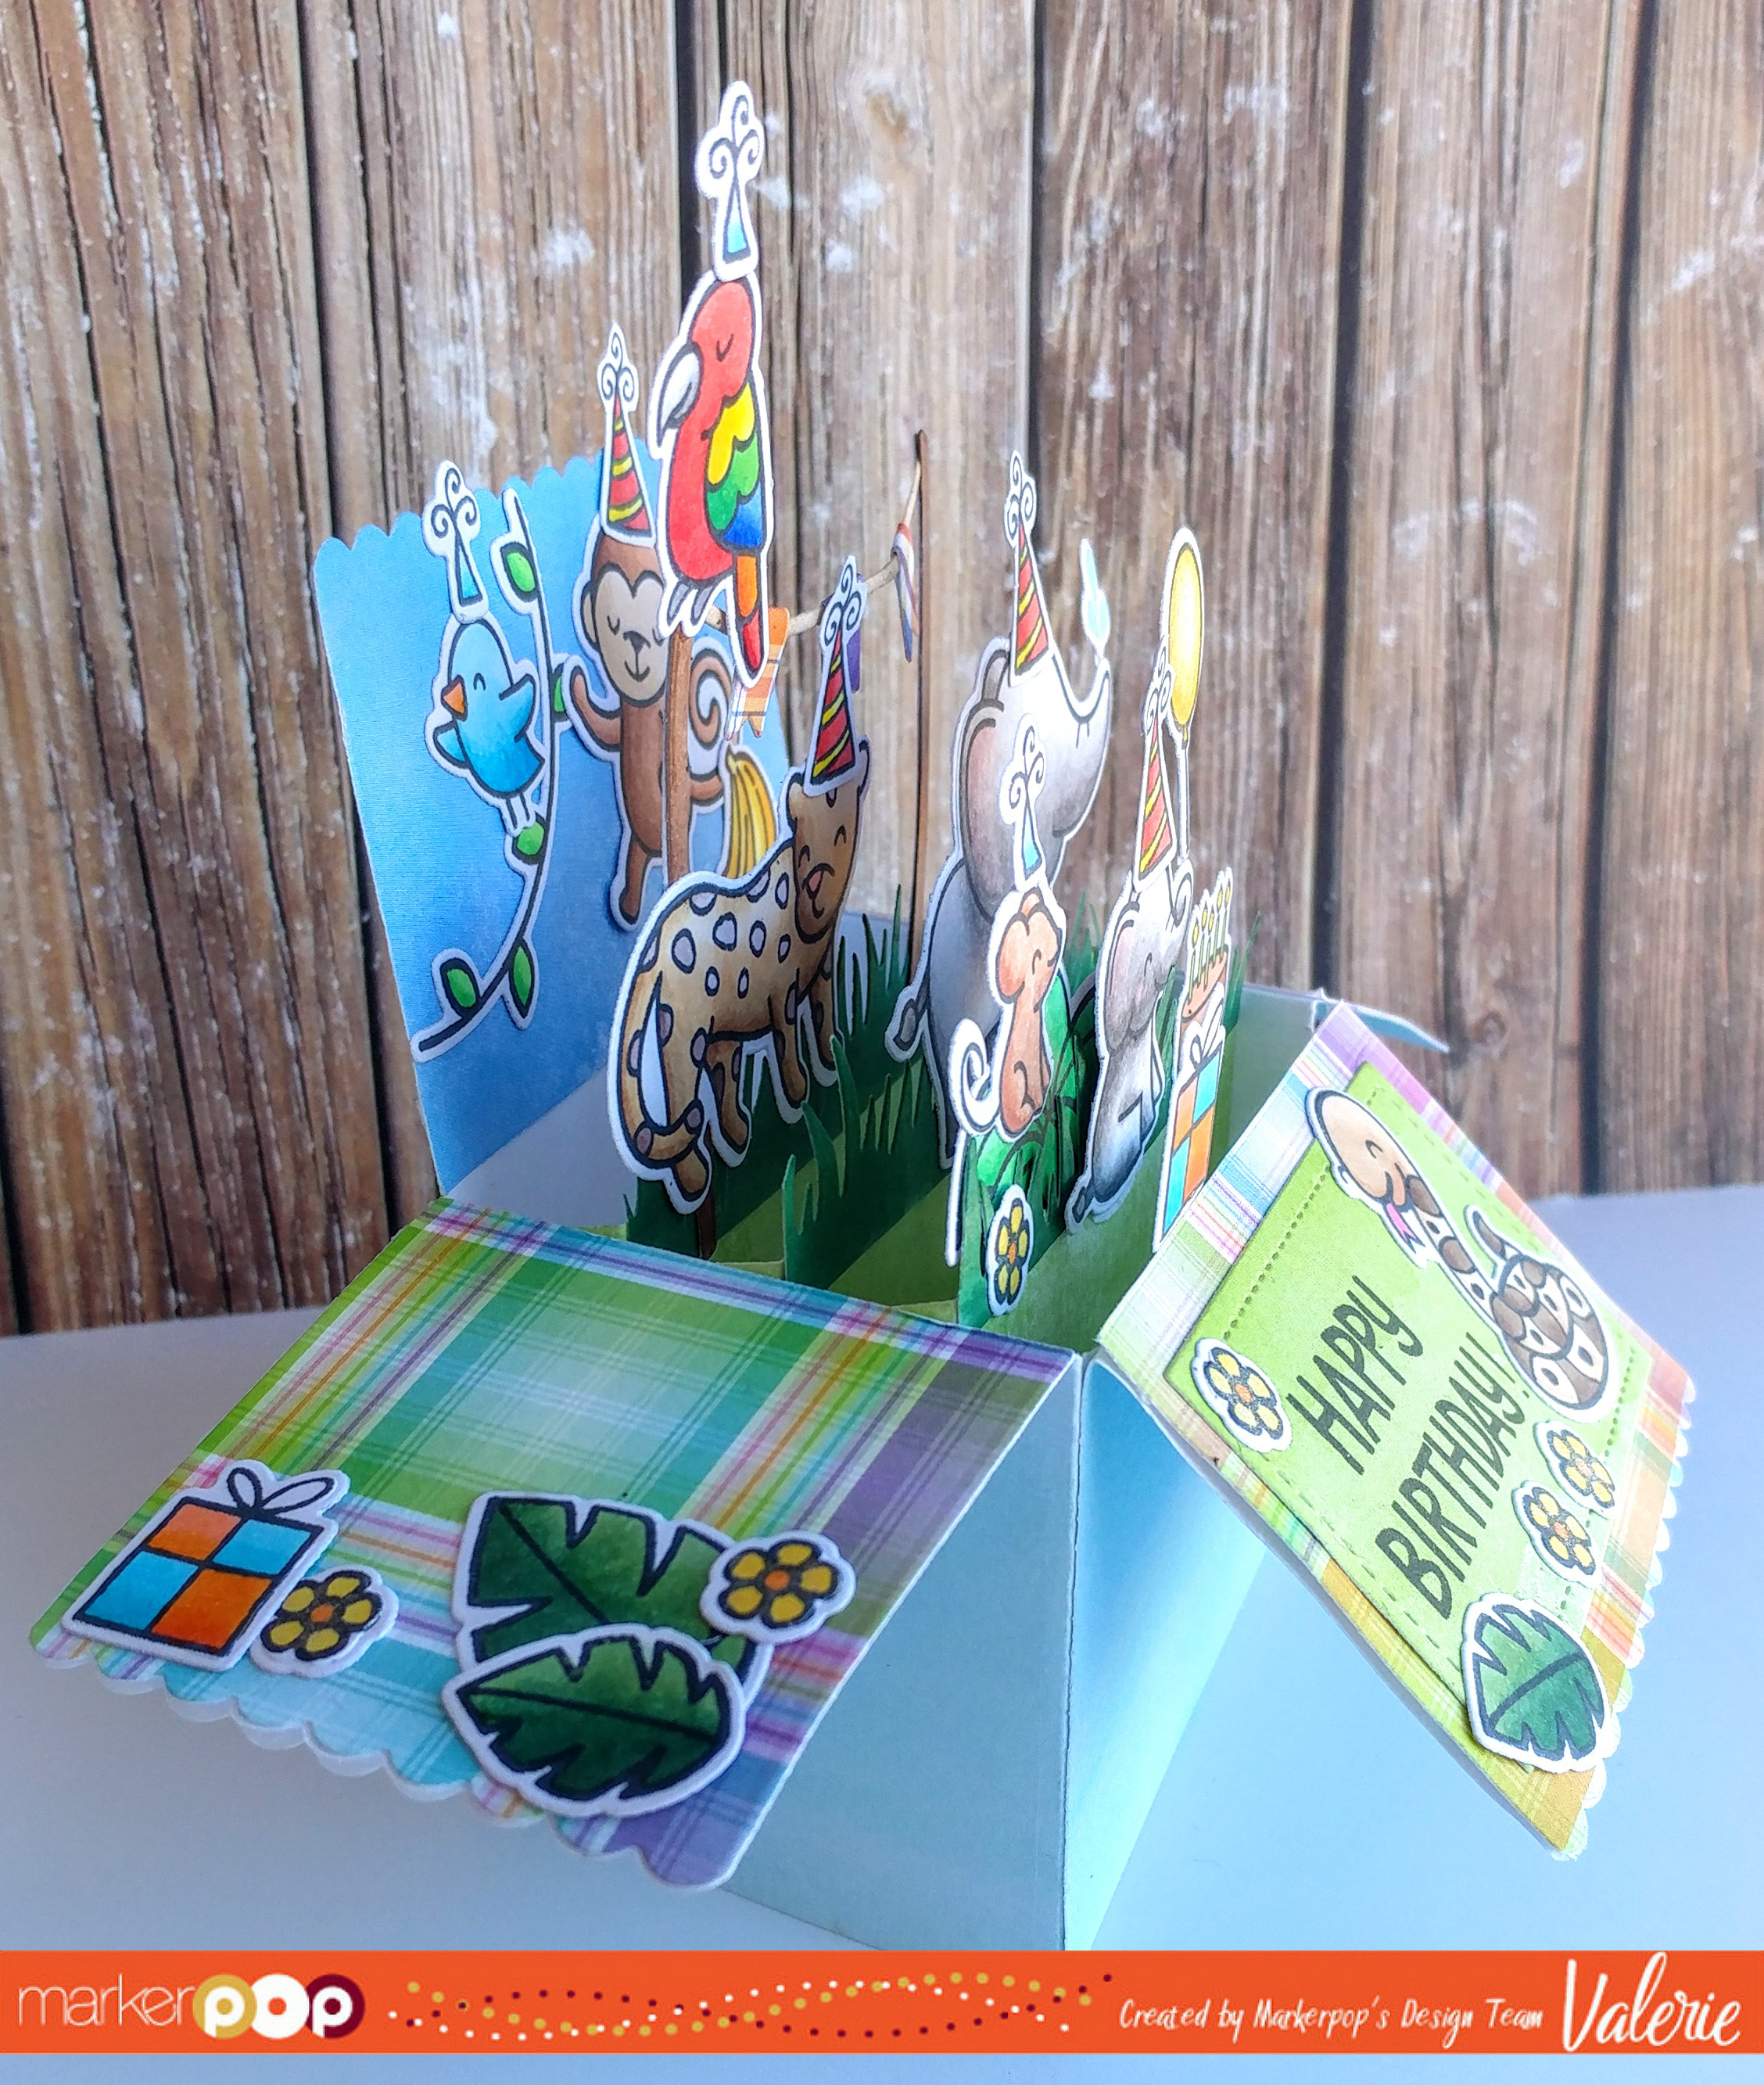
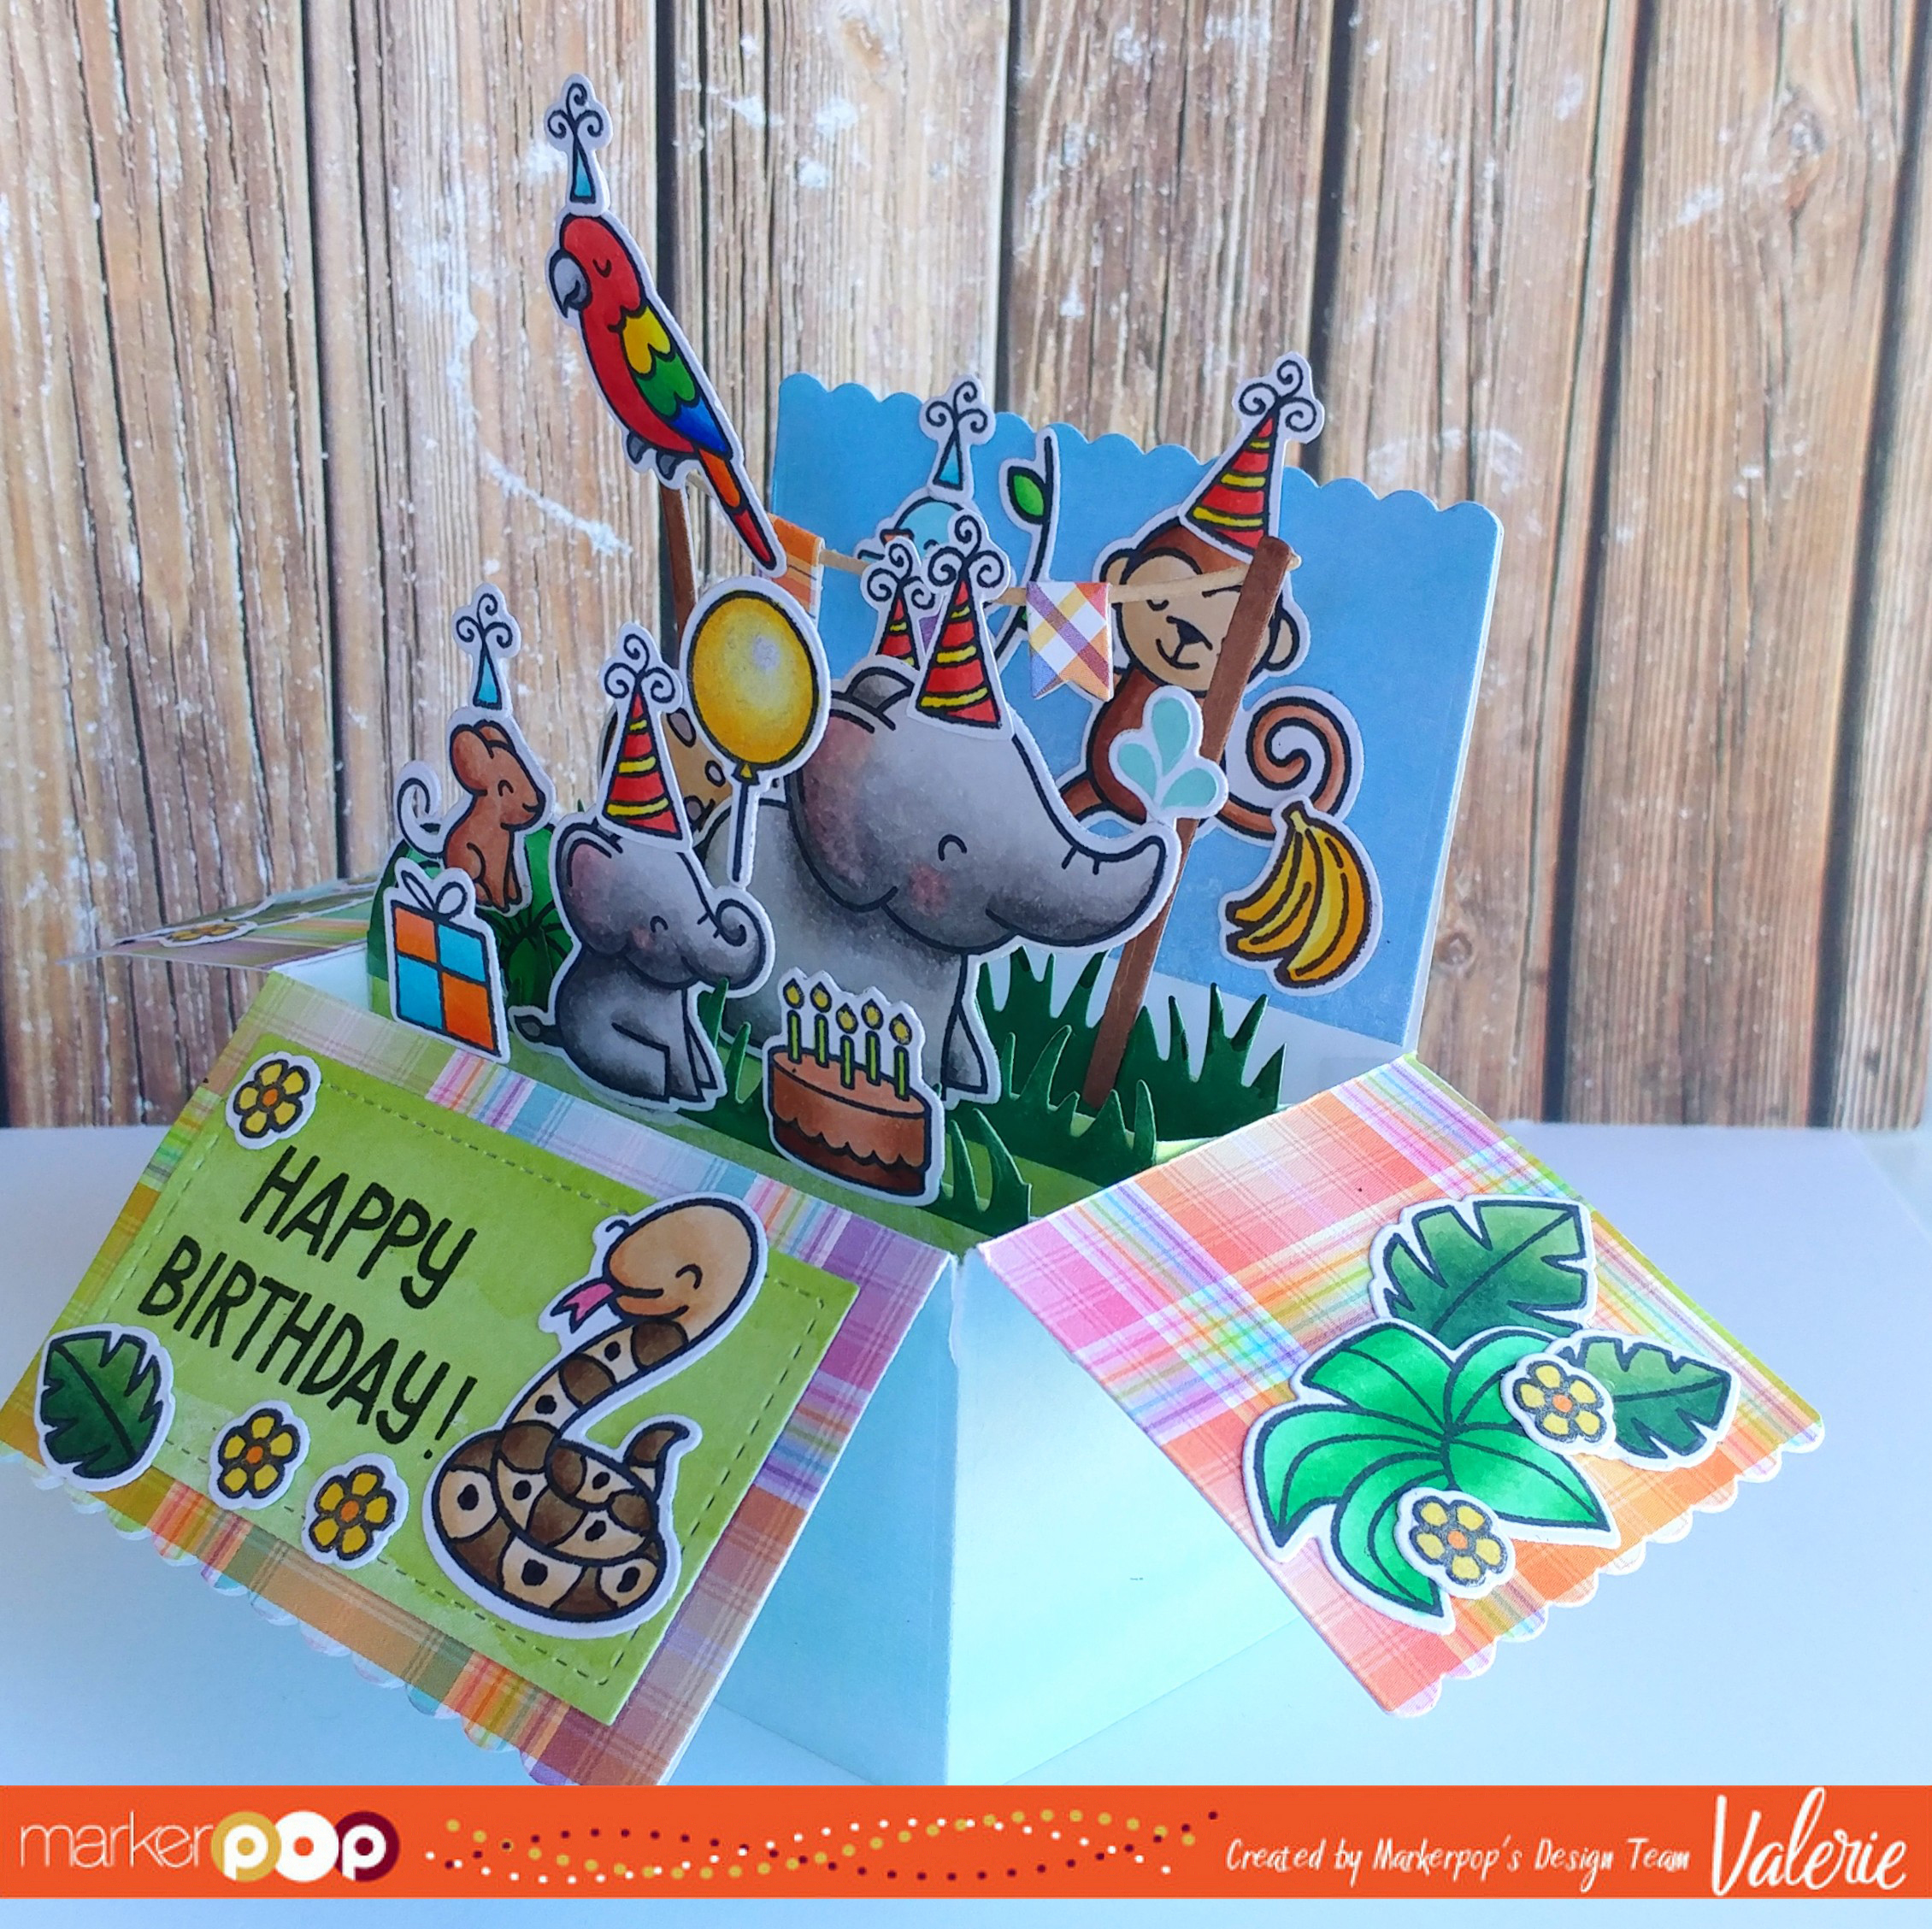
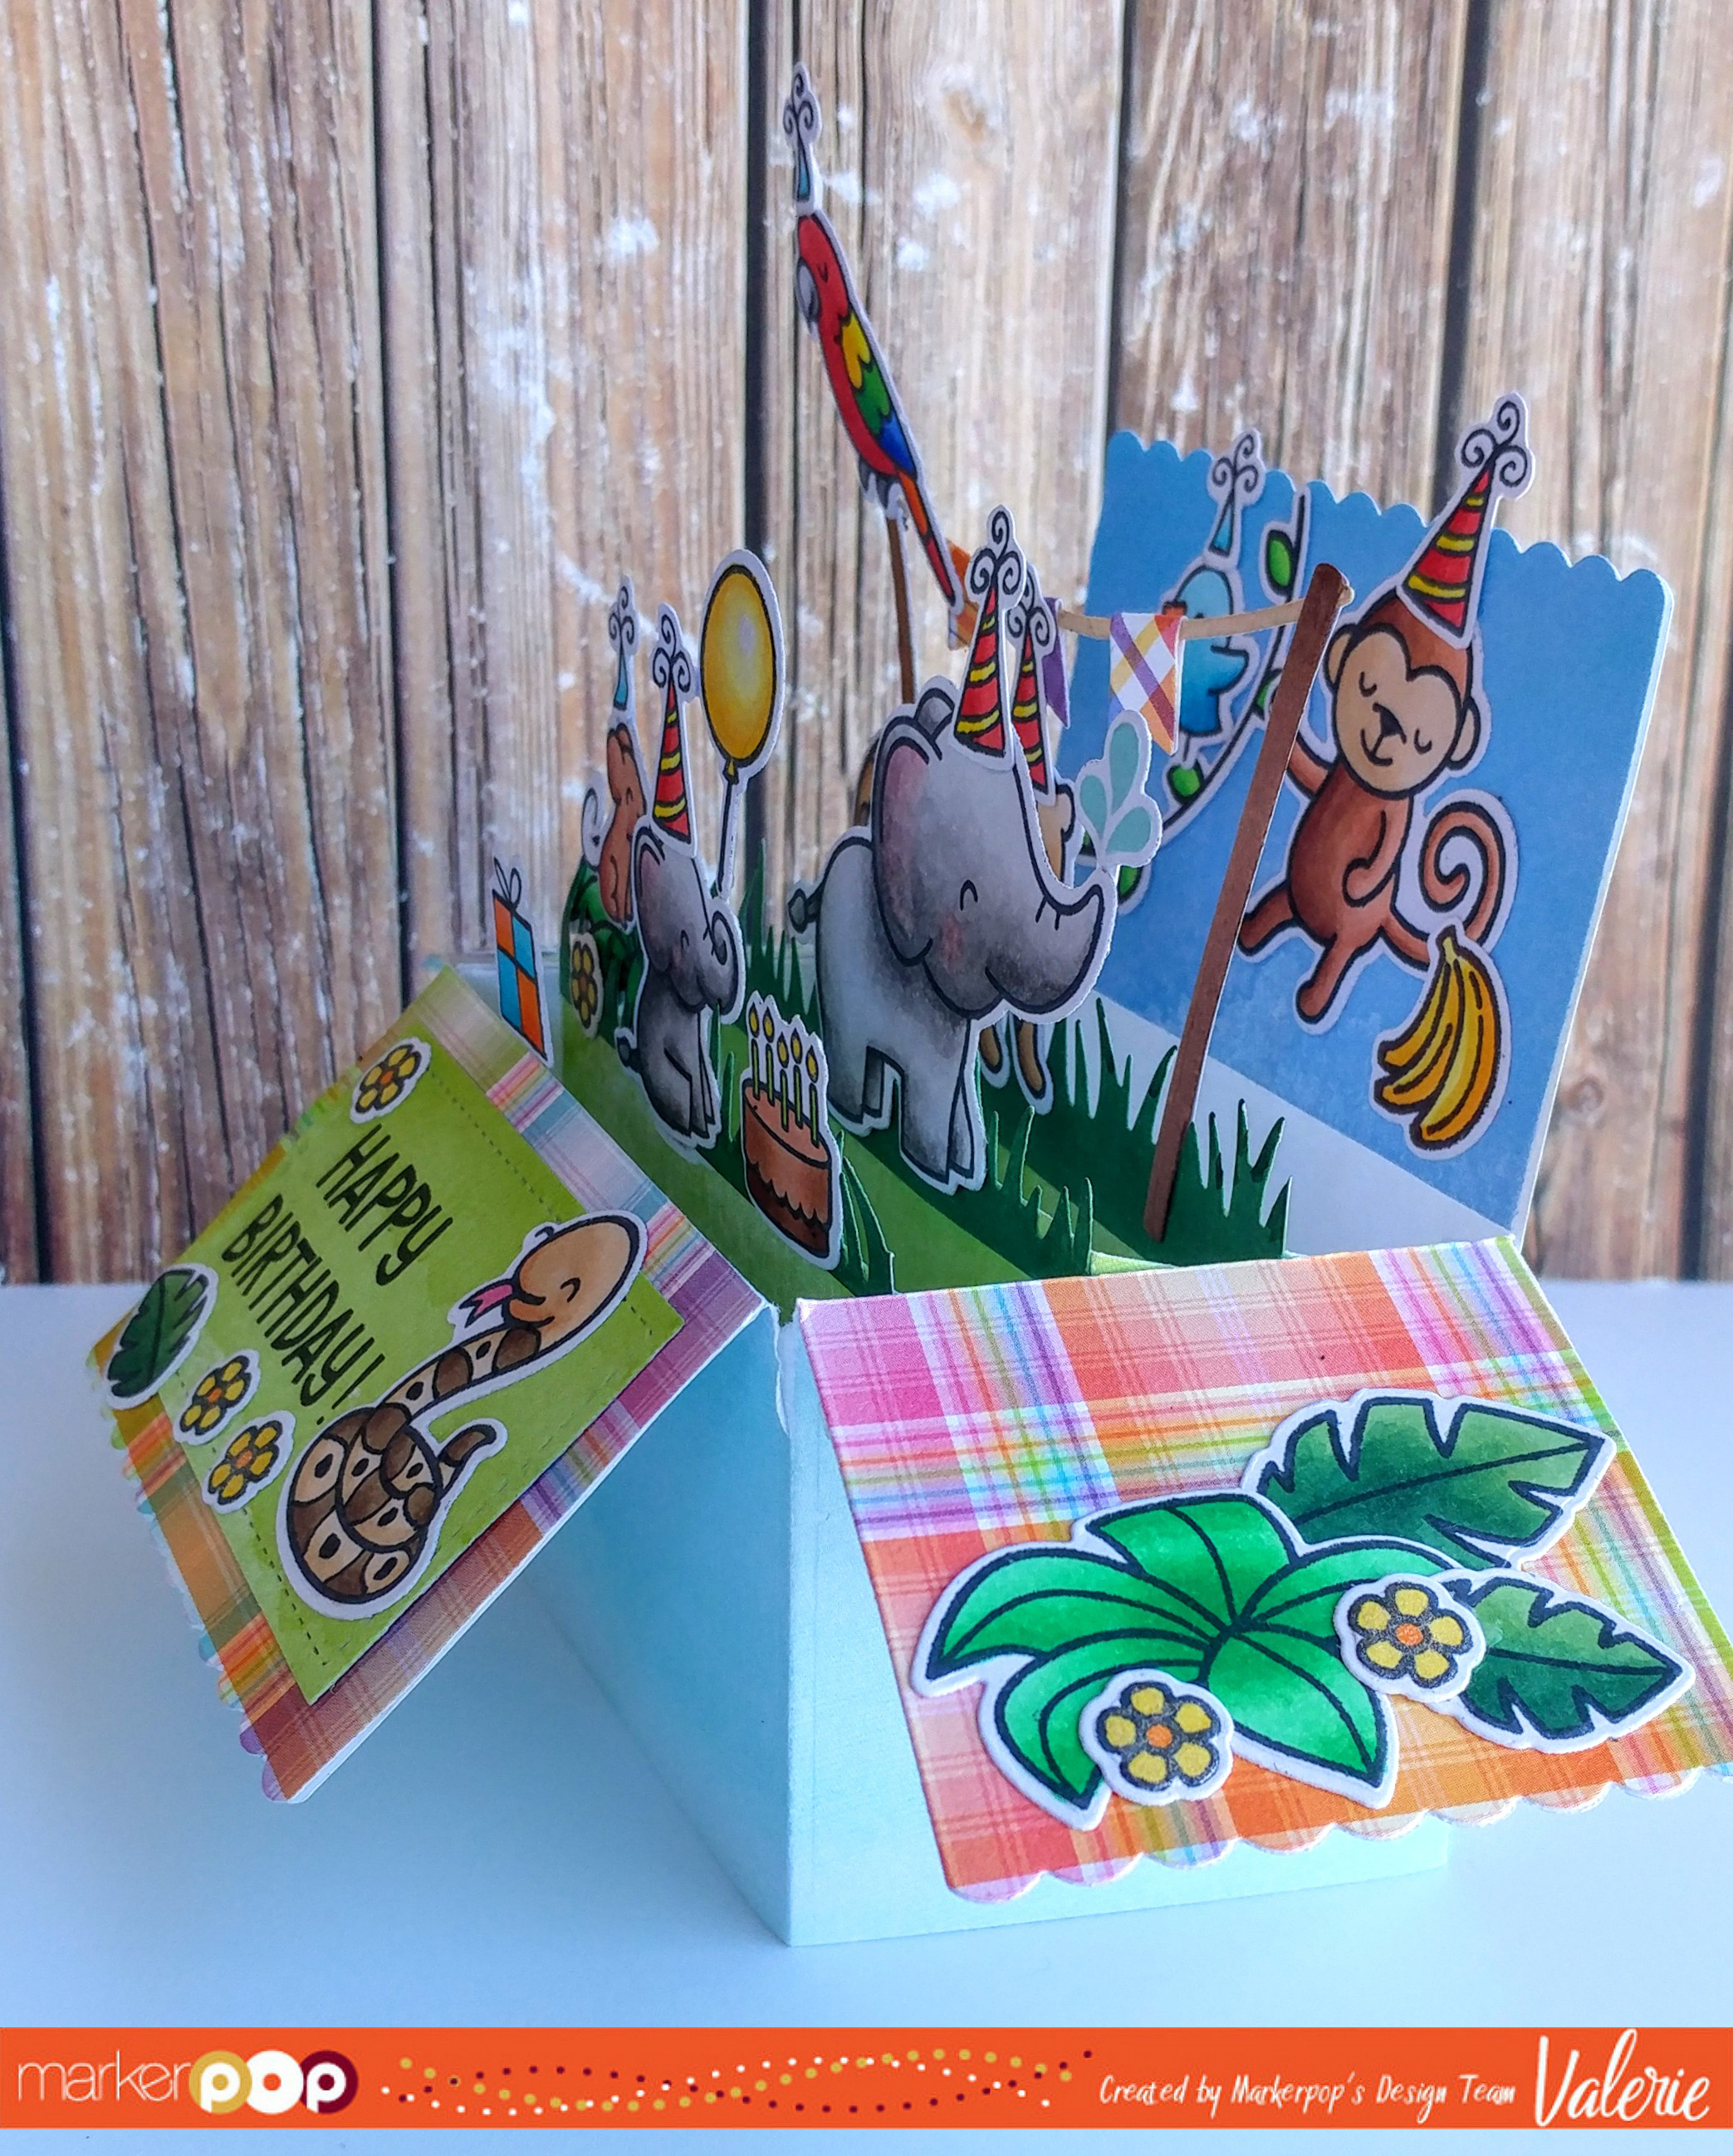
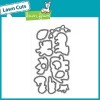
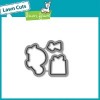
This great My Favorite Things stamp set, Make a Wish, and it’s coordinating die set came out in August last year, and I finally ordered it last month! I pulled those 2 sets, some other MFT products, and some Lawn Fawn stuff all together, and I created a fun set of birthday cards! Now, after I show you these cards, I’m going to focus on one of them that has a special feature added to it; you’ll see that later!
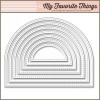
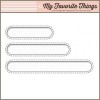
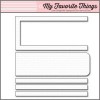
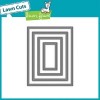
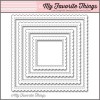
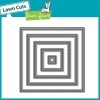
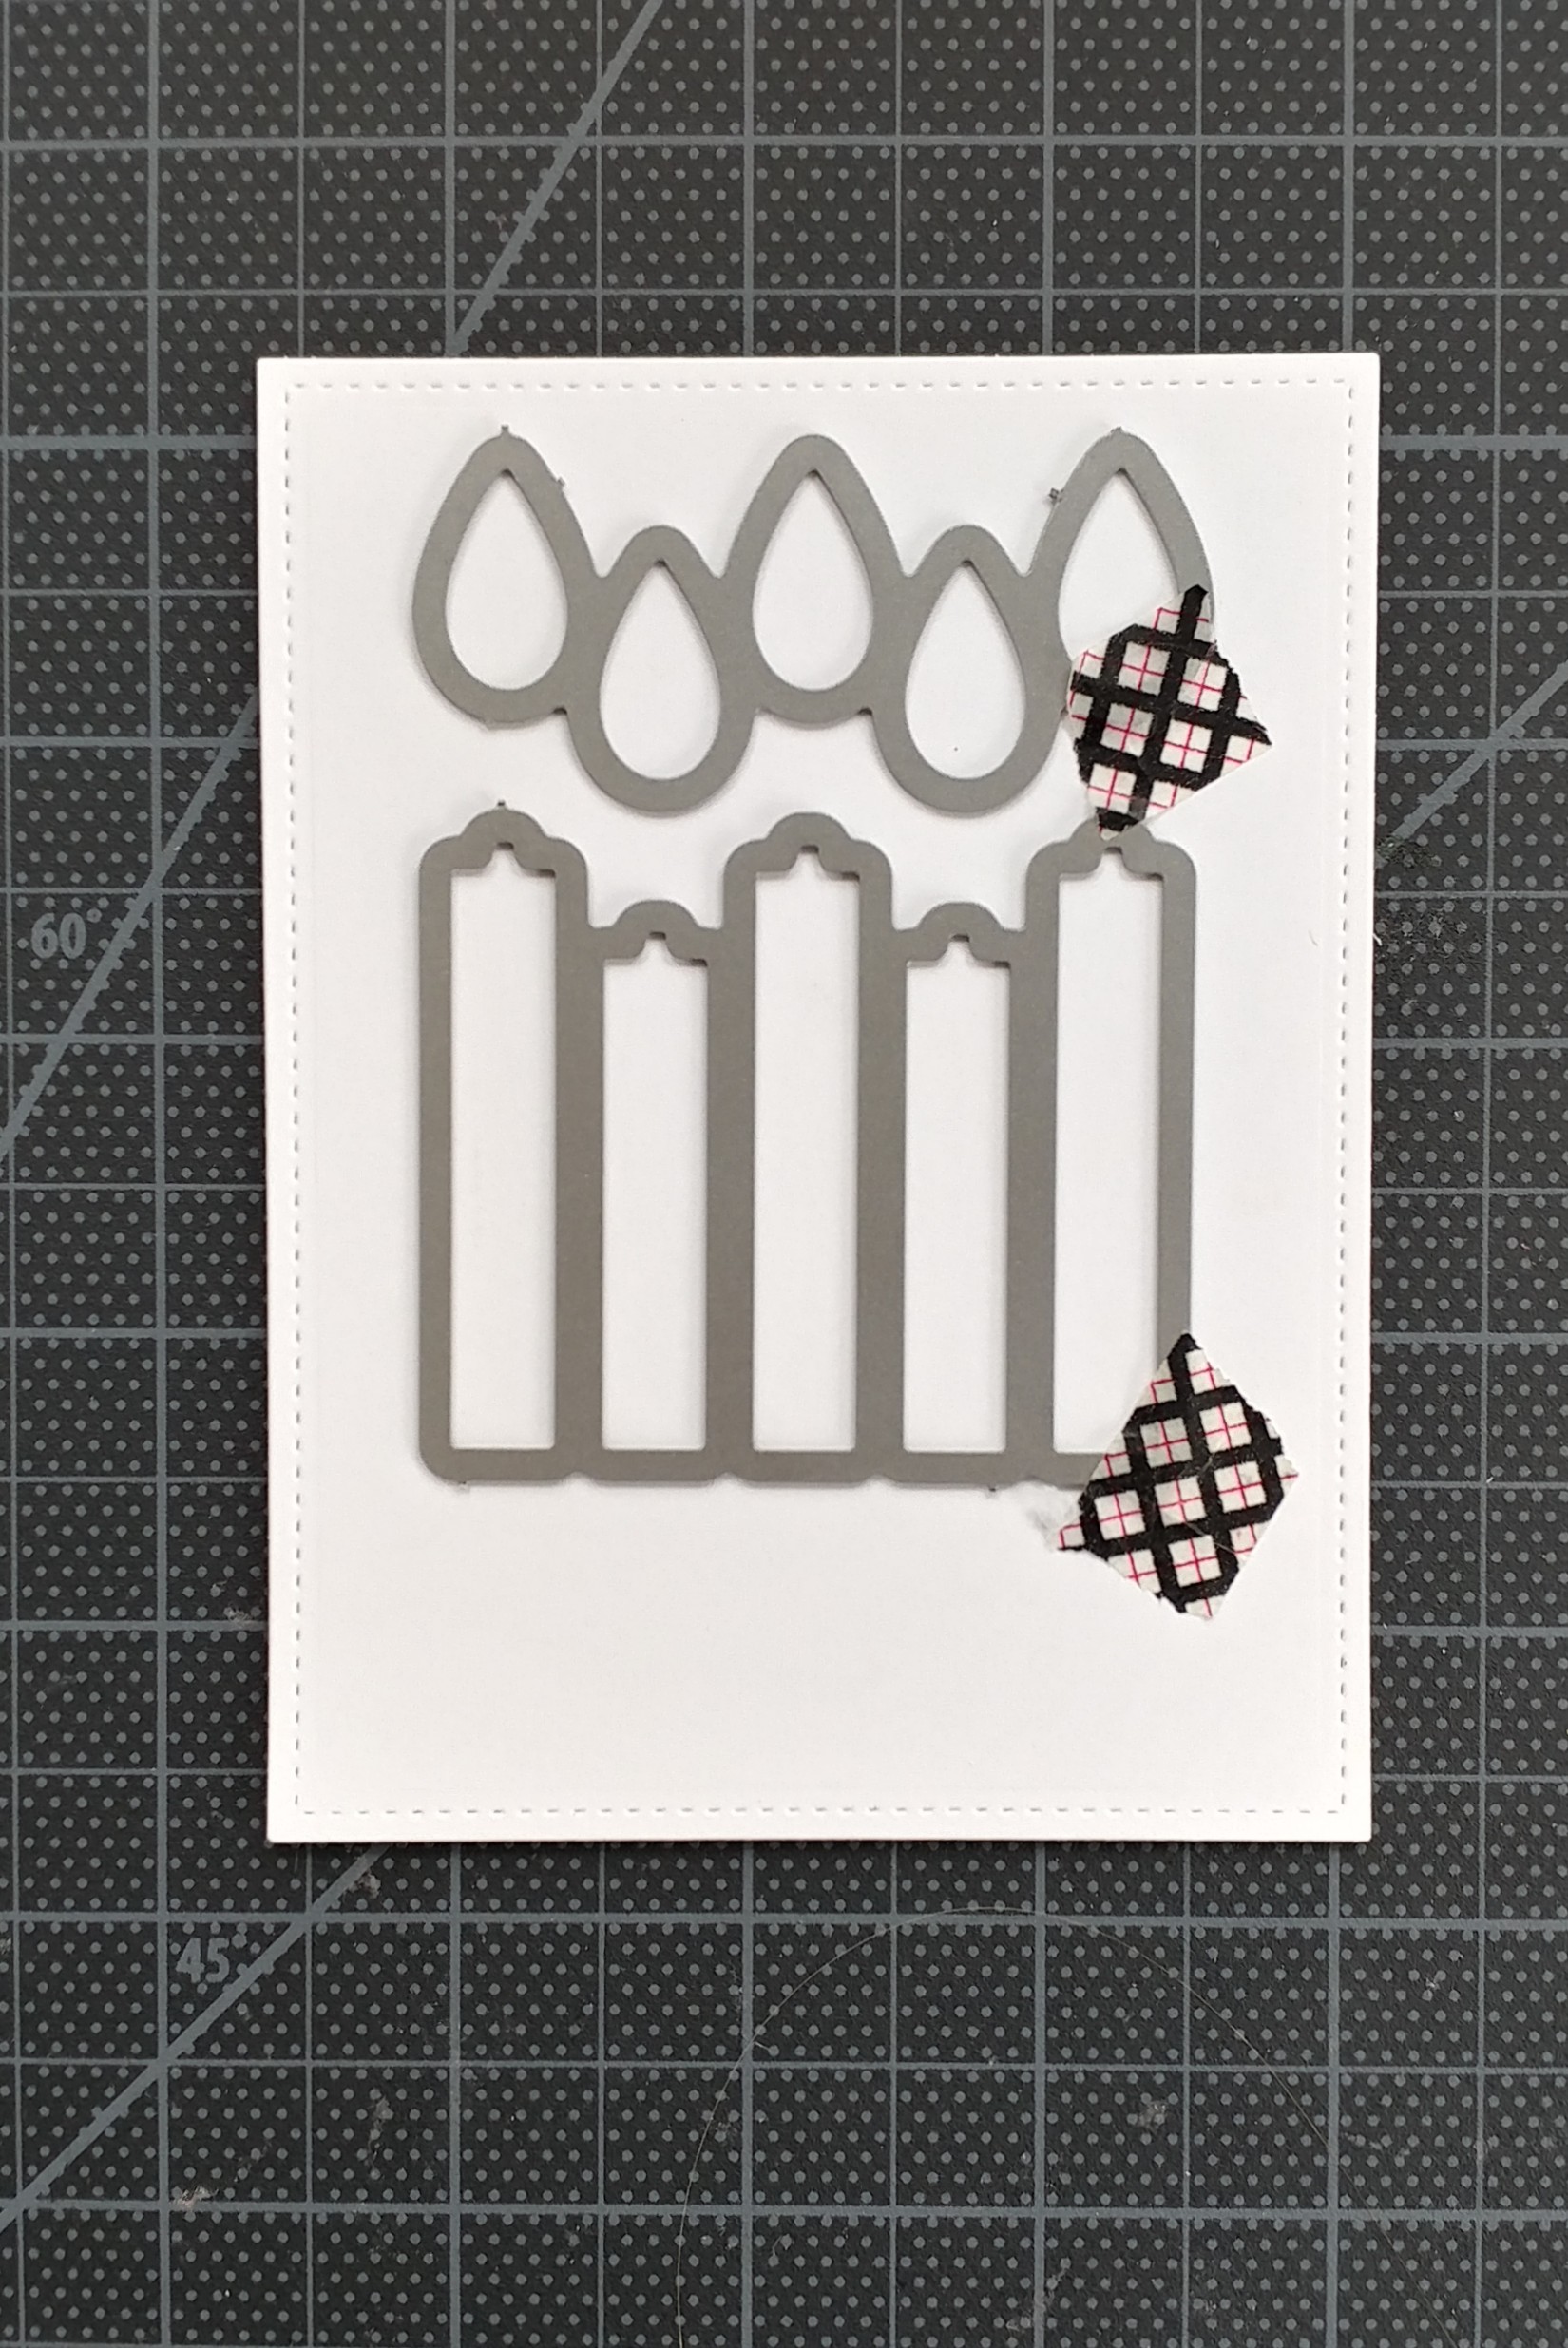
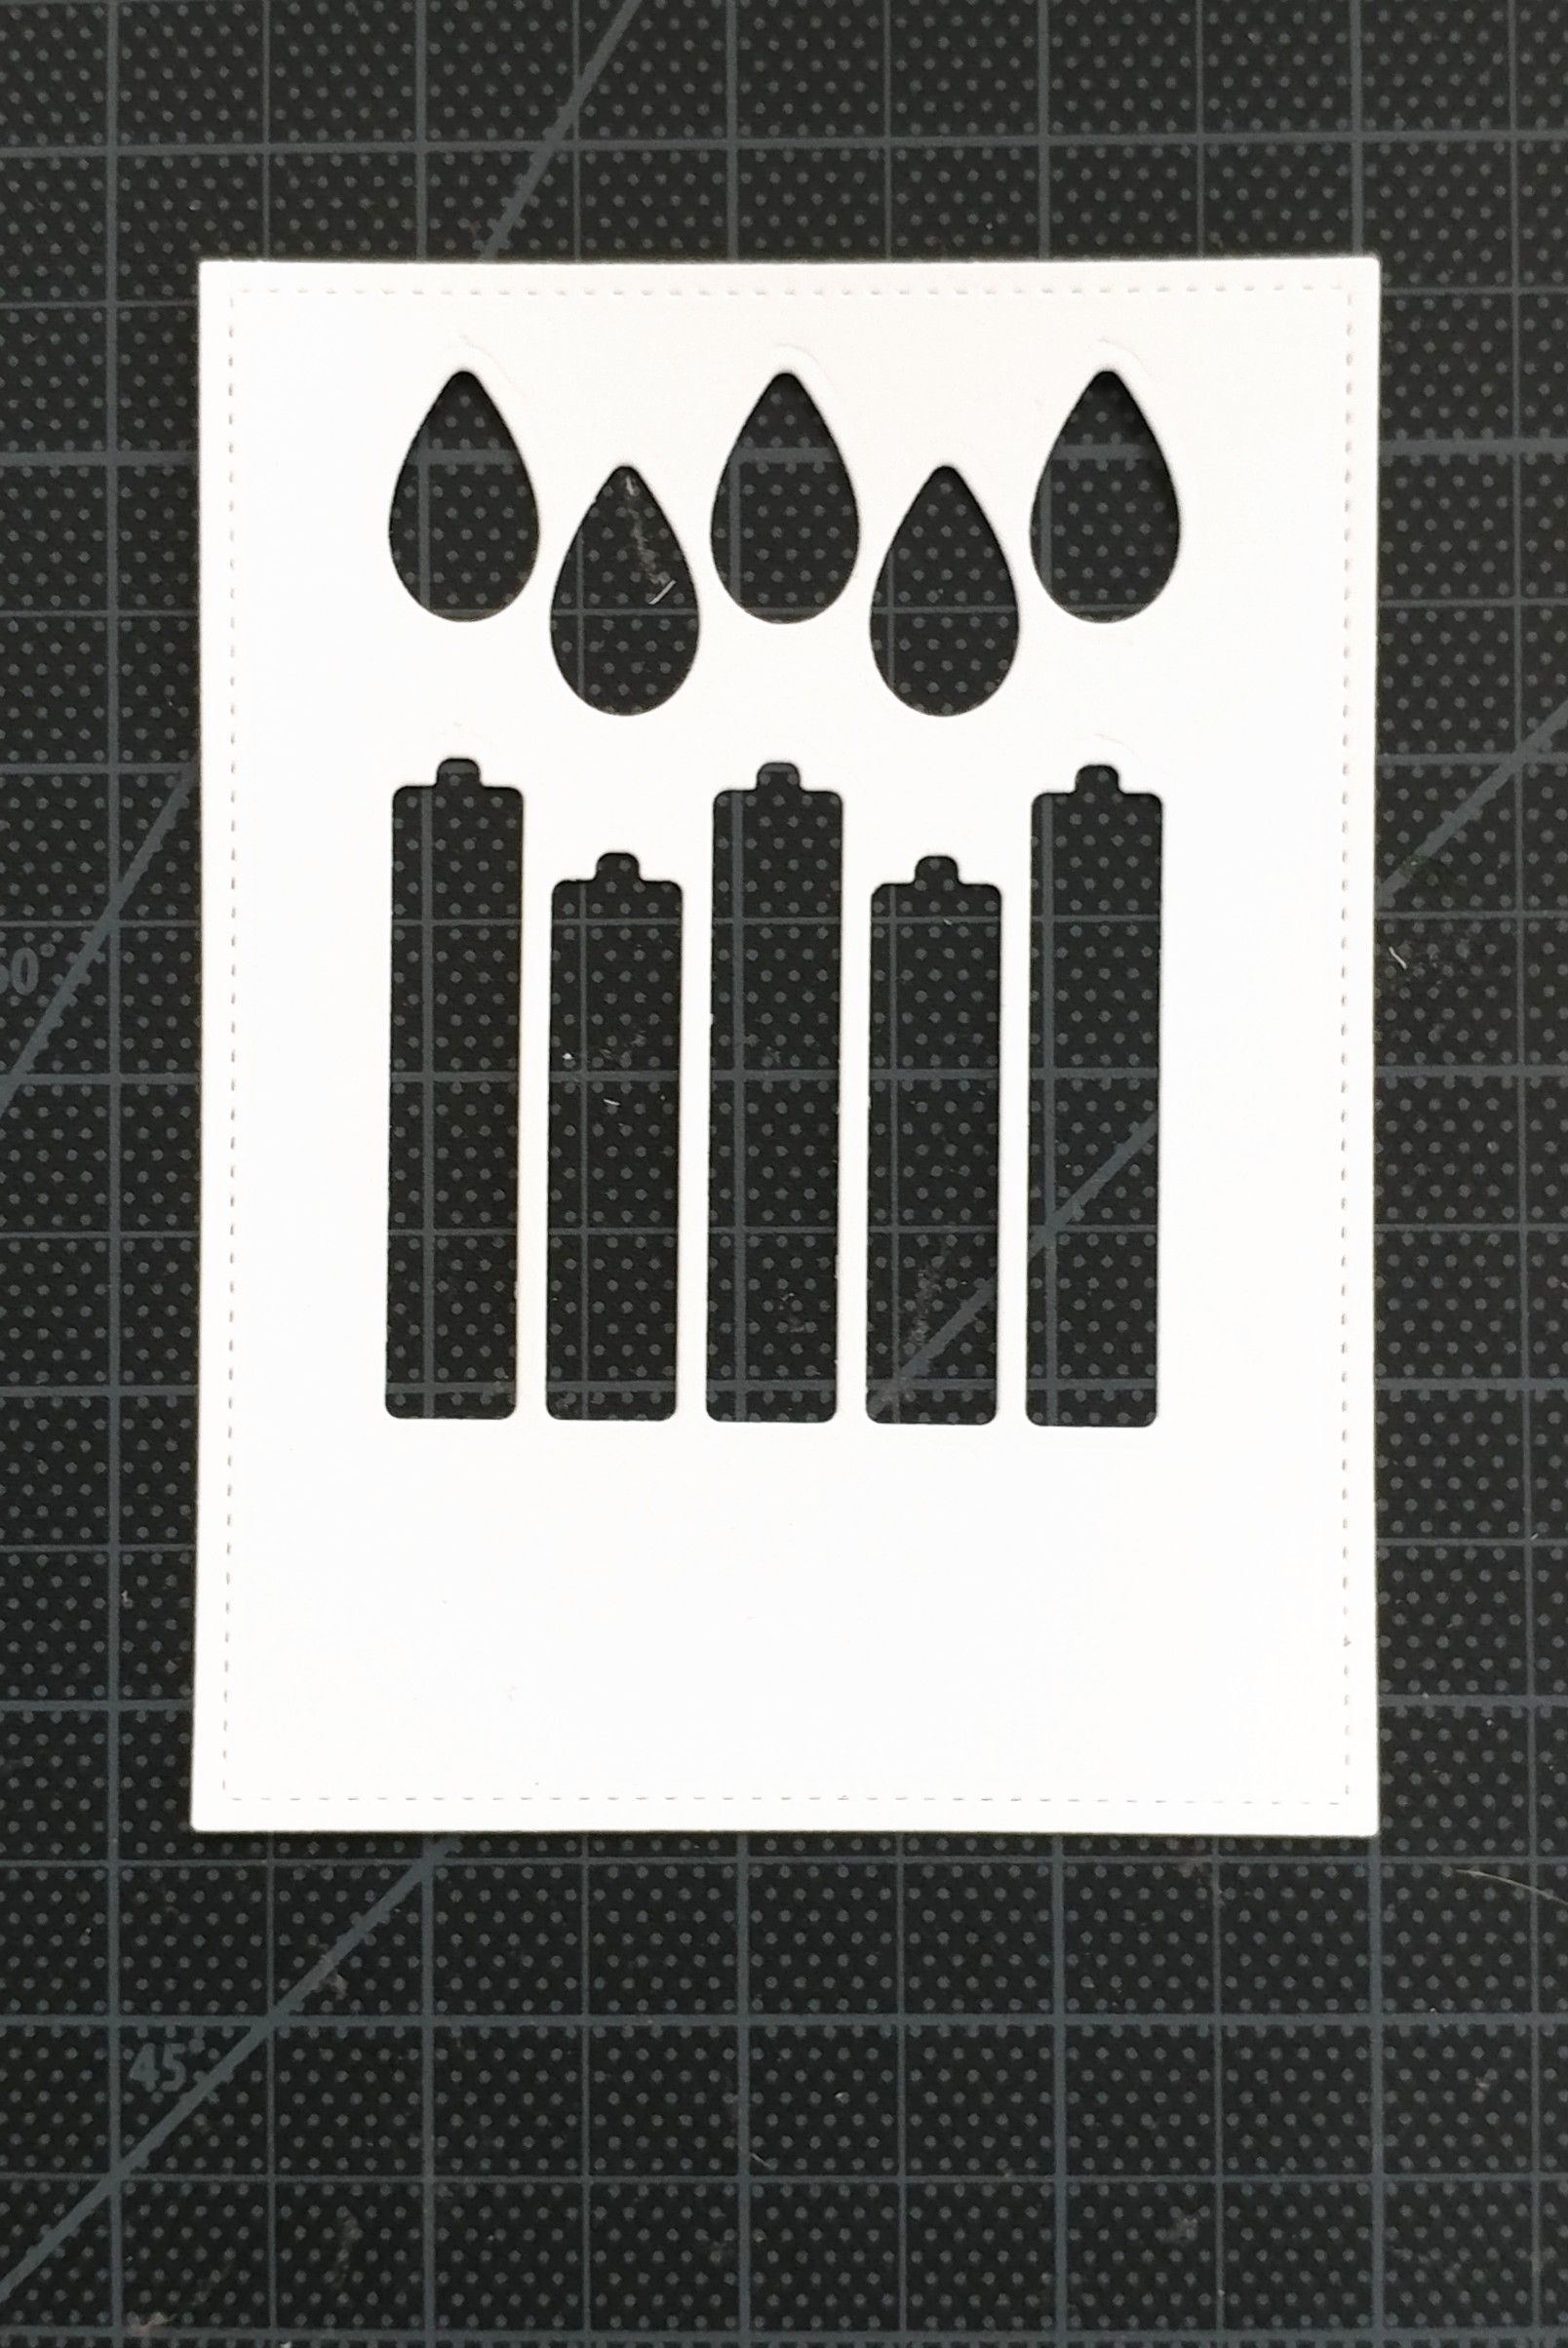
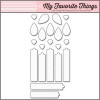
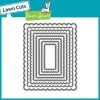
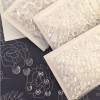
Next, I die cut the rectangular white background pieces with the largest die from Lawn Fawn’s Small Stitched Rectangular Stackables die set (and I also die cut the same shape from white foam). In those rectangular shapes, I then die cut the candles and flames into them to create openings. (and, OOPS, I realized later that I had die cut the flames in the wrong direction and had to do them all again… lol!)
I glued a thin piece of white printer paper on the back of the rectangular shapes, and then glued the candles and flames into the openings. I glued the finished piece onto the white foam pieces.
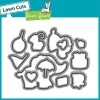
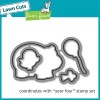
Isn’t that fun?! OK, so for MY box, I pulled out a ton of Lawn Fawn (LF) stamp & coordinating cut sets, and some other LF stamp OR cut sets on their own:
This project was so incredibly fun to make, and I can only imagine all the possible scenes I’ll be able to create using this fun die set!
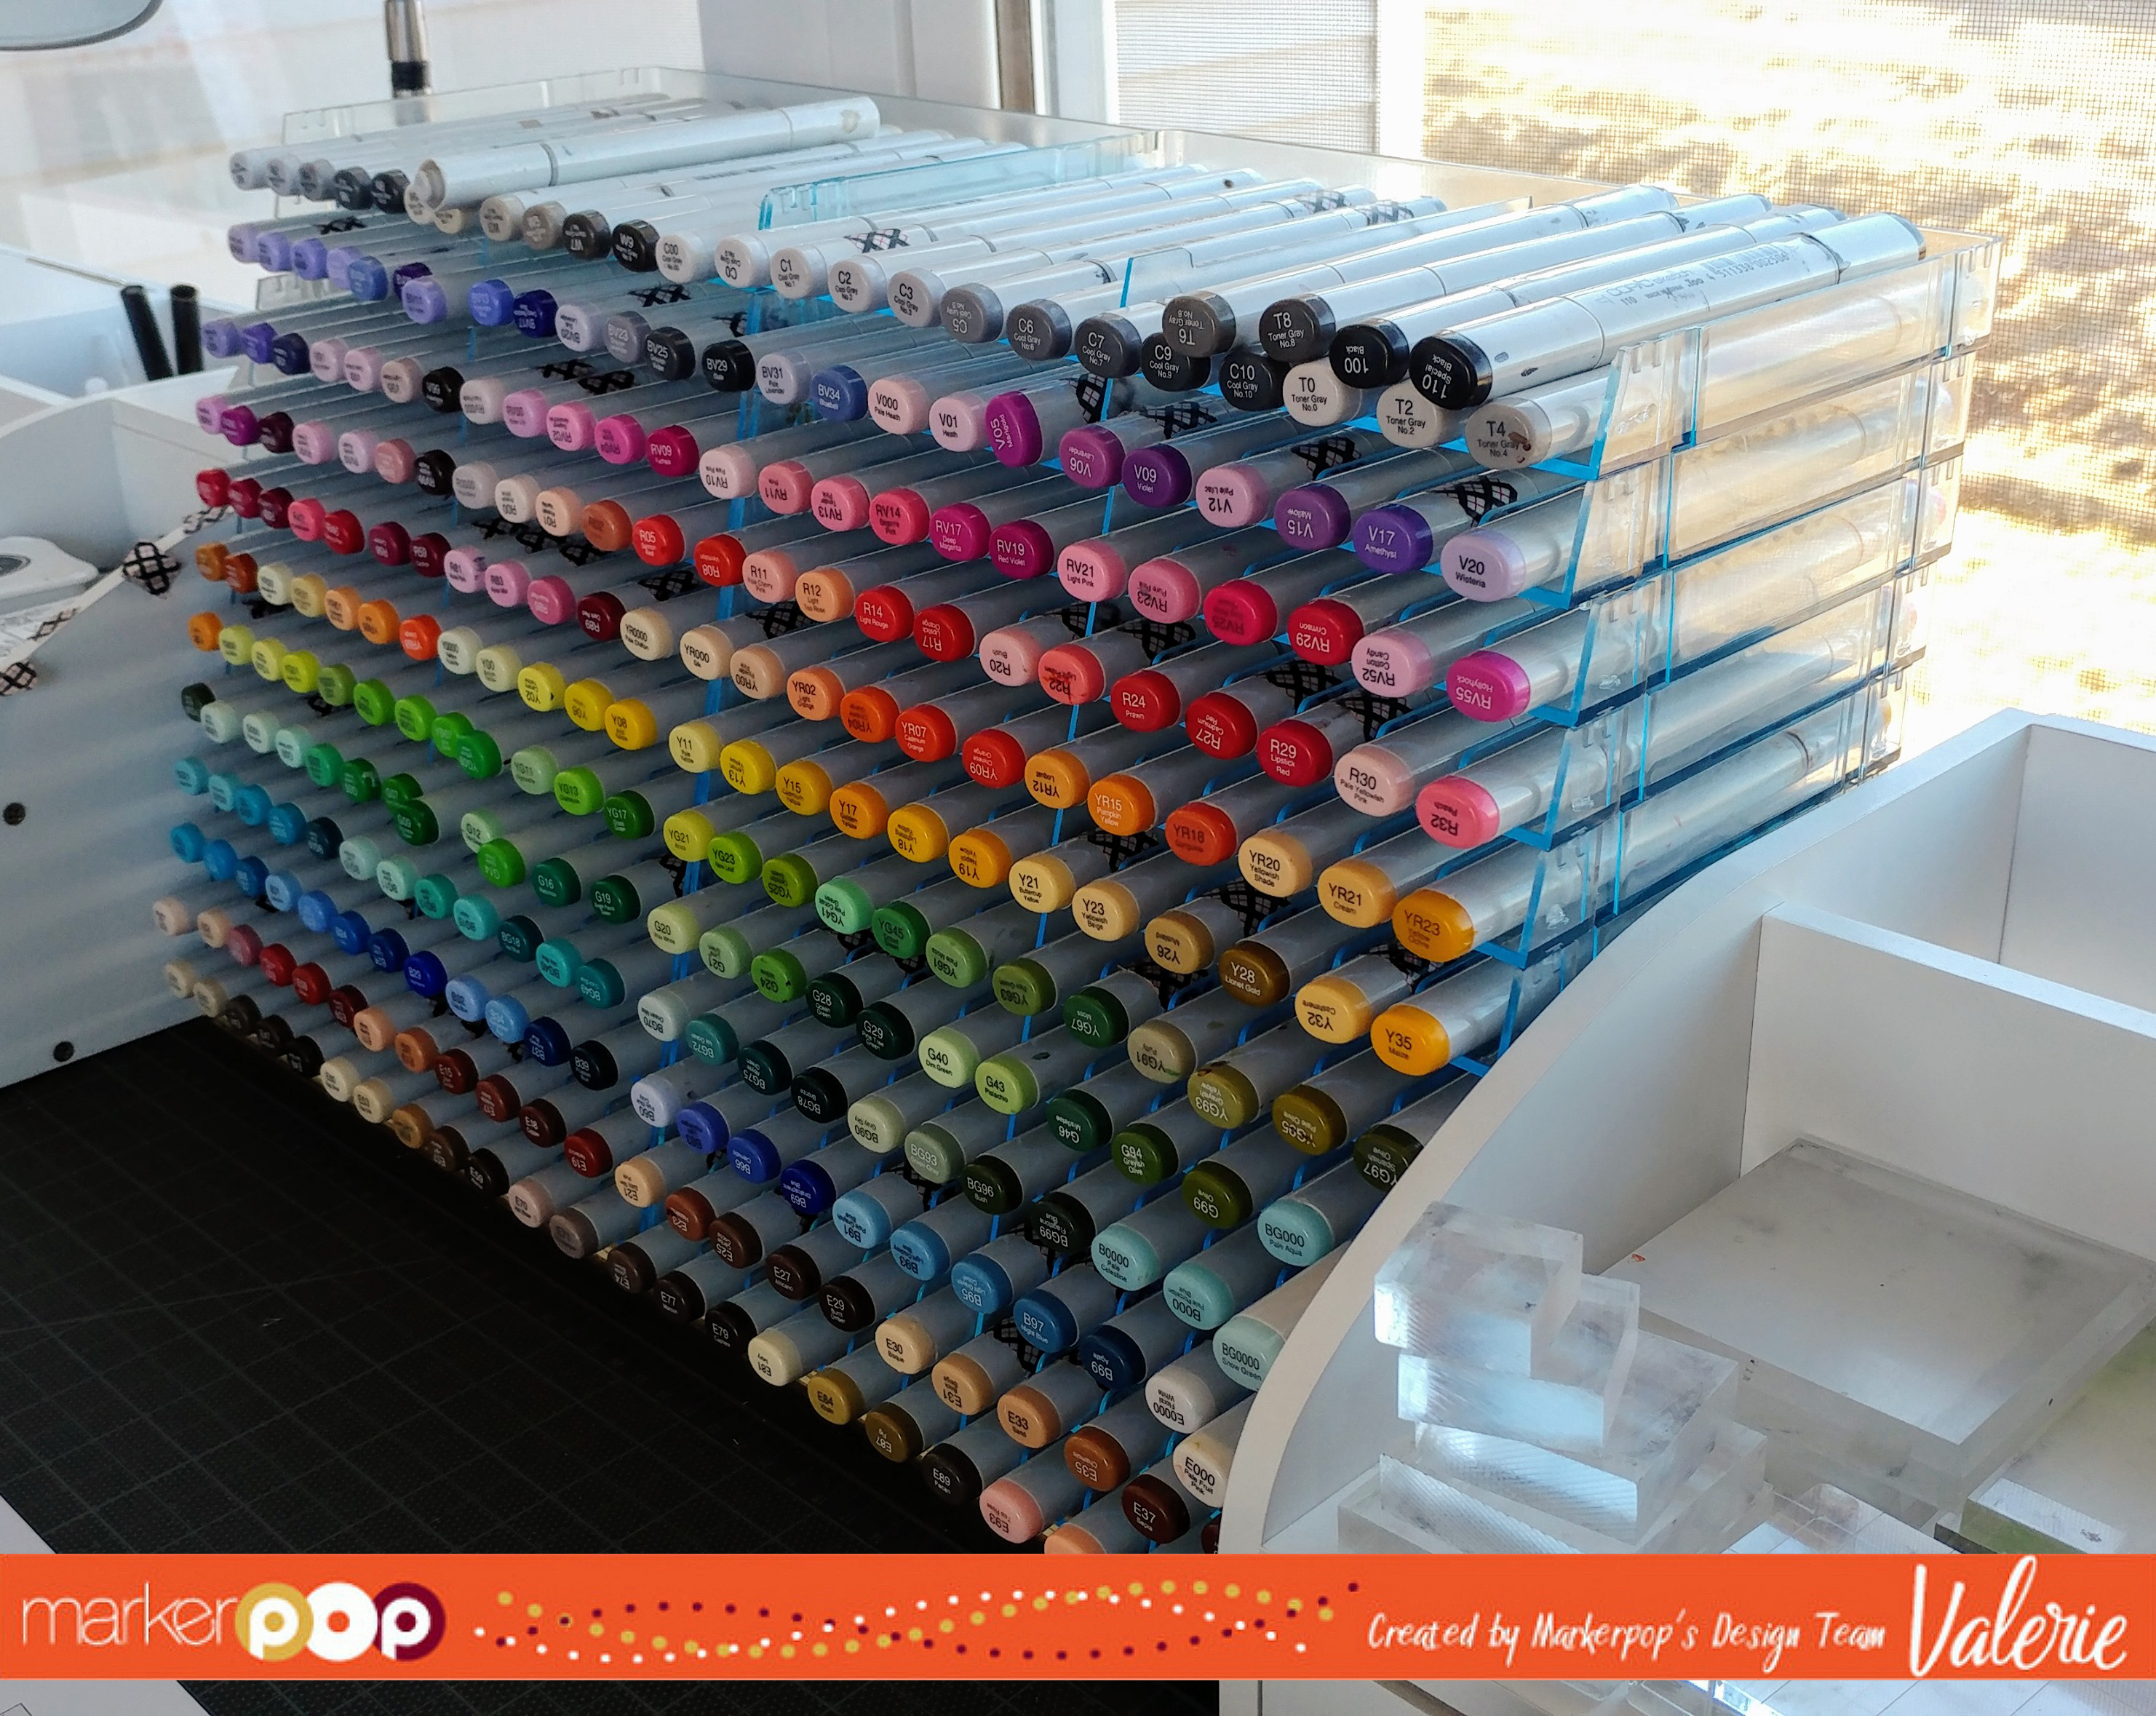
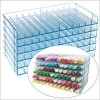
OK, now I’d like to throw in how I store my Copic markers, and how I transport them.
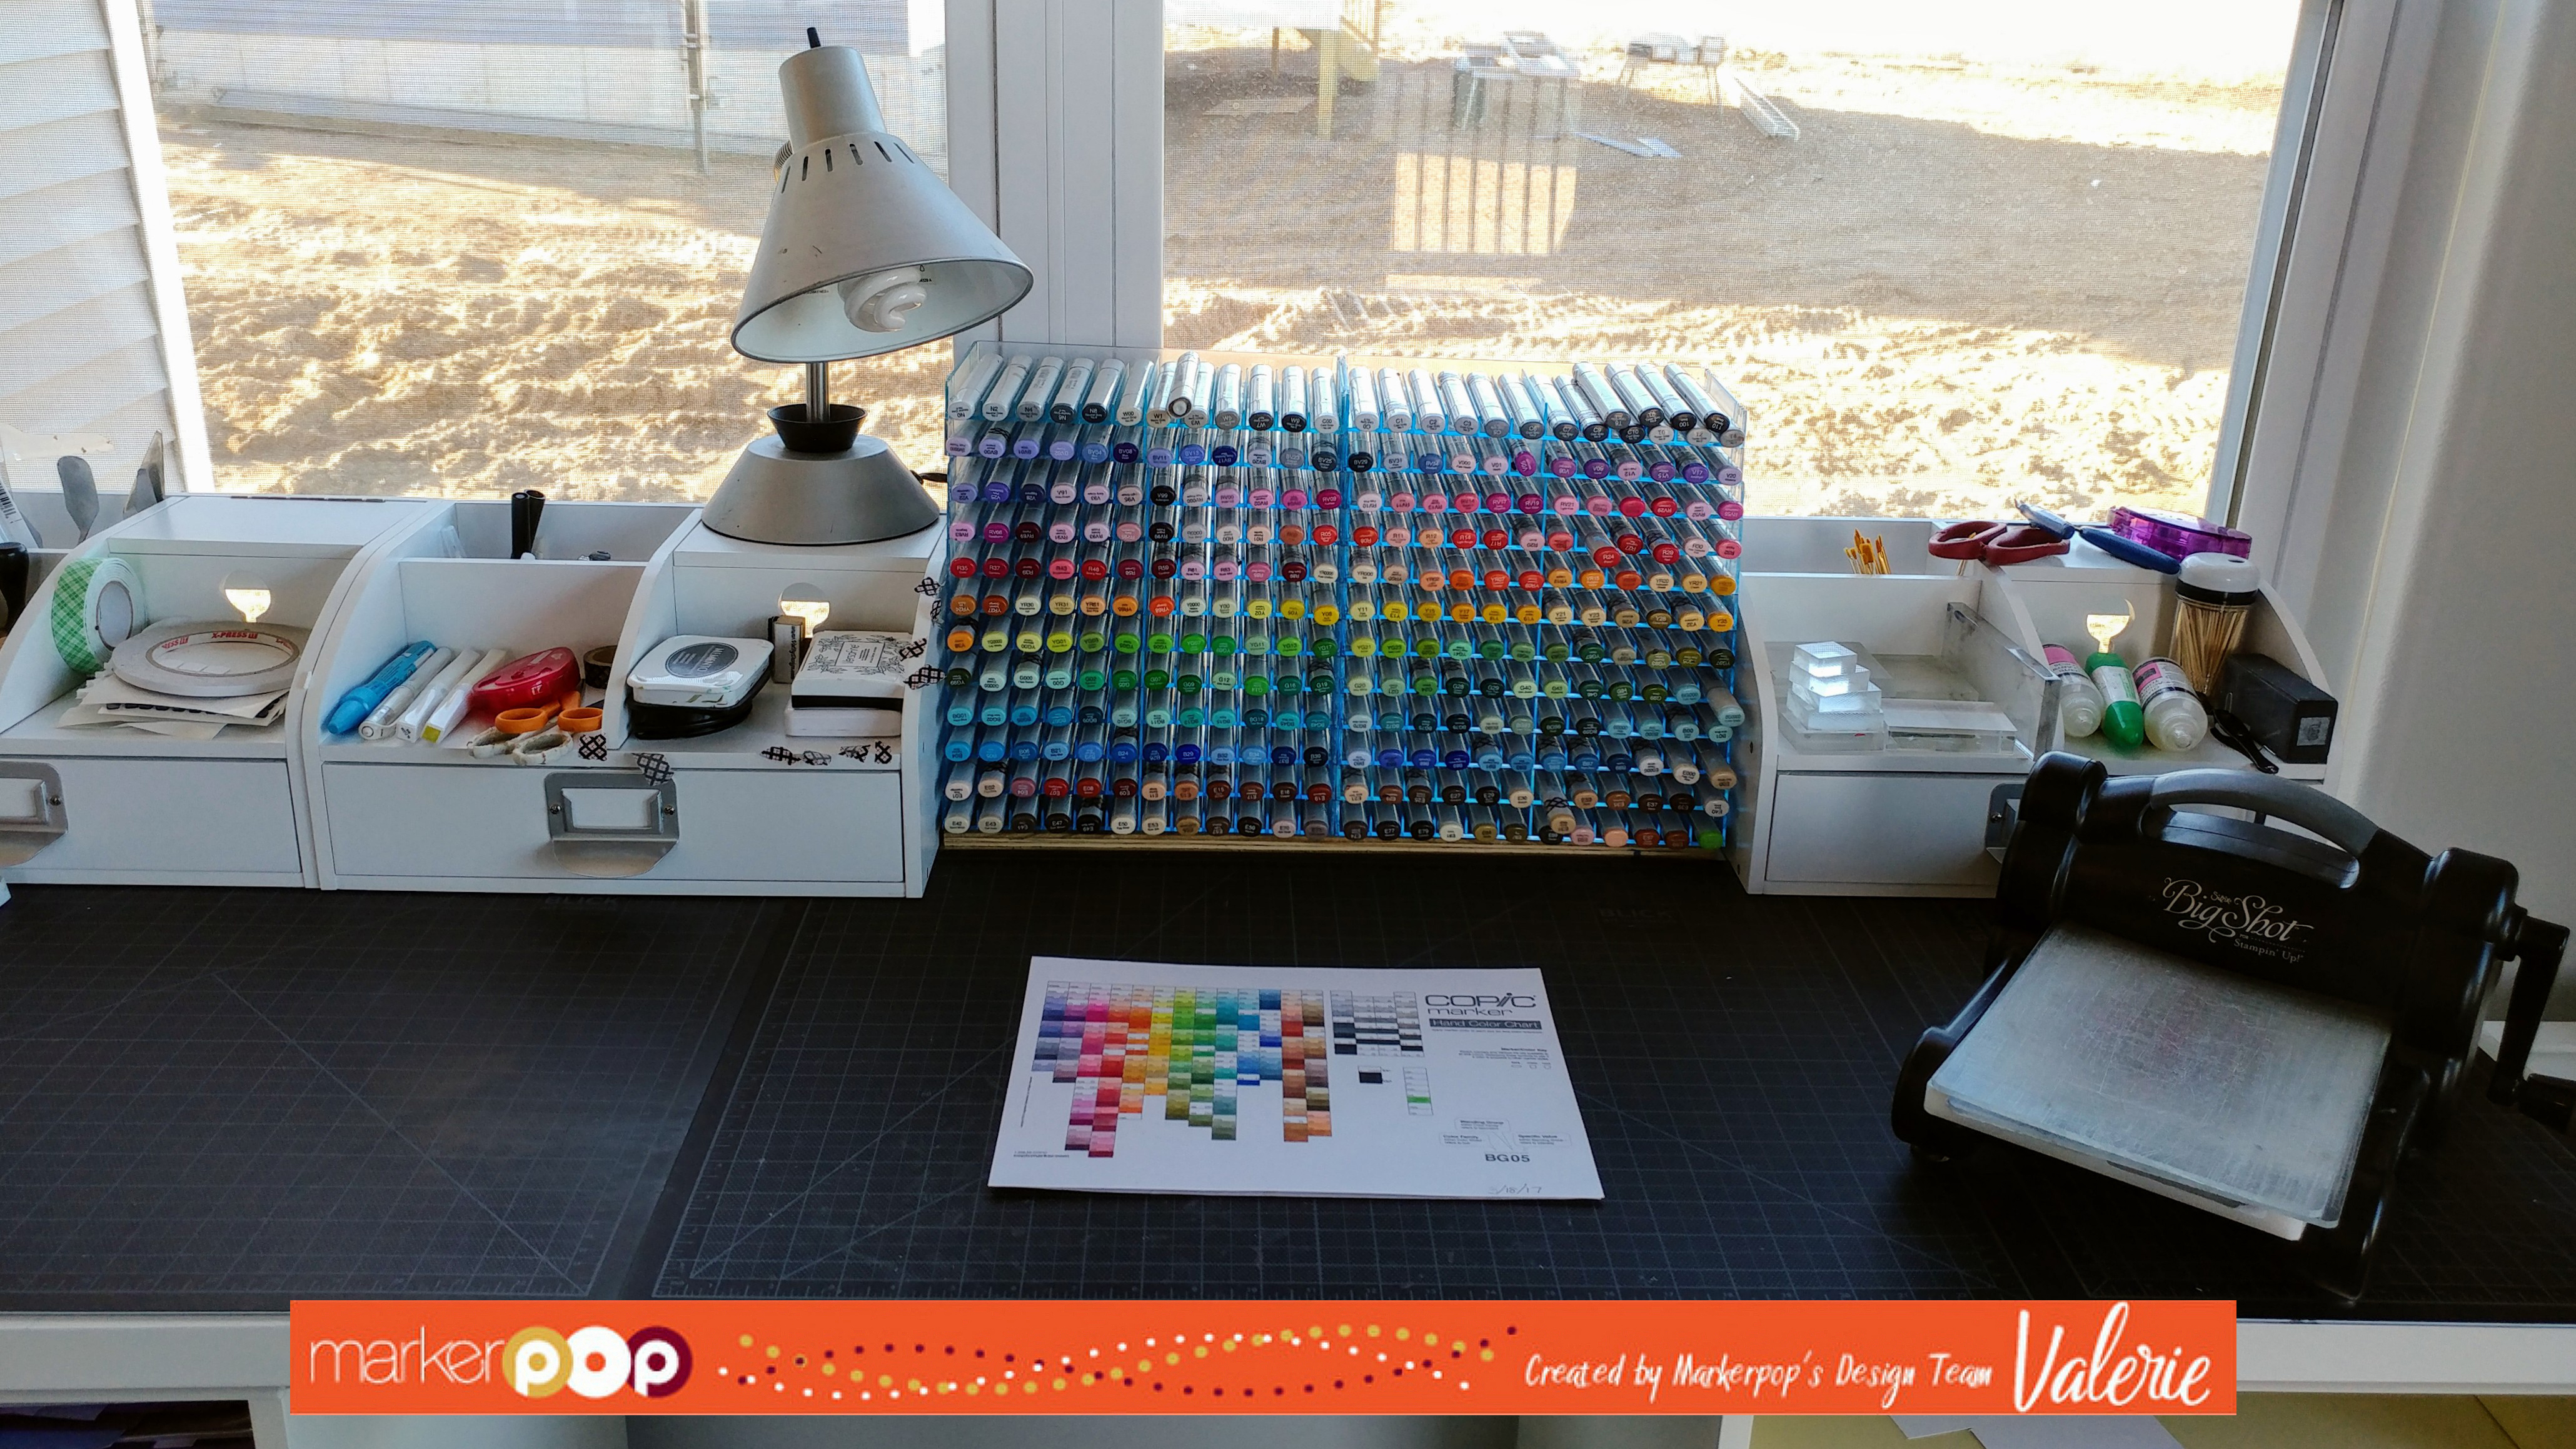
I have a wonderful collection of Copic Sketch markers; it has taken me almost 3 years to get to this point! When I’m coloring, I want them organized, and easily accessible. After much trial & error while experimenting with different storage solutions, I was finally thrilled when I discovered the Crafter’s Companion Untimate Pens and Markers Storage Units. You can get them in Clear (with a light tint of blue), or Black; I have the Clear ones. Here is an image of my markers and where I keep them on my work table:
(in this pic you can see the neighbor’s house still under construction and the mud pit it’s sitting on!):
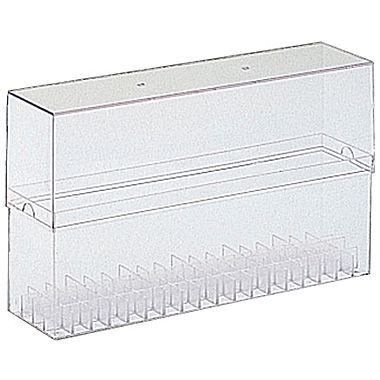
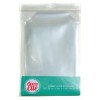
Then there are the times when I need to take my markers with me; when that’s the case, I pull out my Copic Empty Clear Storage Cases. They come in different sizes for different Copic markers (Original, Sketch, or Ciao). I have 4 of the cases that hold 72 markers each, and that’s enough to transport my markers.
So that’s it! Make sure you head over to our Copic 30th Birthday Giveaway post because you still have time to enter !