Hi crafters! Today I am here to share a Ho Down gift bag that is made from felt. I added some stamped images to the front of it and we are going to fill the bags with some candy and toys for the gift bags for all the kids.
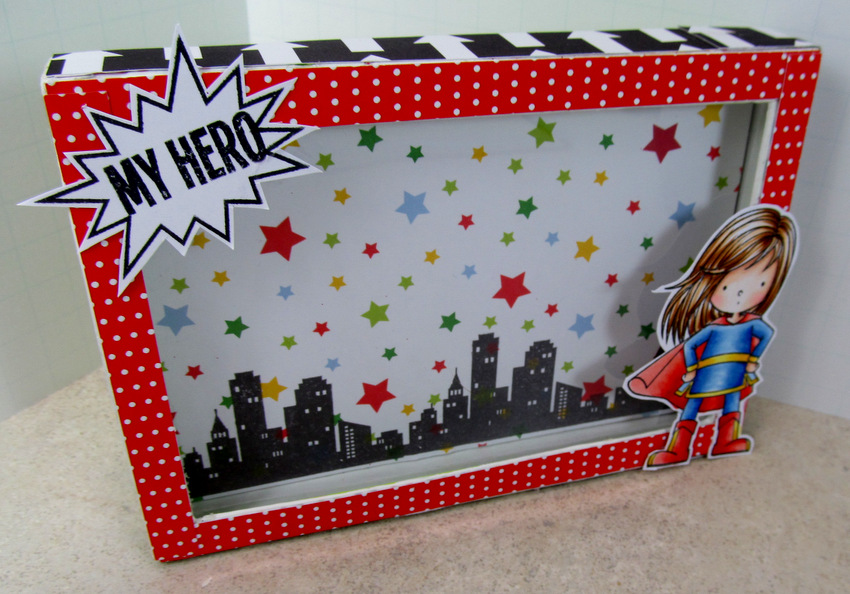
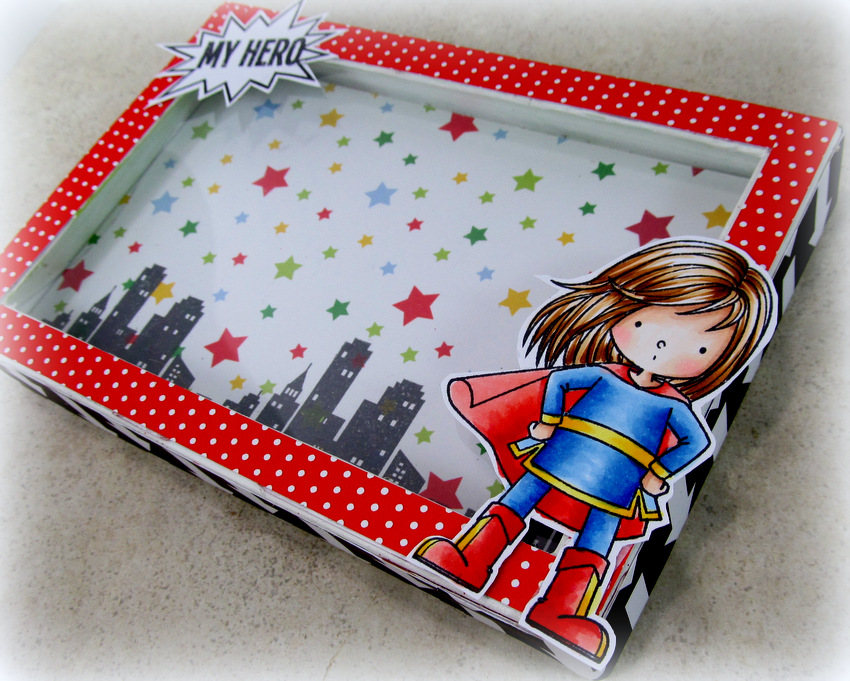
Hi crafters! Today I am sharing actually a project I made previously, but want to reshare with Marker Pop since it was a stamp I purchased from the Marker Pop store. This is a diorama box card using My Favorite Things stamped with Memento Tuxedo black ink on X-press IT paper.
Today we have the wonderfully talented Crafty Paws joining us again!
————————————————————————————————————————
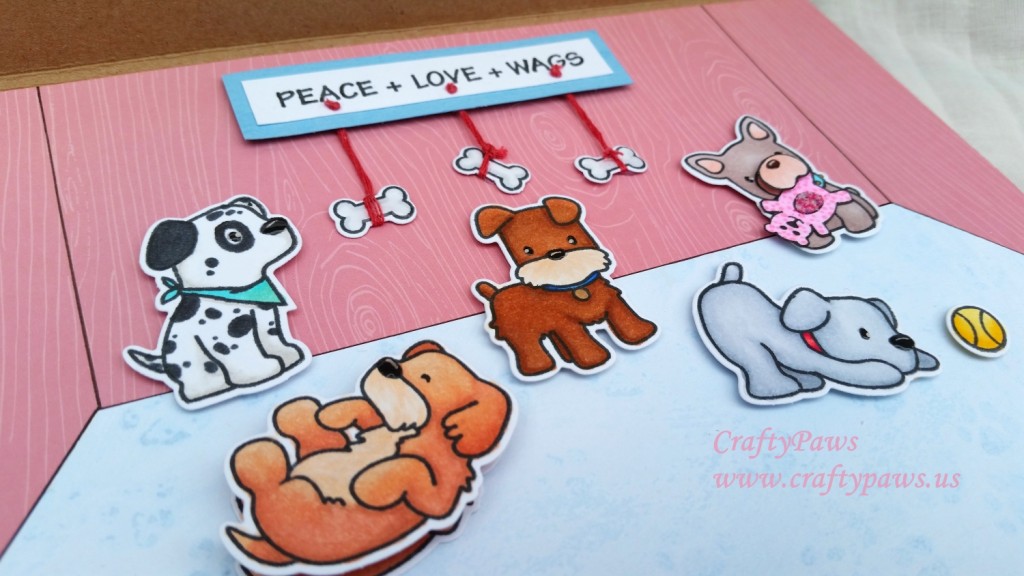
I made this card for a friend who recently almost bought a dog at a pet shop. I am happy and relieved to say that she didn’t and with this card that I am encouraging her to adopt from a shelter or rescue organization or get a dog from a reputable breeder.
I knew I wanted a large card to create a kind of “store front” look with a bright, welcoming awning and a large picture window. To add an interactive element, I made the front window a floating shaker through which you could see a room full of puppies from the Mama Elephant “Playful Pups” stamp set. Oh my gosh, aren’t those puppies the cutest?
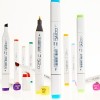
The following are the Copic colors I used for the puppies, tennis balls, and bones: Dalmatian: W1, 8, 9; Bandana: BG11, 45 Rolling Golden Retriever: E21, 11, 13 and 41; Belly and muzzle: E41 and 41 Center Terrier-mix: E33, 35, 23, 37, 29; Muzzle: E41 and 51; Collar: B24, 29; Tag: Gold metallic Sakura Gellly Roll Pen Weimaraner playing with ball: C1, 3, 4 and colorless blender; Collar: R22, 29 Pug-mix: E40 and 70; Ears and muzzle: R11; Collar: B01 ; Spikes: Gold metallic Sakura Gelly Roll Pen Bear squeaky toy (drawn with a Copic 0.01 pt Multiliner pen and fussy cut to cover letter in stamp image): RV00, 02, 13 with belly covered in Raspberry Fizz Flower Soft for fuzzy texture Tennis balls: Y11, 13, 15 Bones: C1 coated with Glossy Accents for shine
I started with a large 8.5″ x 12″ piece of heavy kraft card stock for the base. To accommodate the dimension of the pups, I also added a 1/8″ gusset at the top fold. I then cut a window out of the front panel with an X-Acto knife 7 3/4″ by 3 1/4″. I cut a second panel with the same dimensions so that I could insert the shaker pocket between these two panels to create a floating shaker on the front of the card without interfering with all the pups on the inside of the card. I created the shaker pocket using a scrapbook layout sleeve and a We R Memory Keepers Photo Sleeve Fuse Tool, filling it with tennis balls and bones that I stamped, colored and die cut from the Playful Pups set; pearlescent and gold sequins; and white seed beads (I find that adding something with a little dimension like beads helps all the shaker pieces move around better).
For the awning, I cut a piece of 2 3/4″ by 8.5″ piece of striped patterned paper and used the Martha Stewart Eyelet Lace Punch Around The Page Setto punch the end corners and along one edge of the paper. Then I scored the paper lengthwise at 3/8″ and 2 3/4″ to create the area to attach the awning at the top of the card and the drop overhang. To finish off the window, I just cut strips of white card stock to frame the opening and layered a couple of thinner strips at the top and bottom to add some visual weight to the window framing.
The puppy playroom inside was easy to create. I first cut a piece of pink wood grain patterned paper to 8.5″ x 4.5″. Then I found some pale blue puppy paw print paper that I thought would make the perfect flooring and cut that to 8.5″ x 3″. To create the look of a 3D room, I drew in vertical wall lines 1 1/4″ in from either side and 3″ down the card. I connected the bottoms of those lines with a horizontal line to create the back floor. Finally, I cut away the floor paper at a diagonal from the bottom of the wall lines to 1 1/2″ above the bottom of the card on both sides. If this is unclear, please watch the video where I point all of this out on the card so you can see what I’m describing.
Then it was just a matter of positioning all the adorable puppies that I had colored up and die cut using the matching Mama Elephant Creative Cuts die set. I popped all of them up on foam adhesive to add a little dimension and added a little extra fun with an extra muzzle layer for the Pug-mix which I fussy cut out and popped up with more foam adhesive and putting the whole Golden Retriever up on a home made action wobble (if you are interested in how to make an action wobble, see THIS VIDEO).
————————————————————————————————————————
Thank you SO very much, Crafty Paws, for joining us this month, and for sharing your wonderul creations and fantastic videos for us!
Crafters, head on over to the Crafty Paws blog to seemore of her amazing work!
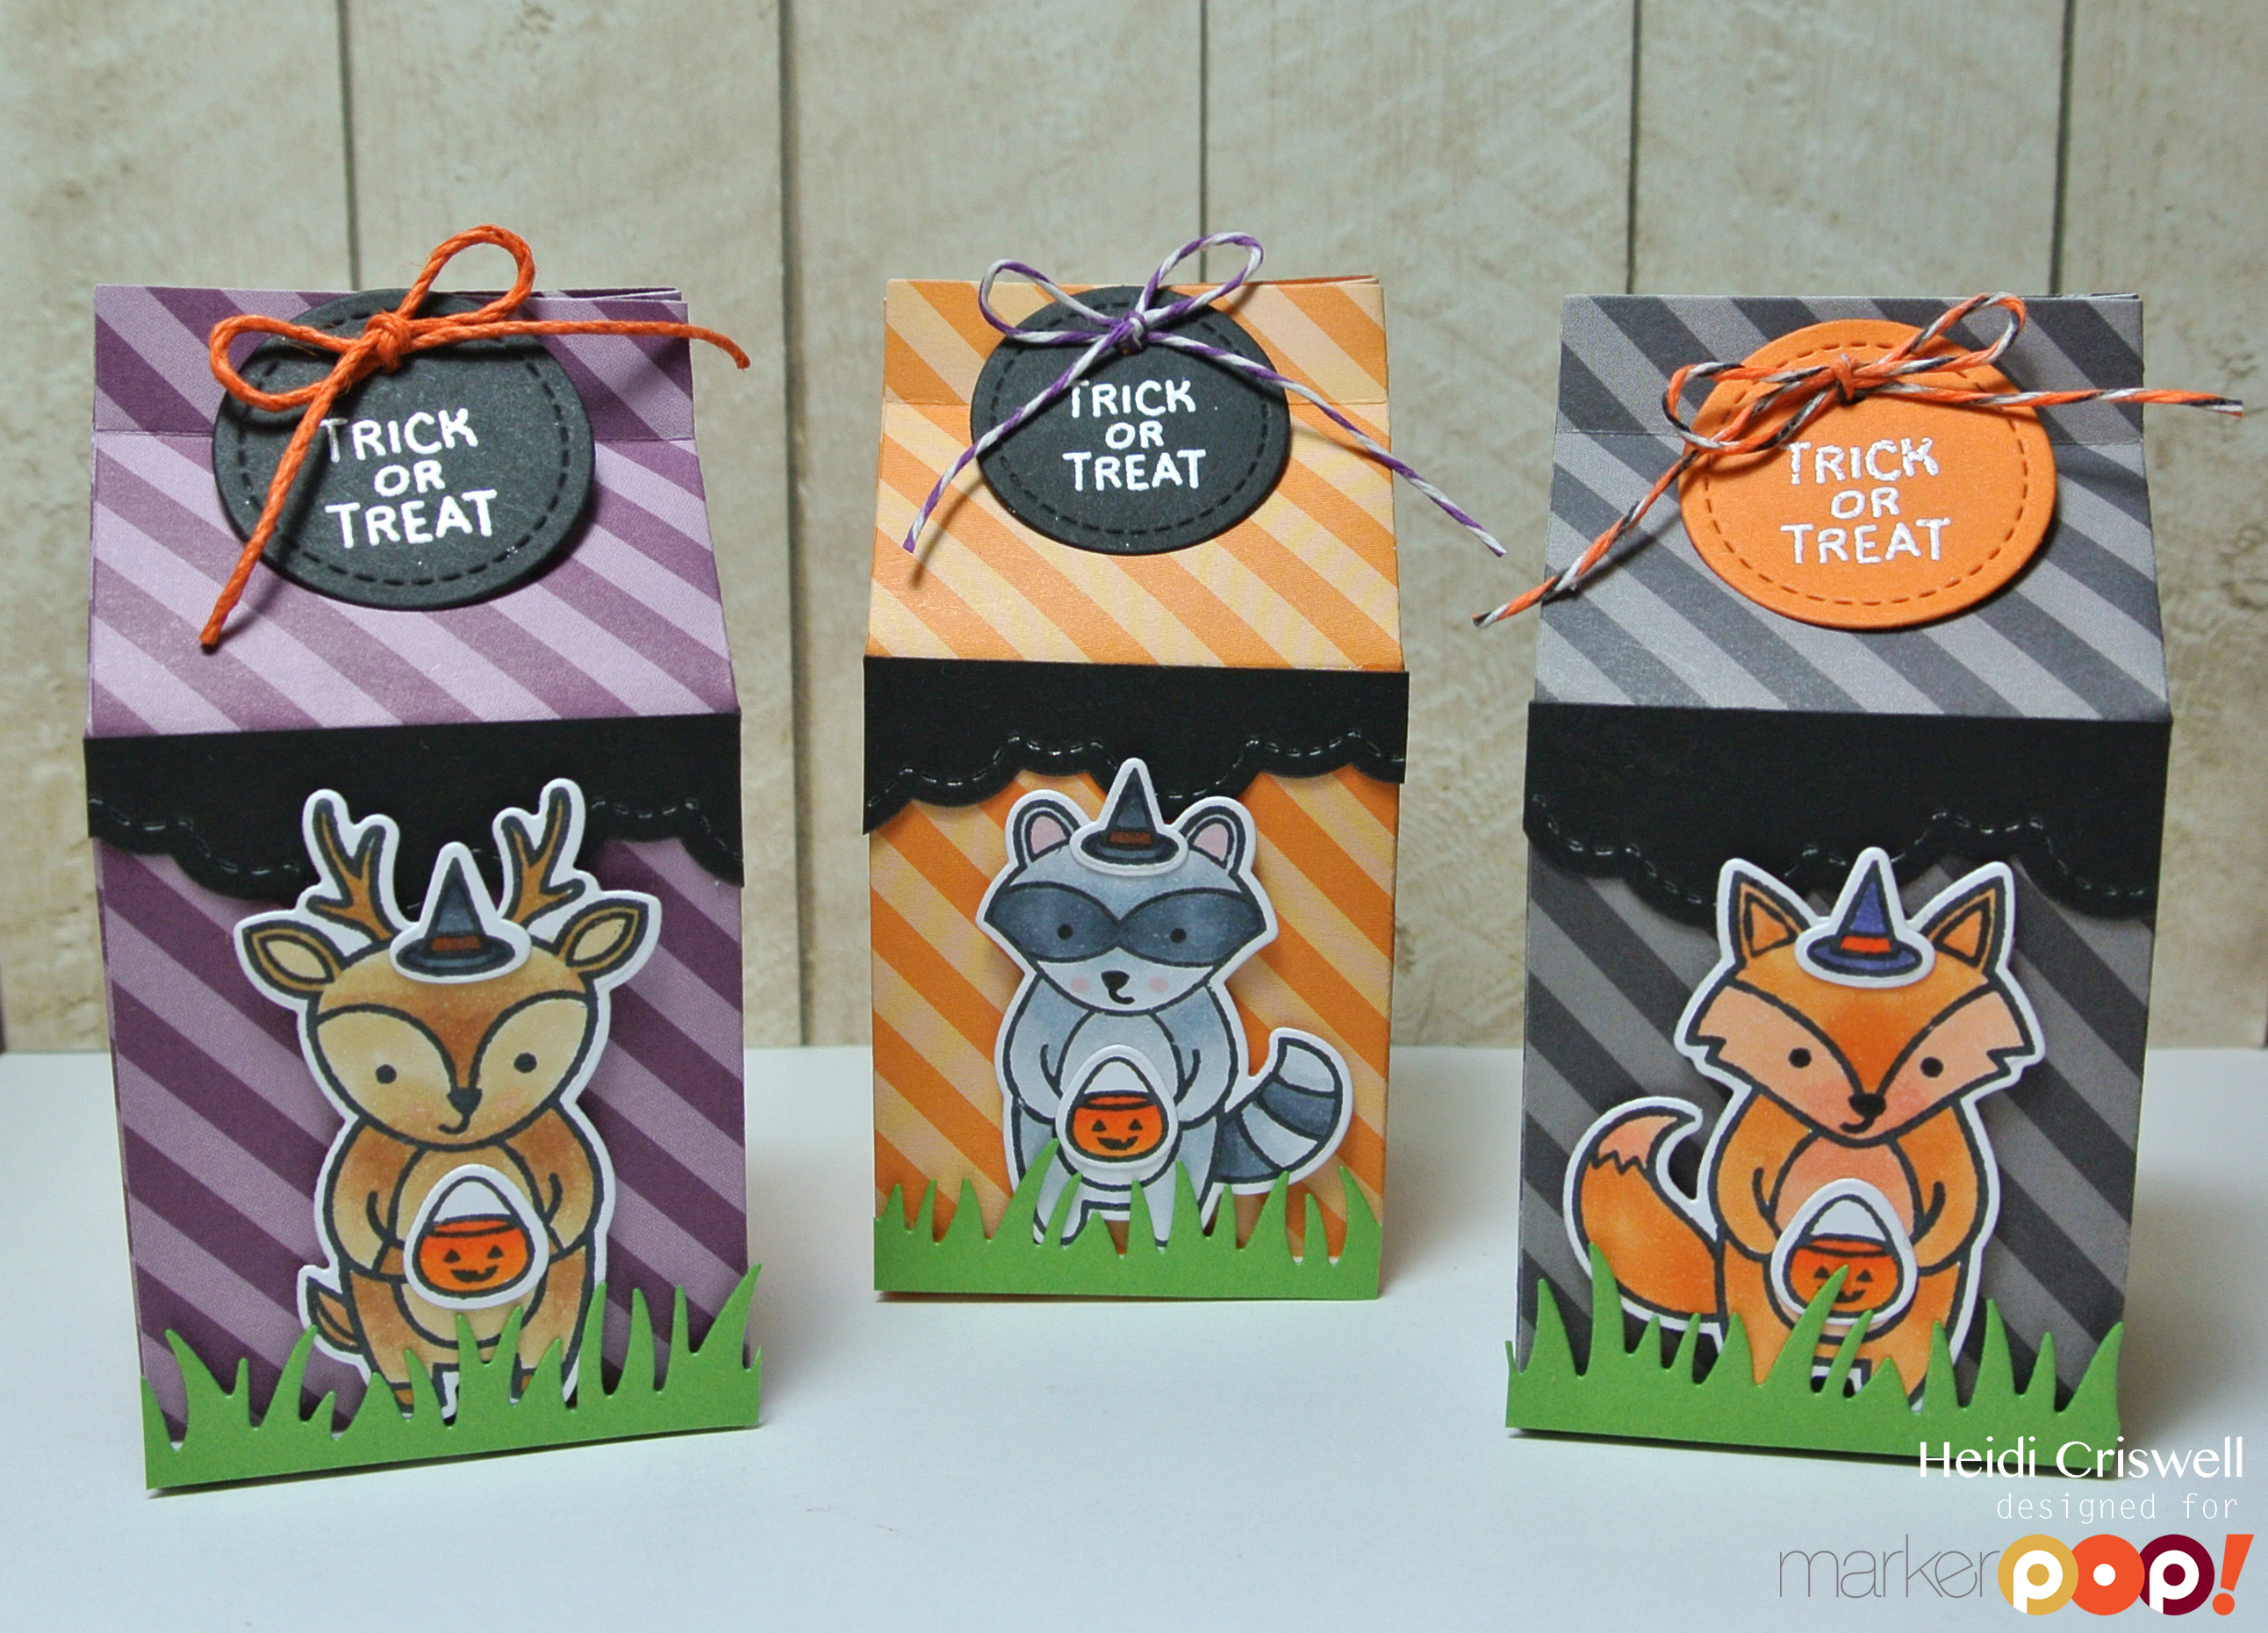
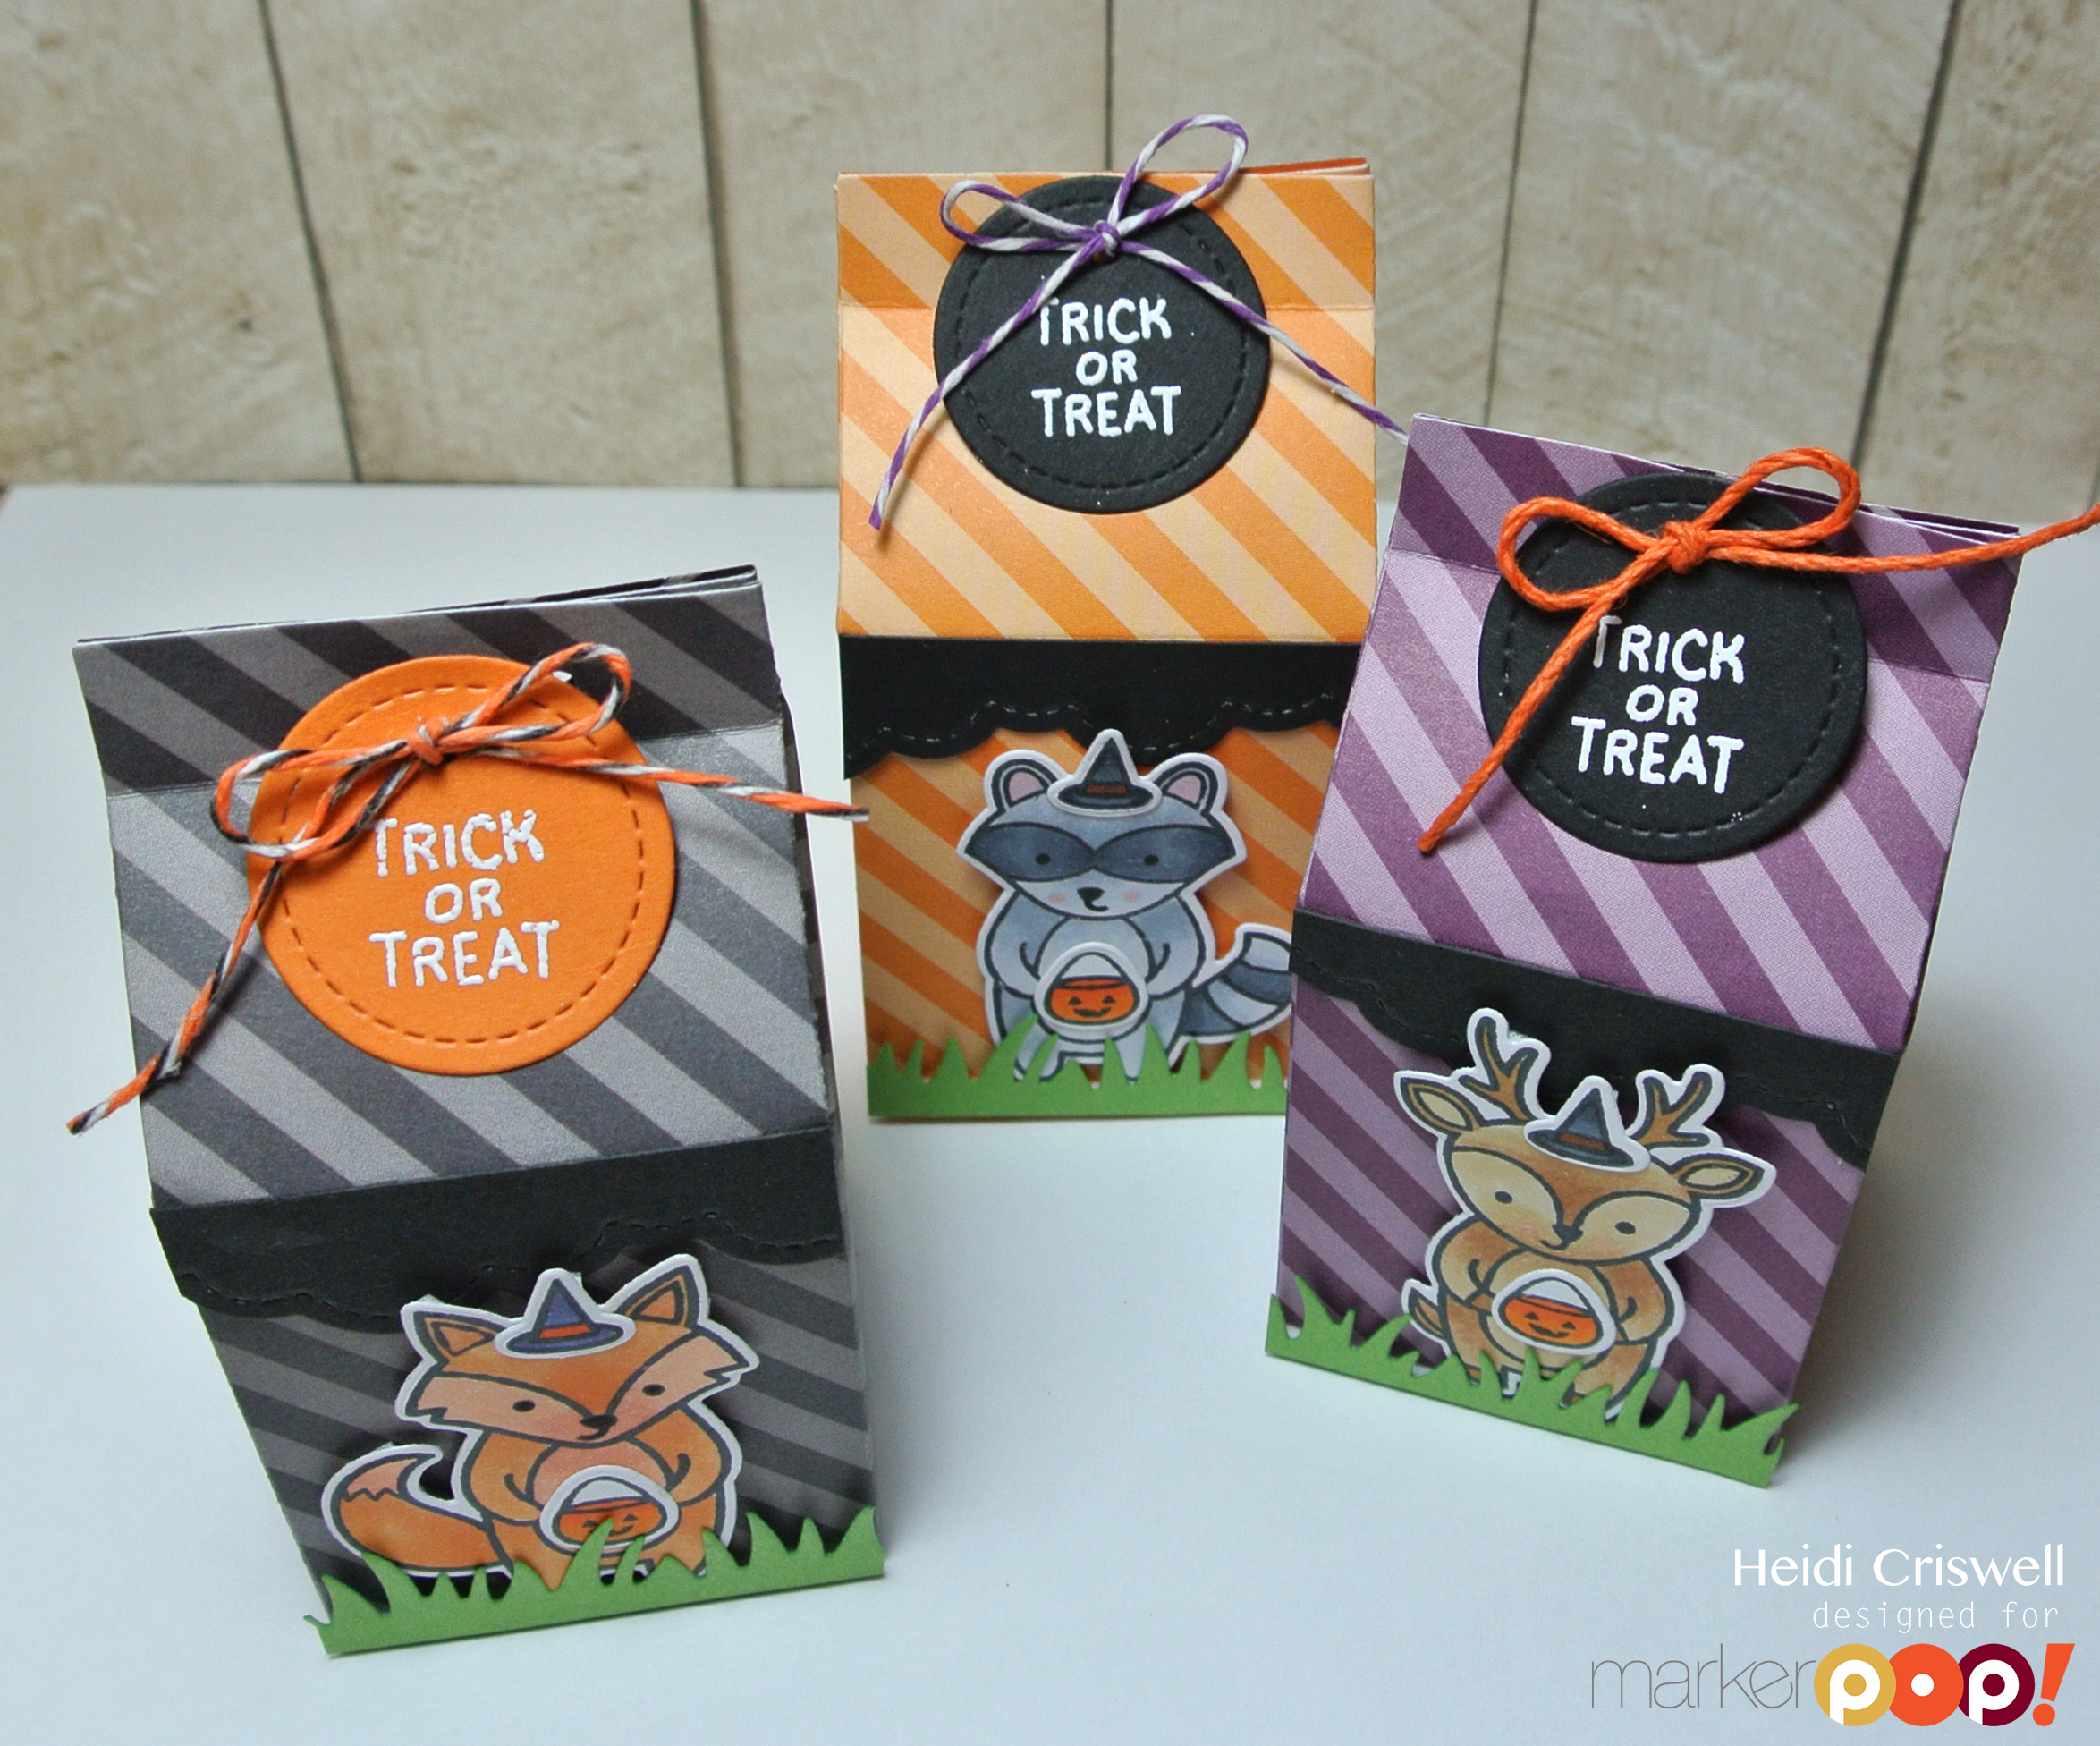
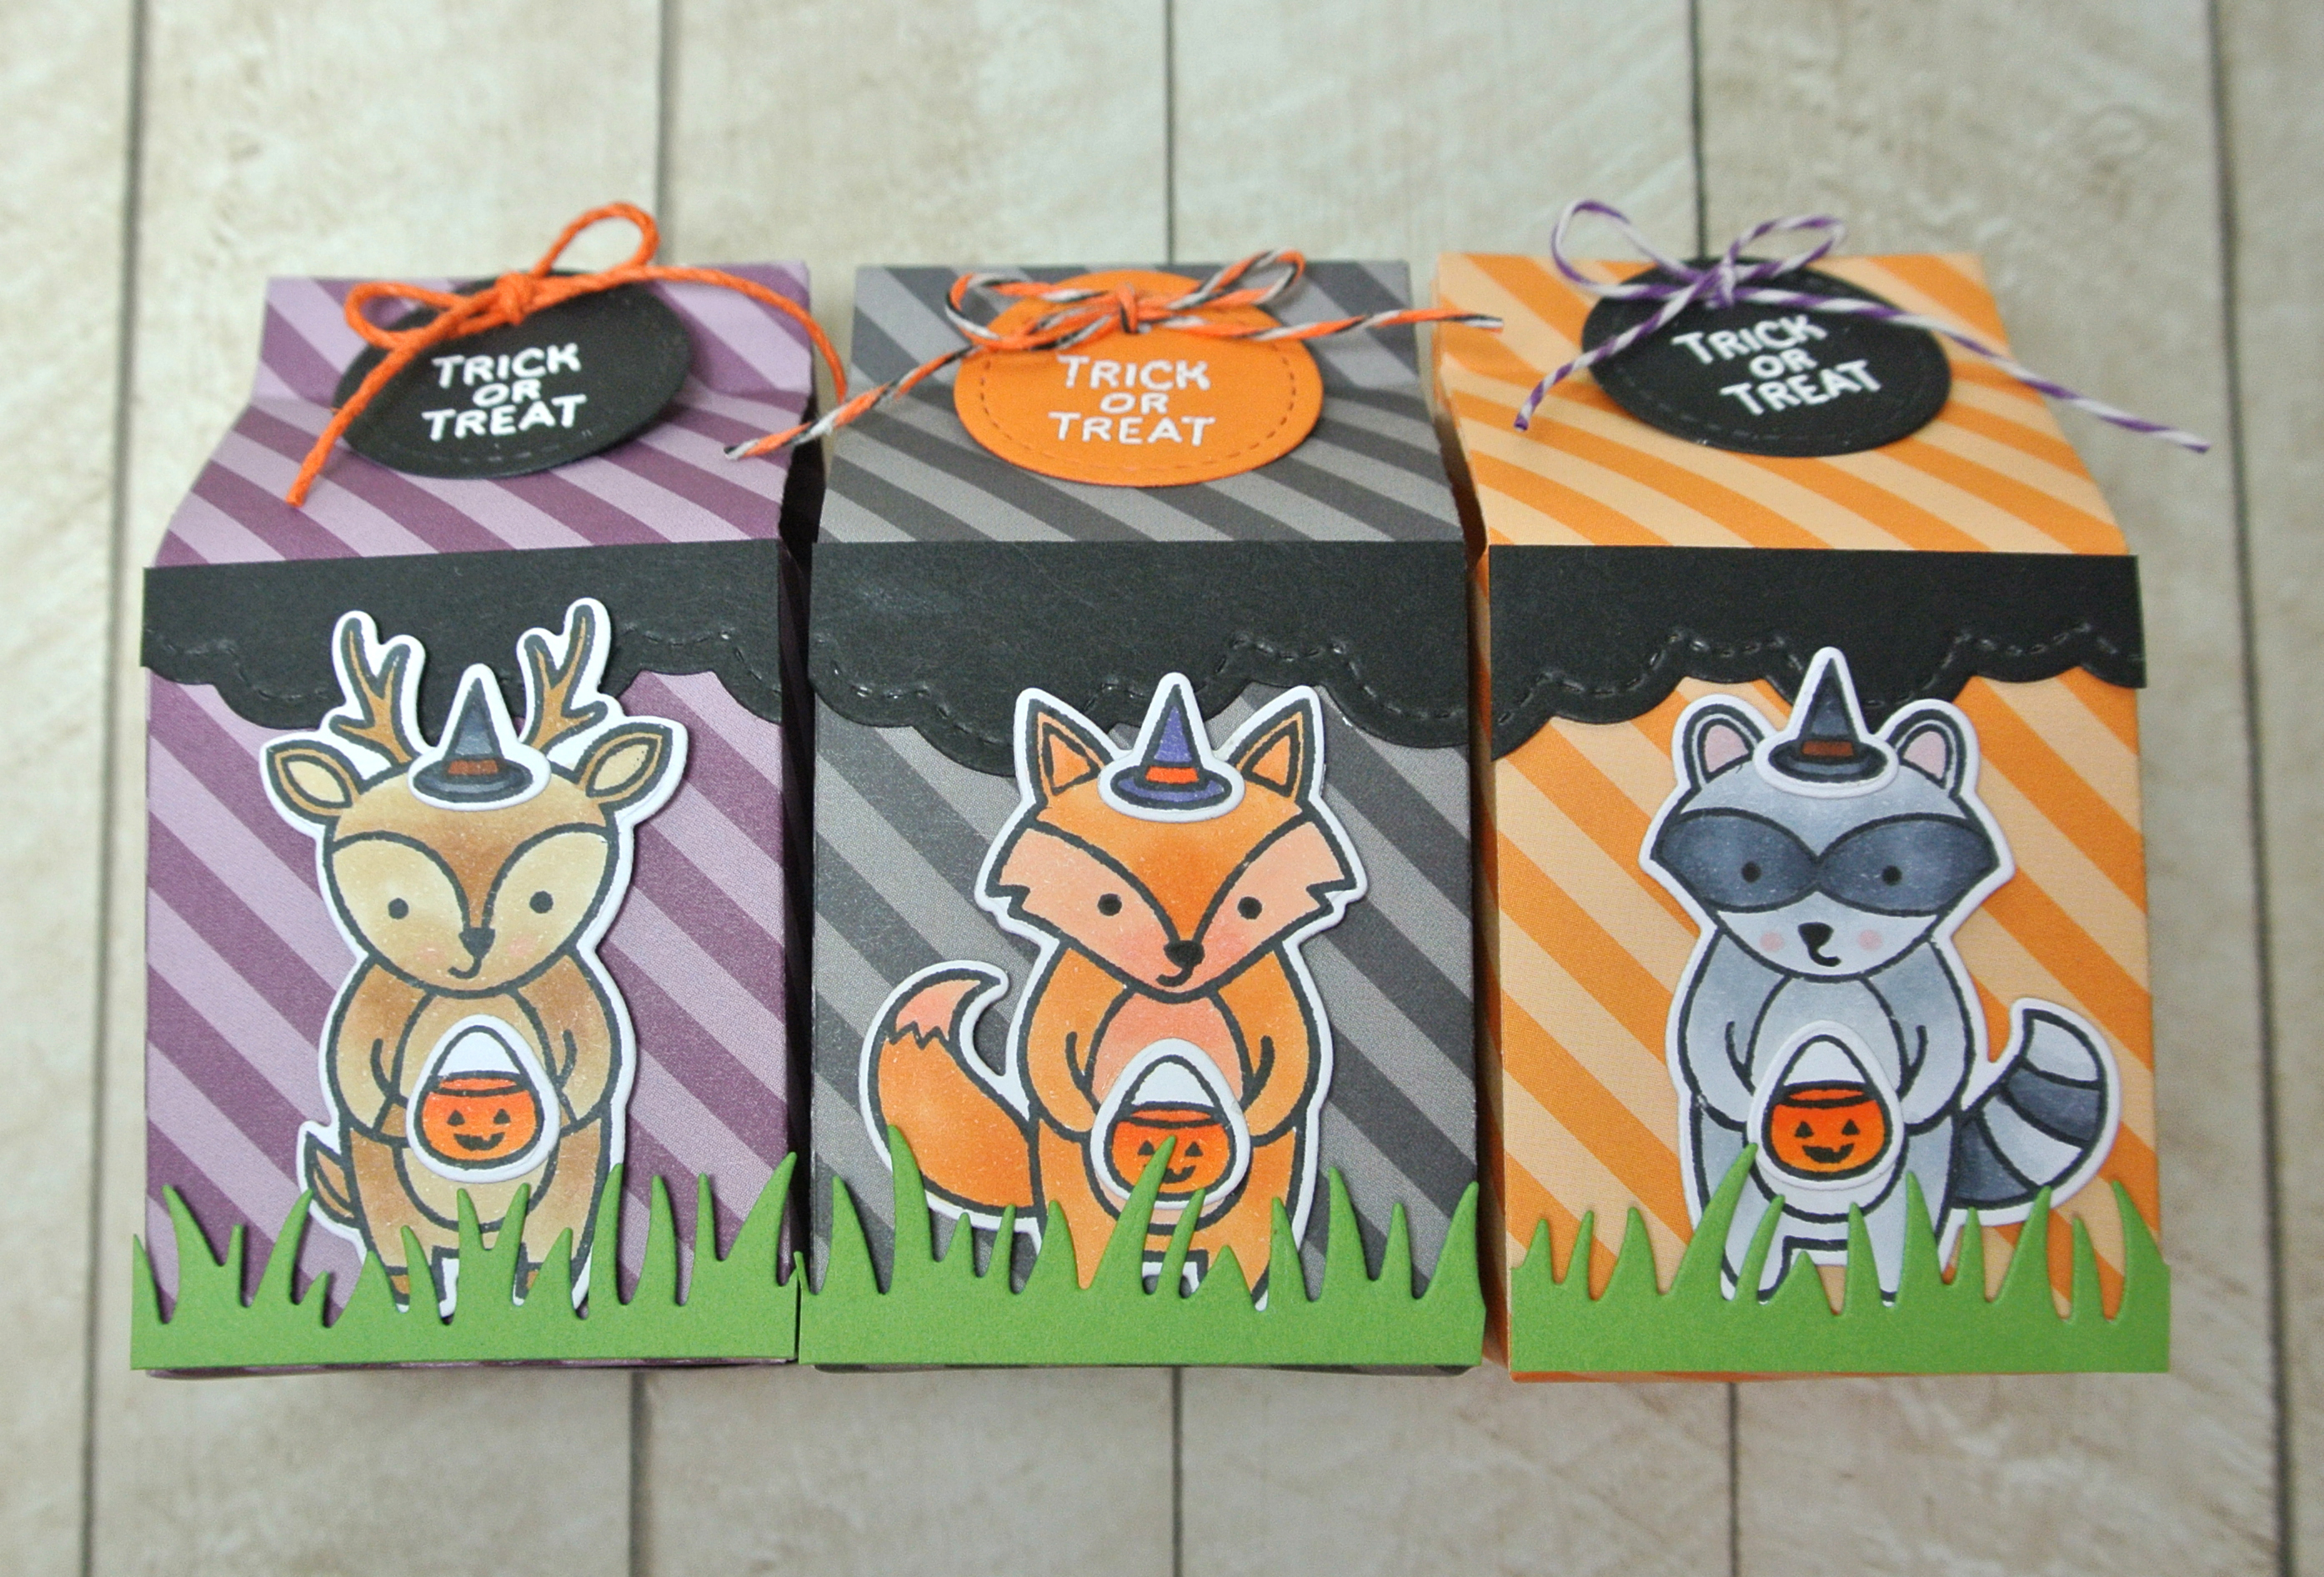
Hello everybody, Heidi here today sharing with you some milk carton treats, using Lawn Fawn products. As Halloween approaches, we have to start working on our gifts and treats we will have for the kids, teachers or maybe for coworkers, so here is an quick an easy idea that I wanted to share with you. Let me show you and I will tell you a little bit more about it.
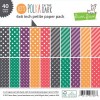
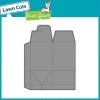
I die cut the”Milk carton Lawncuts” using patterned paper from the “Let’s polka in the dark collection.” I also die cut some grass with the “grassy border” die out of some green card stock, and some clouds borders out of black card stock, using the “stitched puffy clouds border dies.”
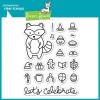
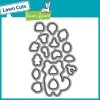
I used the smallest one of the “Stitched circle tags” to stamp the sentiment or message “trick or treat” from the “critters in costume” stamp set, and I heat embossed it. I punched two small holes on the flaps on the milk carton and attache the circle tag using baker’s twine.
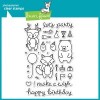
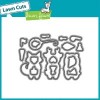
I stamp, colored, and die cut the critters and accessories from the “party animal” and “holiday party animal” and adhered to the assembled milk cartons, using foam adhesive
I hope you enjoyed this project and that you’ll give it a try. I promise you, they are very easy to put together, very quick project on which kids can help too, by coloring the images, that would make it much more fun!