$10 Gift Voucher - Leave a Comment

Posts Tagged ‘Zig Clean Color Real brush markers’

Hello!

Written by Holly Endress. Posted in Eye Candy (Projects), Tutorials

Hello everyone it’s Holly here and today I’m using the Dreamerland Crafts adorable stamp A Big Bouquet of Surprises. This is new to my company as well as a new product for MarkerPop, and I have to say all the images are super cute!

mp2

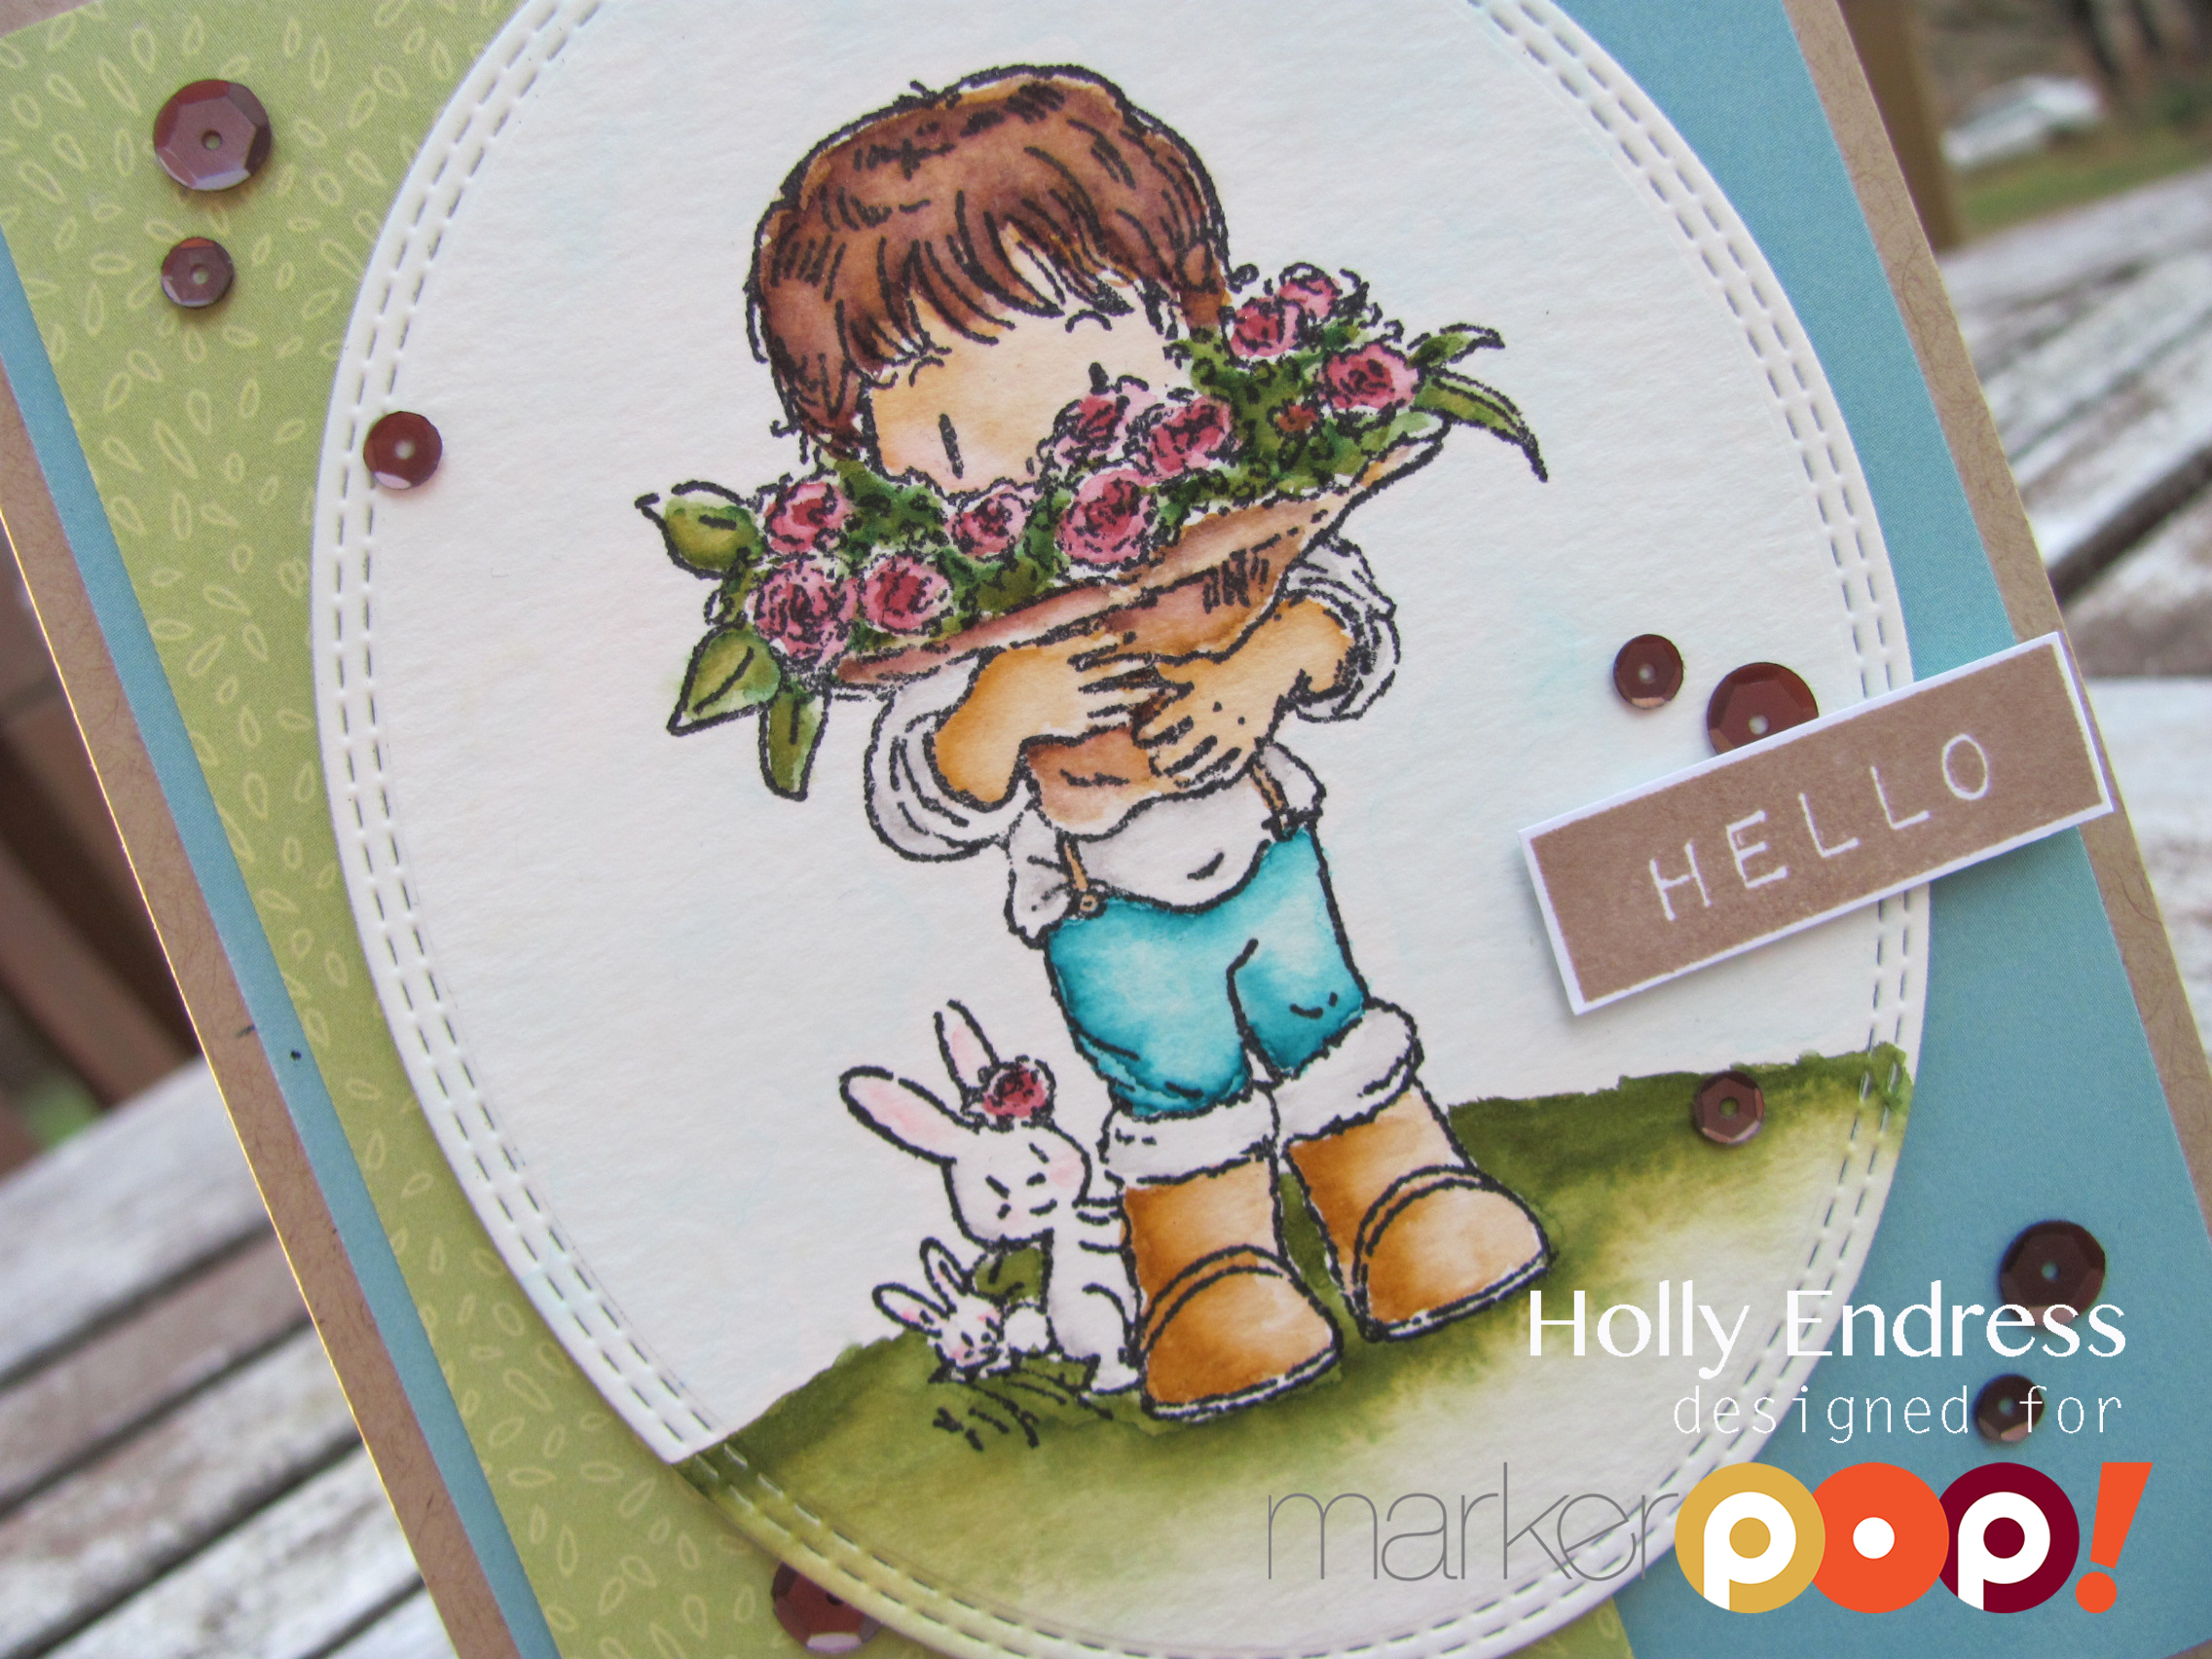
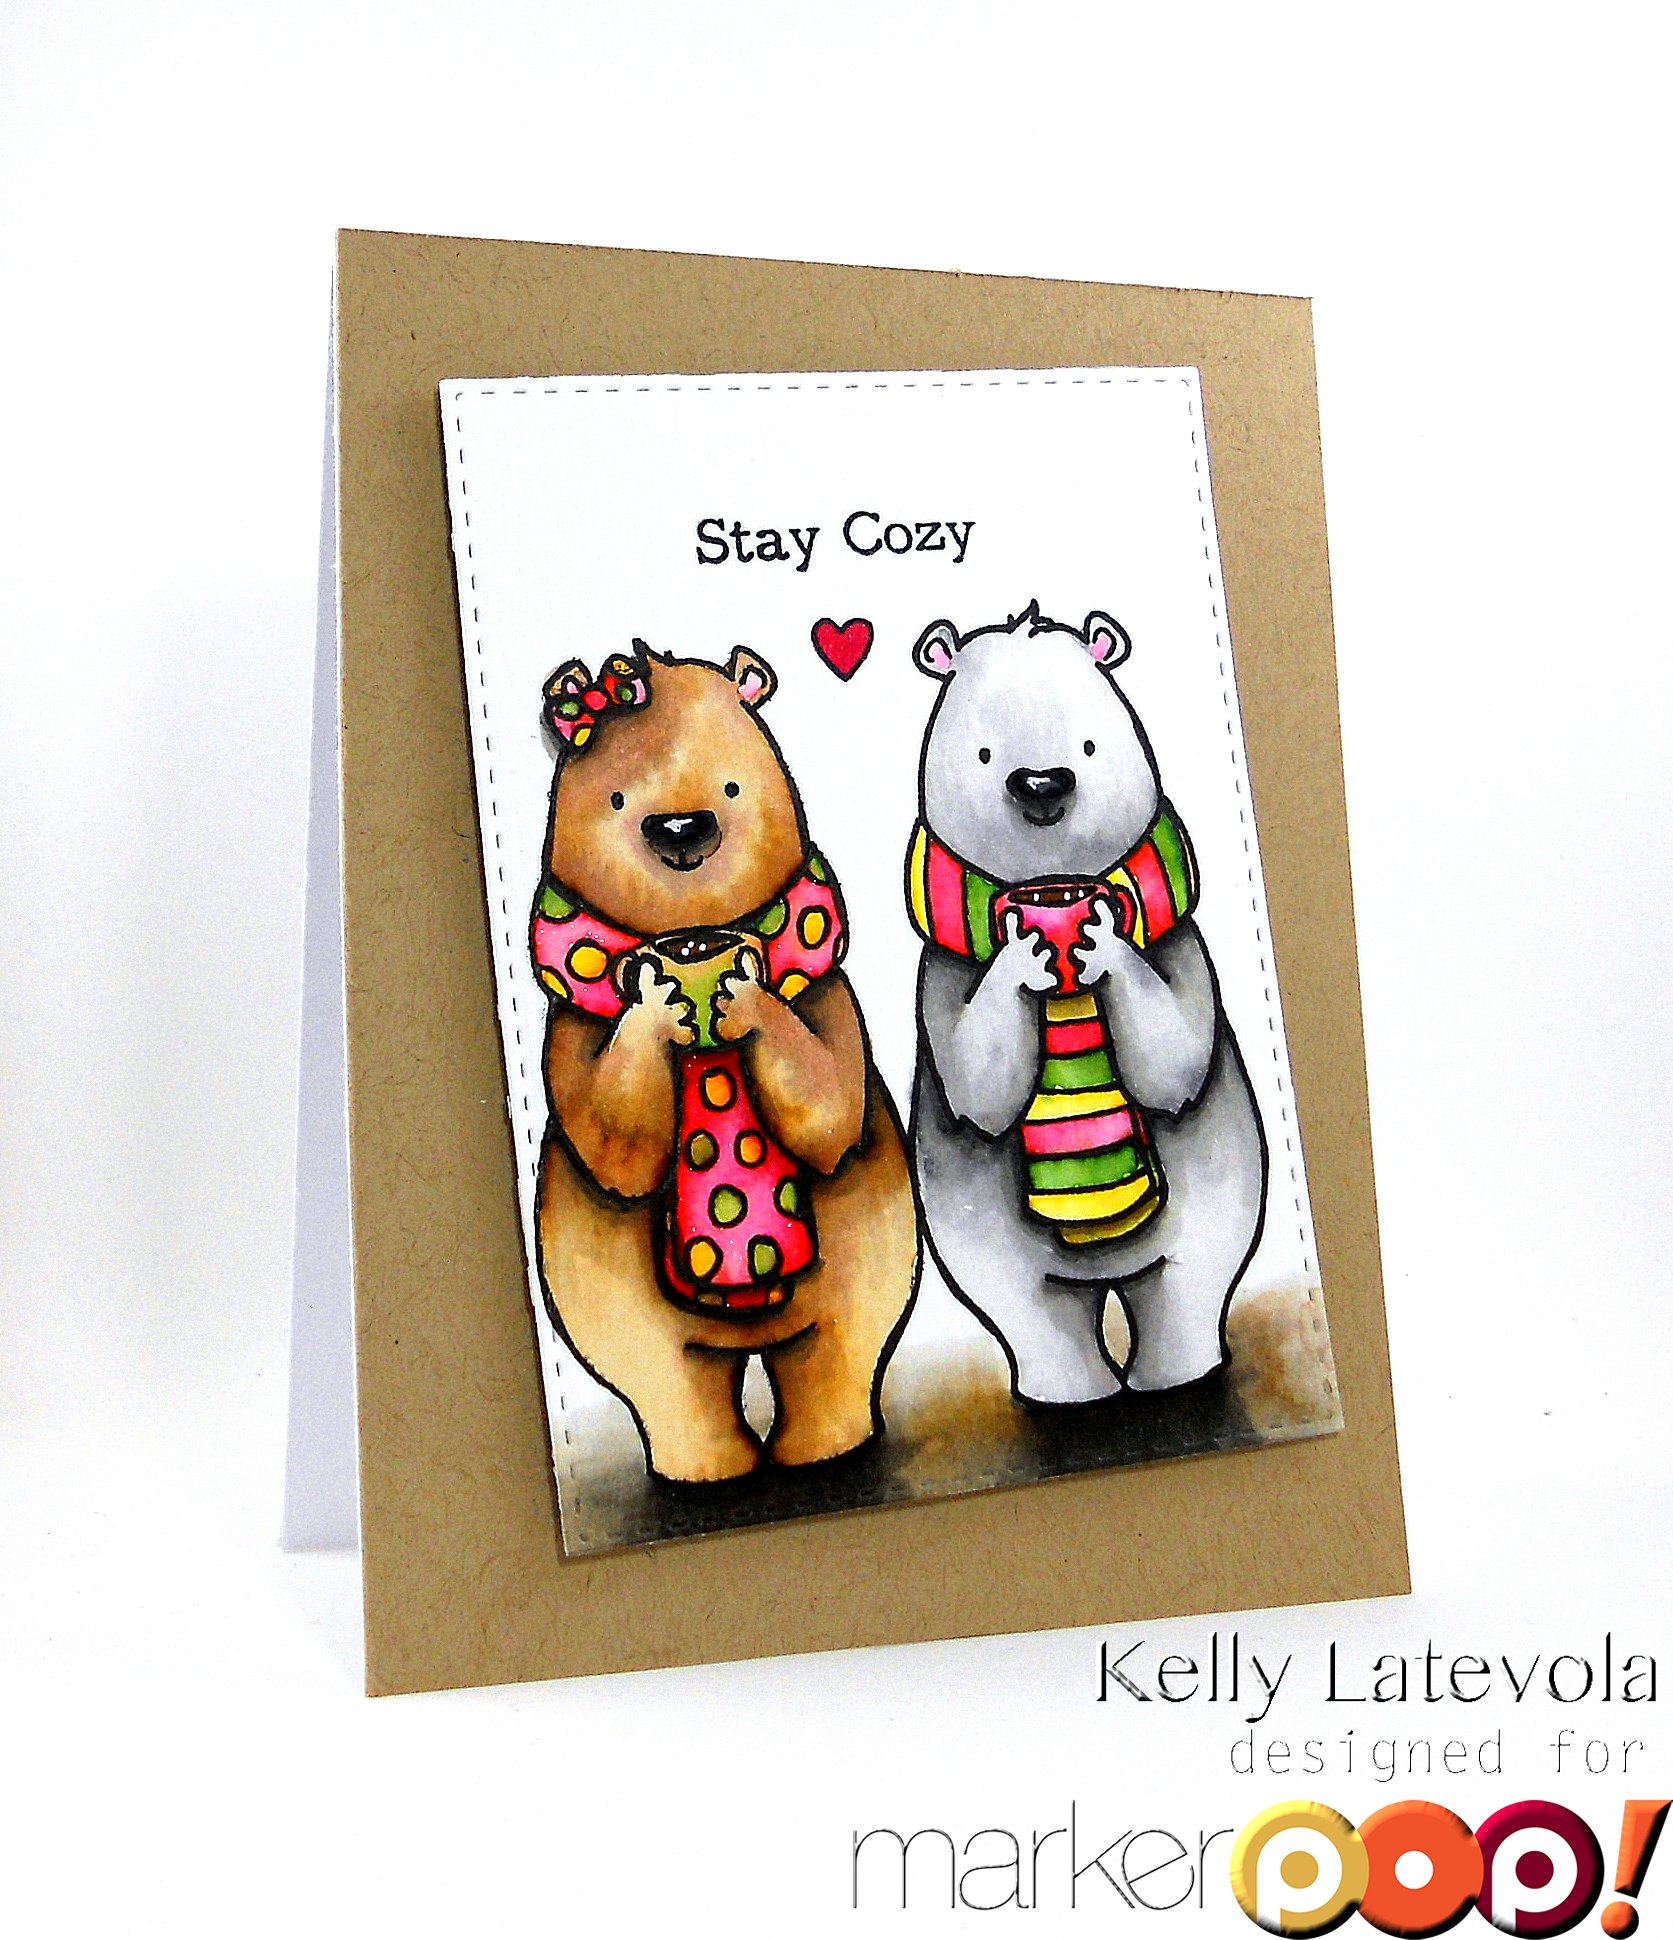
I stamped the images onto a piece of watercolor paper using some Ranger Archival Black ink and then I colored the image in with Zig Clean Color Real Brush markers. Once the images was dry I die cut it using the Double stitched oval dies from My Favorite Things.  I created a Kraft colored card base and I added some Pattern Papers from the Echo Park Simple Life 6×6 pad.

mp1

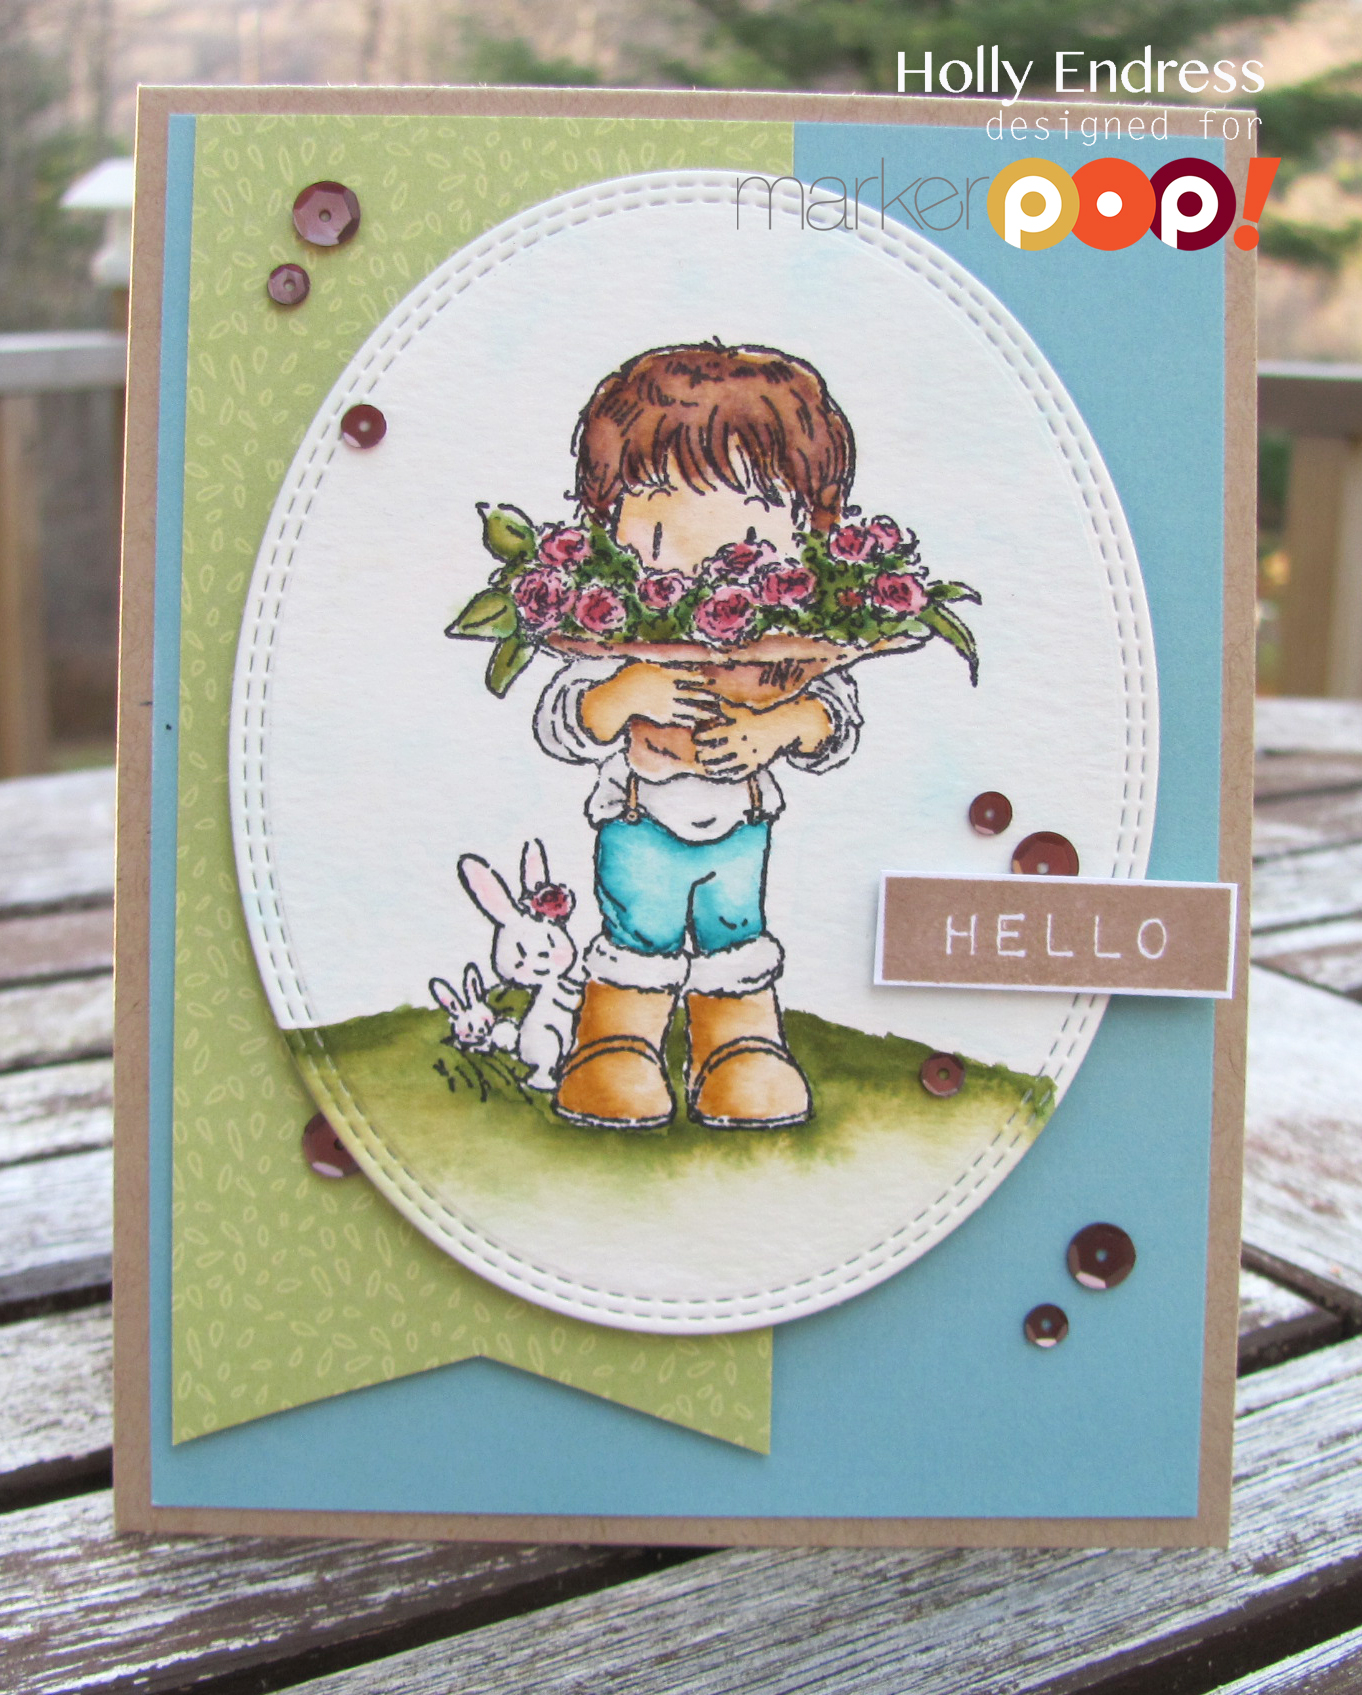
I stamped the Hello from the Altenew set Label Love using some Doe ink from Lawn Fawn and adhered it with dimensional adhesive. To finish off the card I added some Espresso Sequins from Pretty Pink Posh in 6mm & 4mm sizes.

mp3

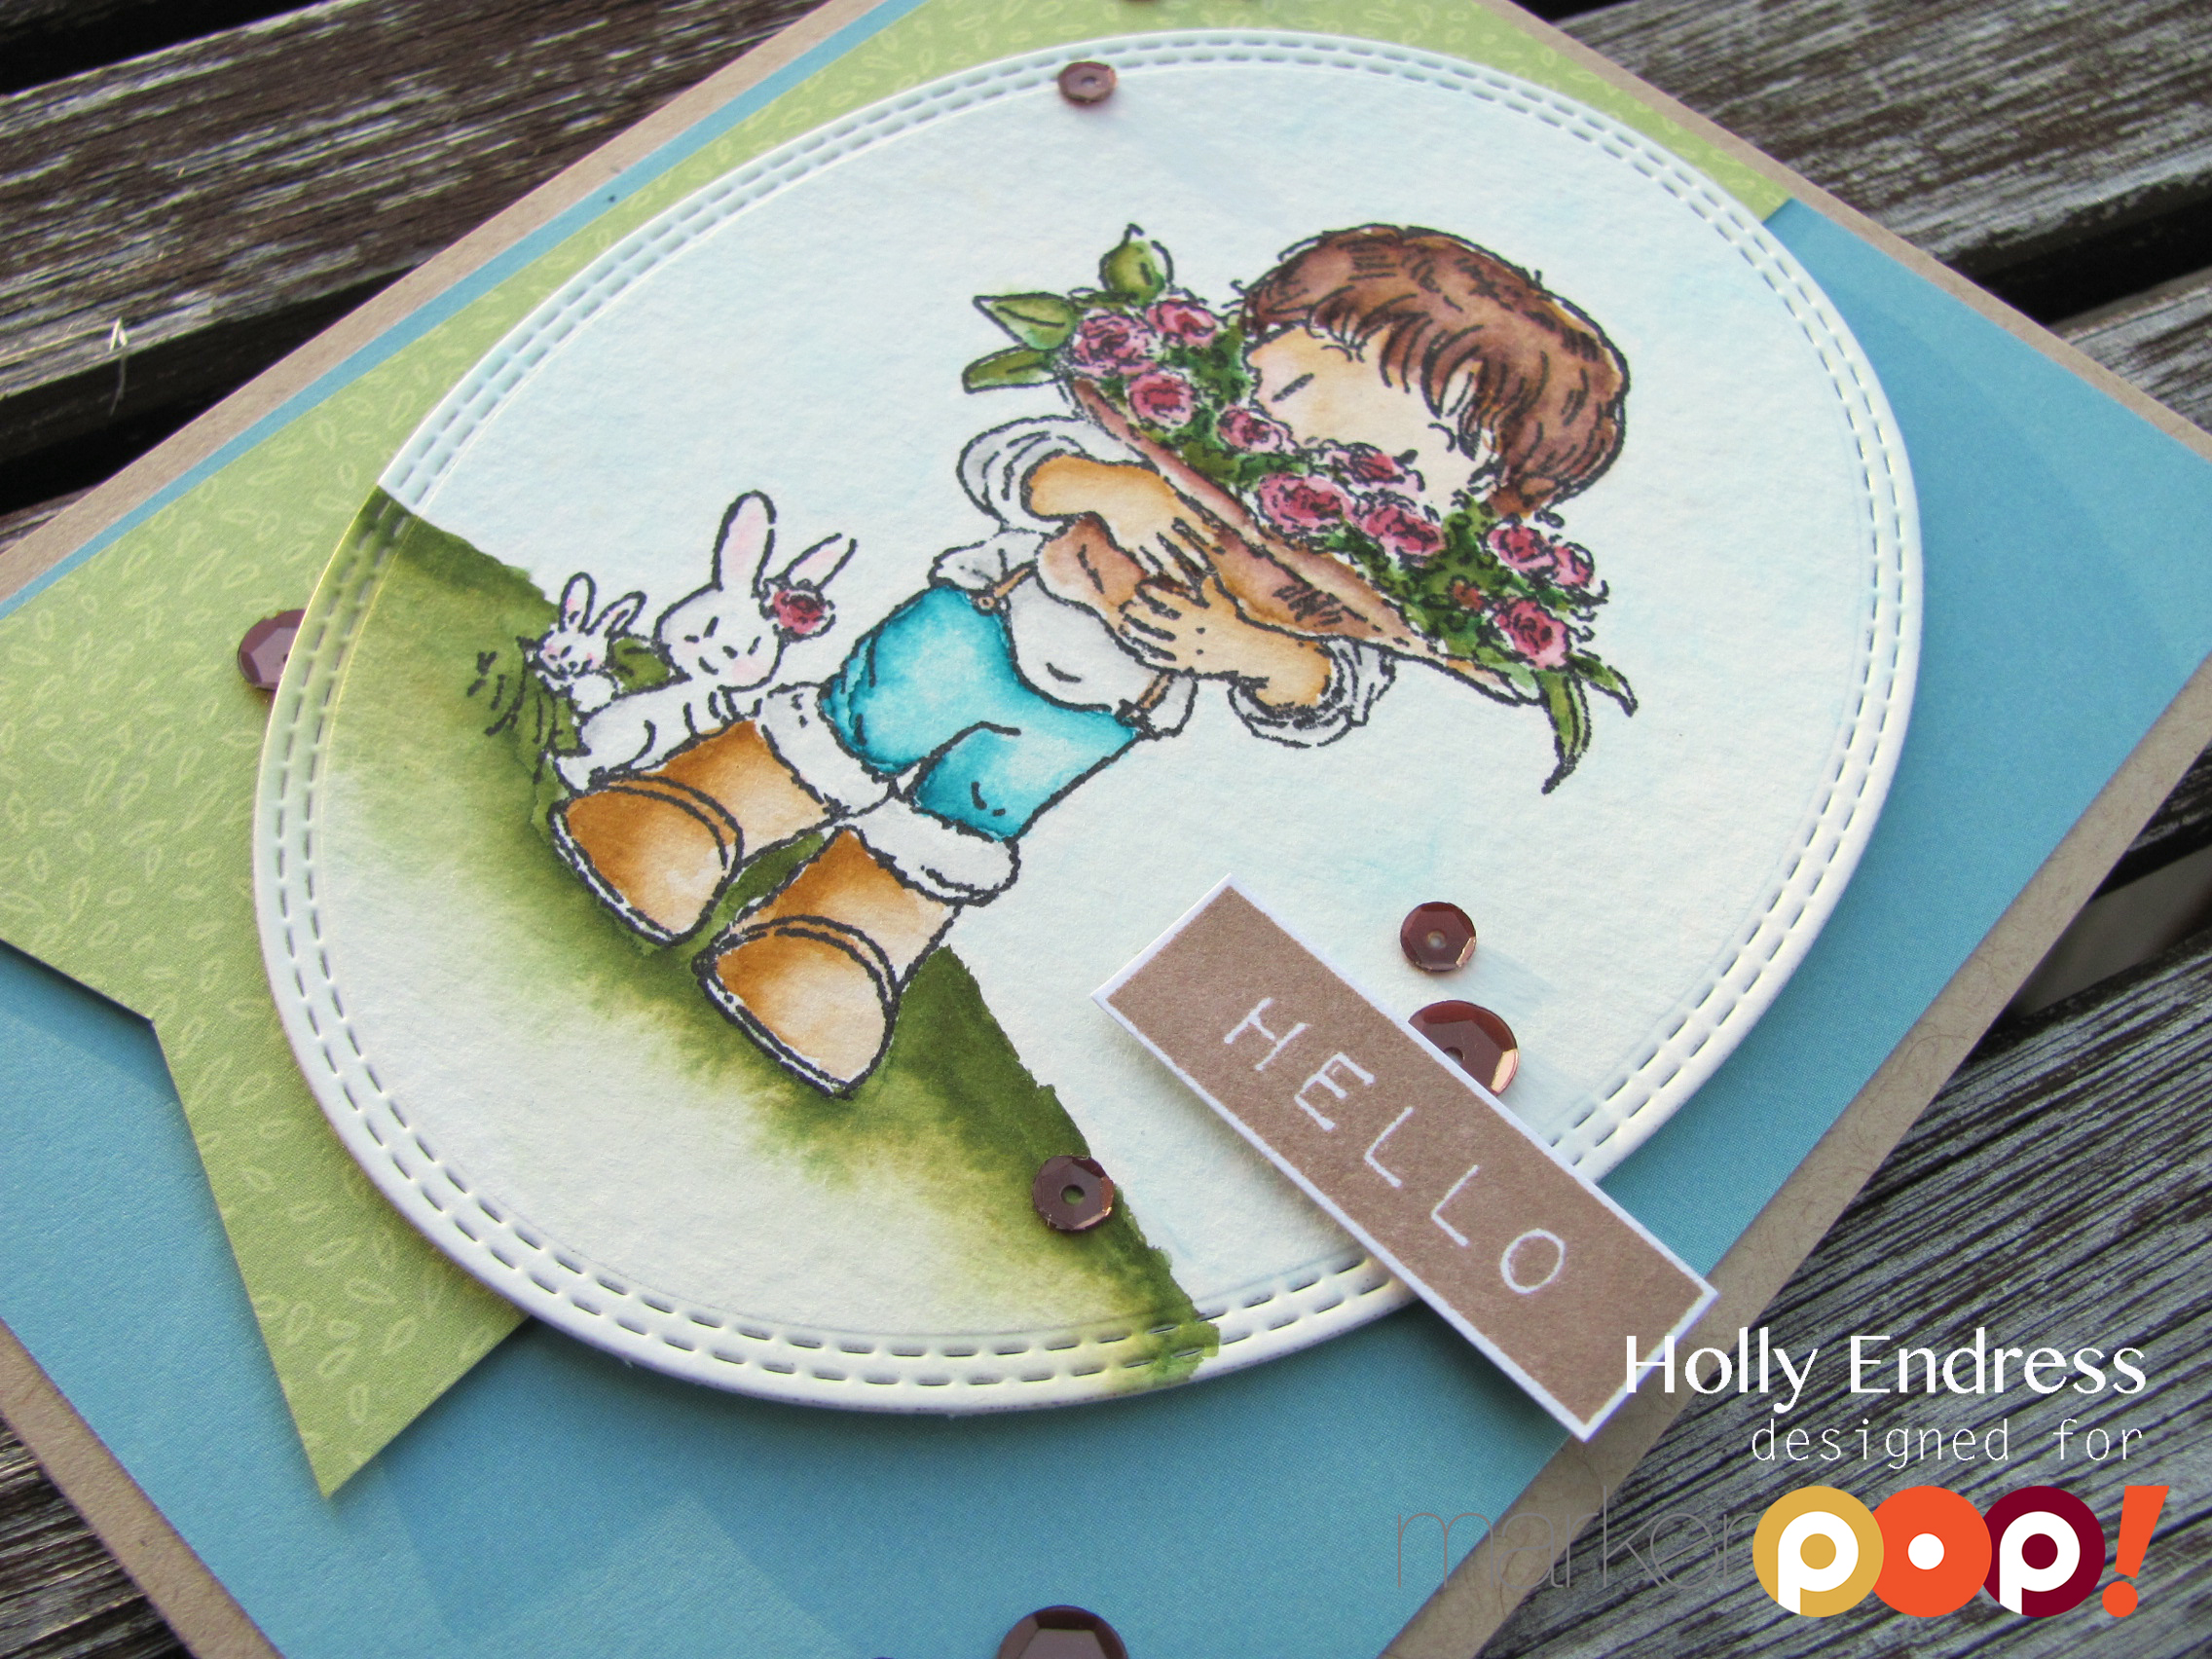
I used the following colors in the Zig Clean Color Real Brush Markers…

36 Light Blue, 33 Persian Green, 72 Beige, 91 Light Grey, 43 Olive Green, 44 Deep Green, 230 Pale Rose, 71 Flesh &62 Dark Brown.

I created a video for you too…

https://youtu.be/VIScXmB1pZs

Thanks for stopping by today!

Holly

Christmas Greetings

Written by Holly Endress. Posted in Eye Candy (Projects), Tips & Tricks, Tutorials, Videos

Hey everyone it’s Holly here with a Christmas card. I’m using the gorgeous set from Altenew called Poinsettia & Pines along with some Zig Clean Color Real Brush Pens. This is one card two ways..

mp5

I had an incident with my sentiment on my first attempt and I decided to just alter my plan. I stamped the Poinsettia images onto some Distress Watercolor Paper two times and colored one of them in completely with some Zig Pens ( Red #20 , Carmine Red #22, Violet #80, Light Green #41, Green #40, Deep Green #44, Yellow #50 & Beige #72) . Then I colored just the center leaves on the second image.

mp2

Cut out the entire fully colored Poinsettia and then just the center portion on the second one. And once you have them cut out you will layer them with some dimensional adhesive. I cut a piece of Pattern paper to fit a standard card front and stamped the Pines onto it in Lawn Fawn Noble Fir ink and then I stamped the sentiment below in Lawn Fawn Black Licorice ink. Then I added the poinsettia image over the pines with some glue and finished the card with some Gold enamel Dots and some Gold Stickles to the center of the flower. On my other card I used some Gold sequins from Pretty Pink Posh in place of the Dots.

IMG_1119

See how I made this card in the video below. Thanks for popping in today!

Holly

Stay Cozy

Written by Kelly Latevola. Posted in Eye Candy (Projects), Uncategorized

Hello Crafters!

Is it feeling like fall where you are?

We’ve had beautiful weather here in Ohio up until this week. All of sudden it’s 54 outside and I can’t pretend it’s still Summer. Thankfully, I just purchased the Let It Snow set from The Greeting Farm and those cute little guys made the sting of cold weather a little more tolerable. 🙂

DSCN2348

I used a combination of Zig Clean Color Markers and Copic Markers to create this card. I even made a video too!

The Zig Clean Color markers I used are: Black, Grey Brown, Light Grey, Dark Brown, Brown, Beige, Oatmeal, Bright Yellow, Yellow, Mid Green, Deep Green, Light Pink, and Carmine Red.

The Copics are: W1, W3, W5, W7, W9, C5, C9, and E57.

Along with the Let it Snow set I also used a bit of Clear Wink of Stella, some Copic Multiliners and a Stitched Rectangle Die.

DSCN2349

Thanks so much for dropping by!

mp name

Hope You Have a Beautiful Day

Written by Kelly Latevola. Posted in Eye Candy (Projects), Uncategorized

Hello Crafters!

It’s Kelly here and I’m bringing you a fun watercolor card using Zig Clean Color markers.

DSCN0501

I die cut two rectangles with a stitched edge so I could give the look of a highlighted image. I used my MISTI to stamp it twice. Once on the large rectangle and once on the small. This allowed everything to line up perfectly.

DSCN0502

I added my Zig markers directly to paper before blending them out with water. Once everything was dry I added a white border to the smaller rectangle and stamped my sentiment on top. A white gel pen outline was used to help it stand out. Last but not least I used some clear sequins to finish it.

Thank so much for visiting.

For today’s card I used:

Zig Clean Color Markers, WPlus9’s Flora and Fauna 2 and Doodlebuds. Pretty Pink Posh Clear Sequins

Kelly

Grab Our Button

i Luv MarkerPOP
Show some MarkerPOP LUV,

add this button to your blog.

I’m a Winner!

I'm a Winner on MarkerPOP Blog
Copy and paste the code under the badge

to claim your bragging rights!

I’ve Made Top 3!

WoHooooo I made it to the Top 3 on MarkerPOP Blog
Copy and paste the code under the badge

to claim your bragging rights!

Visit Us!

MarkerPOP Free Shipping MarkerPOP Boutique
18299 Mount Baldy Cir
Fountain Valley, CA 92708
Toll Free: 1-855-312-1222
Phone: 1-714-249-1222