$10 Gift Voucher - Leave a Comment

Posts Tagged ‘Thank you’

Thank You, with Tombow & Lawn Fawn

Written by Valerie Ward. Posted in Eye Candy (Projects)

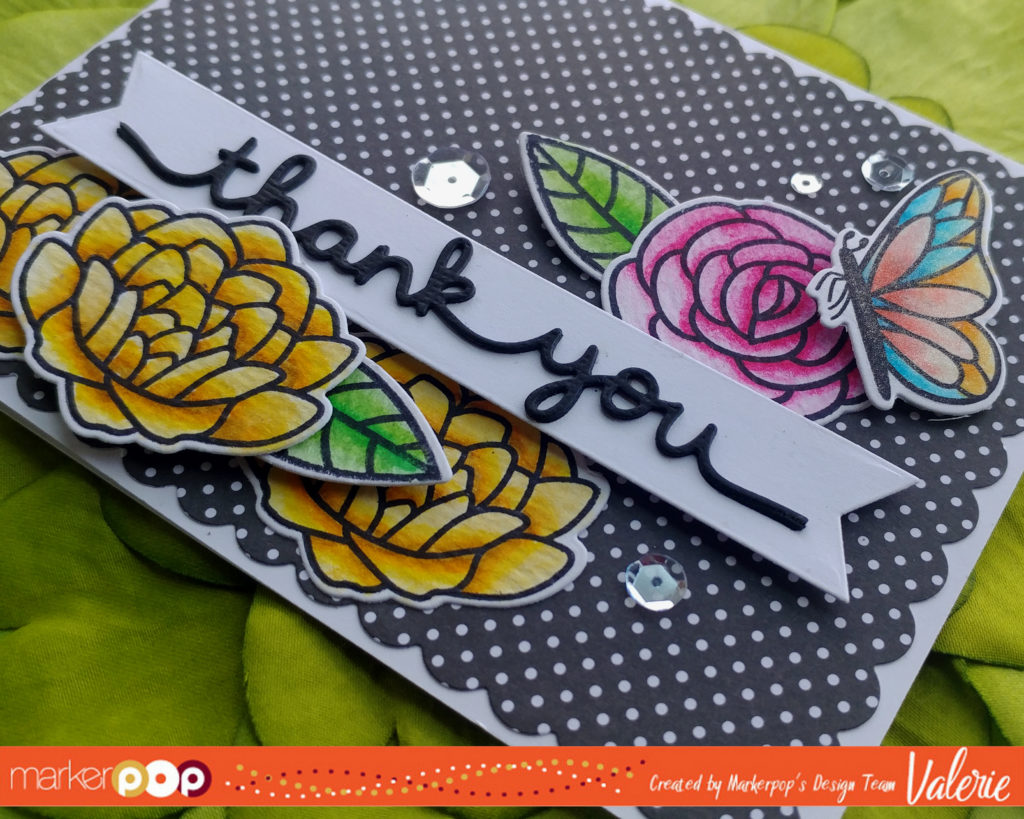
I was THRILLED when I saw a couple weeks ago that MarkerPop (MP) is carrying Tombow Dual Brush Pens! You see, long, long ago, Tombows were the first coloring medium I ever used when I started stamping & coloring. I loved them then, but I stopped using them because Copics entered my world next and took over my heart, and also because MP didn’t carry them…BUT THEY DO NOW!! So this month’s Watercoloring focus gave me the perfect excuse to take out my Tombows again, and rekindle our relationship (lol)!

Here’s a great video by Tombow demonstrating different ways to use these markers:

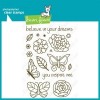
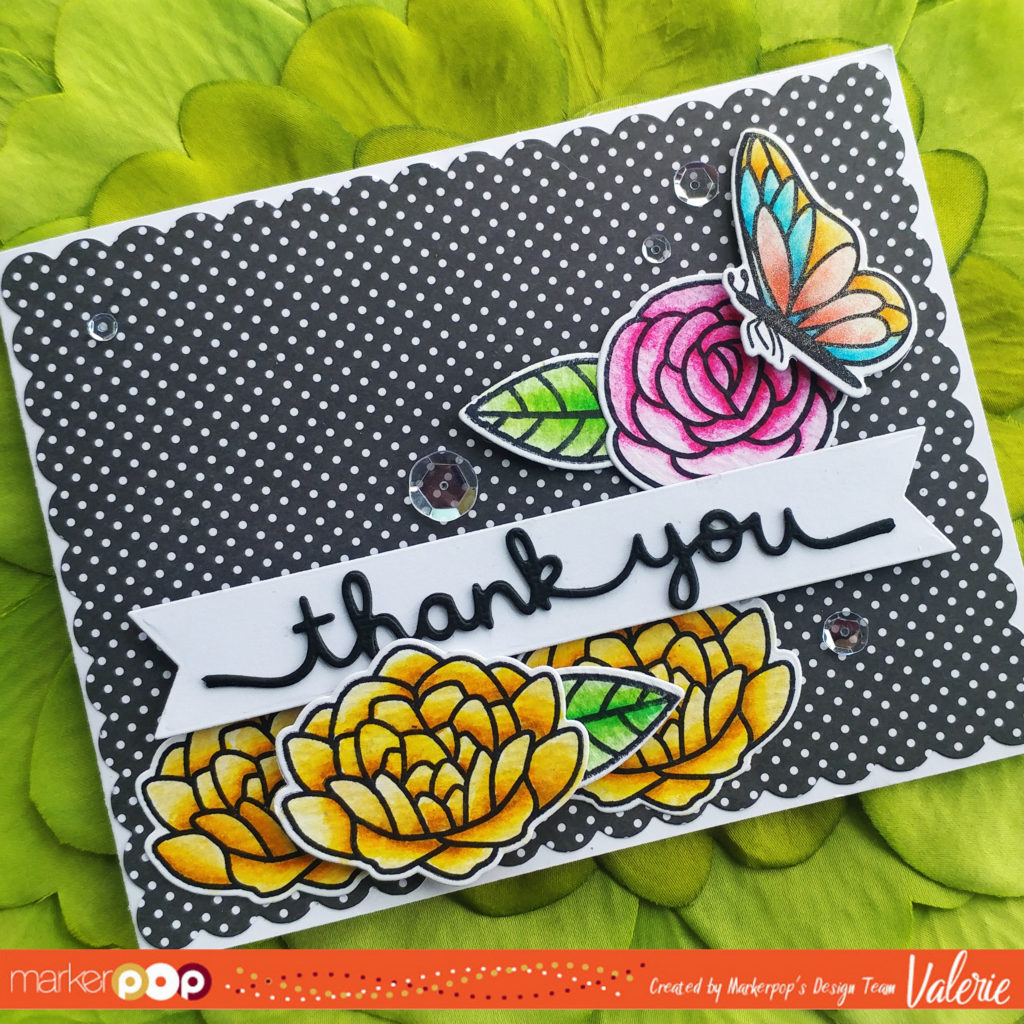
For my card, I pulled out a lovely older Lawn Fawn set, Flutter By.

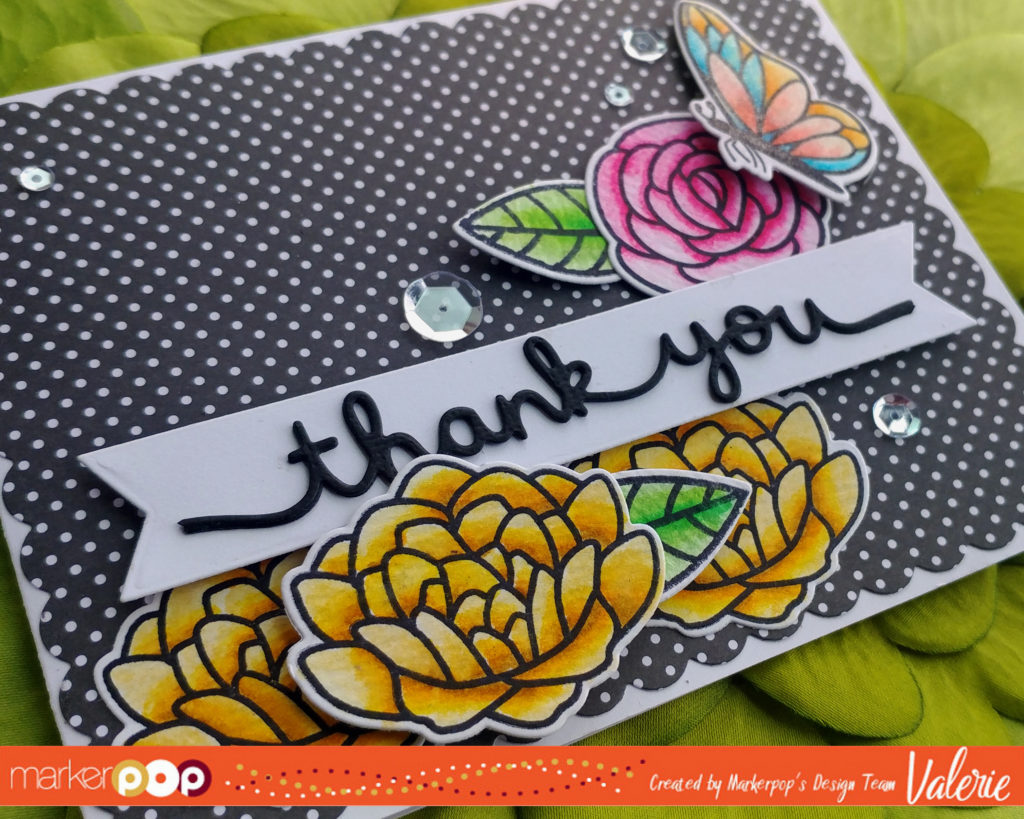
I stamped the images with Ranger Jet Black Archival Ink (available in this mini ink pads set) onto Tim Holtz Distress Watercolor Cardstock. There are many ways to color with these markers. For this project, I wanted bold color; so added the ink directly onto the paper, then used the Colorless Blender N00 to pull the ink out into the image which creates a lighter tone and shadowing effect. You can see this technique in this next Tombow video starting at 1:03:

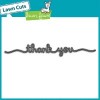
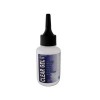
When I was done coloring them, I die cut the images out. I decided to make thIs card a Thank You card, so I used the Lawn Fawn Thank You Border die for the sentiment. I cut that sentiment 3 times and glued them all together using my Fine Point 1mm X-Press IT Glue Pen to create a “thick” sentiment for added depth. I mounted the sentiment onto a banner cut from the Lawn Fawn Everyday Sentiment Banners die set.

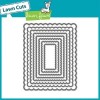
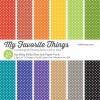
The background paper is from My Favorite Thing’s 6×6 Itsy Bitsy Polka Dots Paper Pack, and I die cut it using the largest die from Lawn Fawn’s STAX Scalloped Rectangle Cut Set

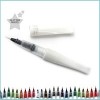
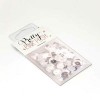
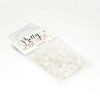
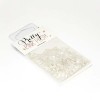
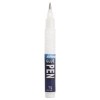
For some sparkle, I painted the butterfly with my Zig Clear Wink of Stella Brush Glitter Pen Marker. Then I added Pretty Pink Posh Sparkling Clear Cupped Sequins in 4mm, 6mm, and 10mm.

I will definitely be using these markers again! FYI, you can get them in Sets of 10, or in singles. Thanks for stopping by, and I hope I’ve encouraged you to check these beauties out!

*****Don’t forget to enter into our Watercolor Giveaway this month! Check it out for all the deets!*****


Sow Much

Written by Valerie Ward. Posted in Eye Candy (Projects)

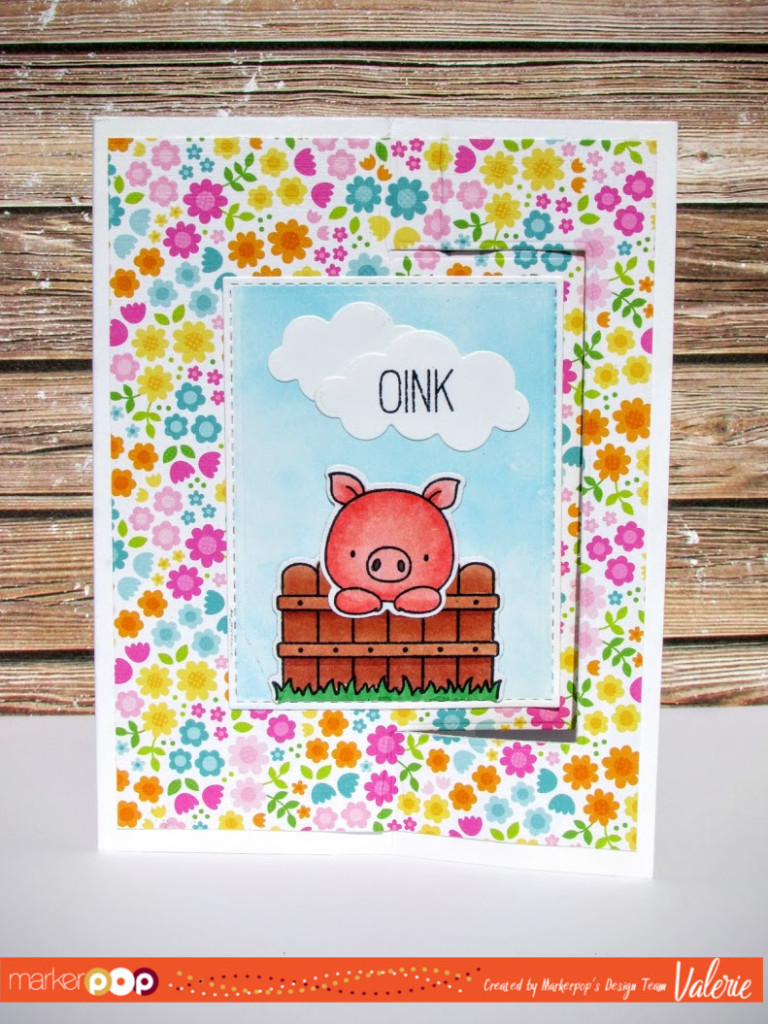
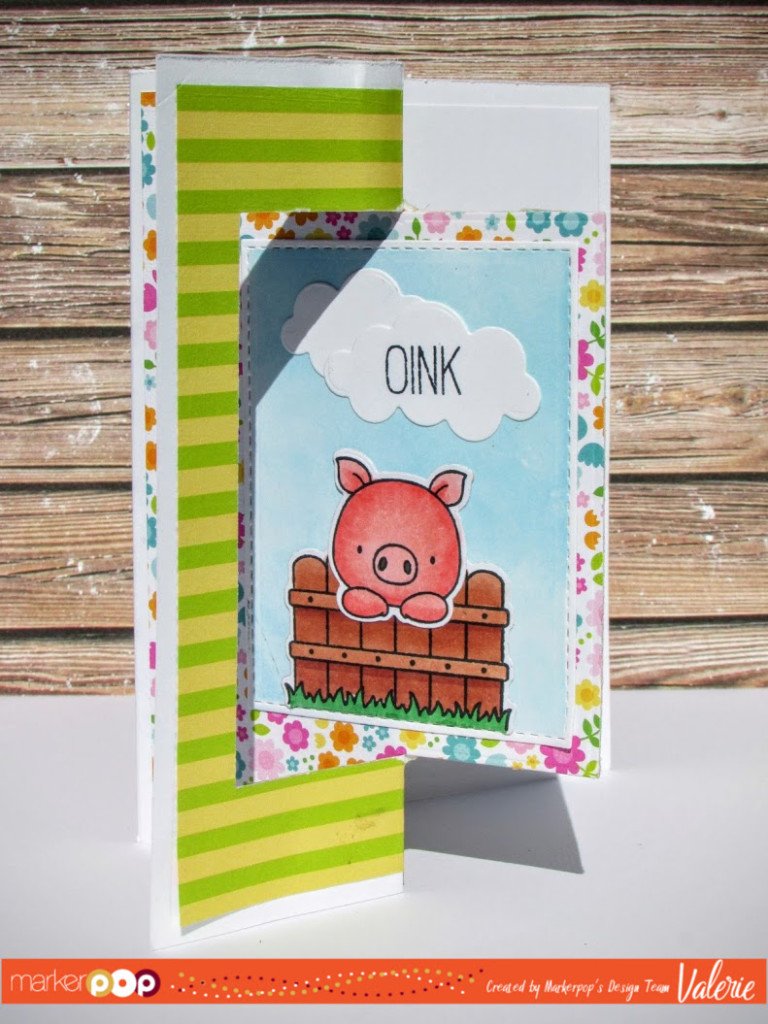
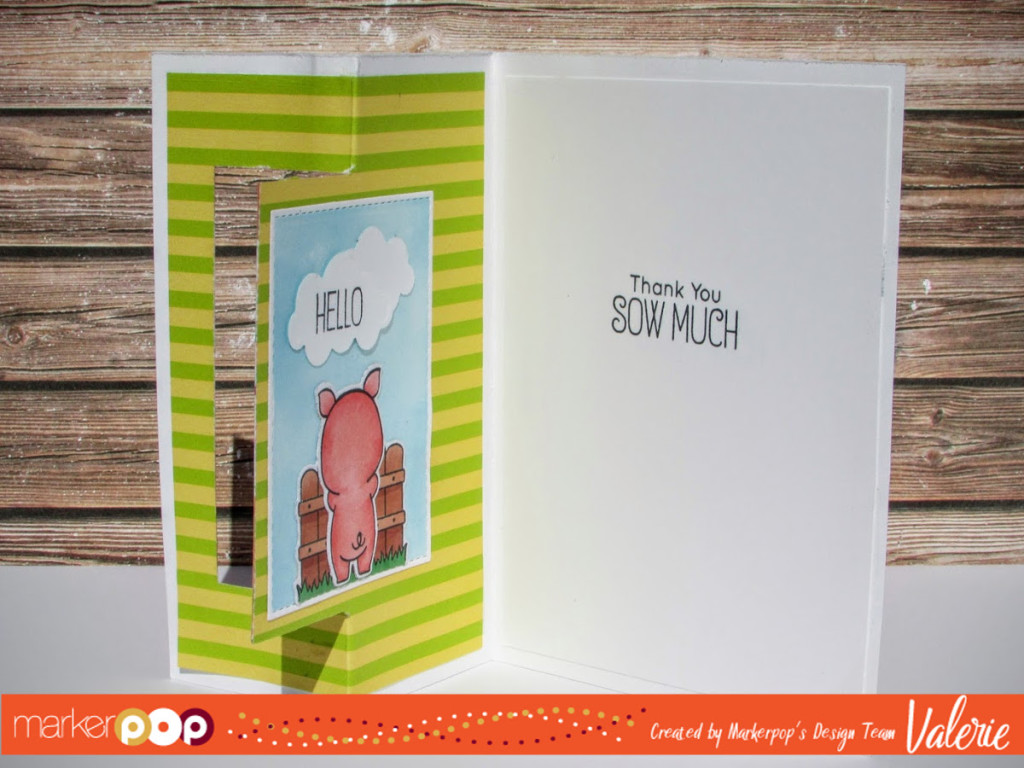
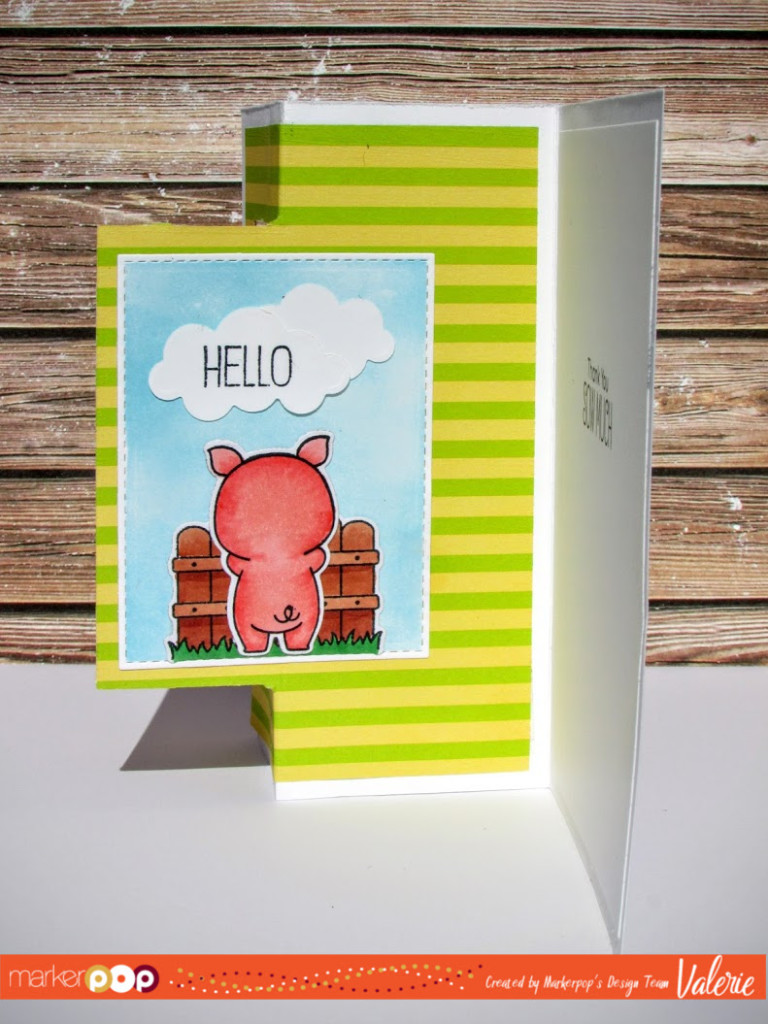
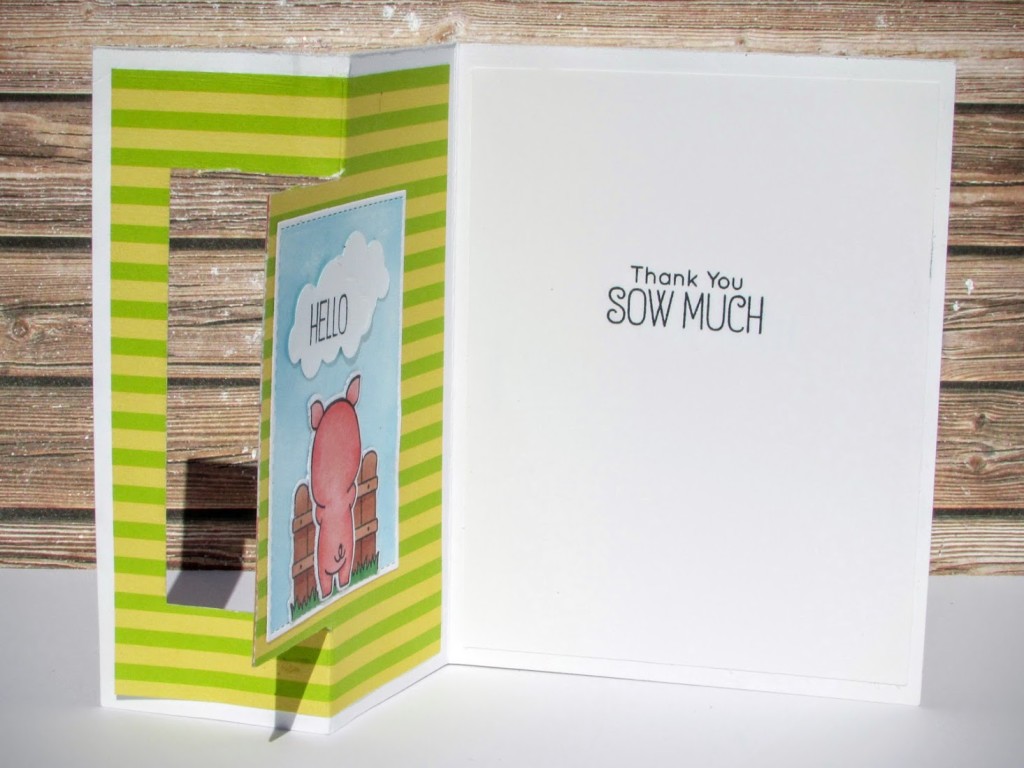
How about some MFT adorable-ness today?! OK, who doesn’t LOVE adorable little pink pigs?! Well, My Favorite Things did real good with this one, released  just this month! It’s called Hog Heaven 🙂

They also introduced some cool new dies, called the Flop Card diesI’m featuring the Rectangle one on my card today. Here’s an MFT video showing/explaining what they are and how they work:

I kept my card pretty basic today, but it’s still so fun and so cute, I don’t think it matters! All of the images are stamped using my Mini Misti, with Memento Tuxedo Black ink onto X-Press IT Blending Card paper, and colored with my Copics.

MFT stamps & dies, Doodlebug paper, Copics {ValByDesign, 2016} MFT stamps & dies, Doodlebug paper, Copics {ValByDesign, 2016} MFT stamps & dies, Doodlebug paper, Copics {ValByDesign, 2016} MFT stamps & dies, Doodlebug paper, Copics {ValByDesign, 2016} MFT stamps & dies, Doodlebug paper, Copics {ValByDesign, 2016}

The paper is Doodlebug’s Spring Garden collection. I used Tumbled Glass Distress Ink and a Round Ink Applicator to apply the ink onto my Bazzill White cardstock.

Hope you enjoyed! 

Valerie

8 Gumball Machine Cards

Written by Valerie Ward. Posted in Eye Candy (Projects)

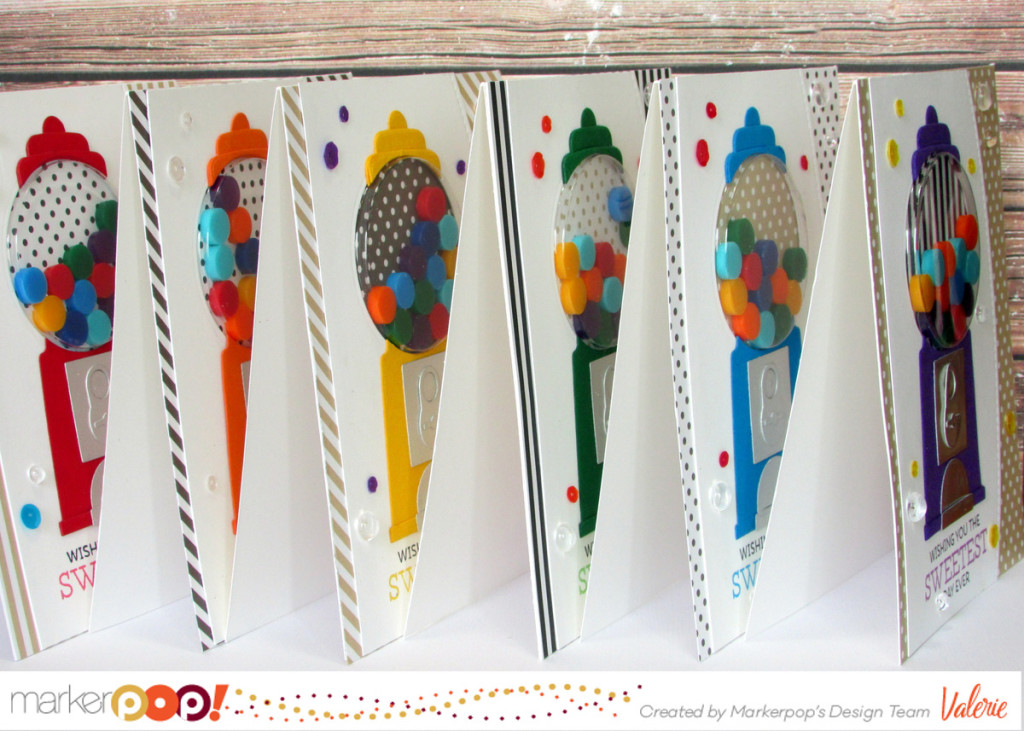
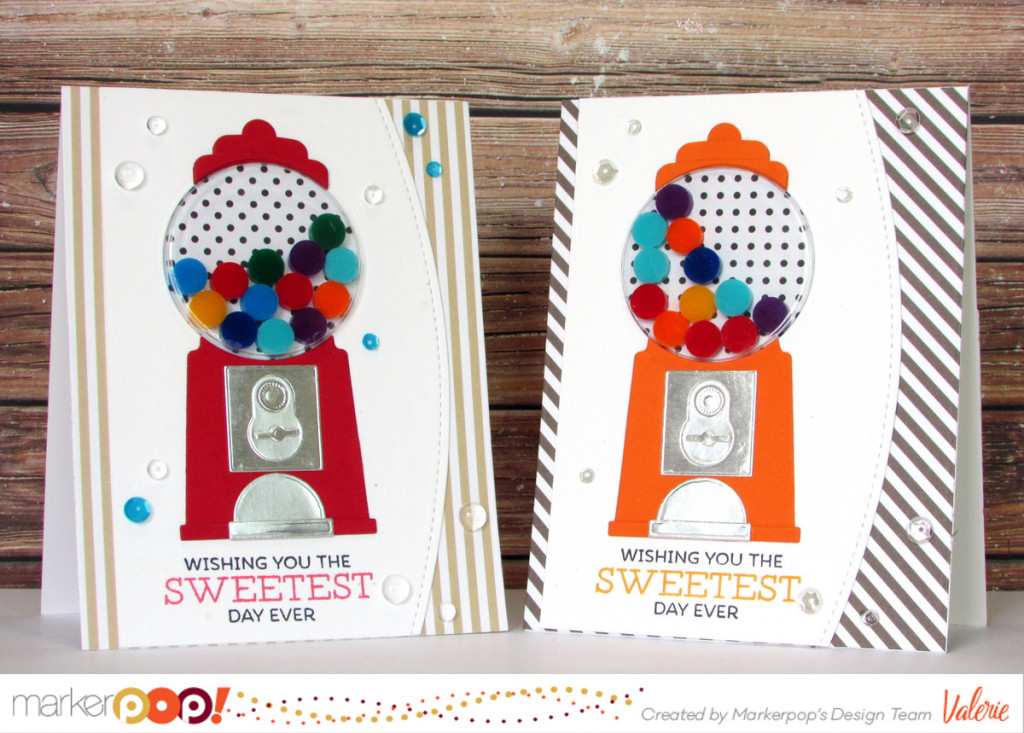
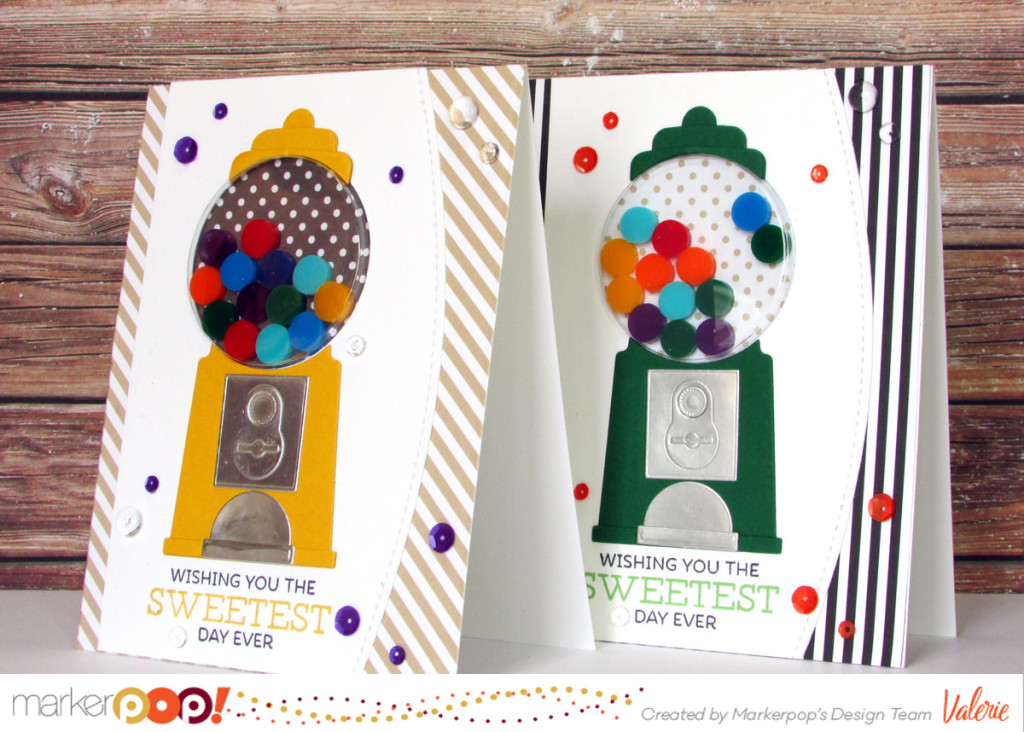
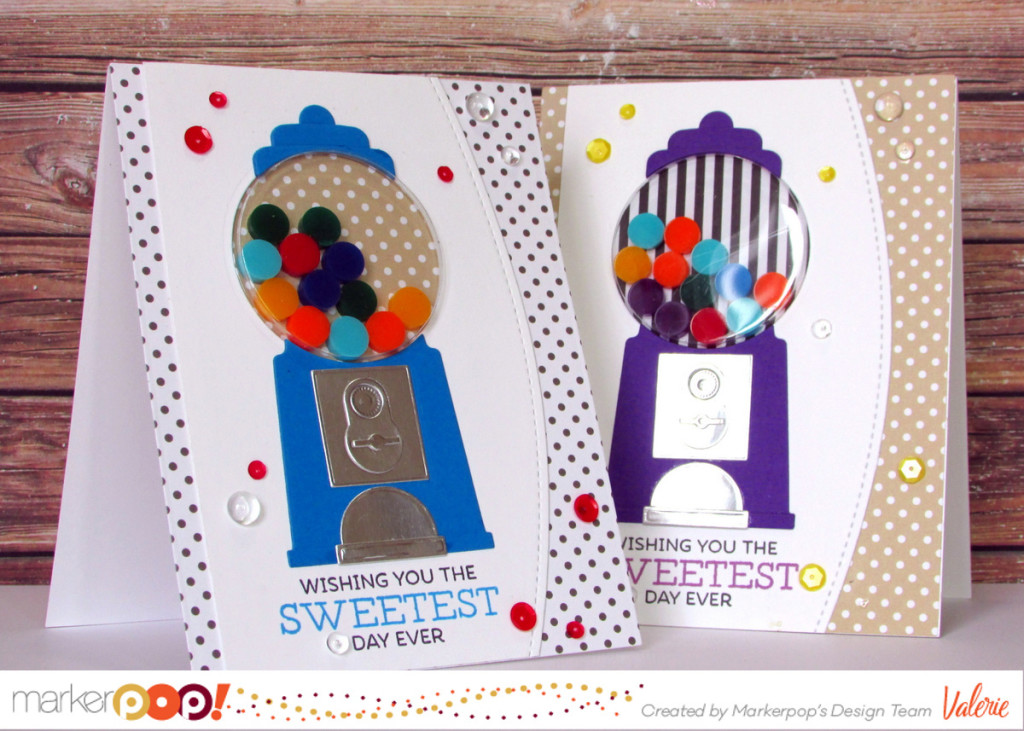
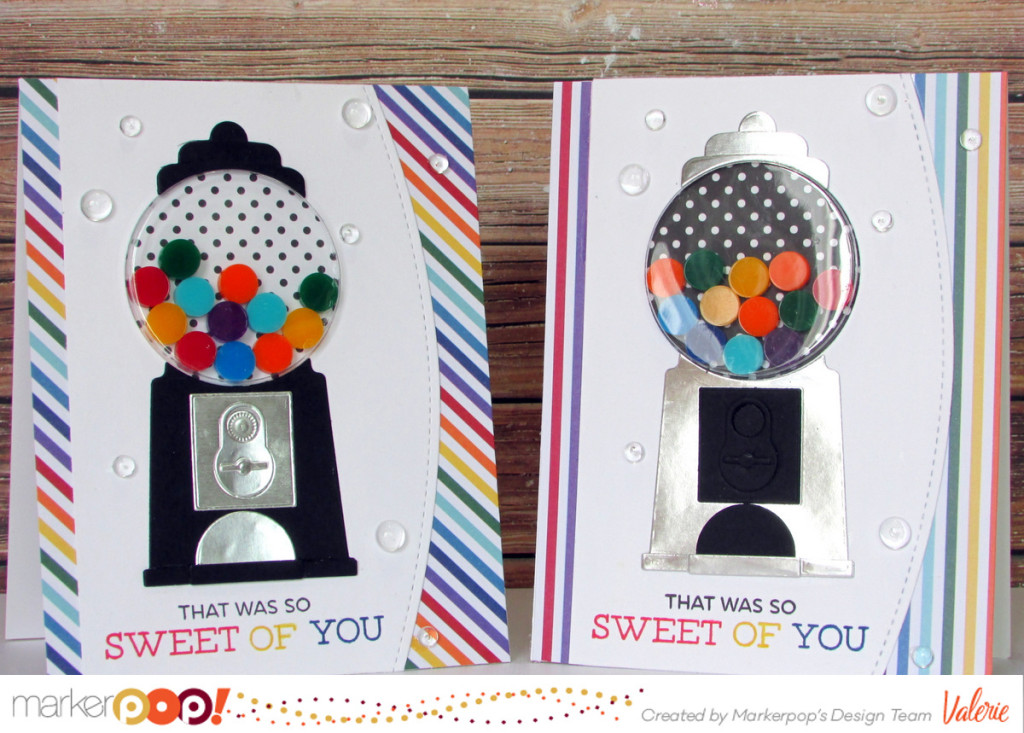
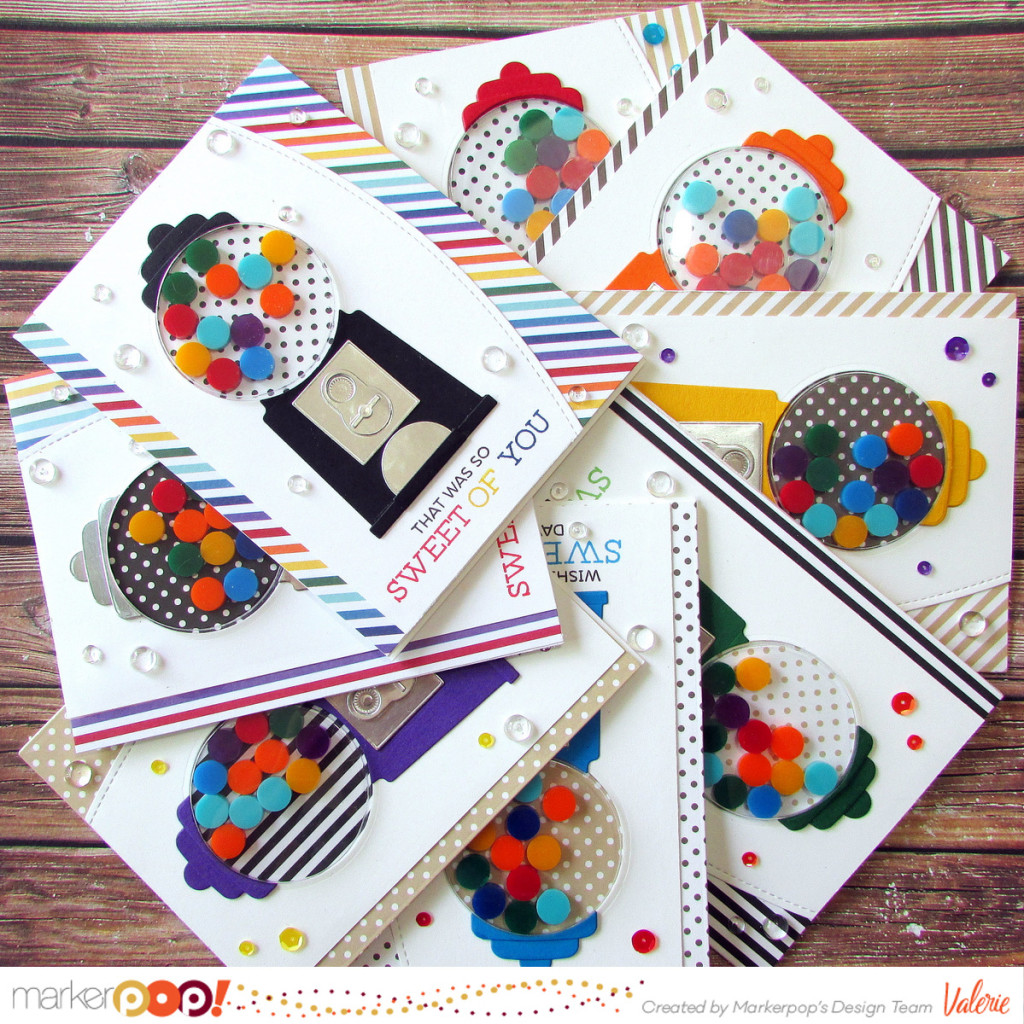
OK, I could not decide what color to make this ADORABLE gumball machine, so I made one in every color! I’m using the new, totally fun,  MFT Gumball Machine die set and their coordinating Gumball Greetings stamp set today!

MFT stamps & dies & paper, Pretty Pink Posh die & sequins, Lawn Fawn ink {ValByDesign, 2016}

I pulled out a bunch of Bazzill cardstock colors (listed below, except for the turquoise and purple ones 🙁 ), and started die cutting the pieces to assemble the gumball machines. The patterned papers are from MFT’s 6×6 Neutral Dots & Stripes paper pad and MFT’s 6×6 Rainbow Stripes paper pad. The arc is die cut using the arc die from Pretty Pink Posh’s (PPP) Stitched Borders I die set.

MFT stamps & dies & paper, Pretty Pink Posh die & sequins, Lawn Fawn ink {ValByDesign, 2016}

The “gumballs” in the machines are SO TOTALLY FUN to work with! They are MFT’s Dimenional Circle Confetti. I used a ton of PPP sequins; all the ones I used are listed in the Supply List below.

MFT stamps & dies & paper, Pretty Pink Posh die & sequins, Lawn Fawn ink {ValByDesign, 2016}

All the stamping for the sentiments (colors listed below) was done using my OH-SO-AWESOME Mini Misti (I NEVER would have been able to do such a straight, in-line, and multi-colored job with just regular stamping blocks!). And in between different inks, I washed the stamps off with my Lawn Fawn Stamp Shammy (LOVE this thing! no more baby wipes!).

MFT stamps & dies & paper, Pretty Pink Posh die & sequins, Lawn Fawn ink {ValByDesign, 2016}

I used 3 different adhesives for separate applications: Tombow Mono Glue, X-Press IT Fine Point Glue Pen, and my Crafter’s Companion Tape Runner. My Ken Oliver Best Ever Craft Mat was so easy to clean up in between glue messes, my Multicraft Precion Tweezers & QuickStik Craft Tool were both a life saver while working with the sequins, and my Cheery Lynn Tweezers quickly & easily snipped my new die set apart.

MFT stamps & dies & paper, Pretty Pink Posh die & sequins, Lawn Fawn ink {ValByDesign, 2016}

This project really didn’t take me very long. If you treat it like an assembly line, it goes pretty quickly! Hope you liked, and have a wonderful day and week. Happy Crafting!

Valerie

MFT stamps & dies & paper, Pretty Pink Posh die & sequins, Lawn Fawn ink {ValByDesign, 2016}

Thanks For Picking Me…

Written by Annette Allen. Posted in Eye Candy (Projects)

Happy Day MarkerPop! friends…
Annette Allen here with you today.
Thanks 11 - 1
Today I am playing with:
Getting ready for Valentines Day?
The dies do all the hard work I just put it together…
Mixing your dies and create something unique.
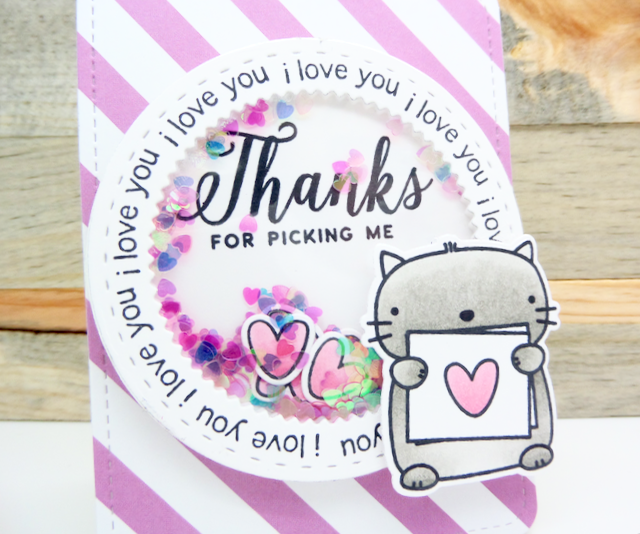
These little cards are perfect for Valentines.
Easy to slip into that special lunch box of your loved one.
Stamp, color and die cut all the images and shapes.
Keeping organized when making more then one card makes it a lot easier when putting the cards together. Fill with your favorite sequins and you are done.
Happy MarkerPop! shopping.

Grab Our Button

i Luv MarkerPOP
Show some MarkerPOP LUV,

add this button to your blog.

I’m a Winner!

I'm a Winner on MarkerPOP Blog
Copy and paste the code under the badge

to claim your bragging rights!

I’ve Made Top 3!

WoHooooo I made it to the Top 3 on MarkerPOP Blog
Copy and paste the code under the badge

to claim your bragging rights!

Visit Us!

MarkerPOP Free Shipping MarkerPOP Boutique
18299 Mount Baldy Cir
Fountain Valley, CA 92708
Toll Free: 1-855-312-1222
Phone: 1-714-249-1222