$10 Gift Voucher - Leave a Comment

Posts Tagged ‘Spectrum Noir Illustrator’

Open The Front Door With Lawn Fawn Cuteness!

Written by lisascreativeniche. Posted in Eye Candy (Projects)

Hello!  It’s Lisa here with you today and it’s time to get interactive, but in the easiest way ever!  The Lawn Fawn Winter Release contained this adorable Door Die called Shut The Front Door. (Best name ever, don’t you think?!)  This die makes it possible to hide anything you want behind the door, and allows the recipient to open the door and find the surprise!  And all it takes is a little die cutting!

The front of this card just begs to be opened!  To create the look of a house I used an older Lawn Fawn Paper Pad, but you can use what you have in your stash or one of their newer Paper Pads that are available in the store.  Since I was going with a Christmas theme for this card I decided to go with whimsical house colors too.  The trim along the top was an idea I had after seeing the owner of Lawn Fawn, Kelly Marie Alvarez, do it on one of her videos.  I also mimicked the look of bushes by taking a decorative circle die and trimming off the bottoms.  But let’s move on to the super cute part of this card…

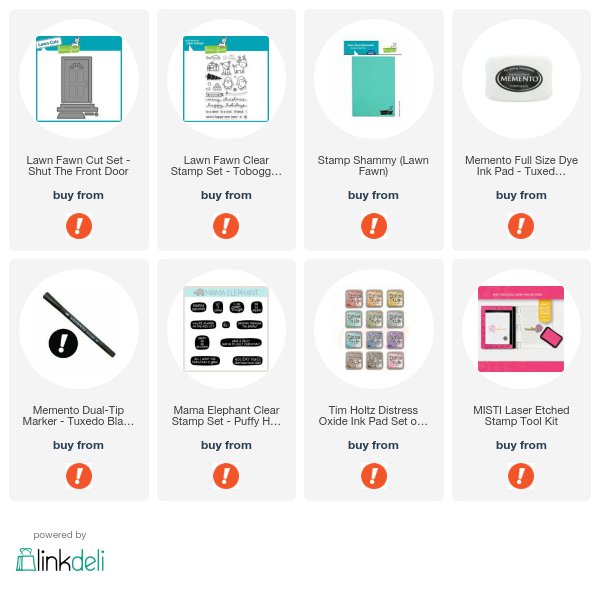
The INSIDE!!!  Look at that cute little Penguin wishing you a Merry Christmas!!! This little guy can be found in the Lawn Fawn Toboggan Set, and of course I had to give him a hat.  I used my Spectrum Noir Markers to color him in and scissor to cut him out.  There is also a matching die set to this stamp, but I sometimes like to cut things out by hand.

The sentiment comes from the latest Mama Elephant Stamp Set called Puffy Holiday Greetings.  I used my Distress Oxide Ink in Candied Apple.  I chose this ink as I knew it would leave a crisp impression, as well as cover the patterned paper I was stamping it onto.

Thanks so much for stopping by and checking out my card today!  I hope it brought you a little smile, and maybe some inspiration to crafty too!  Make sure you check out our awesome Fall Challengewhich contains some pretty amazing giveaways too!!!

So go on with your bad self and get crafting!

Supplies Used:
 

Simple is Great!

Written by lisascreativeniche. Posted in Eye Candy (Projects)

If you missed yesterday’s post, check it out now!  We are hosting a video contest and you don’t want to miss it!

Hello!  It is Lisa here, and today I’m here to talk about making your own Holiday cards.  My best advice: DON’T OVER THINK IT!  And yet almost every year I do just that, and then I end up pulling my hair out over it lol.  But I wanted to remind myself that handmade Holiday cards really don’t have to be all of that and a bag of chips.  It’s the thought that counts, the well wishes, and sharing a part of yourself and your talent with others.  With that said, I have three easy to re-create cards, all created with one set of dies and one stamp set…

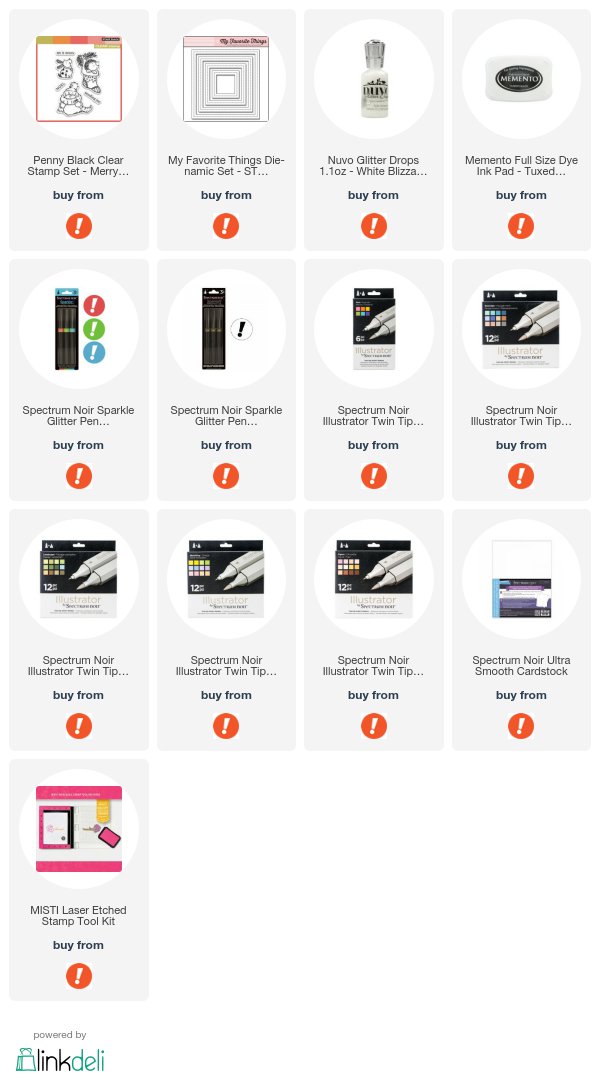
The set I have used here is by Penny Black called Merry Delight (Mini).  The three images and sentiment in this set all work perfectly together.  After coloring my images in with Spectrum Noir Illustrator Markers and Aqua Markers, I added some clear Nuvo Glitter Drops, and framed it in with the My Favorite Things STAX Single Stitch Line Square Frames.

It’s that easy!  Stamp, color, add a little detail with a frame and sequins and viola!  Then you can just mass produce them or switch sentiments around, whatever you like!

Thanks so much for stopping by today!  Don’t forget about our giveaway going on right now!  Best of Luck!

And as always Happy Crafting!

Supplies:


More Interaction… Ribbit!

Written by lisascreativeniche. Posted in Eye Candy (Projects)

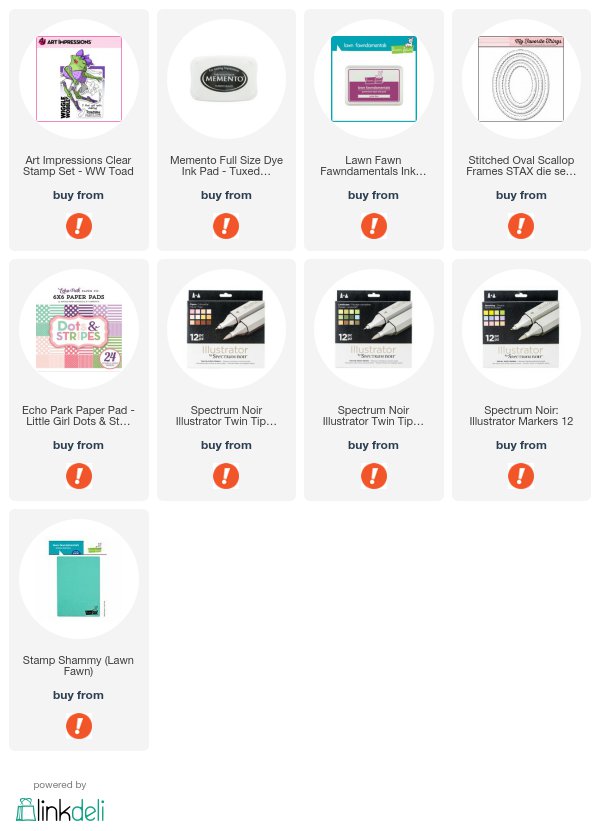
Hello, hello!  It is Lisa back here with you on this beautiful Wednesday!  Last week I shared a Magic Slider card and this week I decided to go interactive again with a new to me Art Impressions Set Called: Toad Wiggle Wobble.  The best thing about this set is that it comes with everything you need to make at least your first full moving frog!  After that you just have to pick up a few more brads and wobbles to keep her moving… or use product you might already have on hand!  Here is how my first cutie turned out…

Isn’t she just the cutest?!  And she was so fun to make!  After I stamped her body, two arms, two legs, and two thighs I began coloring her in with Spectrum Noir Illustrator Markers in LG2, LG3, LG4, PP1, PP3, and PP5.  When using the Illustrator Markers I start by coloring with the lightest color and adding it all over the image.  Next, I add the darkest color I want to use in the shadow areas. I then go back over the darker area with my middle color, and lastly I go over most of it again with the lightest color.

Once everything was colored I used the matching dies to cut everything out.  Just add a few mini brads and she is ready to leap onto her stage.

For her background I used Echo Park’s Dots and Stripes Paper Pad, as well as a mix of MFT Blueprints 31 Die and Stitched Oval Scallop Frame Die. Lastly I added a few purple pearls.

Thanks so much for stopping by and I hope you will join in our latest challenge! And don’t forget to enter to win the newest giveaway too!  Good luck!

Happy Crafting!Supplies Used:


Magic Slider Card with Newton’s Nook

Written by lisascreativeniche. Posted in Eye Candy (Projects)

Hi!  It is Lisa here with you today, and I am so happy to share my card with all of you today!  Now before I tell you anything I have a confession to make… I probably made this card waaaaay harder than it ought to be, lol!  But we live and learn, right?  And I learned that I need to own one of the Slider Products available in the store right now to save myself a lot of time! hehehe!  With that being said here is what I have created…

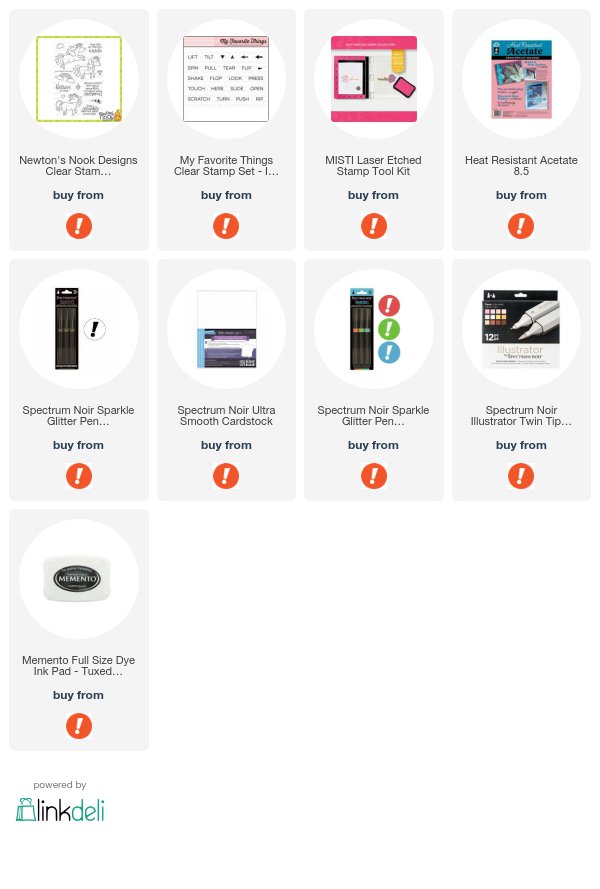
To start I stamped this cute unicorn image from the newer Newton’s Nook Believe in Unicorns stamp set, along with it’s sentiment onto Spectrum Noir Cardstock.  Since this was going to be my “magic” portion of the card I went ahead and colored it in with a mix of Spectrum Noir Sparkle Pens and Illustrator Markers.  I LOVE the brush tip on the Sparkle Pens, they are so easy to control, the shine is incredible, and you can achieve an ombre look with one pen by simply going over one area a few times!

I then set this panel off to dry and stamped the unicorn and sentiment again onto acetate this time.  My MISTI made this easy to keep everything lined up.  Next, I created my pocket window.  I attached the acetate to the inside front of my pocket, and the colored panel to the back.  This left a little slit between the two for me to add the magic slider piece.

The older Lawn Fawn paper I found in my stash was perfect for the card, so I used it as a background.  Everything was adhered to the front of the card, and I added some bright enamel dots as a finishing touch.

Thanks so much for stopping by today and Happy Crafting!

Supplies Used:


Grab Our Button

i Luv MarkerPOP
Show some MarkerPOP LUV,

add this button to your blog.

I’m a Winner!

I'm a Winner on MarkerPOP Blog
Copy and paste the code under the badge

to claim your bragging rights!

I’ve Made Top 3!

WoHooooo I made it to the Top 3 on MarkerPOP Blog
Copy and paste the code under the badge

to claim your bragging rights!

Visit Us!

MarkerPOP Free Shipping MarkerPOP Boutique
18299 Mount Baldy Cir
Fountain Valley, CA 92708
Toll Free: 1-855-312-1222
Phone: 1-714-249-1222