$10 Gift Voucher - Leave a Comment

Posts Tagged ‘Newton’s Nook’

Aloe!!

Written by Holly Endress. Posted in Eye Candy (Projects), Tutorials, Uncategorized, Videos

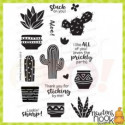
Happy Tuesday everyone… Holly here today!! I hope you all had a great weekend and didn’t melt too much from the heat. Today I have a Fun cacti card and video using the new Cultivated Cacti set from Newton’s Nook. Their June release is now available in the store. It’s full of Cacti, Cowboys, and more.

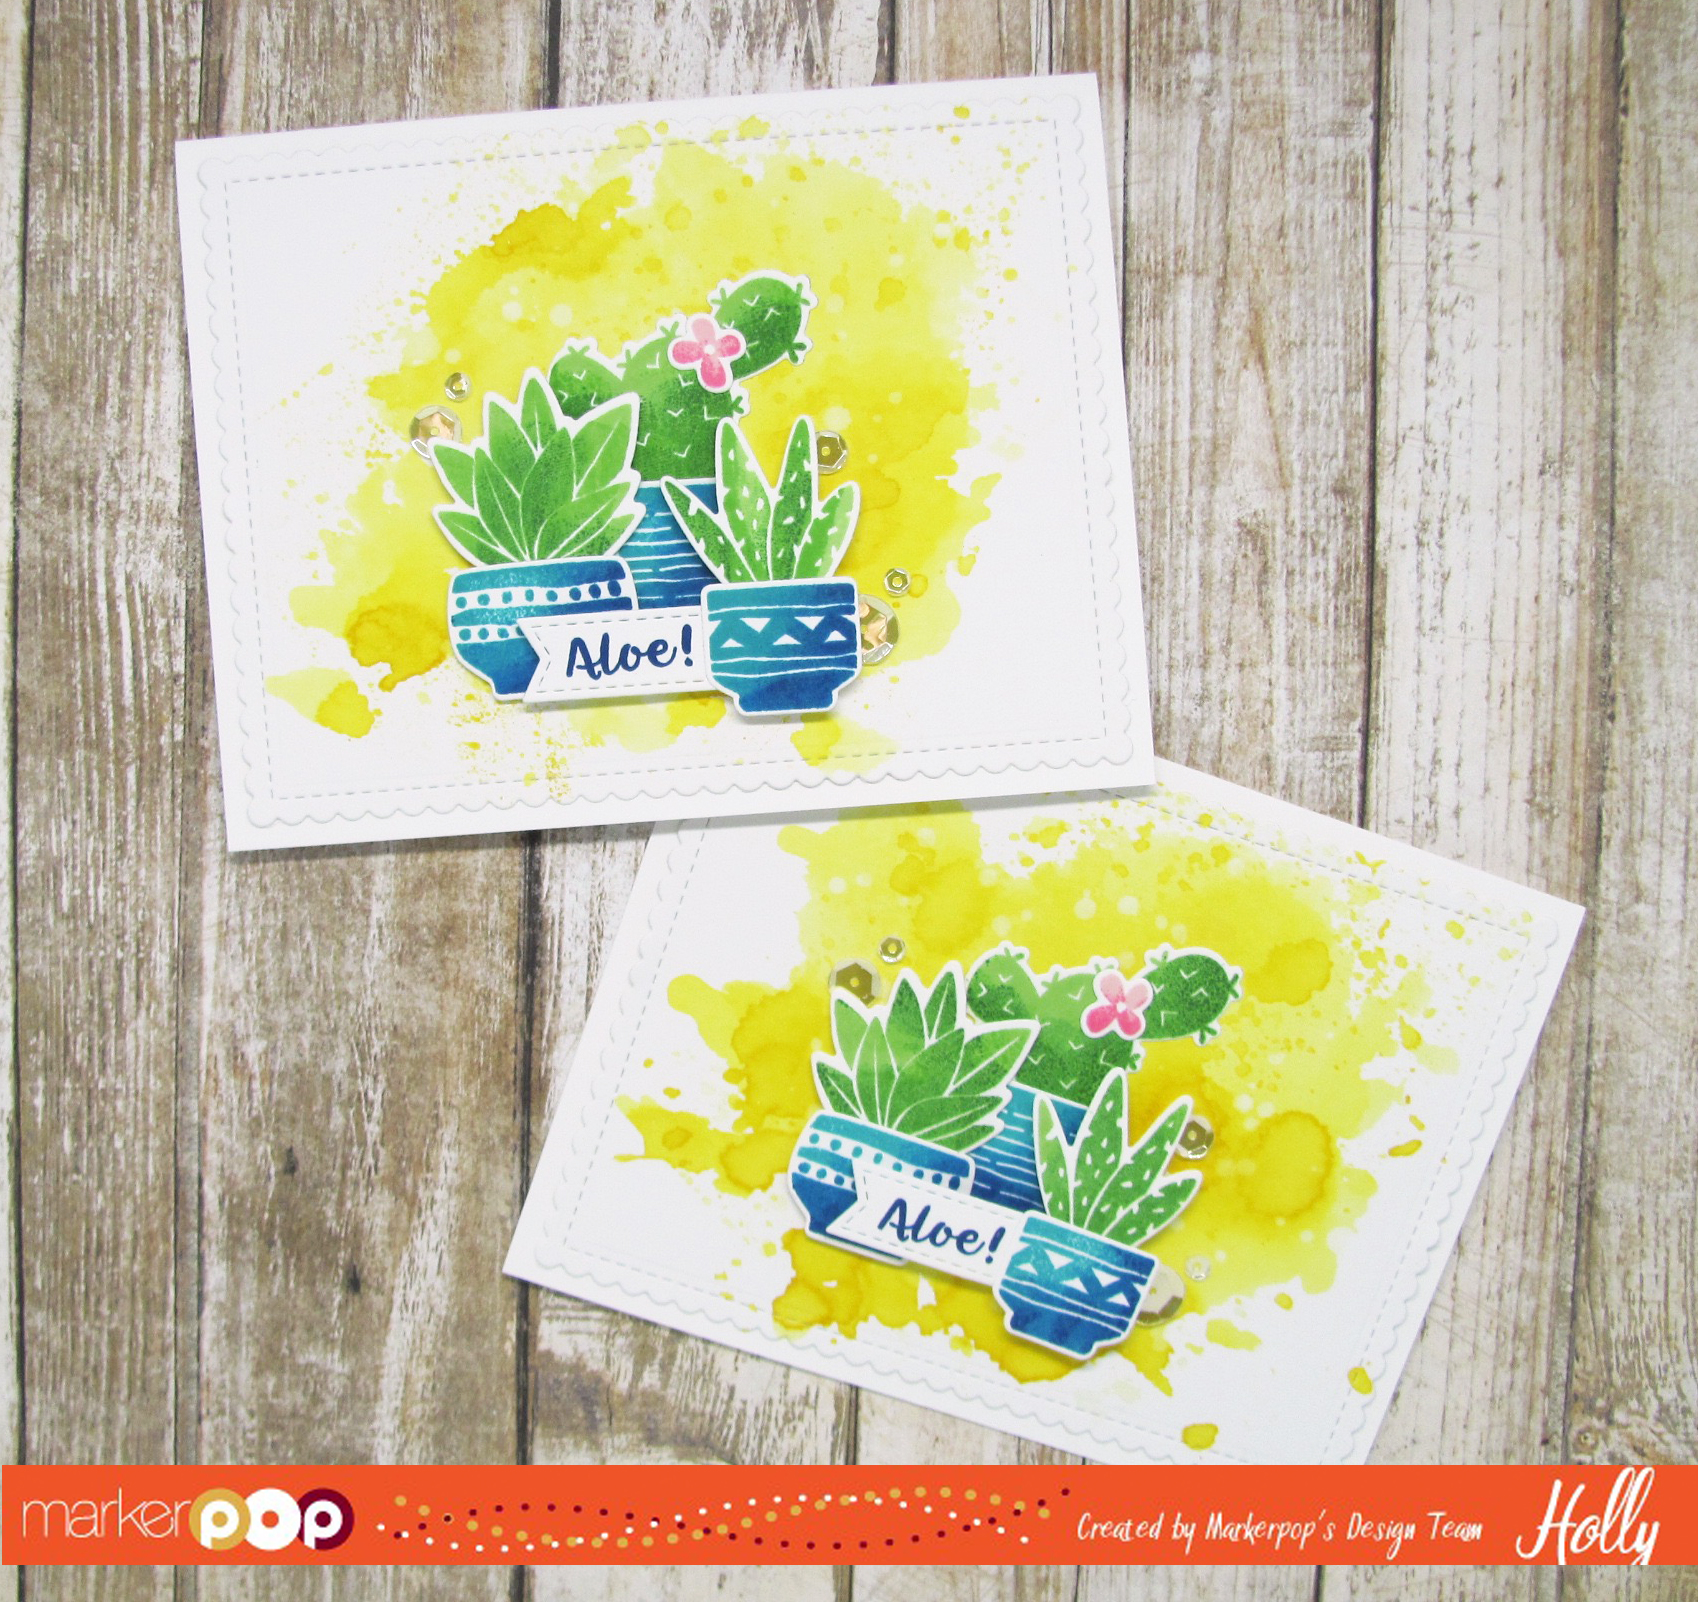
I started with a piece of Distress Watercolor paper and then I added some Mustard Seed Distress Ink. Once the panel was dry I die cut it using the MFT Blueprints #27. Then I adhered the panel to a White A2 size card base.

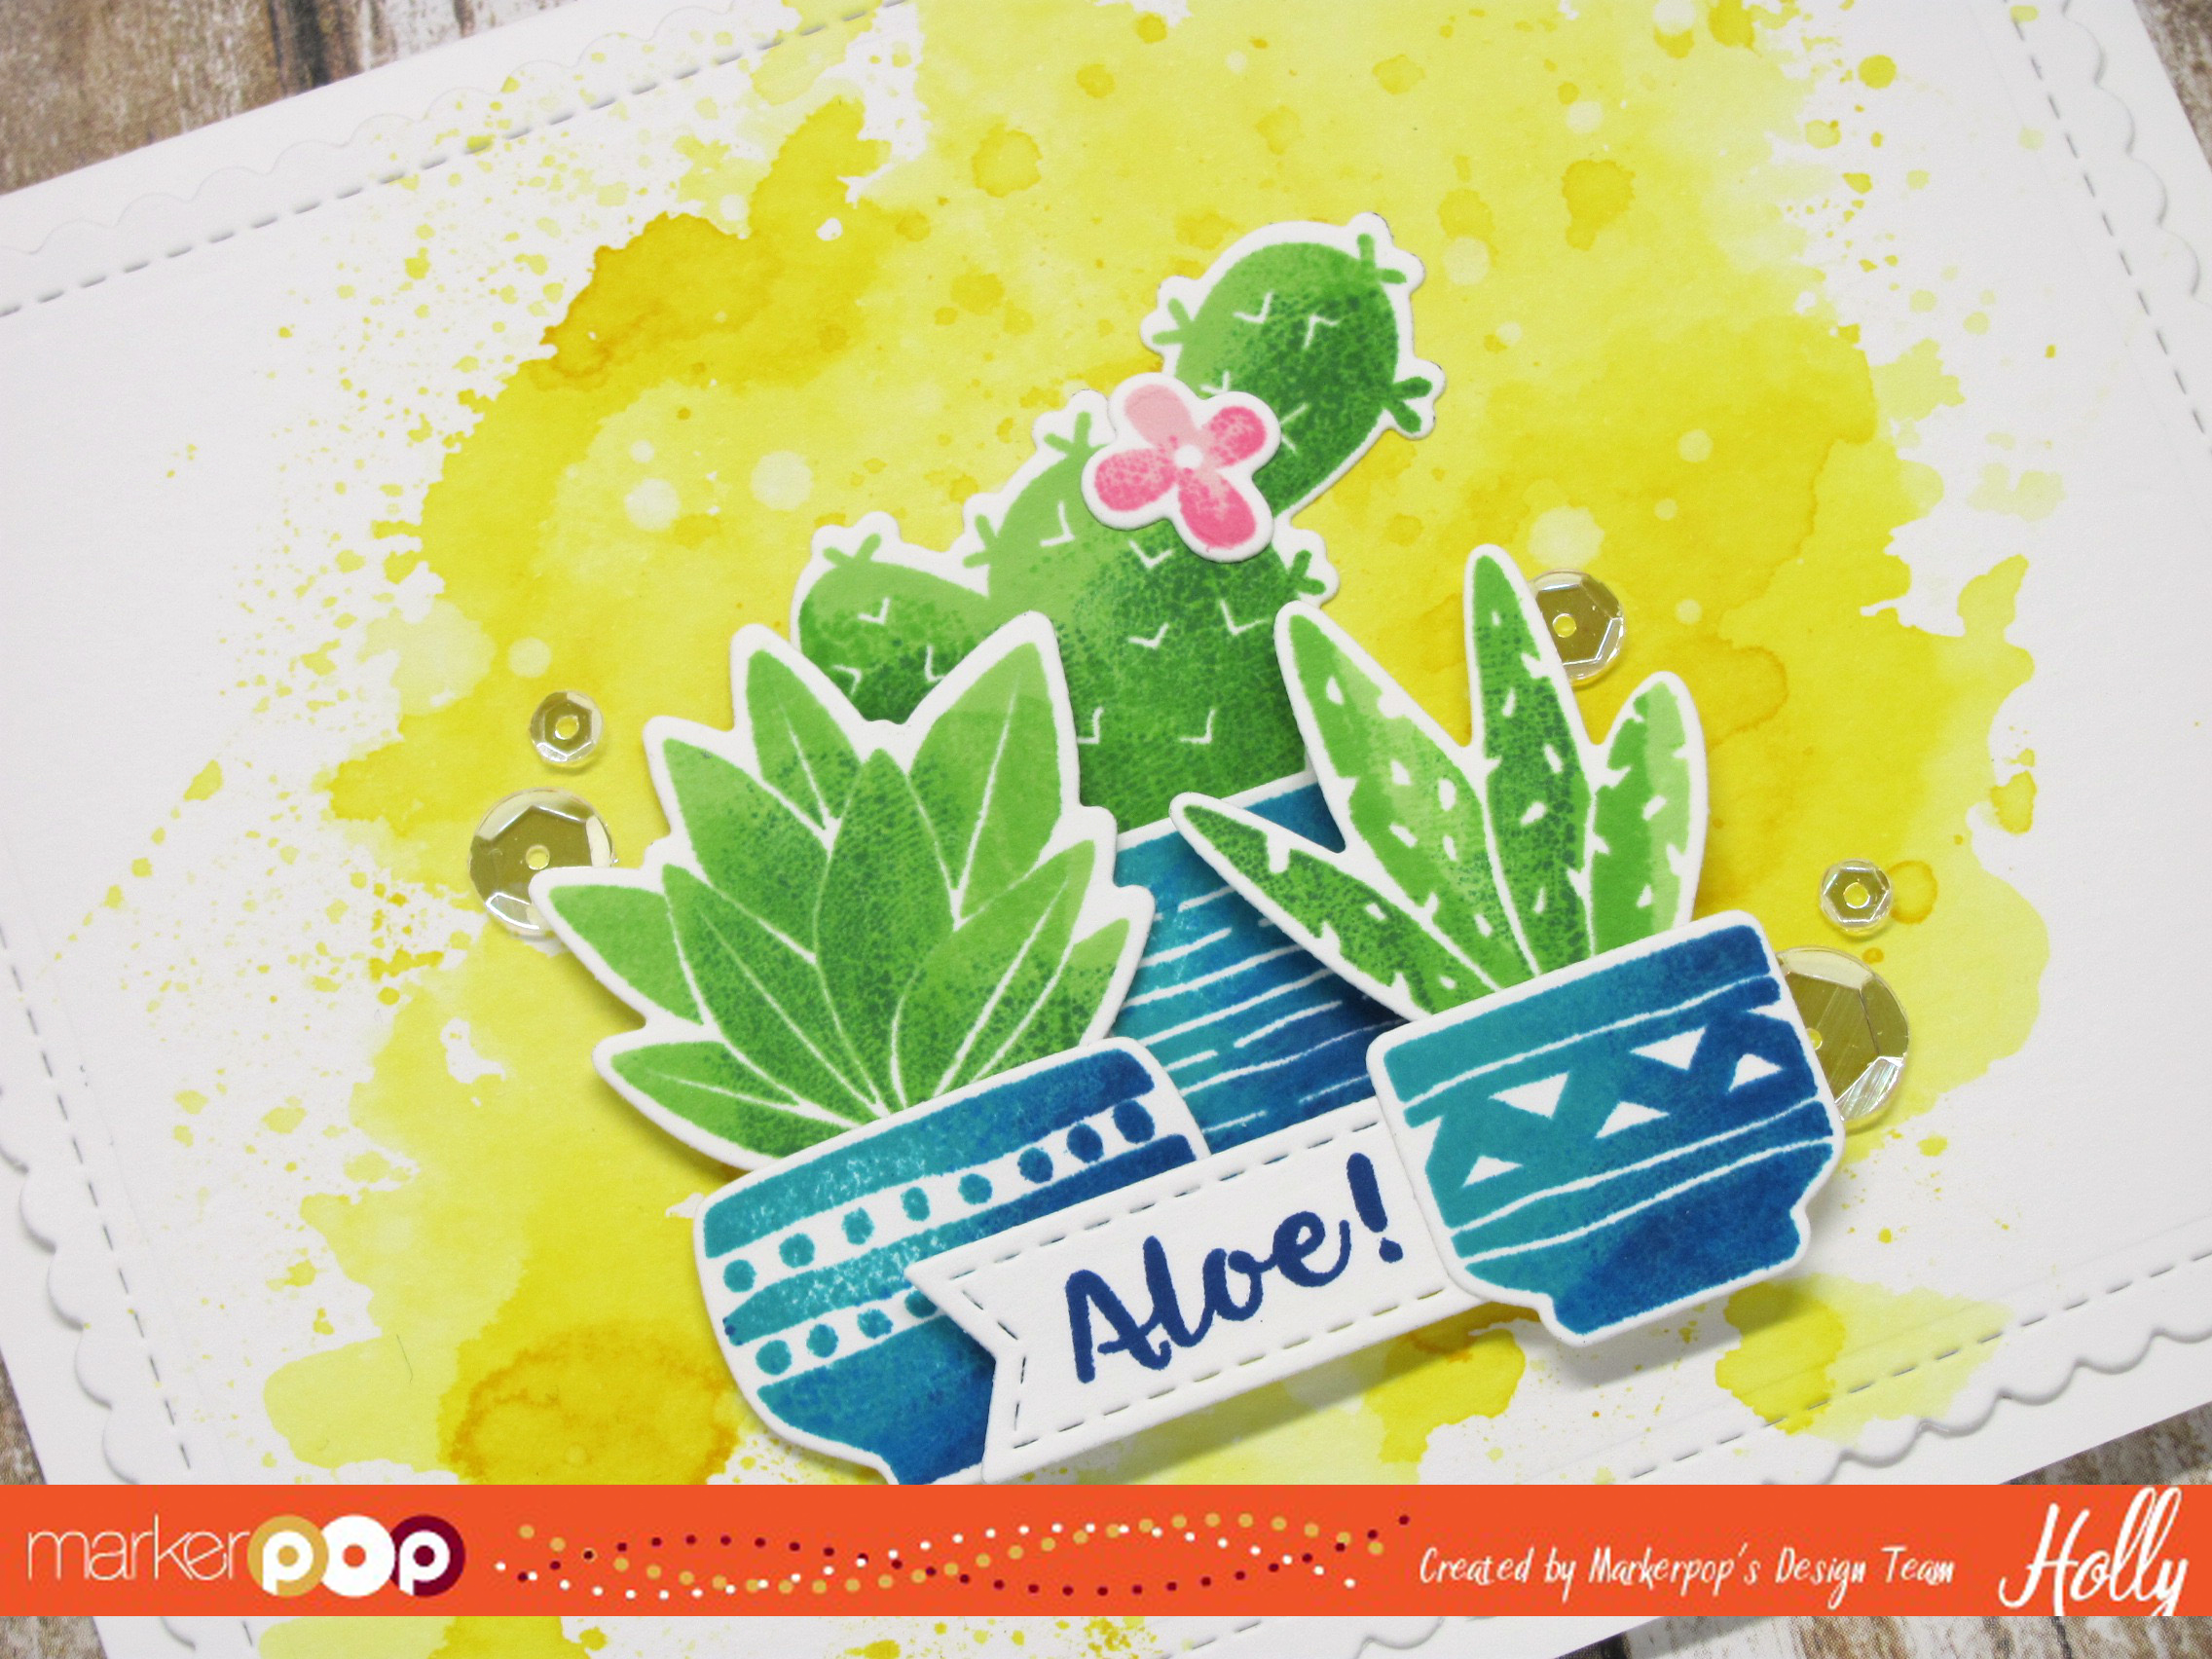
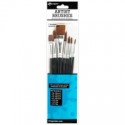
Then I stamped the cacti and the pots using the Mini Misti , Neenah Solar White cardstock, and Lawn Fawn inks in the following colors: Celery Stick, Freshly Cut Grass, Jalapeno, Noble Fir, Peacock, Fish Tank, Blue Jay, Ballet Slippers and Plastic Flamingo. You can see how I created the multi-ink tone on the stamps in the video below.

Once they were dry I used the coordinating dies to cut them out and I adhered them to the card front with some Tape Runner and Foam Tape. I stamped the sentiment using some Blue Jay ink from Lawn Fawn on a piece of Neenah Solar White that I die cut with the Stitched Sentiment Strips Die-namics from MFT. I added a few Sparkling Clear Sequins from Pretty Pink Posh for a little Bling.

You can find more details on how I created this card in the video below…

Thanks for Stopping by Today!


Holiday Kitty

Written by Jessica Frost. Posted in Eye Candy (Projects)

Good morning!  Jess here!  Today I’m sharing a Christmas card featuring an oldie but goodie set from Newton’s Nook, Holiday Mischief!

Isn’t that naughty cat cute?!  I colored him with copics and then fussy cut him.  I added a little halo around each light using a lighter colored copic marker and then went over each light with clear spectrum noir sparkle and glossy accents.

Then I stamped the sentiment from Lawn Fawn’s Merry Messages onto a piece of white cardstock with versafine and heat-embossed it with clear embossing powder.  I adhered my kitty with foam mounting tape but my card seemed to be missing something.  So I took some patterned paper from Lawn Fawn, trimmed them down to thin strips and adhered them around my sentiment.  I think it helped bring a little color to my card and ground my kitty a little better.  Plus those patterned papers are just adorable!  What do you think?

Thanks so much for visiting and have a wonderful day!


Jessica Frost ~ All the Sparkle

Supplies:

Copics used:

Cat – 110, E70, E71, E74, E77

Lights – R24, R11, YR04, YR01, Y06, Y00, G03, G20, B14, B00, V12, V000

Tiki Time!!

Written by Holly Endress. Posted in Eye Candy (Projects), Tutorials, Videos

Happy Thursday everyone.. It’s Holly here today with a fun card using the new Tiki Time set from Newton’s Nook! I created a card with the color Layering Pineapple from Hero Arts a few weeks ago and I was asked for a video. So, I created a similar card using the same technique.

mp2

I stamped the Tiki Time images randomly on a piece of Watercolor Card stock using Distress Ink pads and Distress Markers. I spritzed each image with a mini mister after applying the ink just before stamping it. Using a marker and the ink pad of the same color gives a great variation in the color without loosing opacity like you’d get with stamping off or second generation stamping.

mp1

Once I had the background they way I wanted it, I die cut the panel with the Blueprints 29 die~namics from MFT and a piece of the Doodlebug Fun in the Sun 6×6 paper. I added some splatters of Black Soot Distress paint and Tarnished Brass Distress Stain with a small paintbrush. Then I heat set the panel with a heat tool. I created a top folding White card base and adhered the patter paper and my image panel using some foam adhesive.

I stamped more of the images from the set onto an additional piece of watercolor paper using the markers and die cut them with the coordinating dies. I die cut a piece of vellum using the stitched circle stax from MFT and assembled the images on it using some foam tape. I die cut a banner from the same blueprints #29 and stamped the sentiment using some VersaFine Black ink.

mp3

I created a fringe strip using the Chevron fringe die from MFT and some kraft card stock and adhered that across the front of the card. Then I added the vellum piece over it. For a touch of sparkle I added some Sparkling clear mix sequins from Pretty Pink Posh.

I used the following Distress Markers:

Rusty Hinge, Mowed Lawn, Mustard Seed, Brushed Corduroy, Picked Raspberry & Salty Ocean. I also used the Mowed Lawn, Rusty Hinge and Picked Raspberry Distress Ink Pads.

Check out the video below for more details on how I created this card.

2

Newton’s Christmas

Written by Heidi. Posted in Eye Candy (Projects), Saturday Spotlight

Hello everybody, Heidi here, welcome back to the Marker POP blog, I hope you had a great week. Today I am sharing some Christmas inspiration featuring Newton’s Nook “Naptime” stamp and coordinated die set, I also use elements from other brands, which I will list below, however the main focus of my card is Newton sleeping on the blankets on Christmas night. Let me show you the card and I will be telling you a little bit more about it.


20151116_144015I blended a night sky background using Salty Ocean and Chipped Sapphire Distress inks and I used a stencil to add some snow. Then I cut the window using the “Die-namics Blueprints No.20” and I also place some a stitched snow hill on the out side of the window. The lights hanging form the window are from the “Baaah Humbug” stamp and coordinated die by Lawn Fawn, and the silhouette of the Santa’s sled and reindeer are from the “Ready Set Snow” stamp set

20151116_144028I colored Newton and the blankets, and the the Christmas lights using Copic Markers and added some details with a white gel pen and Glossy Accents. I stamped the sentiment ditectly on the card panel from the “Cozy Christmas” stamp set by Lawn Fawn, and I adhered the card panel to the card base using foam adhesive.

I hoped you enjoyed this card and that you got some inspiration for your Christmas and holiday projects.
Have a lovely day!

Thanks so much for stopping by, I’ll see you soon with more projects and inspiration.

Heidi

Grab Our Button

i Luv MarkerPOP
Show some MarkerPOP LUV,

add this button to your blog.

I’m a Winner!

I'm a Winner on MarkerPOP Blog
Copy and paste the code under the badge

to claim your bragging rights!

I’ve Made Top 3!

WoHooooo I made it to the Top 3 on MarkerPOP Blog
Copy and paste the code under the badge

to claim your bragging rights!

Visit Us!

MarkerPOP Free Shipping MarkerPOP Boutique
18299 Mount Baldy Cir
Fountain Valley, CA 92708
Toll Free: 1-855-312-1222
Phone: 1-714-249-1222