I Hope It’s Magical
Well HELLO, MarkerPop Fans! Guess who THIS is… Valerie, and I’M BACK! I can’t tell you how much I’ve missed the MarkerPop World the past few months, but I’m all settled in to my new home (in a great suburb next door to Iowa City), and I’m READY to get crafting again! I was THRILLED when my friend, Holly (the MarlerPop Design Team Leader), asked me if I’d like to come back; it was a quick and easy “Yes!” for me. So anyway, today I’m working with a bunch of great new products from My Favorite Things!
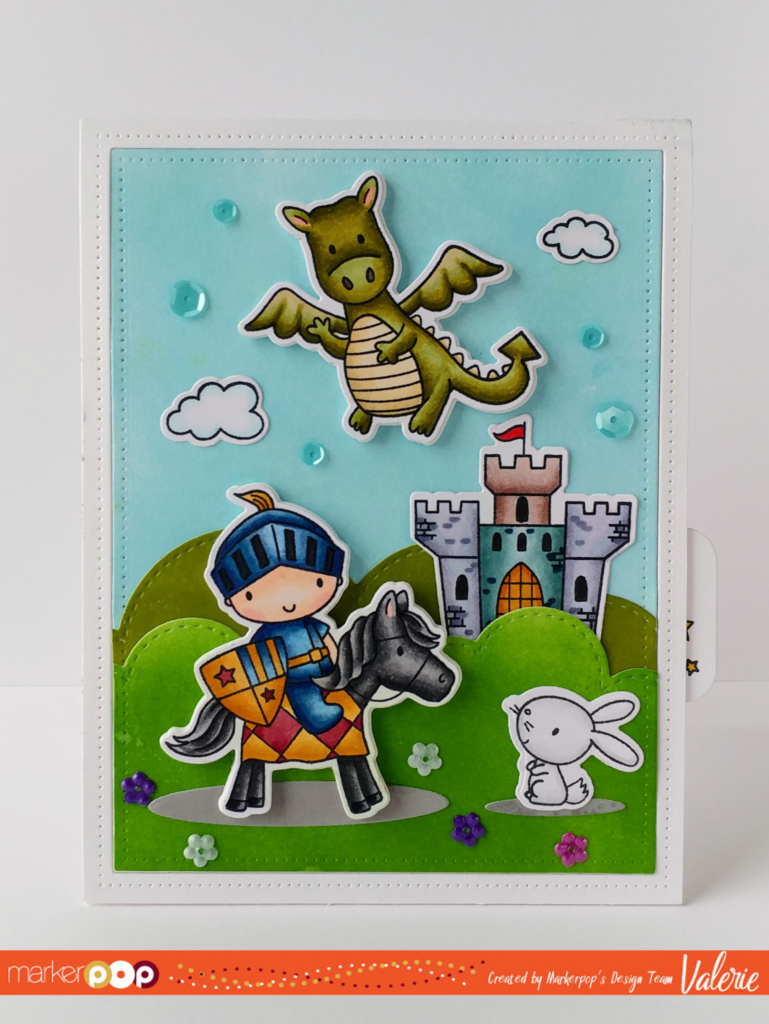
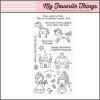
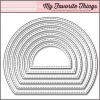
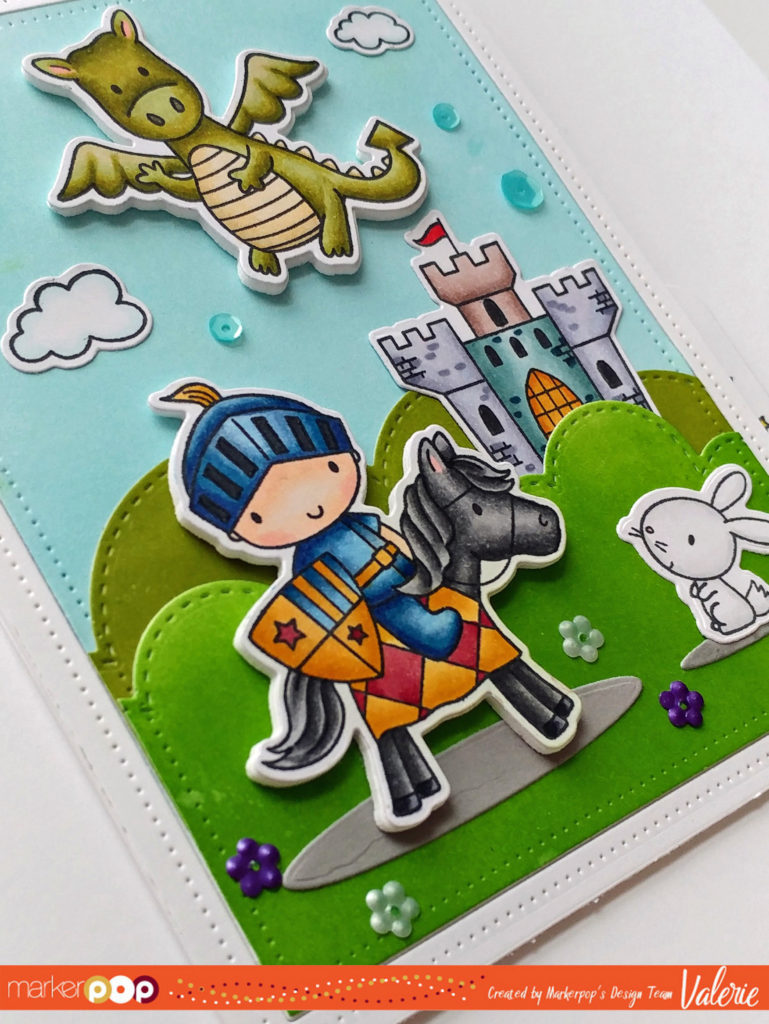
I created an adorable Birthday Card, and the main features of this card are the MFT Knight in Shining Armor stamp set & coordinating Die-namics set; I used a ton of other MFT products, also, and you can see them in the supply list below.

One of the fun things about this card is pulling the sentiment out! You can do this very easily to any card using MFT’s great new Slider Channel Builder Die-namics set.

The images are all stamped using Memento Tuxedo Black ink, onto X-Press It Blending Card Paper, and colored with Copic markers. I added a little bling with Pretty Pink Posh sequins: Lilac Garden Flower Confetti sequins and Aquamarine Cupped sequins. The background sky and grasses are created using various Ranger Tim Holtz Distress Ink Pad inks (see specific colors in Supply List below).
I hope you enjoyed this project, and that it gave you some inspiration! Have a great day, and Happy Crafting!
Valerie
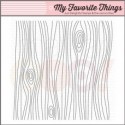
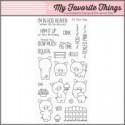
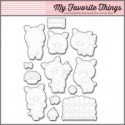
Supplies Used