$10 Gift Voucher - Leave a Comment

Posts Tagged ‘Lisa Lahiff’

New Fall Stamps with Sunny Studio Stamps

Written by lisascreativeniche. Posted in Eye Candy (Projects)

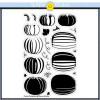
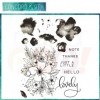
Hi!  It’s Lisa here again, woot woot!  Today I’m popping in with a card using the newer Sunny Studio Stamp set called Pretty Pumpkins, and this set is pretty!  I love layered stamps and Sunny Studio Stamps creates some of the best ones.  The dimension is incredible!  I also love to give them a watercolored look, and these stamps really make it look hand done check it out…

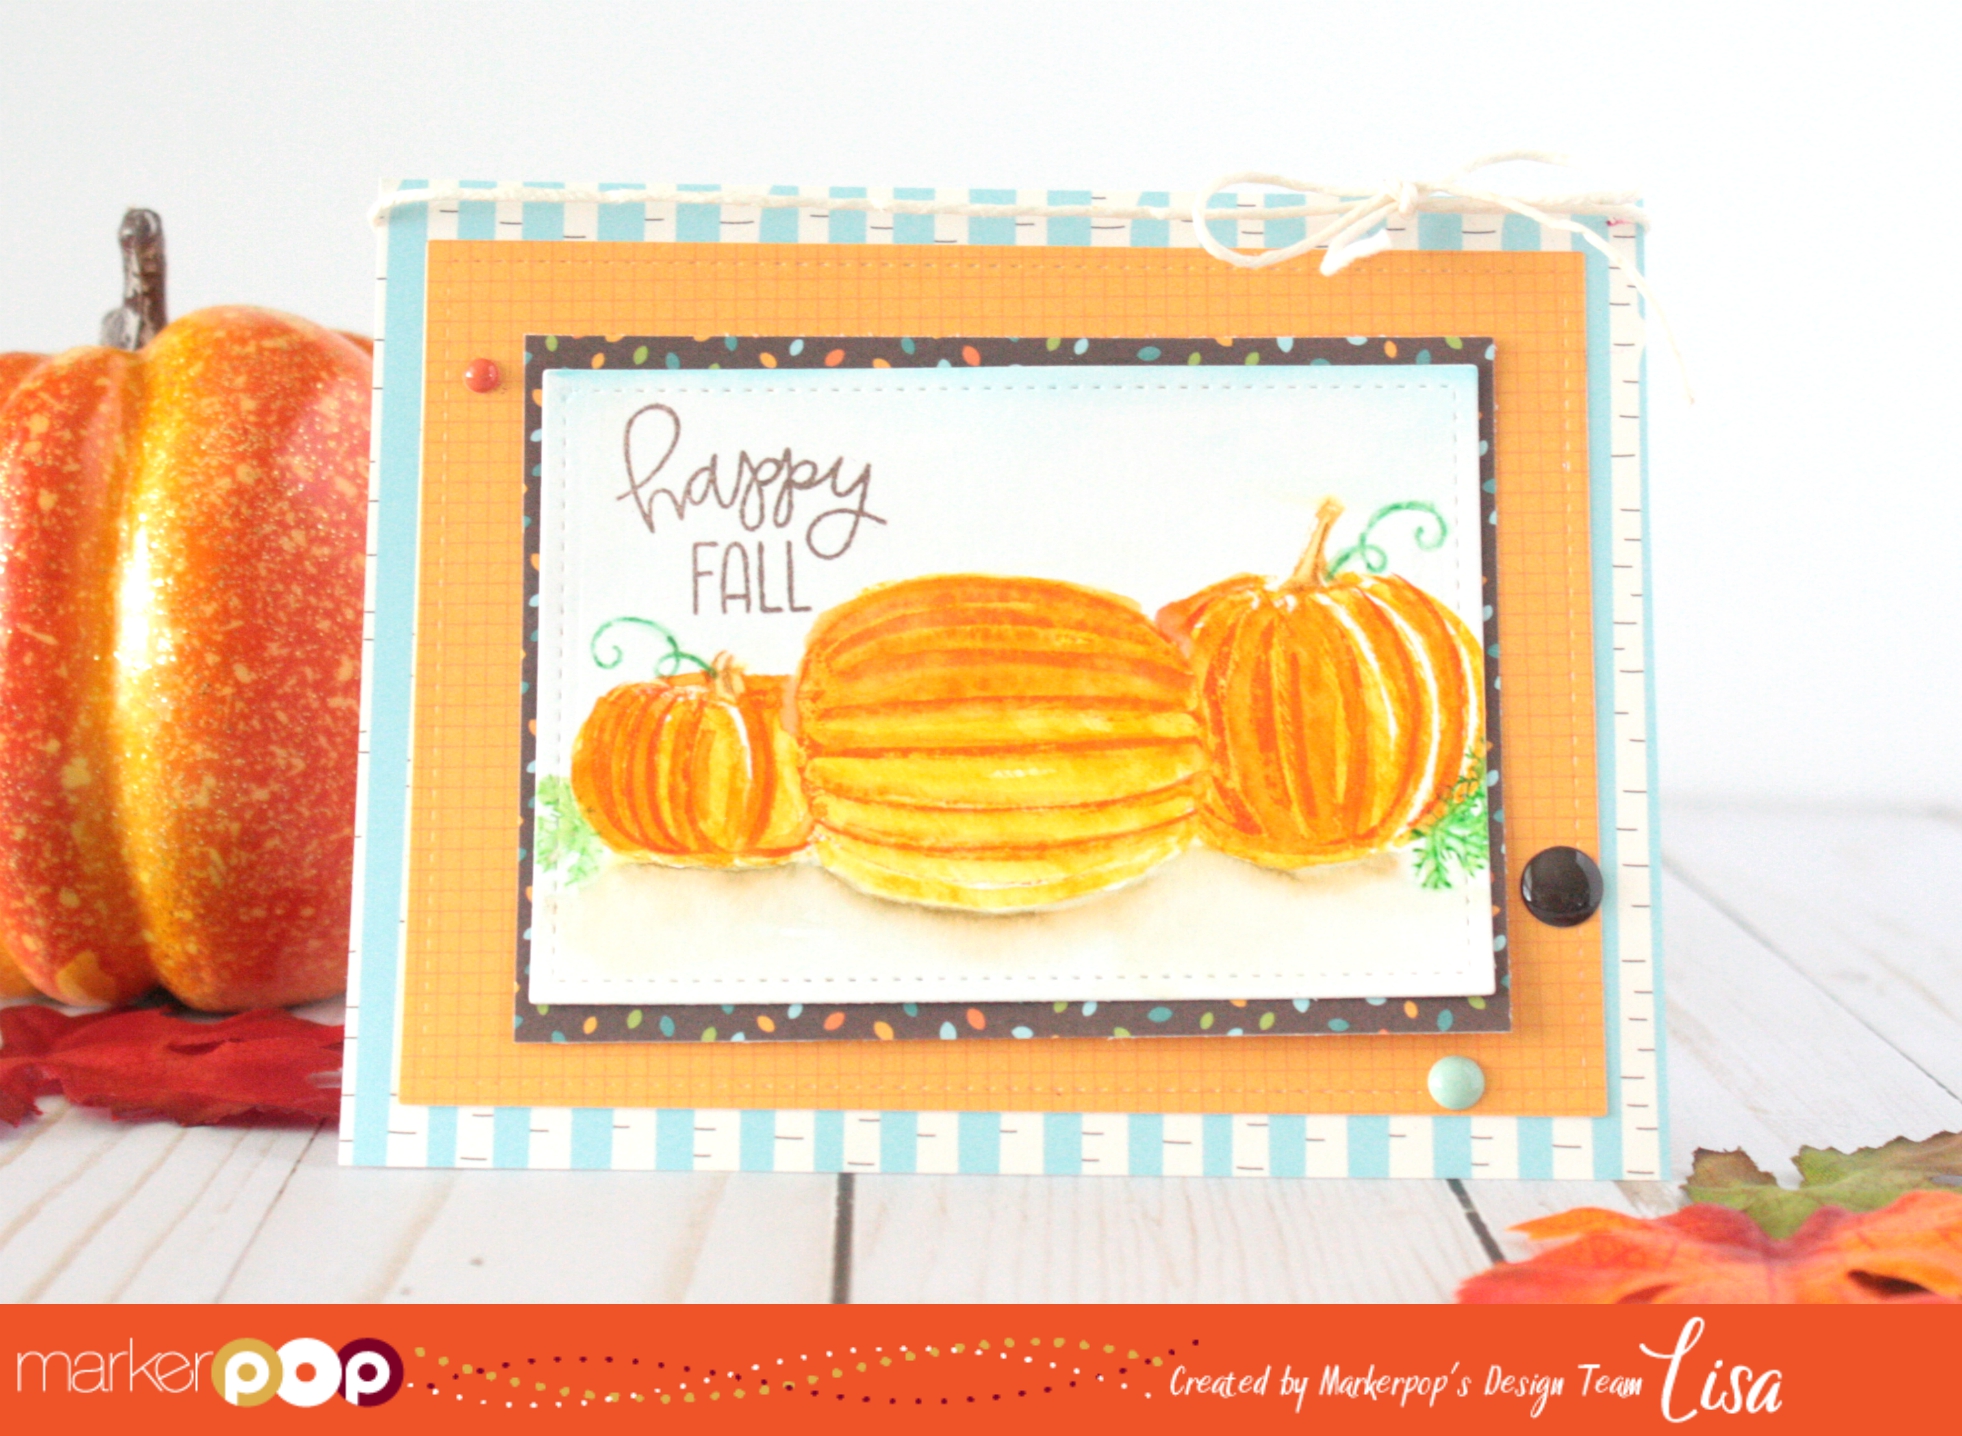
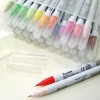
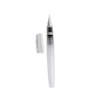
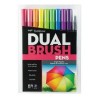
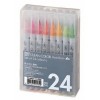
Aren’t they so cool?  With this set you can achieve some clear and crisp dimension if you use just your inks, but with the Clean Color Real Brush Markers I was able to achieve the more blended and watercolor look that I was looking for.  Zig Clean Color Real Brush Markers used include:052, 023, 070, 061, 066,072, 036, 047,048.  I also have to thank my MISTI for making these images so easy to stamp.  To start I would color directly onto the stamps first and stamp them several times.  Then I could go over the ink with a water brush to smooth the color out.  For the darkest layer I chose to keep the lines more crisp and only went over them very lightly with my water brush.  For a more dimensional scene I used masking for the largest pumpkin and stamped the other two pumpkins in the background.

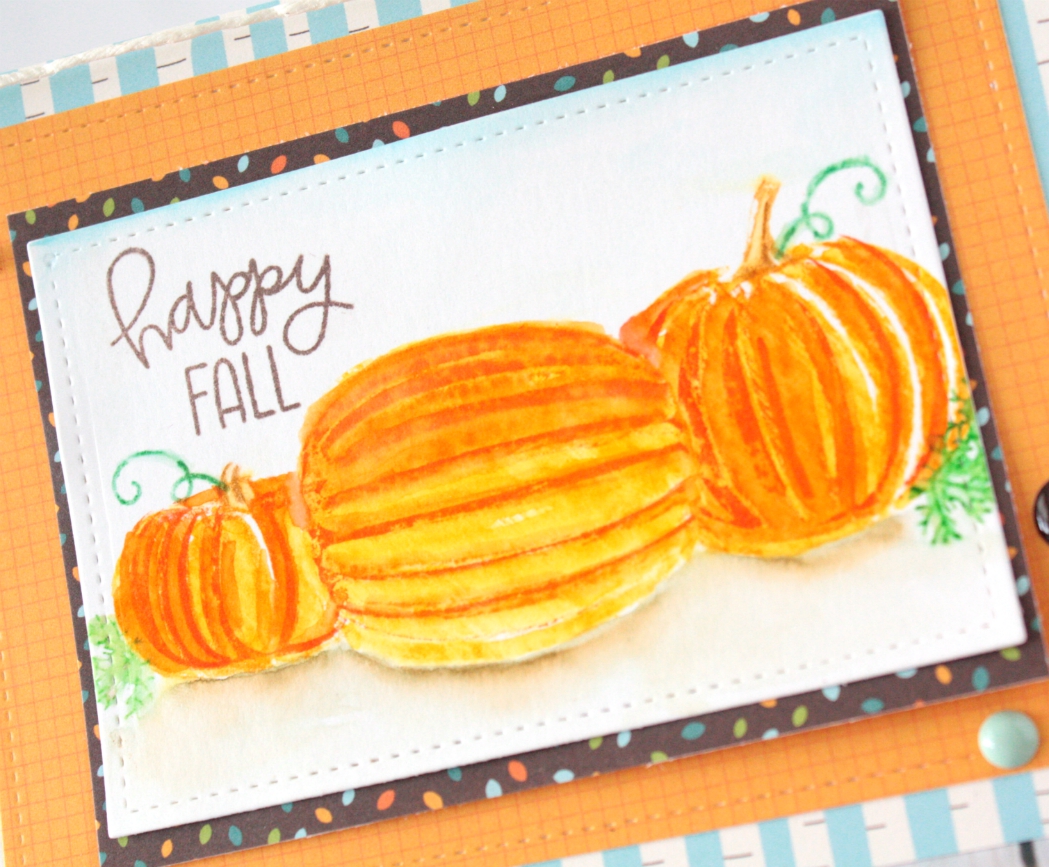
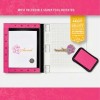
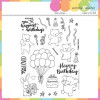
I then used colored in my own ground and a touch of a blue sky.  To finish the stamped panel I added a sentiment from the Pretty Pink Posh Giving Thanks set with Memento Ink, and die cut the whole thing with Lawn Fawn’s Stitched Rectangle Dies.

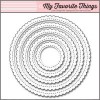
With layers of patterned paper, enamel dots and twine my card was complete!

Thanks so much for stopping by today, and Happy Crafting!

Supplies Used: 

Lovely Hello From Concord & 9th

Written by lisascreativeniche. Posted in Eye Candy (Projects)

Hello friends!  It’s Lisa here with you today and I have a bright floral hello to share with all of you.  Since Concord & 9th is celebrating their 2 year anniversary, and they have released some pretty amazing new goodies (which you can get now in the store!) I just had to pull out some of my favorite stamps to share with you…

To create this card I started by stamping my background panel with the Sunshine Turnabout stamp set and my Altenew inks from the Rock Collection.  Next, I worked on the floral image from the Hello Lovely Stamp Set.  Normally I find some way to color this image in as I’ve always been a bit timid about using the matching water colored images in the set.  This time I set my fears to the side, and let things get messy.  I will admit that I did use some masking to keep too many of the colors blending, but for the most part I let it mix freely.  To do this I colored these images in with my Tombow markers and repeatedly stamped them until they were covering the flowers the way I wanted them to.

Once the image was completely colored I cut the whole thing out.  I then adhered it with a small piece of vellum to my sunshine background.  For my sentiment I embossed it with white embossing powder and adhered it with foam adhesive.  The card was finished off with some sequins.

Thanks so much for stopping by today and I hope to see your projects in our challenges!  They are fun to play along with and you can win prizes!

Happy Crafting!

Supplies Used:

Cute As A Button!

Written by lisascreativeniche. Posted in Eye Candy (Projects)

Yes you are, but so is this card!  I loved the new layered stamp set by Sunny Studio called, Cute As A Button, the minute I saw it!  So of course I had to share some of my love with all of you, take a peek!

To create this card I started by stamping my buttons, first in the lighter color, and the second with my darker colors.  Once they were all stamped, I used the matching die set to cut them out.  Seriously, these buttons are so much fun to make that you really want to just keep making them!

Next, I began working on my sentiment.  I decided to go with the circle theme of the buttons and I cut out a circle with my Stitched Circle Dies.  To add some bright colors with a marbled effect I grabbed my Zig Clean Color Real Brush Markers and a Waterbrush.  While this was drying I created the background of my card with some patterned papers found in the Echo Park Dots and Stripes Paper Pad.

When the circle had finally dried, the sentiment was added using Versafine Ink.  This ink is perfect when using watercolors as it won’t bleed or smear.  I then began to layer up my circle, buttons and background.  To finish the card off I used a fun mix of Pretty Pink Posh Clear Sequins.

The best part about the layered stamps is how easy they come together, but the depth that is created can have you playing for days!  Thanks so much for stopping by today and I hope to see what you are creating linked up in our current challenge!

Happy Crafting!

Supplies Used: 

Happy Dance!

Written by lisascreativeniche. Posted in Eye Candy (Projects)

Hello, hello!  It is Lisa here today and I have a happy little card that’s sure to make anyone’s Birthday even brighter!  This card features the new Winnie and Walter Happy Dance Stamp Set and the Concord & 9th Sunshine Turnabout Stamp Set

This was my first time using one of the Concord & 9th’s Turnabout sets, and I was pleasantly surprised at how easy it was!  I do suggest that you visit their video on how to mark the center of your set and how to create your own template too.  Once I had done these myself I used bright Memento Colored inks all the way around.  I then set this panel to the side.

Next, I worked on my second panel by stamping this happy little guy in the middle and the sentiment from the Happy Dance Stamp Set with Memento Ink.  To color my bear in I used a mix of Spectrum Noir Illustrator Markers in Warm Beige and Saddle Brown.  I decided to go over the edges of this panel with Distress Oxide Ink in Wilted Violet and Broken China.

At this point I still felt like there was something missing so I decided to stamp, color and cut some of the streamers to add to the panel.  After these were adhered to the front of the base I finished the card off with a few colorful sequins!

Thanks so much for stopping by today!  And don’t forget to join our challenges and our current giveaway!

Happy Crafting!

Supplies Used:

Grab Our Button

i Luv MarkerPOP
Show some MarkerPOP LUV,

add this button to your blog.

I’m a Winner!

I'm a Winner on MarkerPOP Blog
Copy and paste the code under the badge

to claim your bragging rights!

I’ve Made Top 3!

WoHooooo I made it to the Top 3 on MarkerPOP Blog
Copy and paste the code under the badge

to claim your bragging rights!

Visit Us!

MarkerPOP Free Shipping MarkerPOP Boutique
18299 Mount Baldy Cir
Fountain Valley, CA 92708
Toll Free: 1-855-312-1222
Phone: 1-714-249-1222