$10 Gift Voucher - Leave a Comment

Posts Tagged ‘Lawn Fawn’

You Are Out of This World

Written by jpascarella. Posted in Eye Candy (Projects)

Hello, MarkerPOP friends! This is the last day for Teacher Appreciation Week for our local schools. So I have been working on a few cards to hand out to our teachers. I found it challenge it make a card for my son to give to his teacher. I wanted the card to share some of his personality.

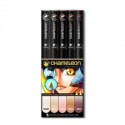
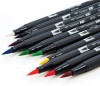
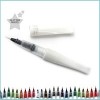
This month, the design team will be using a variety of different alcohol markers. One of my favorite marker brand is Chameleon Markers. I love how easy these markers are to use. The blending comes so easy with these markers.

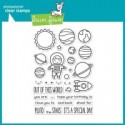
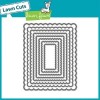
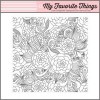
Today, I am working with the Lawn Fawn’s Out of This World and a bunch of Chameleon markers.

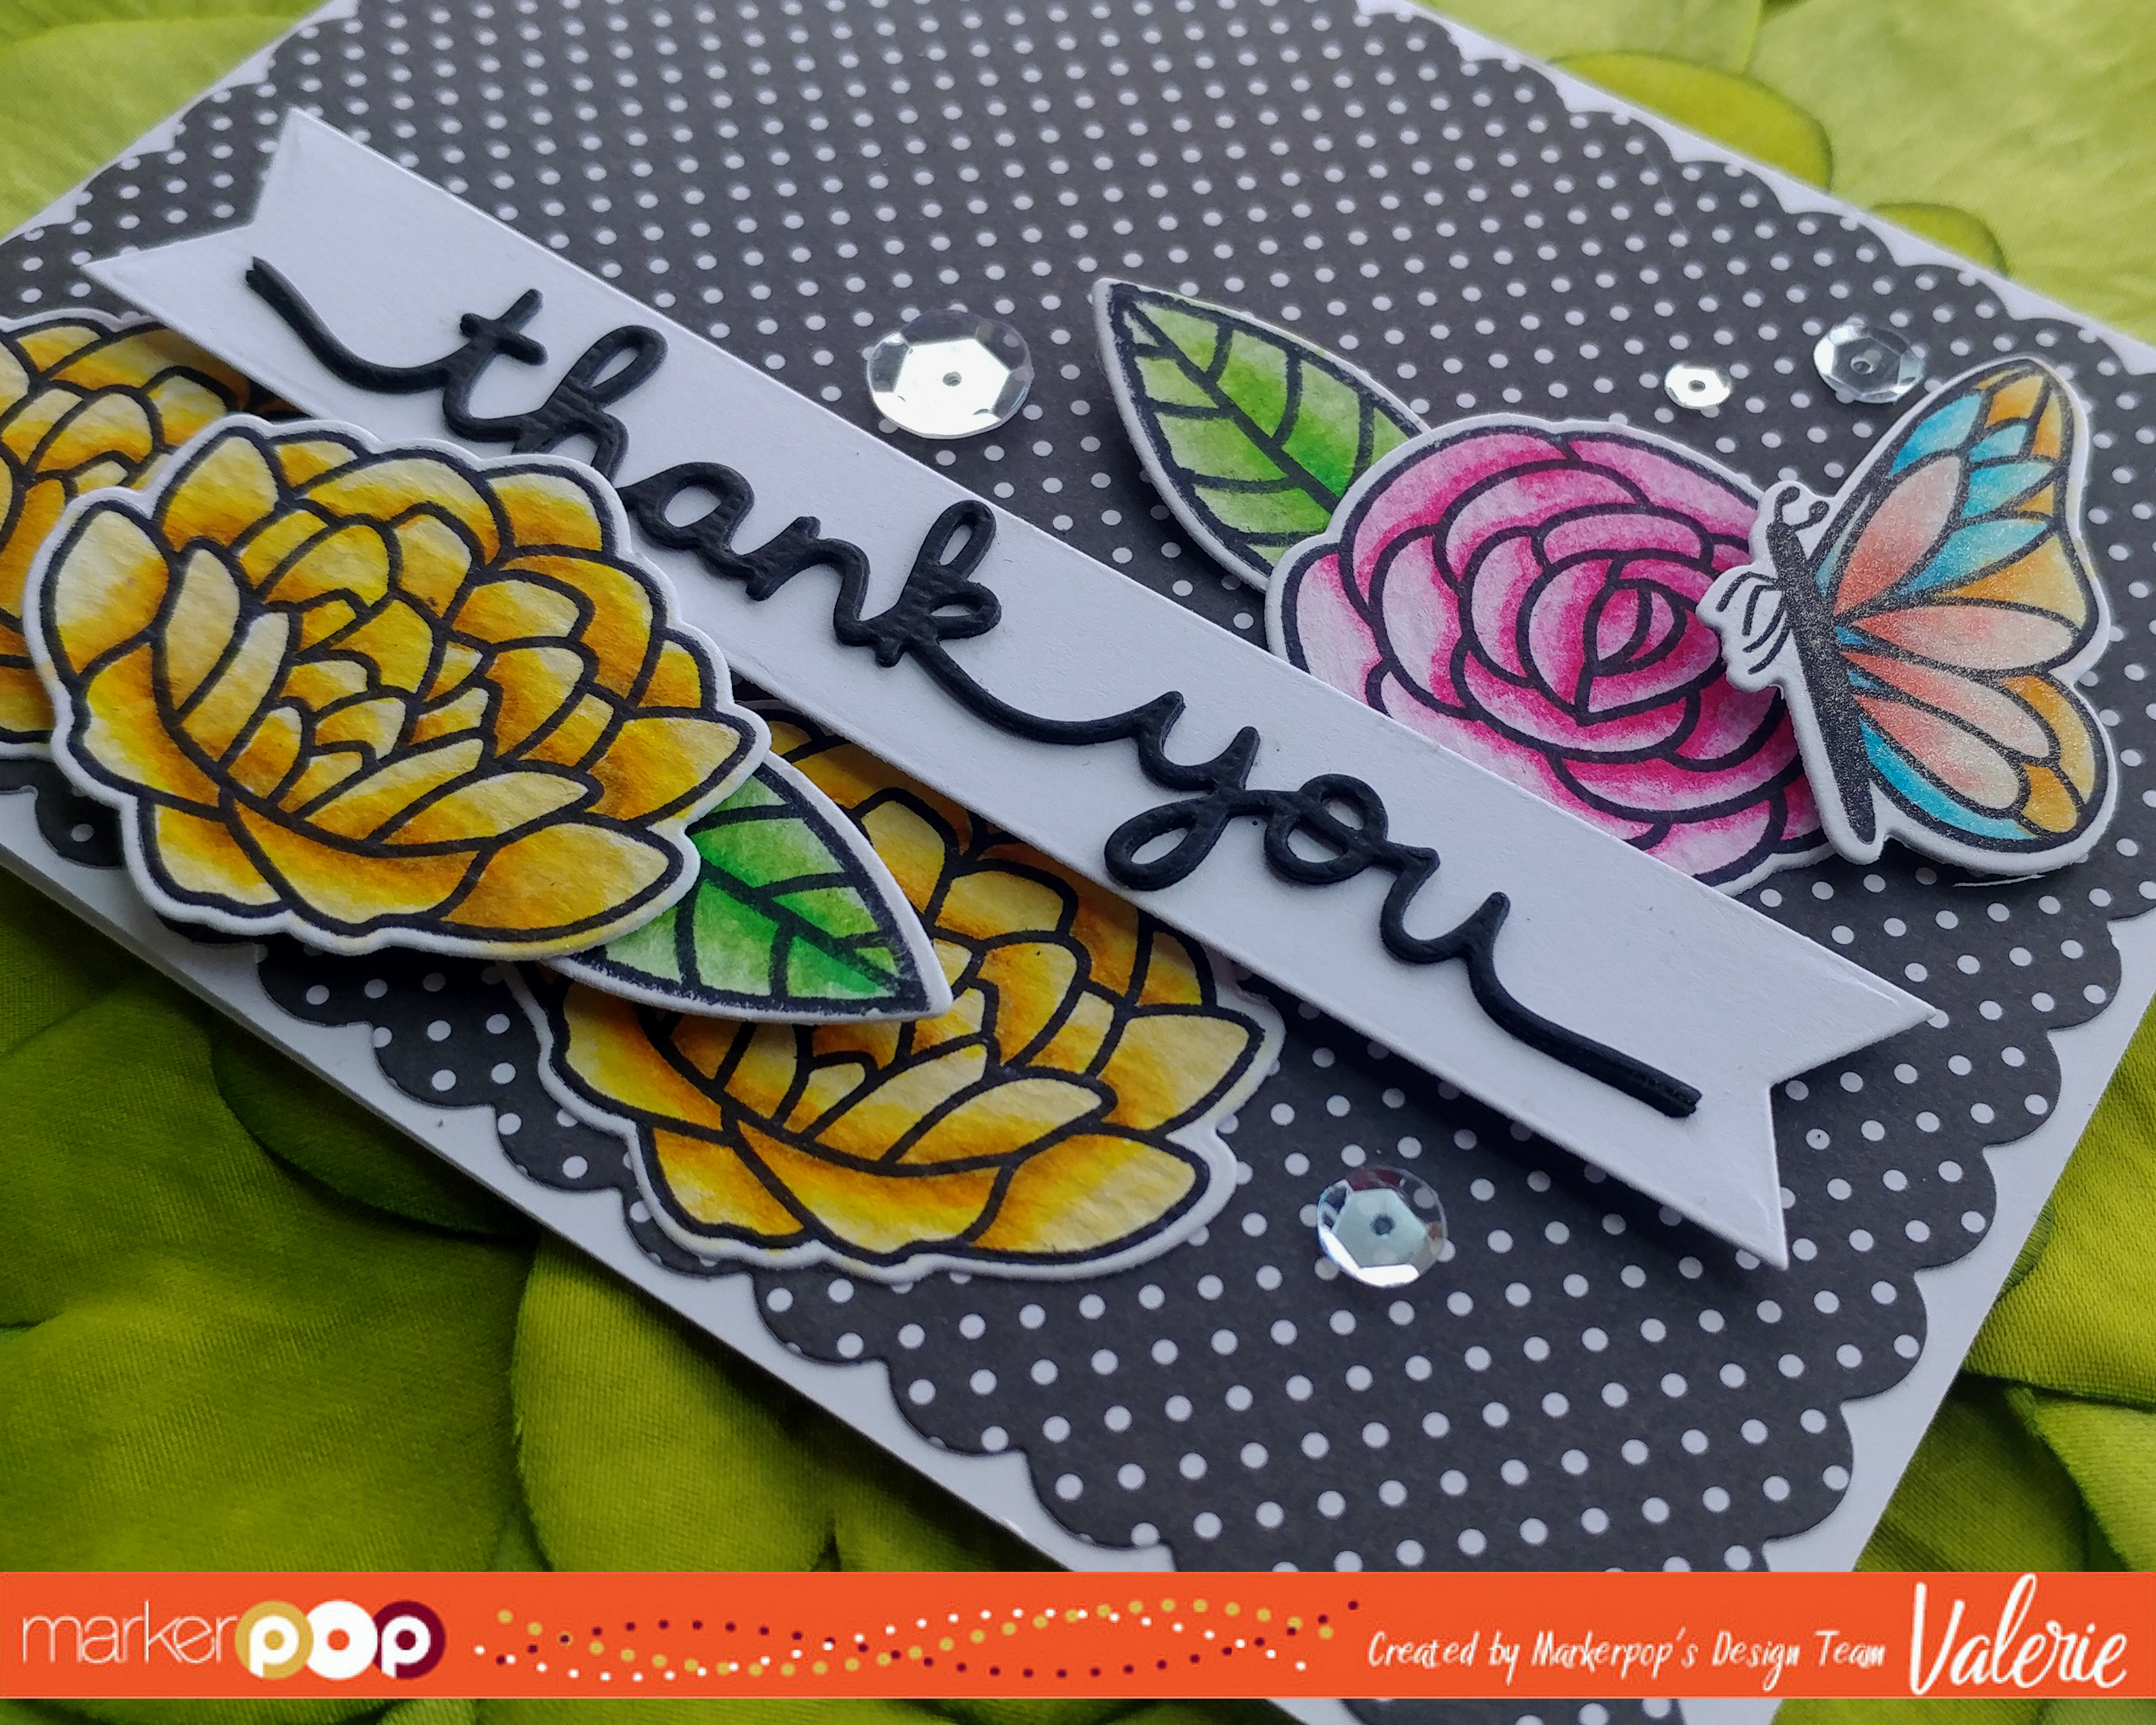
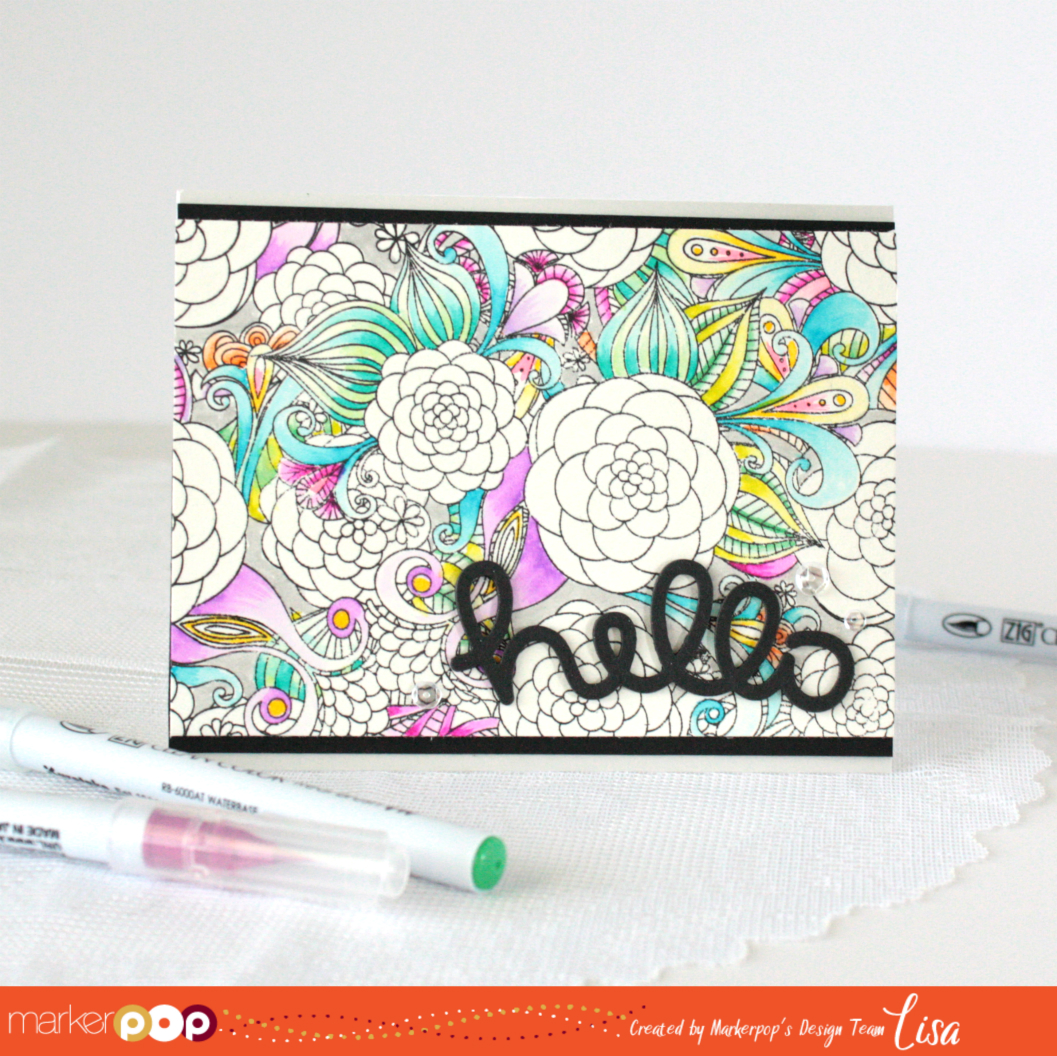
I wanted to create a scene in the center of the cut out of the card. To start the card, I stamped the planet images and colored them with the alcohol markers. The spaceman image is also stamped onto white cardstock, colored in, and cut out. I used a few different grays to color in the background of the scene.

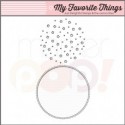
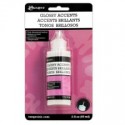
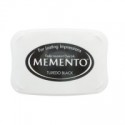
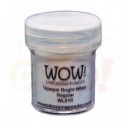
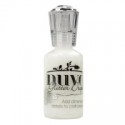
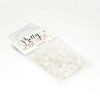
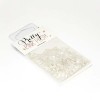
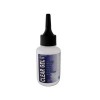
To add some additional elements to the card, I added glossy accents to the spaceman’s mask. I added “stars” to the scene, by adding enamel drops. The sentiment is stamped and embossed ink white on black cardstock. The cardstock is then cut out in a strip and attached to the card.

The following Chameleon markers were used to color in this card: RD2, RD4, VO2, VO4, OR3, OR4, YO2, YO3, CG5, CG8, BR2, PR4, BG4, BL3, BL6, BG4, PK3, NU1, NU2

Thank you for stopping by! Have a great day!

Jessi

Inlaid Die Cutting: A Treat For Your Eyes!

Written by lisascreativeniche. Posted in Eye Candy (Projects)

Hi!  It is Lisa here today and I have a fun card that not only looks beautiful, but can really play tricks on your eyes, check it out…

With the use of a technique called Inlaid Die Cutting I was able to add my sentiment in the middle of my image, while keeping the entire image intact!  It’s so cool, and I love the results every time I do it.  The trick to this technique is making sure you keep all of the little pieces that go back into the die cut.  I keep a piece of washi tape close by to attach those smaller cuts to, so that I can continue to work on the rest of my card without accidentally knocking one off.

Now the specific stamp set I used is by Winnie and Walter and is called Mini Scenery: Bed of Roses, and is currently out of stock, sorry!  But you are still able to put your name on the back order list if you wish, or there are other ways to achieve this same look.  Simply mask off a rectangle area, or any shape you wish, stamp the area with a background stamp and voila.  I then colored the image in with Spectrum Noir Illustrator Markers (Lilac HB1, Hydrangea HB2, Fruit Pink PP5, Denim TB3).  I love the dreamy color blend I was able to create with these markers.  Finally, I diecut the thanks by Lawn Fawn and adhered the word with foam adhesive over the negative cut.

Thanks so much for stopping by today and I hope you’ll give this technique a try!

Happy Crafting!


Supplies Used:

Thank You, with Tombow & Lawn Fawn

Written by Valerie Ward. Posted in Eye Candy (Projects)

I was THRILLED when I saw a couple weeks ago that MarkerPop (MP) is carrying Tombow Dual Brush Pens! You see, long, long ago, Tombows were the first coloring medium I ever used when I started stamping & coloring. I loved them then, but I stopped using them because Copics entered my world next and took over my heart, and also because MP didn’t carry them…BUT THEY DO NOW!! So this month’s Watercoloring focus gave me the perfect excuse to take out my Tombows again, and rekindle our relationship (lol)!

Here’s a great video by Tombow demonstrating different ways to use these markers:

For my card, I pulled out a lovely older Lawn Fawn set, Flutter By.

I stamped the images with Ranger Jet Black Archival Ink (available in this mini ink pads set) onto Tim Holtz Distress Watercolor Cardstock. There are many ways to color with these markers. For this project, I wanted bold color; so added the ink directly onto the paper, then used the Colorless Blender N00 to pull the ink out into the image which creates a lighter tone and shadowing effect. You can see this technique in this next Tombow video starting at 1:03:

When I was done coloring them, I die cut the images out. I decided to make thIs card a Thank You card, so I used the Lawn Fawn Thank You Border die for the sentiment. I cut that sentiment 3 times and glued them all together using my Fine Point 1mm X-Press IT Glue Pen to create a “thick” sentiment for added depth. I mounted the sentiment onto a banner cut from the Lawn Fawn Everyday Sentiment Banners die set.

The background paper is from My Favorite Thing’s 6×6 Itsy Bitsy Polka Dots Paper Pack, and I die cut it using the largest die from Lawn Fawn’s STAX Scalloped Rectangle Cut Set

For some sparkle, I painted the butterfly with my Zig Clear Wink of Stella Brush Glitter Pen Marker. Then I added Pretty Pink Posh Sparkling Clear Cupped Sequins in 4mm, 6mm, and 10mm.

I will definitely be using these markers again! FYI, you can get them in Sets of 10, or in singles. Thanks for stopping by, and I hope I’ve encouraged you to check these beauties out!

*****Don’t forget to enter into our Watercolor Giveaway this month! Check it out for all the deets!*****


Watercoloring with Zig Clean Color Real Brush Markers

Written by lisascreativeniche. Posted in Eye Candy (Projects)

Hi!  It’s Lisa here with you today and I have a Hello card that features one of the My Favorite Things Background Stamp Sets and Zig Clean Color Real Brush Markers.  These markers are fabulous for coloring and watercoloring, and I find the colors to be so vibrant just take a peek…

This background stamp set is called Floral Fantasy, and it is exactly that!  I love all of the details and zen tangle look to it!  For my card I opted to color everything but the flowers.  Kind of backwards, huh? hehehe!  I thought it might be fun to make all of the background images front and center, and I do love the way it turned out.  Here is a look at what it first looked like before I trimmed the image down for the needs of my card…

For my sentiment I decided to die cut the hello from Lawn Fawn three times, adhering them all together and adding some sparkle to the top layer with a Spectrum Noir Clear Glitter Pen.

I then finished my card off with a few layers of cardstock panels and some Pretty Pink Posh Clear Sequins.

Thanks so much for stopping by today and Happy Crafting!

Supplies Used:

Grab Our Button

i Luv MarkerPOP
Show some MarkerPOP LUV,

add this button to your blog.

I’m a Winner!

I'm a Winner on MarkerPOP Blog
Copy and paste the code under the badge

to claim your bragging rights!

I’ve Made Top 3!

WoHooooo I made it to the Top 3 on MarkerPOP Blog
Copy and paste the code under the badge

to claim your bragging rights!

Visit Us!

MarkerPOP Free Shipping MarkerPOP Boutique
18299 Mount Baldy Cir
Fountain Valley, CA 92708
Toll Free: 1-855-312-1222
Phone: 1-714-249-1222