$10 Gift Voucher - Leave a Comment

Posts Tagged ‘Kelly’

Happy Birds on a Wire

Written by Kelly Latevola. Posted in Eye Candy (Projects)

Hello Crafters!

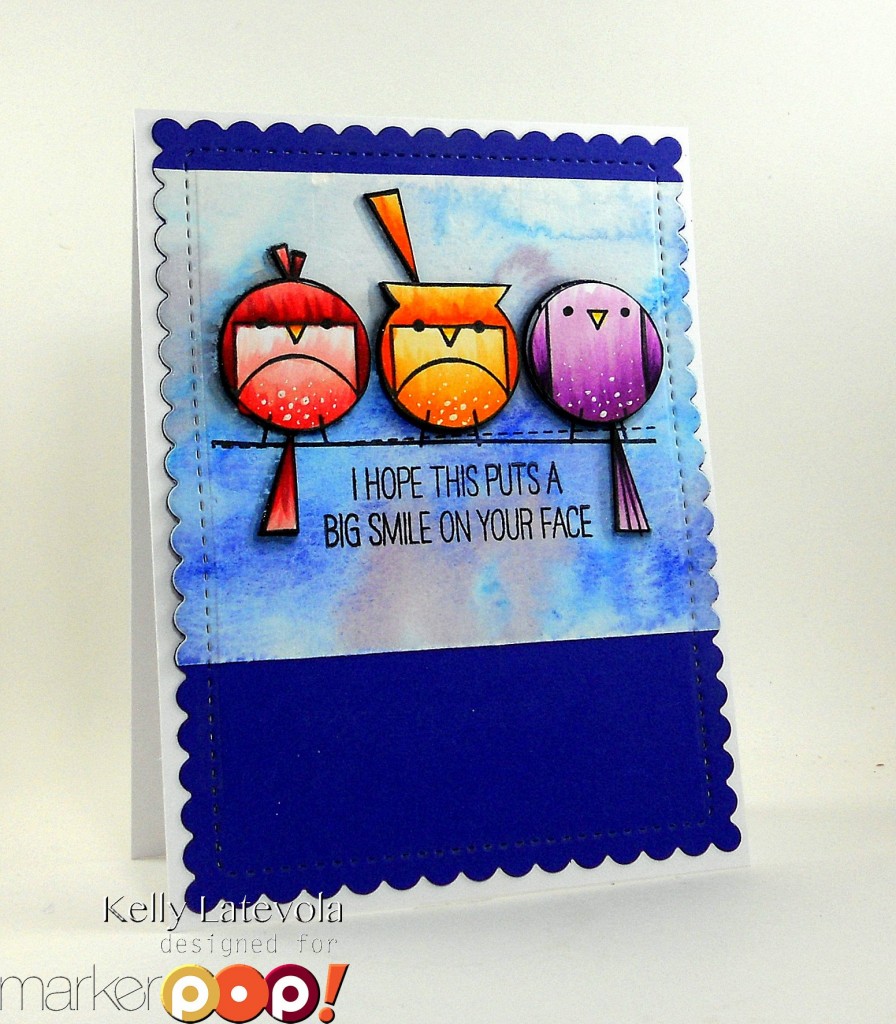
Have you seen these adorable little birds from WPlus9?!

DSCN2931

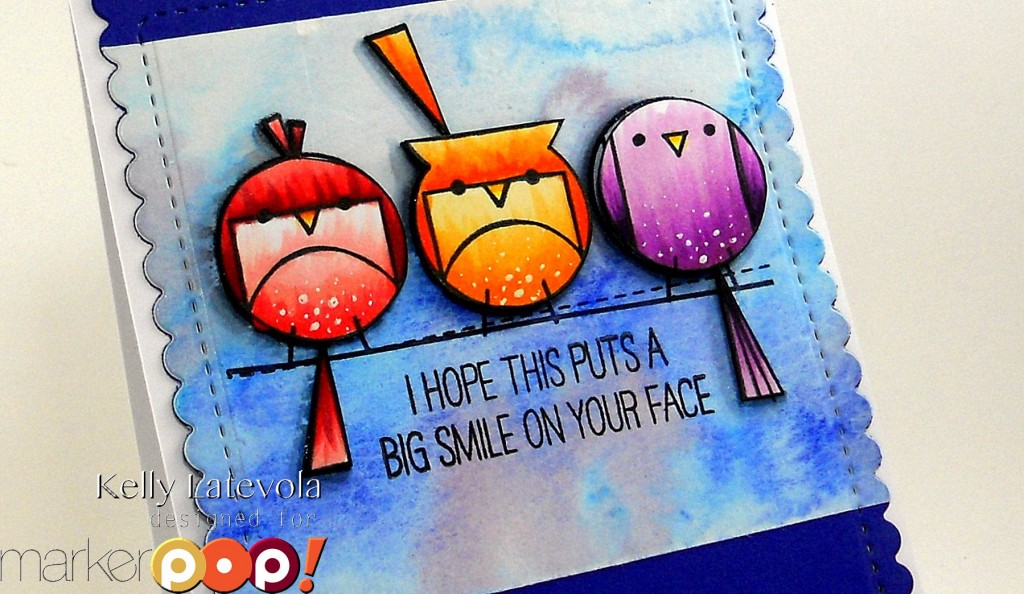
You can’t help but smile when you look at them. I couldn’t wait to get these cuties on a card. I picked them for my Periscope last week and received a request from a follower to share it. Since it includes lots of Copic coloring I thought maybe you guys would want to see it too!

I started by cutting a strip of watercolor paper and creating a subtle background. I used Windsor & Newton watercolors but you could easily get the same results with Distress inks in Salty OceanBlueprint Sketch, and Dusty Concord. After it was dry I stamped the wire and the birds in a black archival ink. This way I could adhere my Copic colored birds on top and have no issues lining them up. I adhered the watercolor piece to some blue violet card stock and ran it through my cuttlebug with the ruffled edge die from WPlus9’s Sunshines Layers Die.

DSCN2932

I stamped the birds on a separate piece of cardstock, in Memento Tuxedo Black ink, colored them up and trimmed them out. The Copic Markers I used are: R32, R35, R29, R59, Y08, Y38, Y04, Y09, V00, V12, V04, and V09. I added some white spots to their bellies with a white gel pen and outlined them with a black pen. After I trimmed them out I used a Memento Tuxedo Black pen to run around the edges and give it a finished look. After I stamped my sentiment I popped them up on top with some foam tape.

Thanks so much for visiting!

mp name

I Just Love You

Written by Kelly Latevola. Posted in Eye Candy (Projects), Tutorials, Videos

Hello Crafters!

I’m absolutely in love with the new release from WPlus9 aren’t you?

It’s finally being released today and should be available in the store shortly.

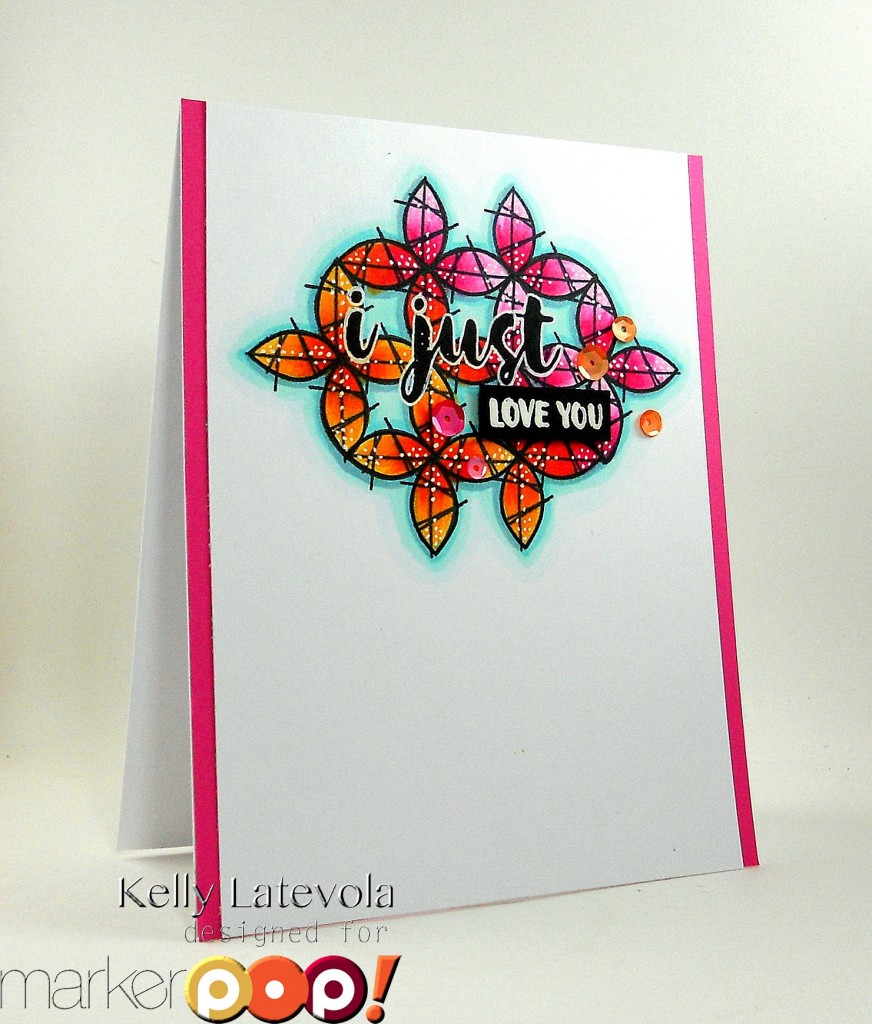
One of the new sets, Happy Birds, has such a fun whimsical feel but I wanted to use it a bit differently.

DSCN2875

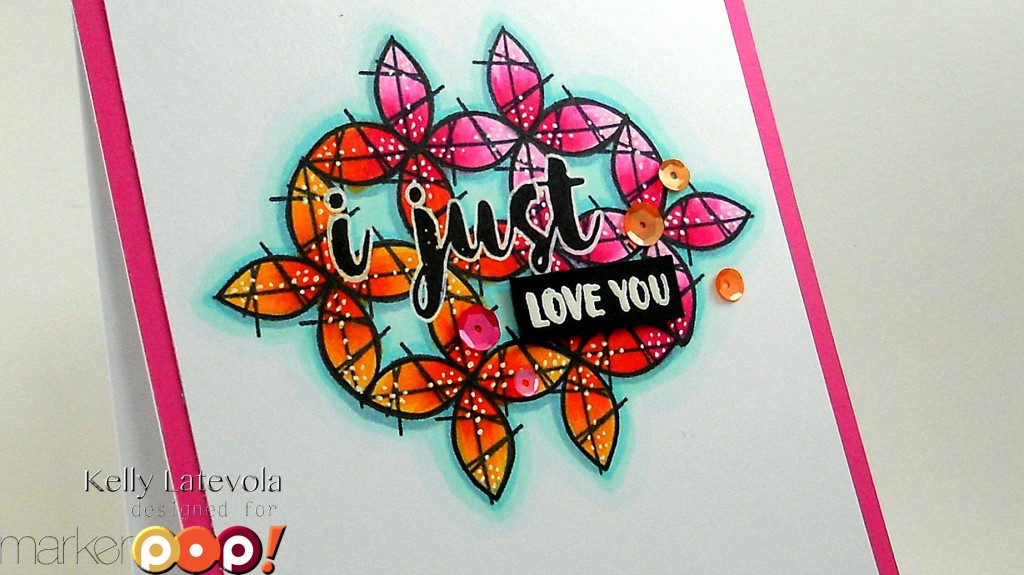
Instead of using the leaf as a leaf I decided to create my own patter with it. I think it works perfectly as a focal point don’t you?

You can see how it all came together in the video below.

It was pretty quick to get it all together. I think if you switched up the colors you could totally rock this as a masculine card too! The sentiment is from the That is All set, and I’m telling you you’re going to see it everywhere! The sentiments are just too cute 🙂

DSCN2876

The Copic Markers I used are: BG0000, BG11, BG45, Y38, YR04, YR09, RV02, RV04, RV09 and C3.

Thanks for visiting today!

Kelly

Sending Joy: A Card Set

Written by Kelly Latevola. Posted in Eye Candy (Projects)

Hello Crafters!

Seeing as how it is the Holiday season there are tons of opportunities to share kindness. Last week me and a few co-workers packed up some shoe boxes to send out to kids for Christmas. These show boxes couldn’t be sent off without cards of course 🙂

I was looking for something that I could create a gender neutral design with and I found my answer with Holiday Cheer from WPlus9

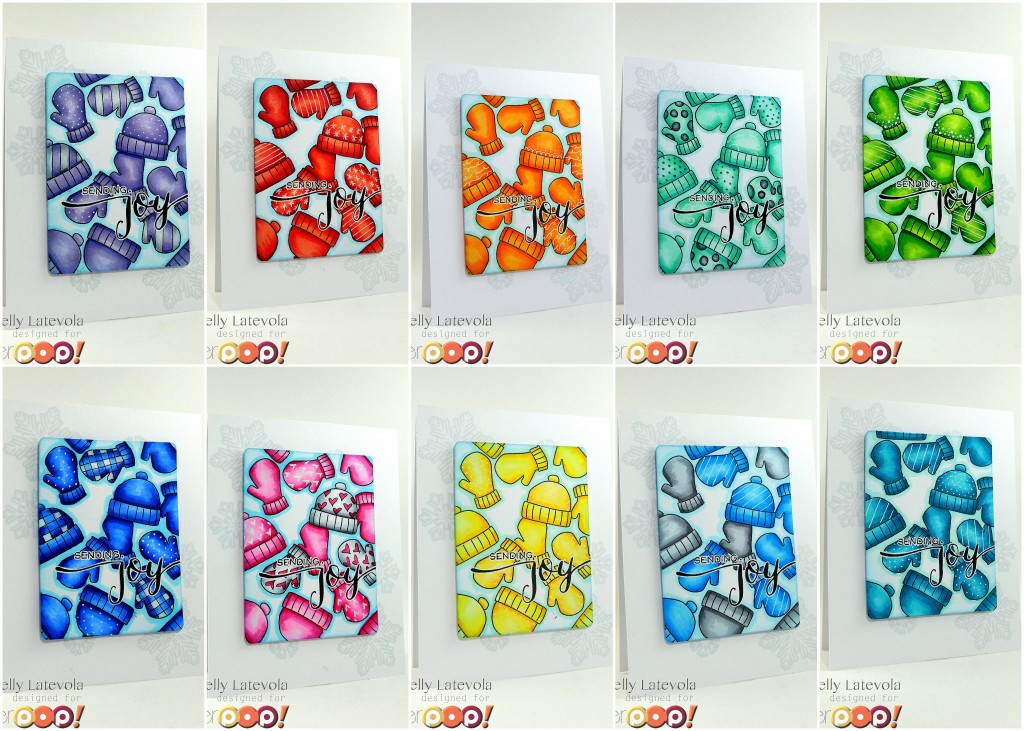
I made ten cards, one to go with each box.

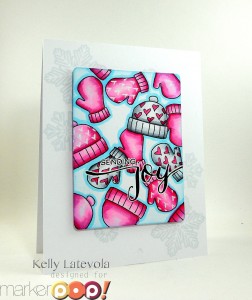
2015-12-07 Card

I used my MISTI to make the multi stamping super easy. Don’t get me wrong making ten Copic colored cards is still time consuming but at least I didn’t have to stamp each individual mitten and hat.

I took individual shots of the cards, too:

Untitled

I used a white gel pen  and a Copic Multiliner to add in details to make each set different. Open stamps like these are perfect for dressing up.  From left to right I used Copic Markers R32, R35, R37, R29, Y38, Y04, Y09, R29, Y11, Y02, Y19, YG01, YG03, G05, G28.

Untitled

Again left to right: G00, BG34, BG15, BG45, BG05, BG07, BG49, B02, B04, B06, C1, C3, C5, B32, B24, B26, B28.

DSCN2633 DSCN2640

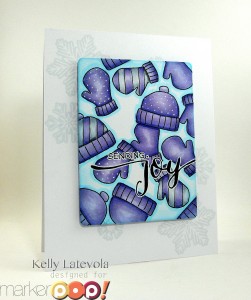
Lastly I used BV11, BV02, BV04, C1, C3, C5, RV02, RV55, RV09.

I added some snowflakes from WPlus9 onto my cardbase with their Fairy Dust ink for some interest. The sentiment is from an older WPlus9 set called Hand Lettered Holiday. I love it just as much as I love the new Christmas Greetings, which could easily be swapped out for the one I used. I popped up each panel with some craft foam and outlined the sentiments to finish them off.

I hope you guys enjoy them as much as I  know the kids will their box of goodies.

Thanks for dropping by!

Kelly

MarkerPop! Challenge #83: Happy New Year!

Written by Valerie Ward. Posted in Challenges, Eye Candy (Projects)

Hi Crafters!! It’s time for our next Challenge, and the theme is Happy New Year!

MarkerPOP! Challenge #83: Happy New Year!

THE CHALLENGE: Happy New Year!

Create a project using your Copics or any of the markers that we carry!

You may play along with other challenges, but excessive challenge pile-ons (more than 10) will result in disqualification for our amazing prize. As always, have fun creating!
For the prize, we’ll do the same thing we did last time: a Mystery Box filled with crafting goodies! 
MarkerPOP! Prize

One entry will be chosen at random to receive our prize. Three additional entries will be chosen for the ‘Top 3′ based on their amazing coloring skills. The prize winner and top three can all proudly post their brag buttons on their blogs for the world to see!

Entries are due by Sunday, December 13, 2015 at noon CST.  Winner will have TWO weeks to claim their prize.

**International winners will be responsible for shipping costs if they choose to claim their prize**

___________________________________________________________________________________

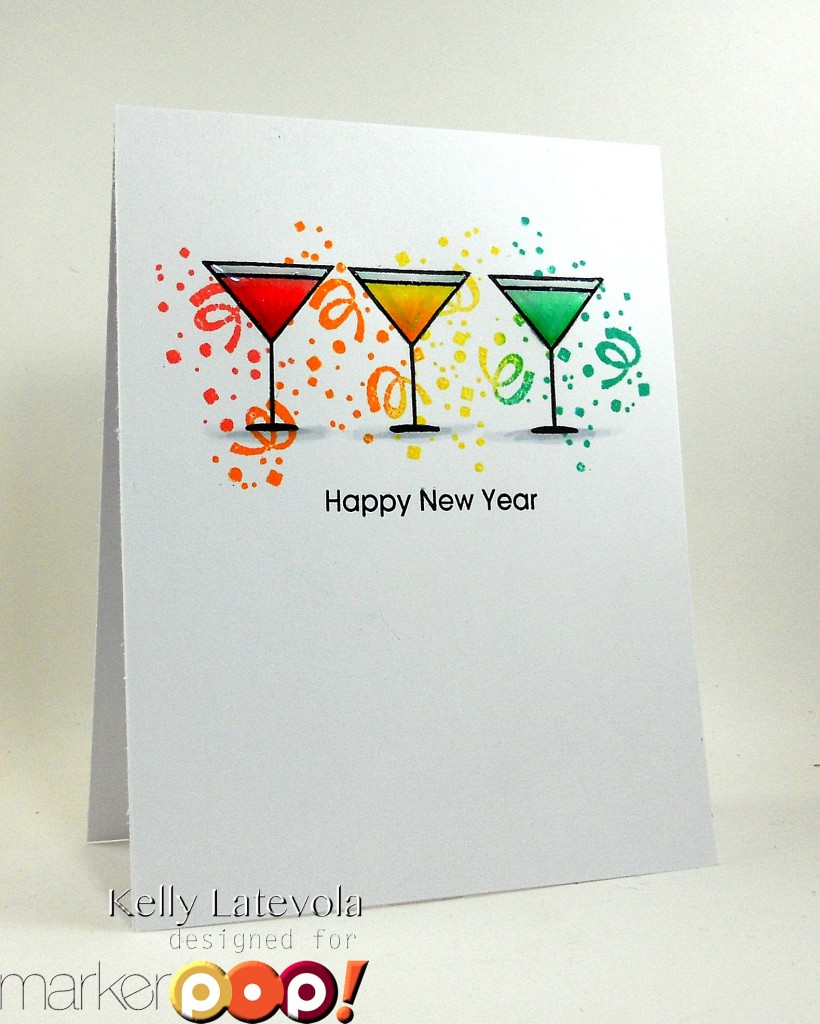
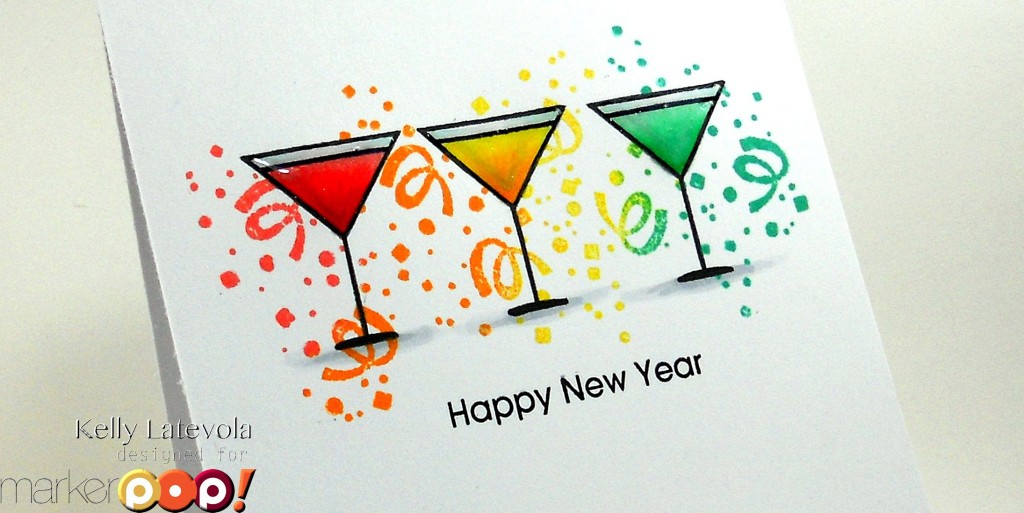
As soon as I saw Paper Smooches Tis the Season set I knew that cute little drink glass would be perfect for a New Year’s card!

Paper Smooches

I started by stamping the glass 3 times on my cardbase. I stamped them again on a post it note to create masks. After I masked the cups I used the confetti stamp from the same set to create a rainbow background. A lot of the time I use distress inks to create fun ink blended backgrounds or watercolor but don’t forget you can stamp with them too! I used Abandoned Coral, Carved Pumpkin, Mustard Seed, and Lucky Clover. In order to create a gradient effect I inked up the stamp with half of one color and half of the next before stamping. I think the effect is so fun!

Paper Smooches
I colored the cups using Copic Markers. The colors I used are: R32, R35, R37, Y02, Y08, Y38, G00, G02, G05, C1, and C3.  I used the C markers to create some light shadows and to ground my cups. The sentiment is from another Paper Smooches set, Holiday Cheer. I just masked off the “and a” before I inked up my stamp 🙂 I outlined all the cups using my Copic Multiliners. I covered those delicious beverages in a coat of Clear Wink of Stella and topped that off with some Glossy Accents.

Kelly


Grab Our Button

i Luv MarkerPOP
Show some MarkerPOP LUV,

add this button to your blog.

I’m a Winner!

I'm a Winner on MarkerPOP Blog
Copy and paste the code under the badge

to claim your bragging rights!

I’ve Made Top 3!

WoHooooo I made it to the Top 3 on MarkerPOP Blog
Copy and paste the code under the badge

to claim your bragging rights!

Visit Us!

MarkerPOP Free Shipping MarkerPOP Boutique
18299 Mount Baldy Cir
Fountain Valley, CA 92708
Toll Free: 1-855-312-1222
Phone: 1-714-249-1222