You COLOR My World
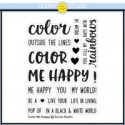
Hello, MarkerPOP friends! It is Jessi here! It seems like everywhere I turn, I am running into projects that include rainbows. When I first saw the Color Me Happy stamp set from Sunny Studios, I could not wait to get me hands on it!
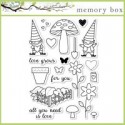
Today I am working with the Color Me Happy stamp set and coordinating die:

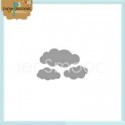
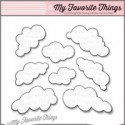
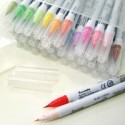
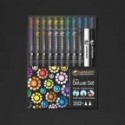
I took a collection of ZIG Clean Color markers and did a swatch of each color onto some watercolor cardstock. I used a rainbow die and cut it out of each color. I grabbed one piece of each color to form the rainbow. I also used a variety of cloud dies and attached three of them across the card.

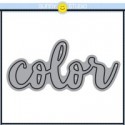
To complete the card, I used the coordinating die and used black cardstock to form part of the sentiment. I used stamped words to complete the sentiment.
ZIG Clean Color Markers used for this card: 022, 032, 047, 050, 080

Thank you for stopping by!