$10 Gift Voucher - Leave a Comment

Posts Tagged ‘Distress Markers’

Glimmer Paste on Dark Cardstock

Written by lisascreativeniche. Posted in Eye Candy (Projects), Uncategorized

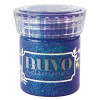
Hi!  It is Lisa here today and I am sharing what I think is a scrumptious and pretty card!  I was so excited with the way the glimmer paste by Nuvo shows on dark cardstock, that I seriously want to cover everything with this stuff! Take a peek at how I mixed this paste with lots of Altenew goodies…

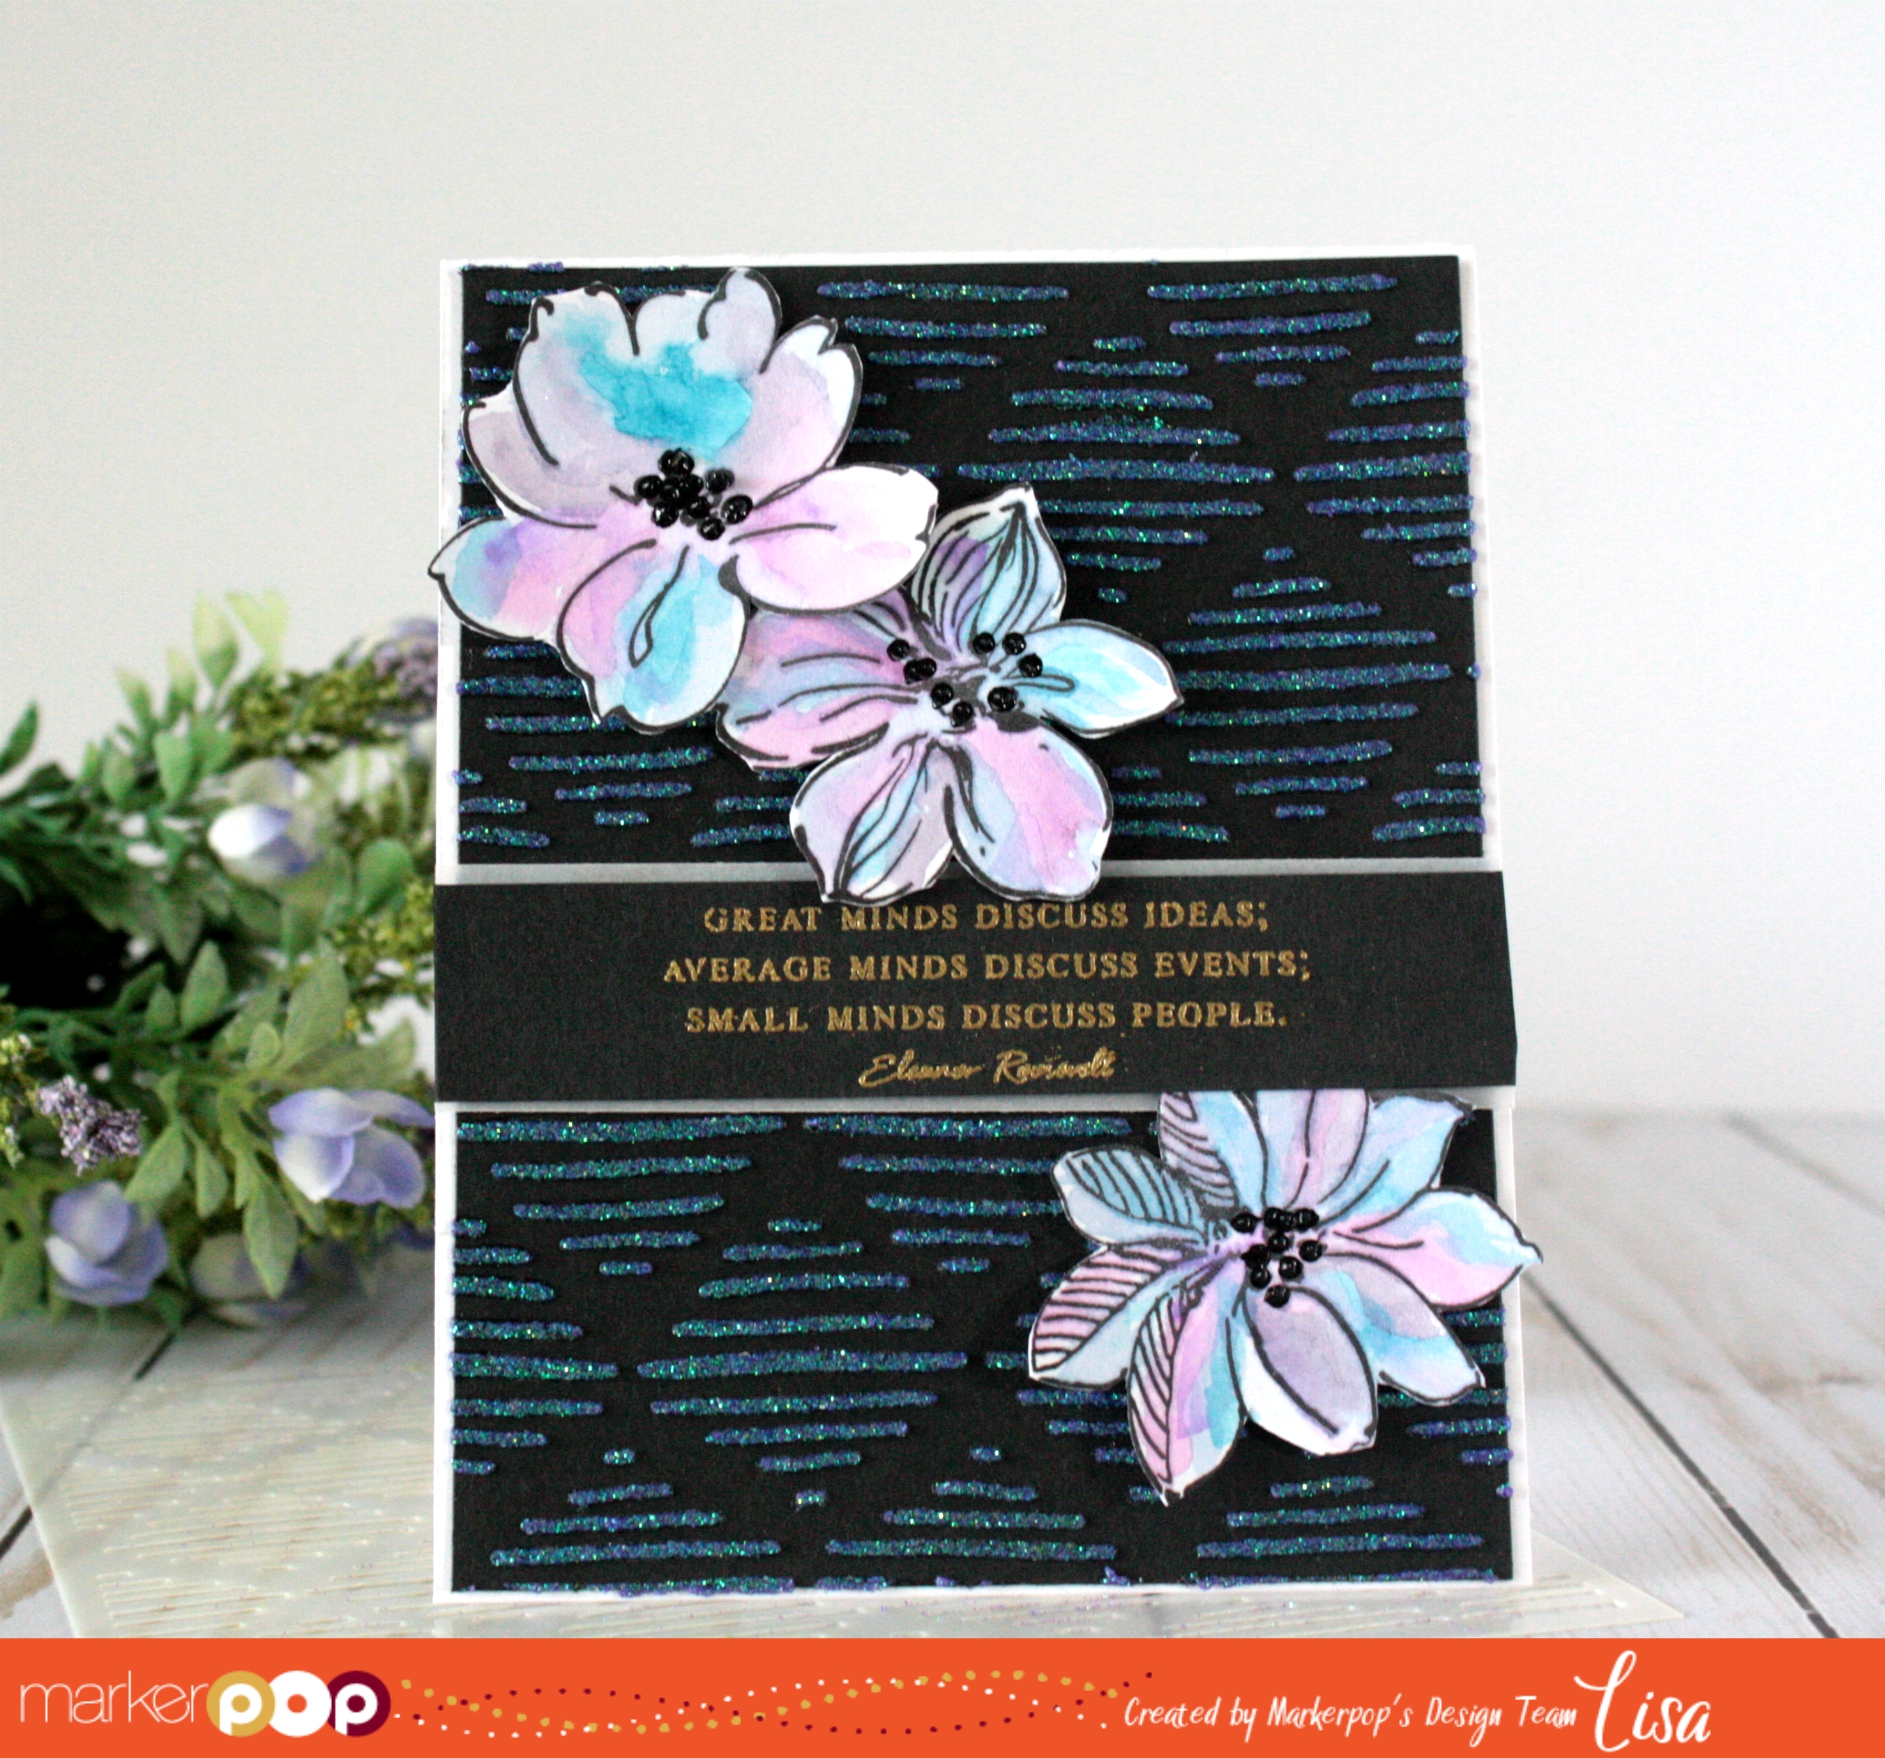
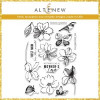
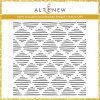
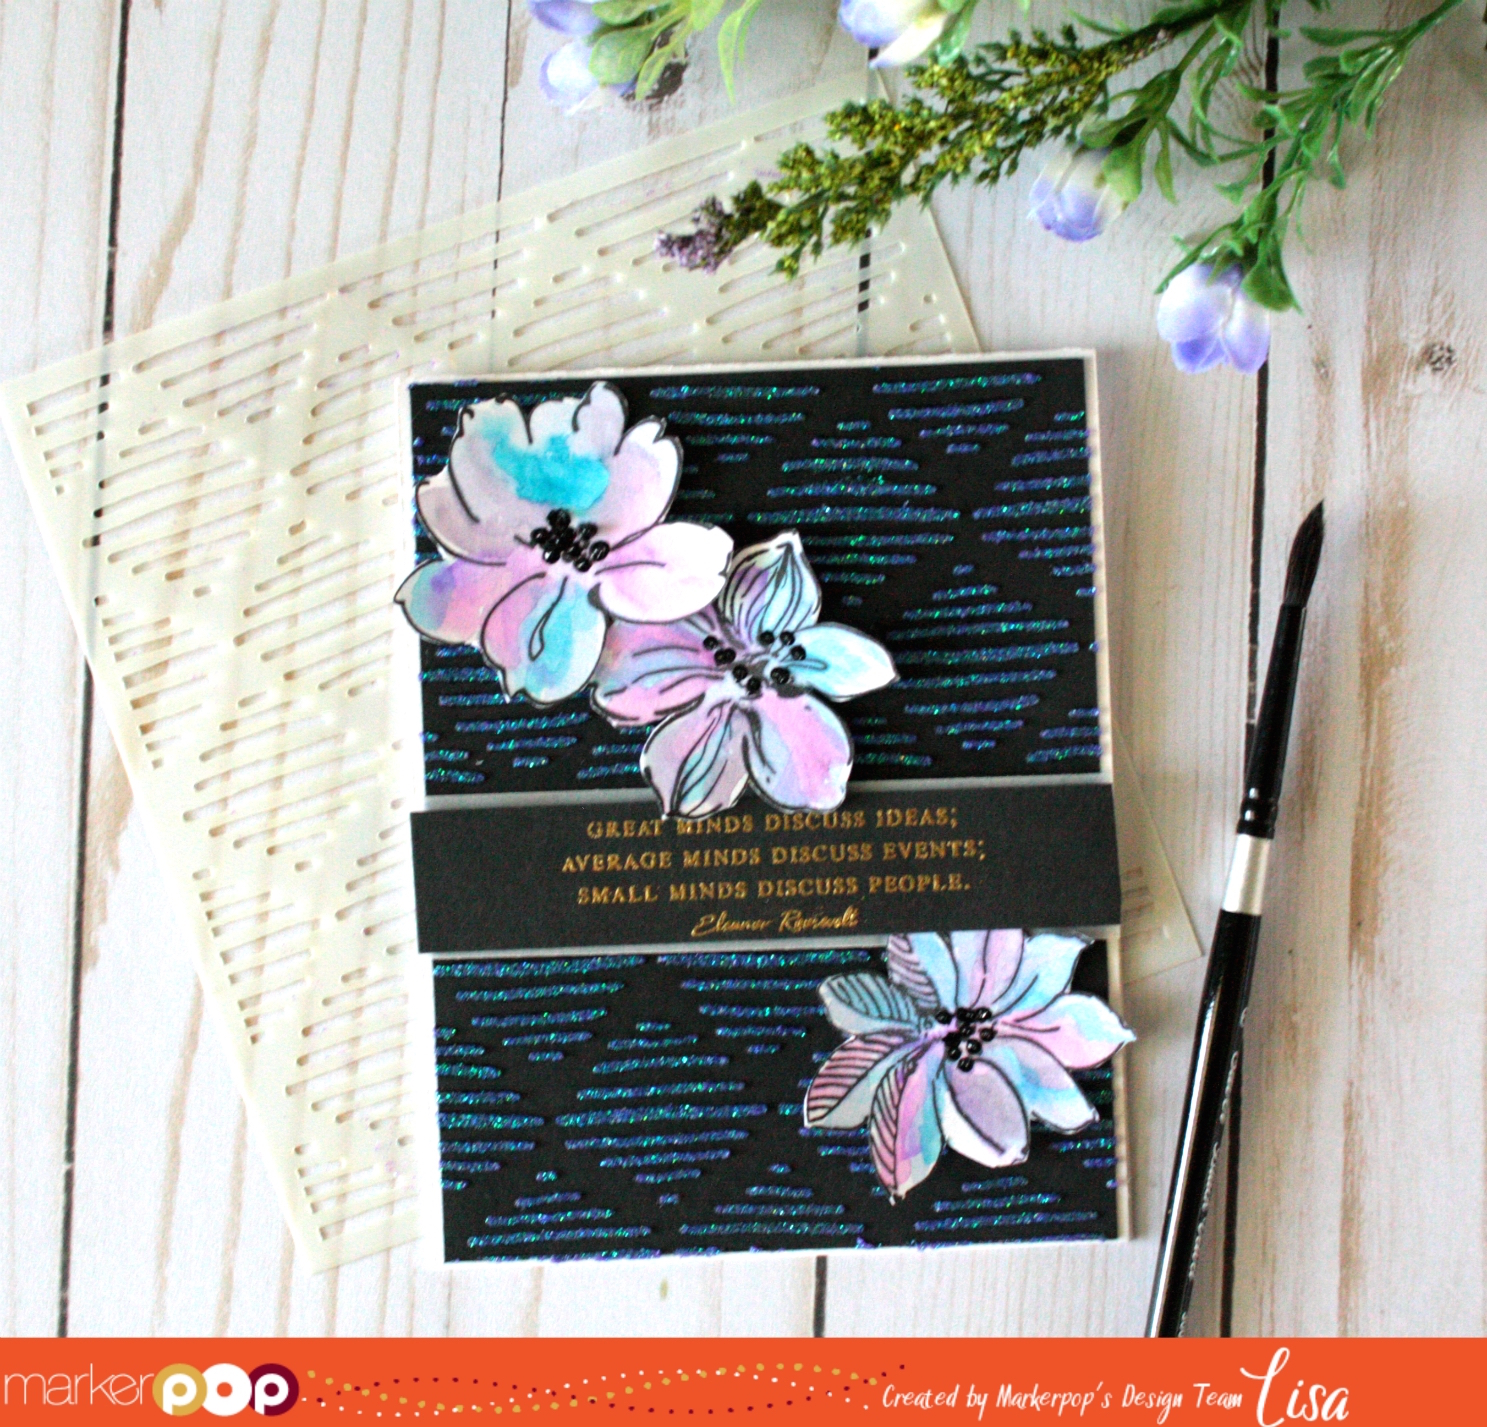
To create this card I started by going over the Altenew Stencil: Sketched Lines on black cardstock with the Glimmer Paste.  I then set this off to the side and stamped and embossed my sentiment from the Altenew Beautiful Quotes Stamp Set in gold.  Next, I stamped flowers onto watercolor cardstock from the Wild Hibiscus Stamp Set.  To watercolor the flowers I used a mix of Distress Markers and Distress Oxide Ink.  I decided to fussy cut them out and added some Nuvo Drops to the centers.

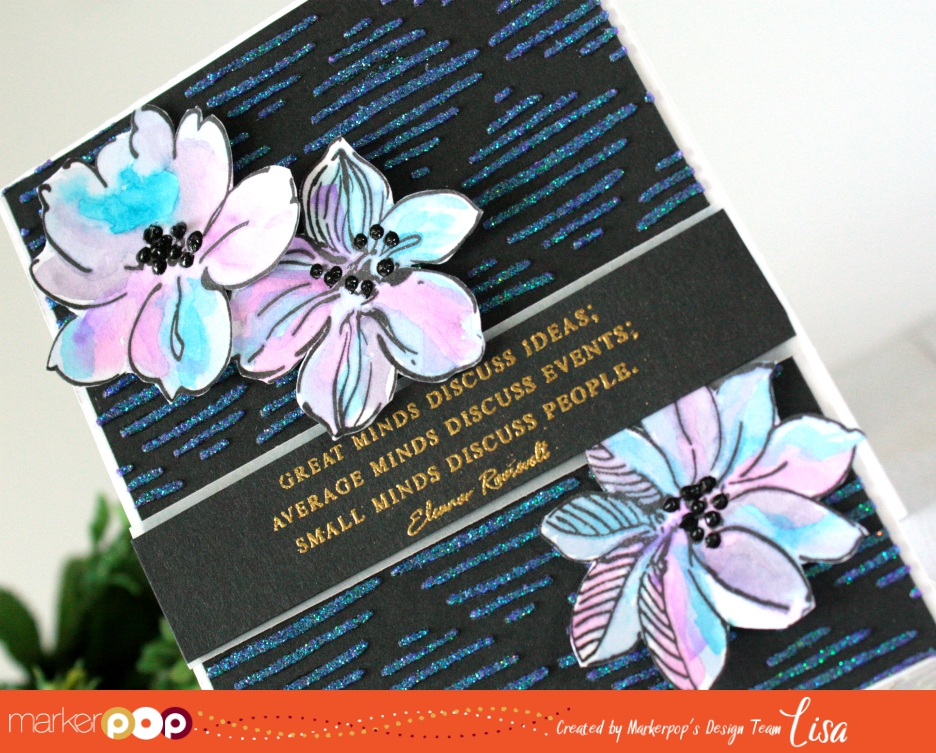
Finally, I layered all of these up onto my cardbase.  Isn’t it just so pretty?!  Sometimes you just can’t help but feel excited when an idea turns out just as you were hoping.  I hope to see you share some of your new creations with us in our latest challenge featuring Christmas in July!

Happy Crafting!

Supplies Used:

Sending Birthday Wishes

Written by Holly Endress. Posted in Eye Candy (Projects)

Hello, everyone … I hope you are having a Great Week so far! Today I’m sharing a cute card featuring new products from Waffle Flower Crafts.

I started by die cutting a piece of Bristol cardstock and then I created a sky background with the MFT Cloud Stencil and some Salty Ocean Distress Ink. I adhered the panel to a A2 sized Black card base. I stamped the images and sentiment banner from the Waffle Flowers Crafts new Across the Miles Stamp set with some VersaFine Black ink. Then I colored the images in with some Distress Markers and a Waterbrush.

I used the following Distress Markers:

Abandoned Coral, Dried Marigold, Mustard Seed, Twisted Citron, Tumbled Glass, Shaded Lilac, Tea Dye, Vintage Photo & Hickory Smoke.

Once the images were dry I used the coordinating die cuts to trim them out. I adhered each image to the front of the card with some foam adhesive for some height. This is a really a Cute set, if you haven’t checked out Big Bear and Bird you can find more info on them here.

Don’t forget to join in our Bi-Weekly Challenge for a Chance to Win our Summer Fun Prize Pack!!


Reach For The Stars With WPplus9

Written by lisascreativeniche. Posted in Eye Candy (Projects)

Hello!  It is Lisa here with you today, and I have a card that I think would work perfectly for any Grad young or old… or anyone who might need a little pick me up.

I just love these sweet images in the WPlus9 Design Studio Little Dreamers onto Ranger Watercolor Cardstock.  To create my card I started by stamping the star image first as I wanted it in the forefront. I then masked it off and stamped the little bear hanging off the side.  To color the bears and create a background I used Distress Markers to watercolor with.  While the panel was still wet I flicked some white onto it to create an outer space look.

Once the panel was completely dry I die cutted it with the Lawn Fawn Stax Small Stitched Rectangle Cuts.  I added some star sequins to finish the panel off before adhering it to a bright yellow and white stripe patterned paper.

When I watercolored with the Distress Markers I colored them first onto my clear stamping blocks and picked the colors up with water and a brush.  I hope to see you join us in our latest challenge for a chance to win an amazing prize!  And don’t forget to check out our latest giveaway too!

Thanks so much For stopping by!

Happy Cafting!

Supplies Used:

Welcome Baby!!

Written by Holly Endress. Posted in Eye Candy (Projects), Videos

Happy Tuesday everyone… I hope you all had a great Holiday weekend. Today I have a new video featuring a card using the Adorable Itty Bitty Welcoming Committee set from Neat & Tangled.

I started with a piece of Distress Watercolor Cardstock and traced the inside of a Stitched Oval Scalloped Edge Frame die from MFT with a pencil. Then I added some Salty Ocean and Mowed Lawn Distress Inks with a Paintbrush and some water. Once the area with dry I die cut the panel with the Stitched Rectangle die from the MFT Blueprints 15 die-namics set. Then I adhered the panel to a Turquoise A2 size card base. I added the Scalloped Oval frame which I die cut from some Neenah Solar White card stock. Then I stamped all the images from the Itty Bitty Welcoming Committee set onto a piece of Distress Watercolor Cardstock using VersaFine Black Ink. I colored the images in with Distress Markers and a paint brush. I used the following Markers:

Tumbled Glass, Mustard Seed, Mowed Lawn, Carved Pumpkin, Antiqued Linen, Tattered Rose, Spun Sugar, Pumice Stone and Wild Honey.

Once the images were dry I used the coordinating dies to cut them out and I adhered them to the card front. I stamped the sentiment using the Mini Misti and VersaFine Black Ink. I added some Gold and Clear Wink of Stella to parts of the images. This is a Fun set perfect for all Occasions.

You can see more details on how I created this card in the video below… Thanks for stopping by today! Don’t forget to enter our Copic Sketchbook Giveaway, find all the details here.


Grab Our Button

i Luv MarkerPOP
Show some MarkerPOP LUV,

add this button to your blog.

I’m a Winner!

I'm a Winner on MarkerPOP Blog
Copy and paste the code under the badge

to claim your bragging rights!

I’ve Made Top 3!

WoHooooo I made it to the Top 3 on MarkerPOP Blog
Copy and paste the code under the badge

to claim your bragging rights!

Visit Us!

MarkerPOP Free Shipping MarkerPOP Boutique
18299 Mount Baldy Cir
Fountain Valley, CA 92708
Toll Free: 1-855-312-1222
Phone: 1-714-249-1222