$10 Gift Voucher - Leave a Comment

Posts Tagged ‘Copic Markers’

Spotlighting Technique: Fun and Eye Catching

Written by lisascreativeniche. Posted in Eye Candy (Projects)

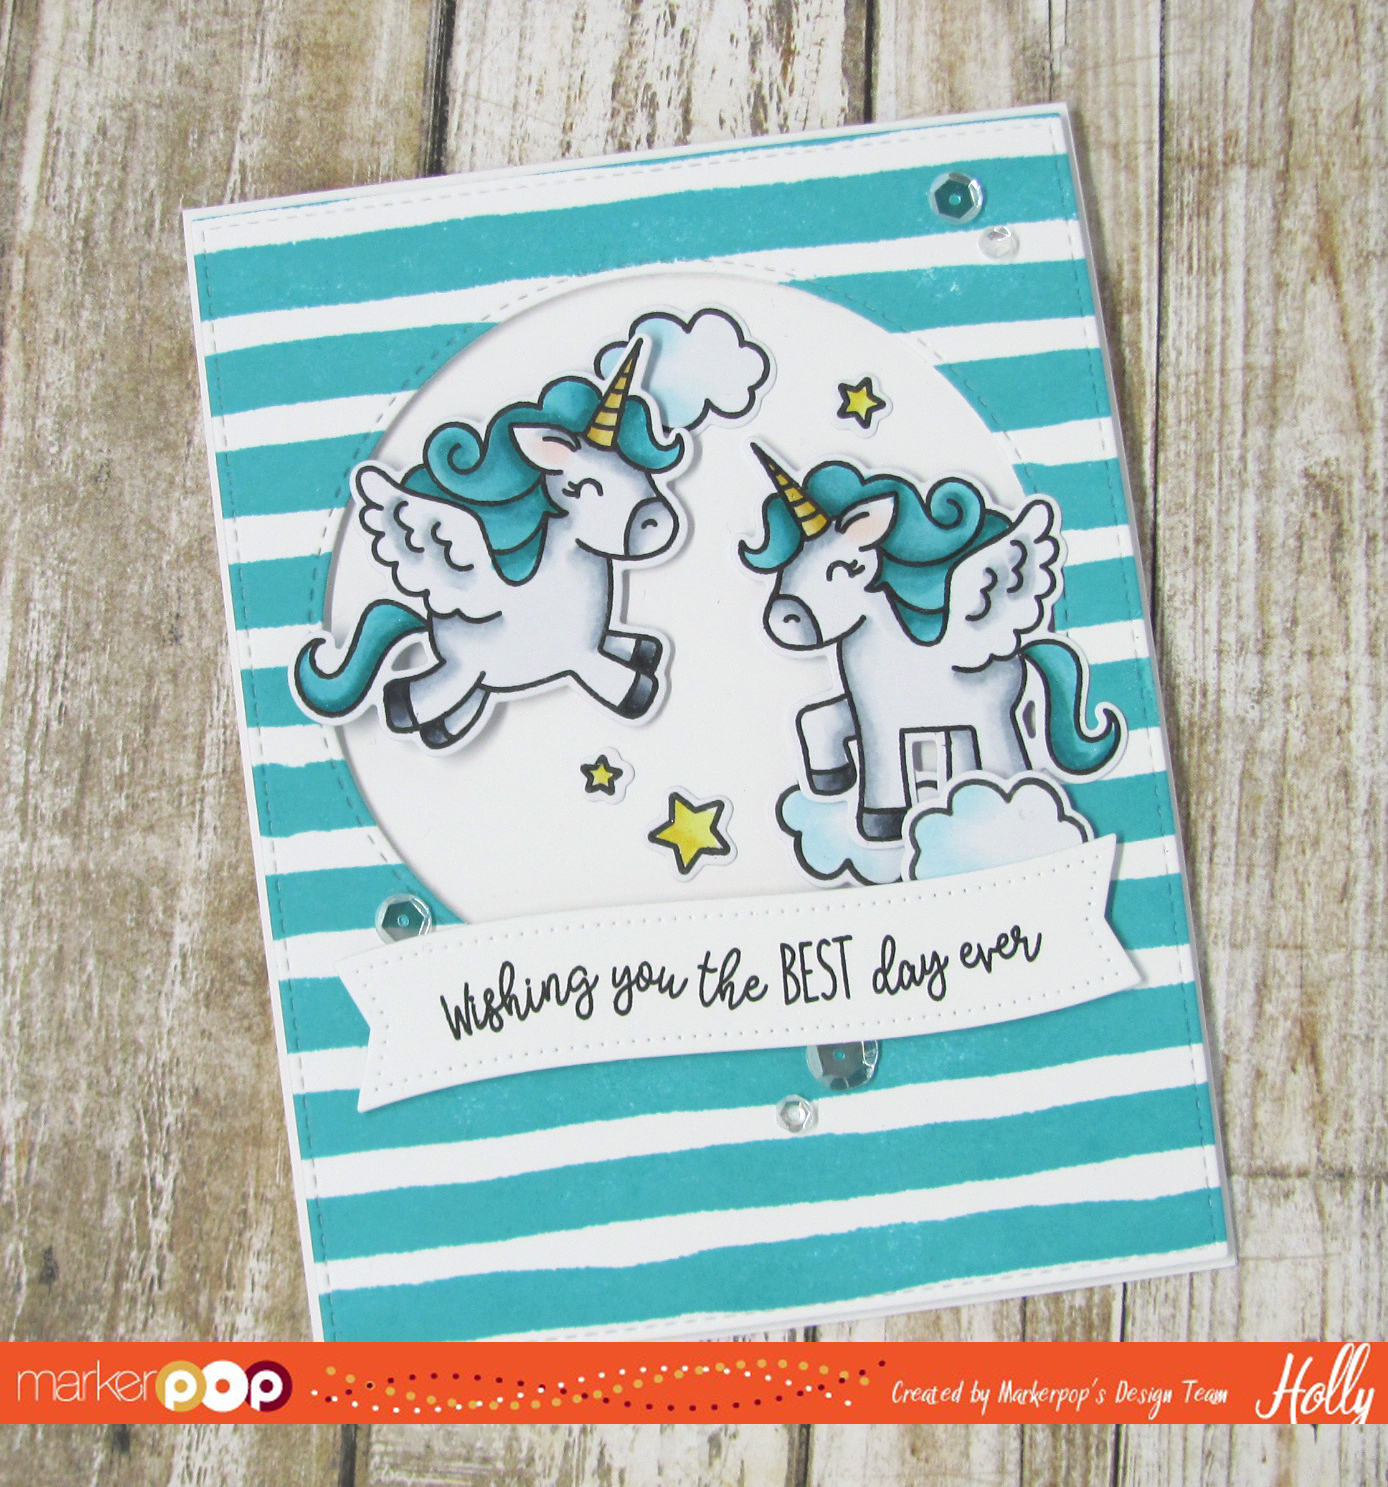
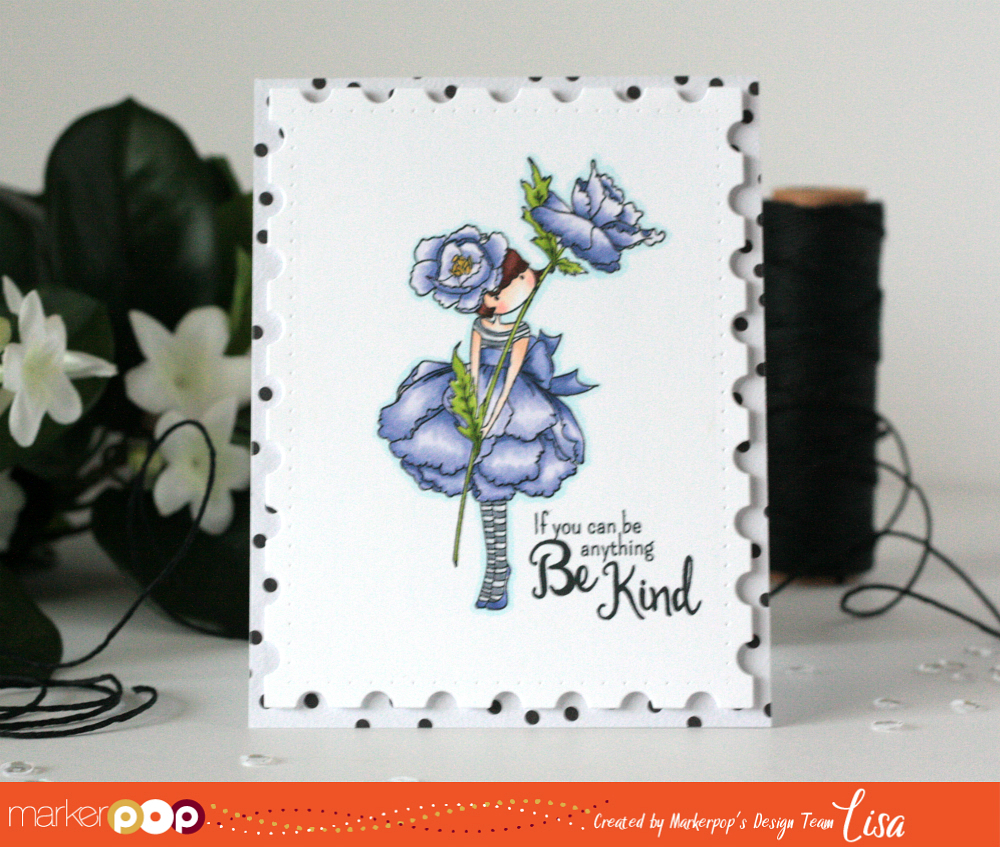
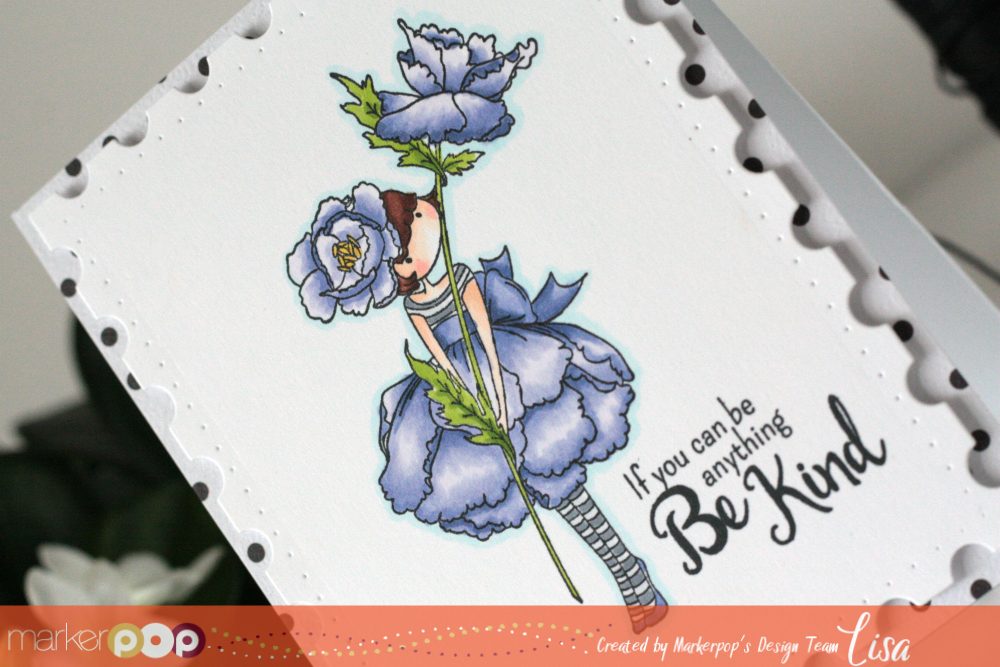
Hi!  It is Lisa here with you today and I have a fun technique to share with you using a slightly older Lawn Fawn set, but can be used with any stamps you have!  The technique is called spotlighting.  Many of you may already know what this means, but for those who don’t it means there is a focus of colors in one specific area while the rest of the card is monotone.


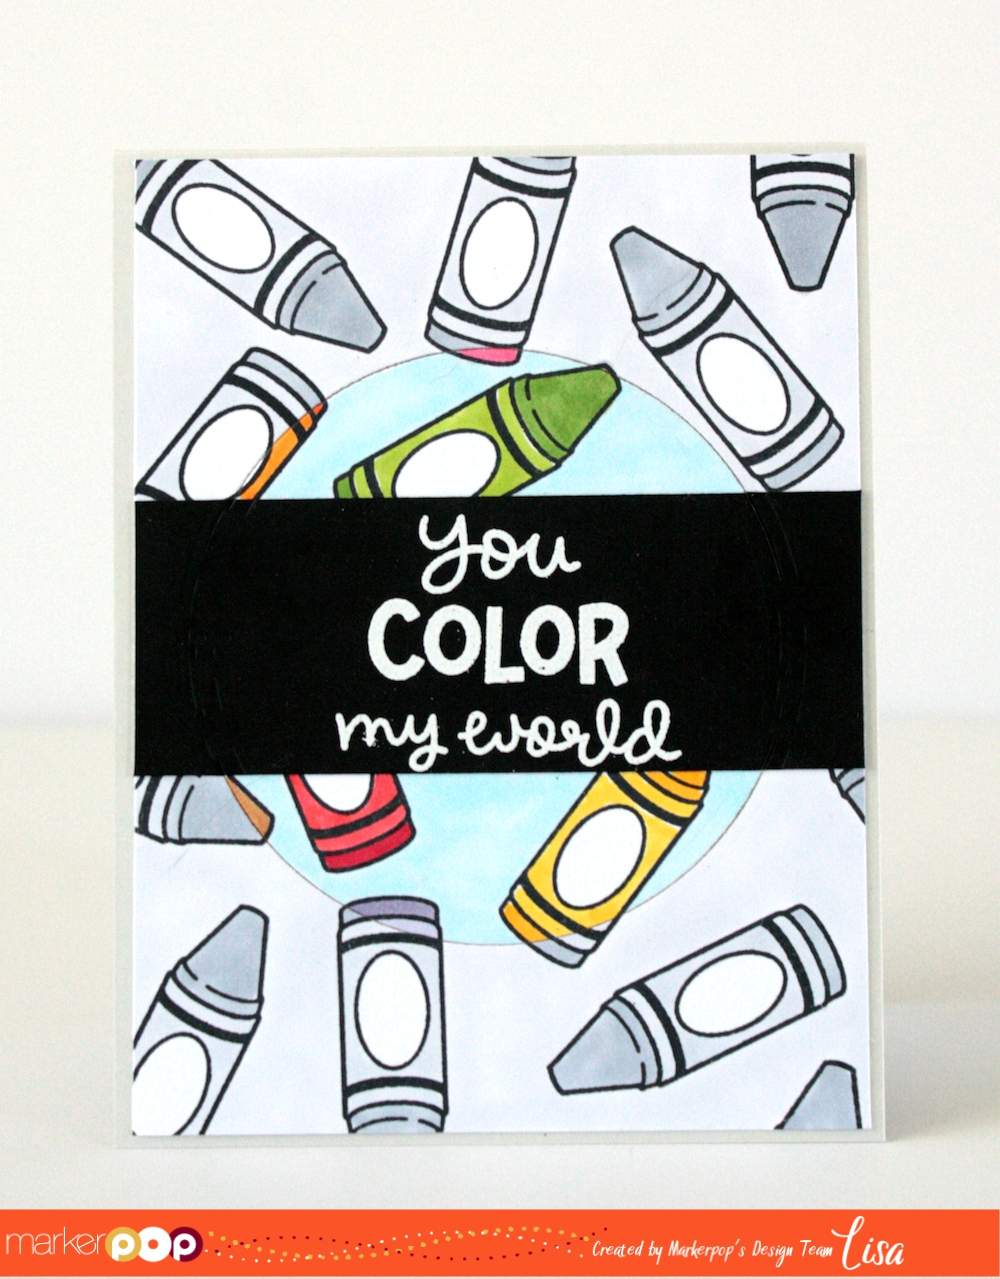
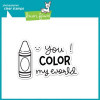
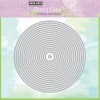
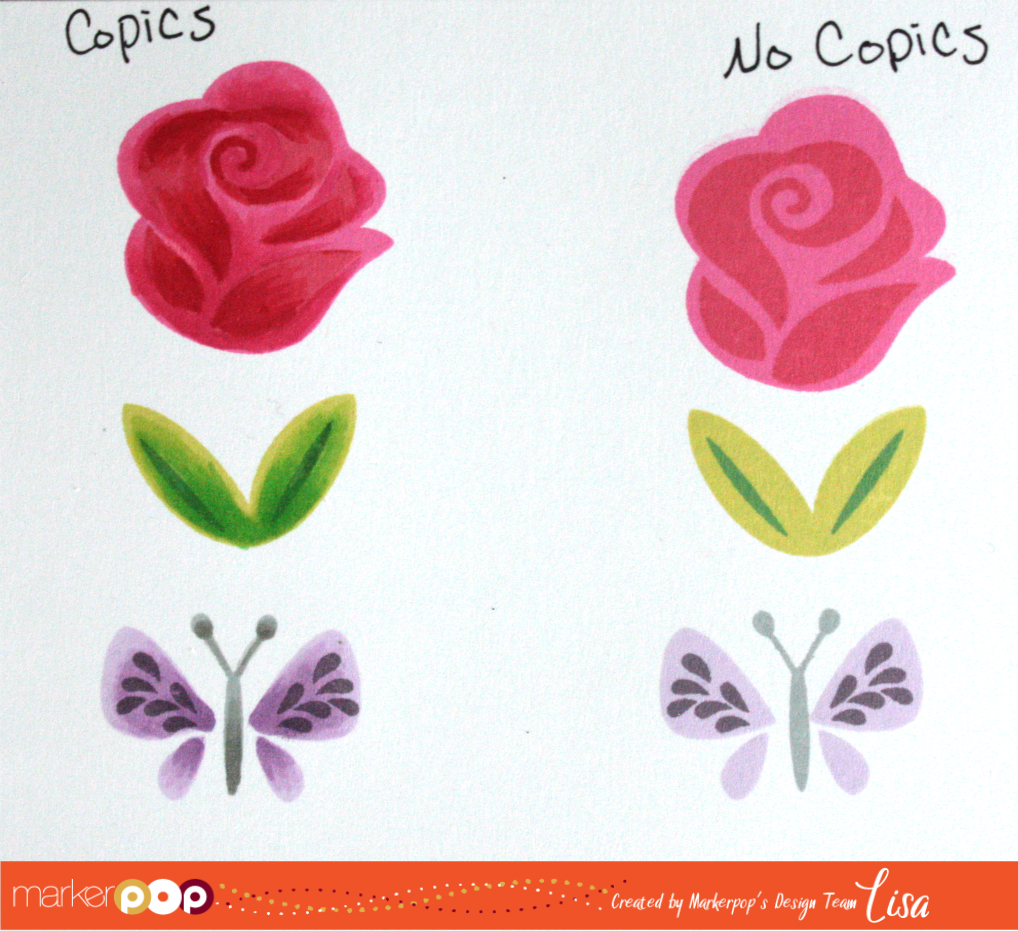
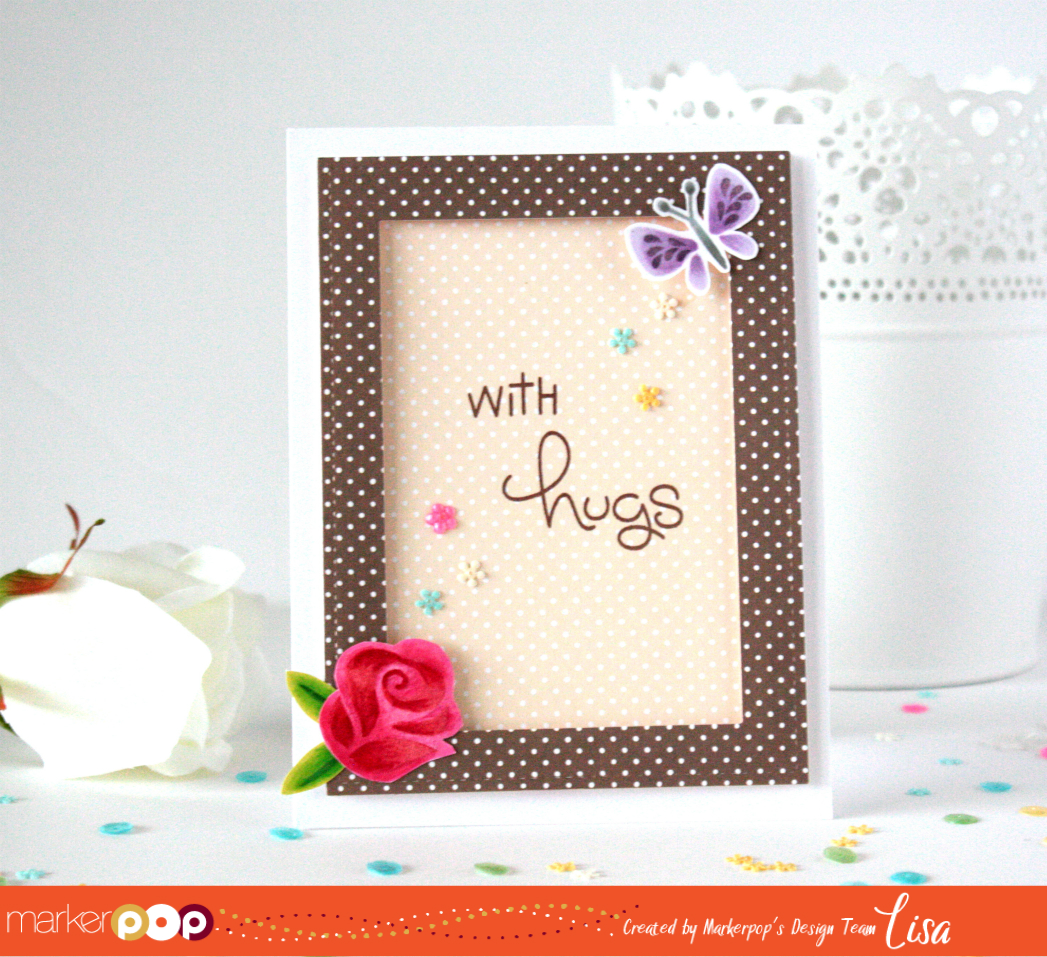
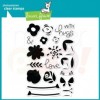
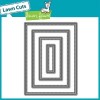
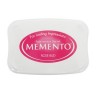
For this card I’ve used the Lawn Fawn Color My World Stamp Set, Circle Dies, and various Copic Markers (C1, C3, C5, Y15, Y17, YR04, YR07, YG17, YG25, R24, R29, RV14, V22, V25, Booo, E35).  I started by stamping the crayon image randomly onto one panel of cardstock with Memento Tuxedo Black Ink.  Next, I stamped and heat embossed my sentiment onto black cardstock and adhered it across the panel. To create the highlighting effect I could have simply masked the area I wanted to highlight, but I decided to make it easier and die cut the area instead.  Keeping the circle separate from the rest of the panel I started coloring the images in.  The outer panel was colored with grey markers, while the inner circle was colored in bright colors.  Finally, everything was lined back together and adhered onto a cardbase.

I hope I’ve inspired you to try this technique, or to pull it out of your bag of tricks and play with it again!  Maybe you could even enter it into our latest challenge for a chance to win an awesome box of goodies?!

Happy Crafting!

Supplies Used:

Wishing you the Best day ever!

Written by Holly Endress. Posted in Eye Candy (Projects), Tutorials, Videos

Happy Saturday everyone.. It’s Holly here today and before I get to my project I wanted to let you know there are just a few days left to enter our Copic Marker Birthday Celebration Giveaway. The contest will end on April 4th and we will announce the winners on April 13th. You can find all the details in this post here.

My project today uses products from Avery Elle and My Favorite Things.

I started out by stamping the MFT Watercolor Stripes background onto a piece of Neenah Solar White using Peacock Ink from Lawn Fawn. Then I used the Large Rectangle from the MFT Blueprints 15 die-namics set and a circle from the Inside/ Out Stitched Circles Stax from MFT. I adhered the panel to a White top folding card base using some foam adhesive.

I stamped the sentiment onto a banner die cut using the Pierced Banner Layers die set from Avery Elle using Lawn Fawn Jet Black ink. I also stamped the images from the Avery Elle Pegasus Duo stamp set using the same ink onto some X-Press it Blending Card stock. I colored them in with the following Copic Markers:

BG45, BG49, B0000, B000,B00,Y11,Y13, Y15, Y21, Y26, R000, R00, C0, C2, C4, C6, C8 & 0

I adhered the pegasus and they other images with some foam and tape adhesive. Then I added some Spectrum Noir Sparkle Pen in Clear to parts of the images. For some extra Sparkle I added some Pretty Pink Posh Sparkling Clear Mixed sequins.

You can see how I created this card in the video below.

Thanks for stopping by today!


Copics On Solid Stamped Images

Written by lisascreativeniche. Posted in Eye Candy (Projects)

Hi!  It’s Lisa here with you today and I have a fun technique to share with you today that can take your stamping to the next level.  Now, before I begin I want to state that if you don’t want to color your solid stamped images in, that is totally fine I don’t always do it or even think to do it on mine.  But, as a refresher or if you are looking for one more way to add depth and detail to those solid images using your Copic® Markers…

As you can see I’ve labeled the right side as no Copic® Markers used, and the left side as the Copics® used side.  Isn’t it cool to see the difference when they are lined up side by side?  Any who, these images are from the newly released Fab Flowers by Lawn Fawn.  They are super cute as is, and even thought they have a second “layer” that I have stamped on each image, you can still create more depth by shading the images in with Copics®.  Now keep in mind that these images were stamped in Copic® friendly ink, because we definitely do not want to cause damage to our precious markers, so make sure you are aware of what ink you’ve stamped your images in first.  I have used Memento Dye Inks: Rose Bud, Love Letter, Pear Tart, Cottage Ivy, Lulu Lavender, Elderberry, London Fog.  Copic® Markers used include: R24, R29, RV14, RV23, RV25, YG13, G14, V000, V12, V15, W3, W5.  Tips for this technique: Start by using your darkest marker choice first, this way if you go a little too heavy you can lightly up your coloring by going over it with a lighter marker.  Also, don’t be afraid to experiment and maybe even try coloring with a different, but complimentary color to the color you’ve already stamped your image in.

Since I had already colored the images up, I had to create a project with them…

I started by fussy cutting my stamped and colored images, and then created my frame with Lawn Fawn’s Stax Large Stitched 4 Bar Rectangle Dies and Lawn Fawn Patterned Paper.

Thanks so much for stopping by, and I would love to see what you create using this technique!  Also, Don’t forget to get your name entered in the amazing giveaway going on here right now!

Happy Crafting!

Supplies Used:

Be Kind: Clean and Simple

Written by lisascreativeniche. Posted in Eye Candy (Projects)

Hello!  It is Lisa here with you toady and I have a very clean and simple card to share with you today, using lots of new goodies from the store!  Let’s take a peek…

This card is simple to re-create and the only time consuming part is the coloring.  I love to color so it is more like therapy than taking up time, hehehe!  This cutie is from the new Stamping Bella release called: Tiny Town Garden Girl Poppy.  An example of her colored can be seen on the front of the stamp image and it is done in red, but I was just feeling the purples so I went with it.  Copic® Markers Used include: Face – E00, E21, E50, R20, Hair – E25, E57, E59, Dress and Flower top – BV0000, BV01, BV02, BV04, BV13, BV17, Tights – C1, C5, Leaves – YG17, YG25, Outline – B000.

MarkerPOP has recently added some new stamp companies to their shelves and one of them being Sugar Pea Designs.  So I grabbed a sentiment from one of my favorite stamp sets by them called Kindness Matters and I stamped it slightly in the lower right corner.

Thanks so much for stopping by and don’t forget to enter your projects into our latest challenge!

Happy Crafting!


Grab Our Button

i Luv MarkerPOP
Show some MarkerPOP LUV,

add this button to your blog.

I’m a Winner!

I'm a Winner on MarkerPOP Blog
Copy and paste the code under the badge

to claim your bragging rights!

I’ve Made Top 3!

WoHooooo I made it to the Top 3 on MarkerPOP Blog
Copy and paste the code under the badge

to claim your bragging rights!

Visit Us!

MarkerPOP Free Shipping MarkerPOP Boutique
18299 Mount Baldy Cir
Fountain Valley, CA 92708
Toll Free: 1-855-312-1222
Phone: 1-714-249-1222