Lovely Hello From Concord & 9th
Hello friends! It’s Lisa here with you today and I have a bright floral hello to share with all of you. Since Concord & 9th is celebrating their 2 year anniversary, and they have released some pretty amazing new goodies (which you can get now in the store!) I just had to pull out some of my favorite stamps to share with you…

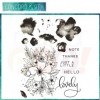
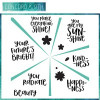
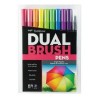
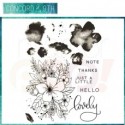
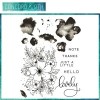
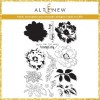
To create this card I started by stamping my background panel with the Sunshine Turnabout stamp set and my Altenew inks from the Rock Collection. Next, I worked on the floral image from the Hello Lovely Stamp Set. Normally I find some way to color this image in as I’ve always been a bit timid about using the matching water colored images in the set. This time I set my fears to the side, and let things get messy. I will admit that I did use some masking to keep too many of the colors blending, but for the most part I let it mix freely. To do this I colored these images in with my Tombow markers and repeatedly stamped them until they were covering the flowers the way I wanted them to.
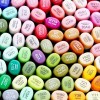
Once the image was completely colored I cut the whole thing out. I then adhered it with a small piece of vellum to my sunshine background. For my sentiment I embossed it with white embossing powder and adhered it with foam adhesive. The card was finished off with some sequins.

Thanks so much for stopping by today and I hope to see your projects in our challenges! They are fun to play along with and you can win prizes!
Happy Crafting!

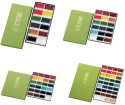
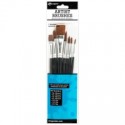
Supplies Used: