Coloring with Hikka! Week Five
Hey!! Been a while since I babbled about coloring and stuff. So let’s hop to it~! Although, I haven’t given myself much of a break, I’ve been working on doodles for other people. I know, that baaaad habit again. So! Since the last thingy I did was so much fun in it’s goofy quickness…I decided I’ll do another ATC for you all. Our card subject this week is floons~! Drifloons to be exact. My favorite little ghost pokemon~.
Lines done in my Copic Multiliner SP black set and coloring done with my ShinHan Touch Twin Brush markers.

We’ll start off with the background, which I’ll use a layer of P145 and then a tip to tip layer of PB76 on PB77, and then it’ll be blended down with P145.

Next the rainbow, I’ll be using RP137, Y45, and B182 as the bases, and then I did tip to tip blends of RP17 on RP137, Y49 on Y45 and B67 on B182 on the ends and blend them inward. The cloud shading is done with a layer of B182 and then CG0.5 then one more layer of B182 to blend it. Then the stars are colored with B182, B171, P145, RP137, Y49, and YR33.

And now of course, our floony~! Since I like shiny coloring over regular coloring. I’ll be using a blend of Y45 and Y35. So, I’ll start with Y45 then to begin shading I’ll be using a tip to tip layer of Y35 on Y45 and then at the edge I’ll do a bit of a line of Y35 on Y45 and blended down with Y45 And I’ll use the same blend I did for the rainbow clouds for Drifloon’s cloud poof. Then the details are done with B182 and then a tip to tip layer of B182 and B67 about halfway down, and then to pull the color down I’ll use B182. The cloud poof at the top of the floon’s head was done with the same blend I used for the end clouds on the rainbow.

And some sparkles~! Of course, white gel pen and Copic Opaque White. Give everything a bit more shine and add in some tinier stars in the sky too.

And there ya have it! See ya next time.

Learning Copics with MarkerPOP! 3 – Feather Blending/ Flicking
Hi everyone! Samantha here with another Learning Copics with MarkerPOP! video.
Today we are covering another basic blending technique, I like to call “flicking”. The Copic certification booklet calls this Feather Blending, but flicking makes a lot of sense because that’s basically what you are doing.
In this video, I share with you the basics of this flicking or feather blending.
This is the coloring technique that I tend to use the most. I feel like i can get a lot of smooth blending using this technique. And this technique comes in handy when you want to add texture to your coloring – think hair, fur, grass, etc.
My bit of advice is to practice practice practice! If you don’t get it the first few times, don’t worry. Just keep practicing, and you will get better and better at it! I get out of practice if I haven’t been coloring for a while so I still have to practice from time to time also.
I hope that you enjoyed today’s video! Thanks for stopping by!
Hello, spring!
Hi, everyone! Kelli here today with a springy card to share with you! I believe today is the first day of spring so I thought it would be the perfect day to post this card!
The main image is from The Greeting Farm – Miss Anya Night Out stamp set. I stamped her in Memento – Tuxedo Black ink onto X-Press It paper and colored her (and the larger flowers) with Copics:
Skin – E50, E51, E53, E13, R20 for Cheeks
Hair – E35, Y35, Y23, Y15, Y11, Y000
Shoes – Bg07, BG05, BG02
Shading on Paper Pieced Dress – C2, C0, 0
Larger Flowers – BG07, BG05, BG02, RV14, RV13, RV11, Y35, Y15, Y11
I wanted to create a scene so after I colored her I masked her off with some X-Press It Masking Film and then stamped some clouds from the Lawn Fawn – Into the Woods stamp set and the grass from the Lawn Fawn – Critters on the Savanna stamp set.
The flowers are from the Lawn Fawn – Blissful Botanicals stamp set. I just used random pieces of grass as their stems. Now that I look at the flowers, I really wish I would have added little rhinestones to their centers!
The ‘hello’ part of the sentiment is from the Lawn Fawn – A Birdie Told Me stamp set and the ‘SPRING!’ is from the Milo’s ABCs stamp set. I really love the look of mixing fonts on sentiments!
The patterned paper from her dress, the grass, and sun are all from the Echo Park – Here & Now 6×6 paper pad. I ran my Memento – Tuxedo Black marker around the outside of her dress to cover the white core after cutting it out.
I adhered all the layers together using my Crafter’s Companion – Adhesive Runner and added some Craftkin – Lemonade baker’s twine to finish everything off.
Thanks so much for stopping by. Have a great day! 🙂
Baby Card with Lawn Fawn
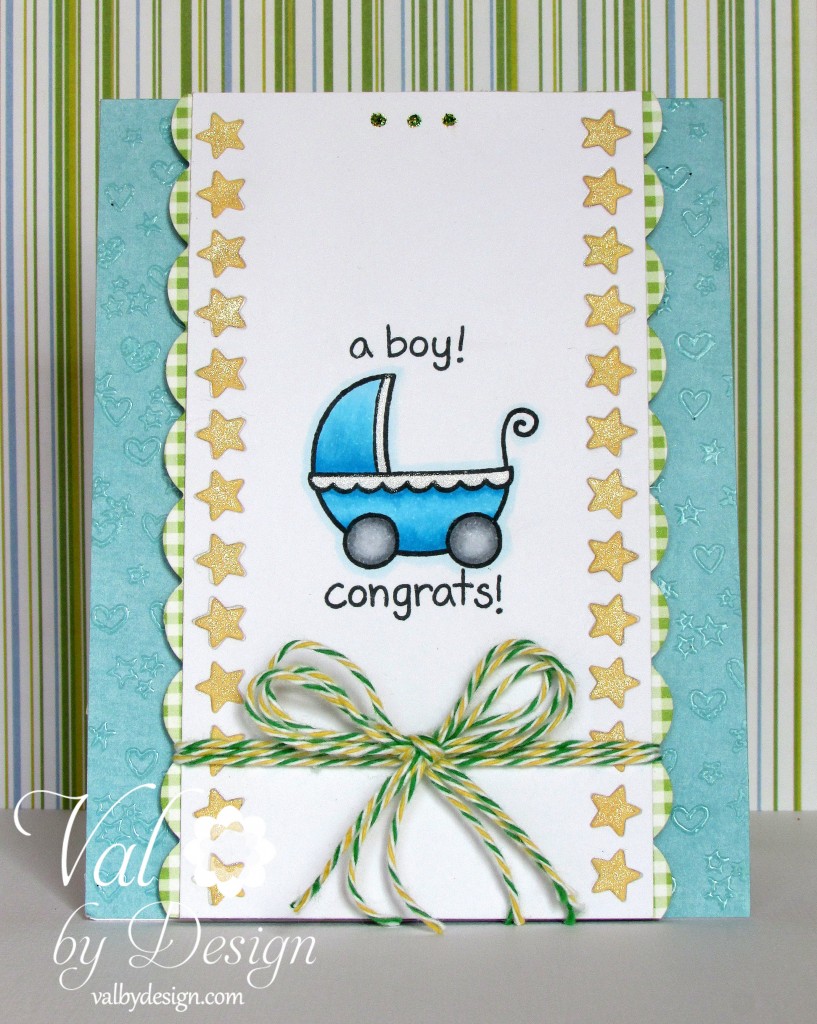
Valerie here today, and today the products of choice are Lawn Fawn!
I was thrilled to have to make this card this week because my little cousin, Amy, and her hubby, Phil, just had their first baby!
I’m using 3 Lawn Fawn stamp sets: Plus One, Critters Ever After, and Into the Woods. I also used one Lawn Fawn die set: Stitched Journaling Card.
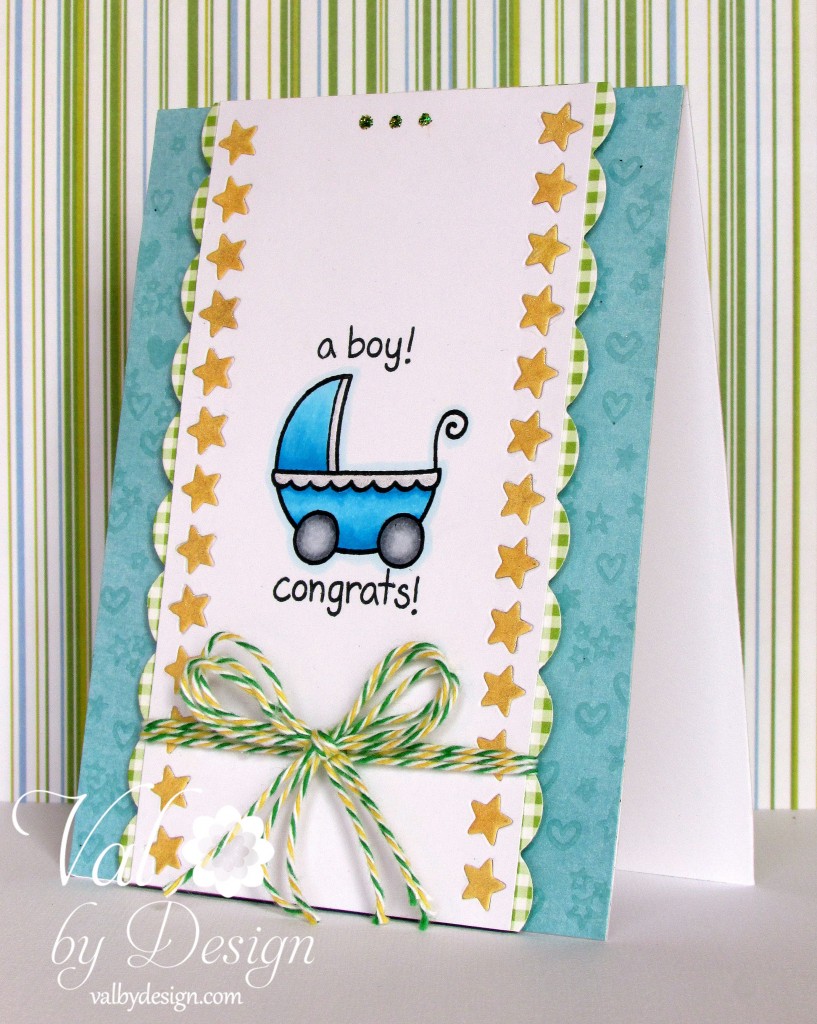
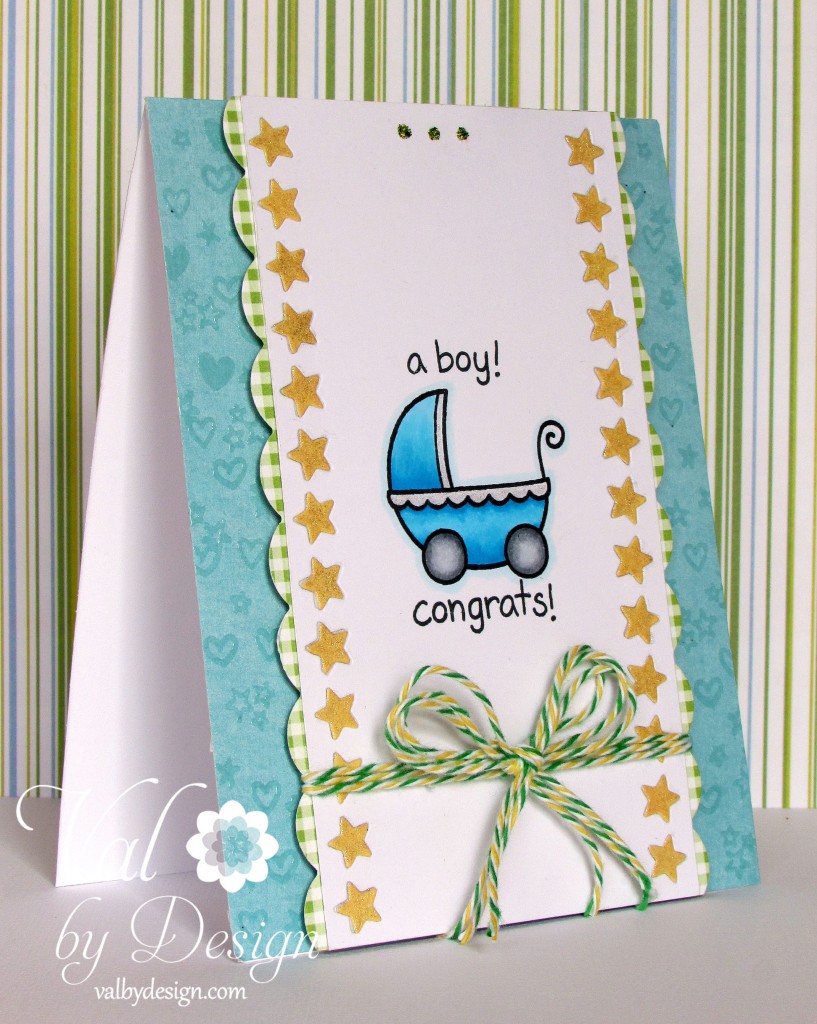
This card is 4 1/4″ x 5 1/2″. The images are stamped with Memento Tuxedo Black dye ink, onto X-Press It Blending Card Paper.
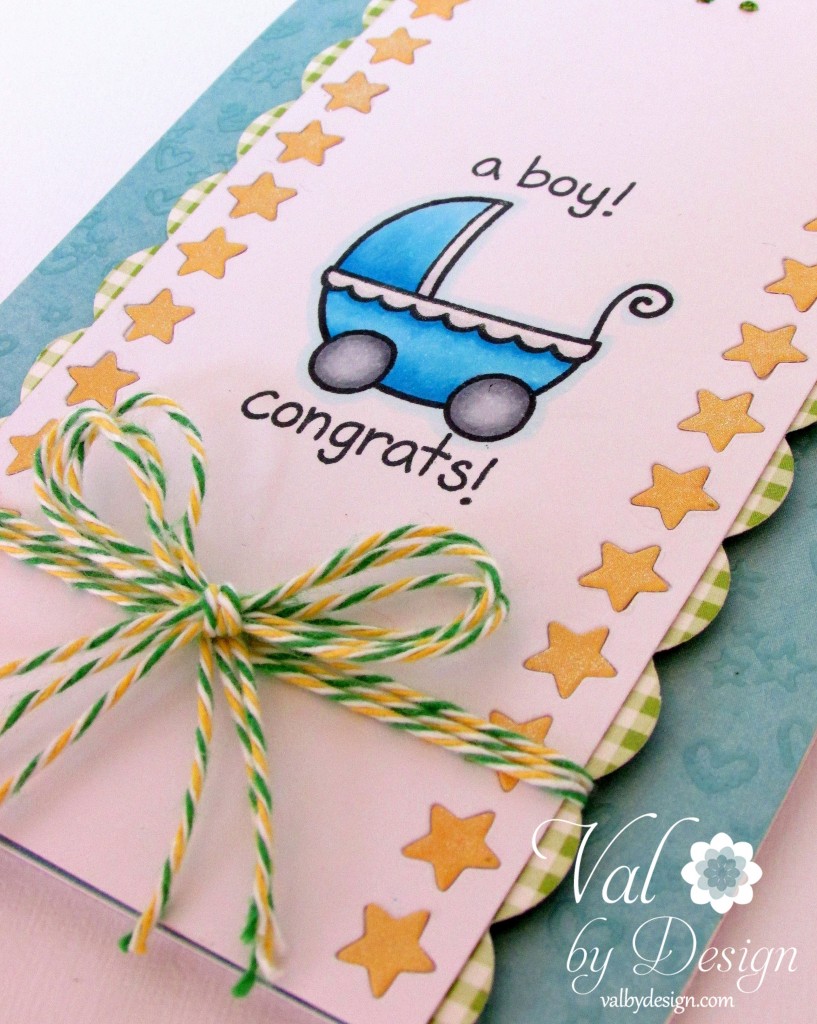
The carriage and sentiment are stamped from the Plus One stamp set and colored with Copic Sketch markers. The small images on the blue background paper are heat embossed with a clear embossing powder using images from Critters Ever After and Into the Woods.
The stars along the vertical sides of the front panel are diecut from the row of stars die in the Stitched Journaling Card die set. Cr
The ribbon is Craftkin Baker’s Twine – Lemonade; I wrapped it 3 times, created a bow with 3 pieces of the twine, and attached with a glue dot.
Have a great day and rest-of-the-week, and Happy Crafting!
Copics Used:
Carriage: B00, B01, B04 & C1
Wheels: C1,C3, C5
I added a thin line around the image in BG0000


