$10 Gift Voucher - Leave a Comment

Let’s Clean & Refill those Copics!

Written by Valerie Ward. Posted in Tips & Tricks, Tutorials


Hi Crafters! It’s Valerie here, and guess what?! It is Copic Marker’s 30th Birthday (check out this Copic web site page showing their Timeline!)! And to celebrate, MarkerPop is having a month-long giveaway where you will have chances to win multiple prizes, in fact, there will be over $300 in Copic products giveaways!

TO ENTER, you MUST be a follower of The MarkerPop Facebook page, their Pinterest Page, their Instagram Page, and their blog. You must leave a comment on the blog posts, and share this post on at least one social media account.

 This contest started 03/06, and ends 04/06.

The winner will be announced on 04/13.

Today I am going to share how I clean my Copic markers. I don’t know about you, but my beautiful babies get messy very easily. So every once in awhile I clean them and spiffy them up (as my Gramps used to always say). Here are a few in all their messy glory:
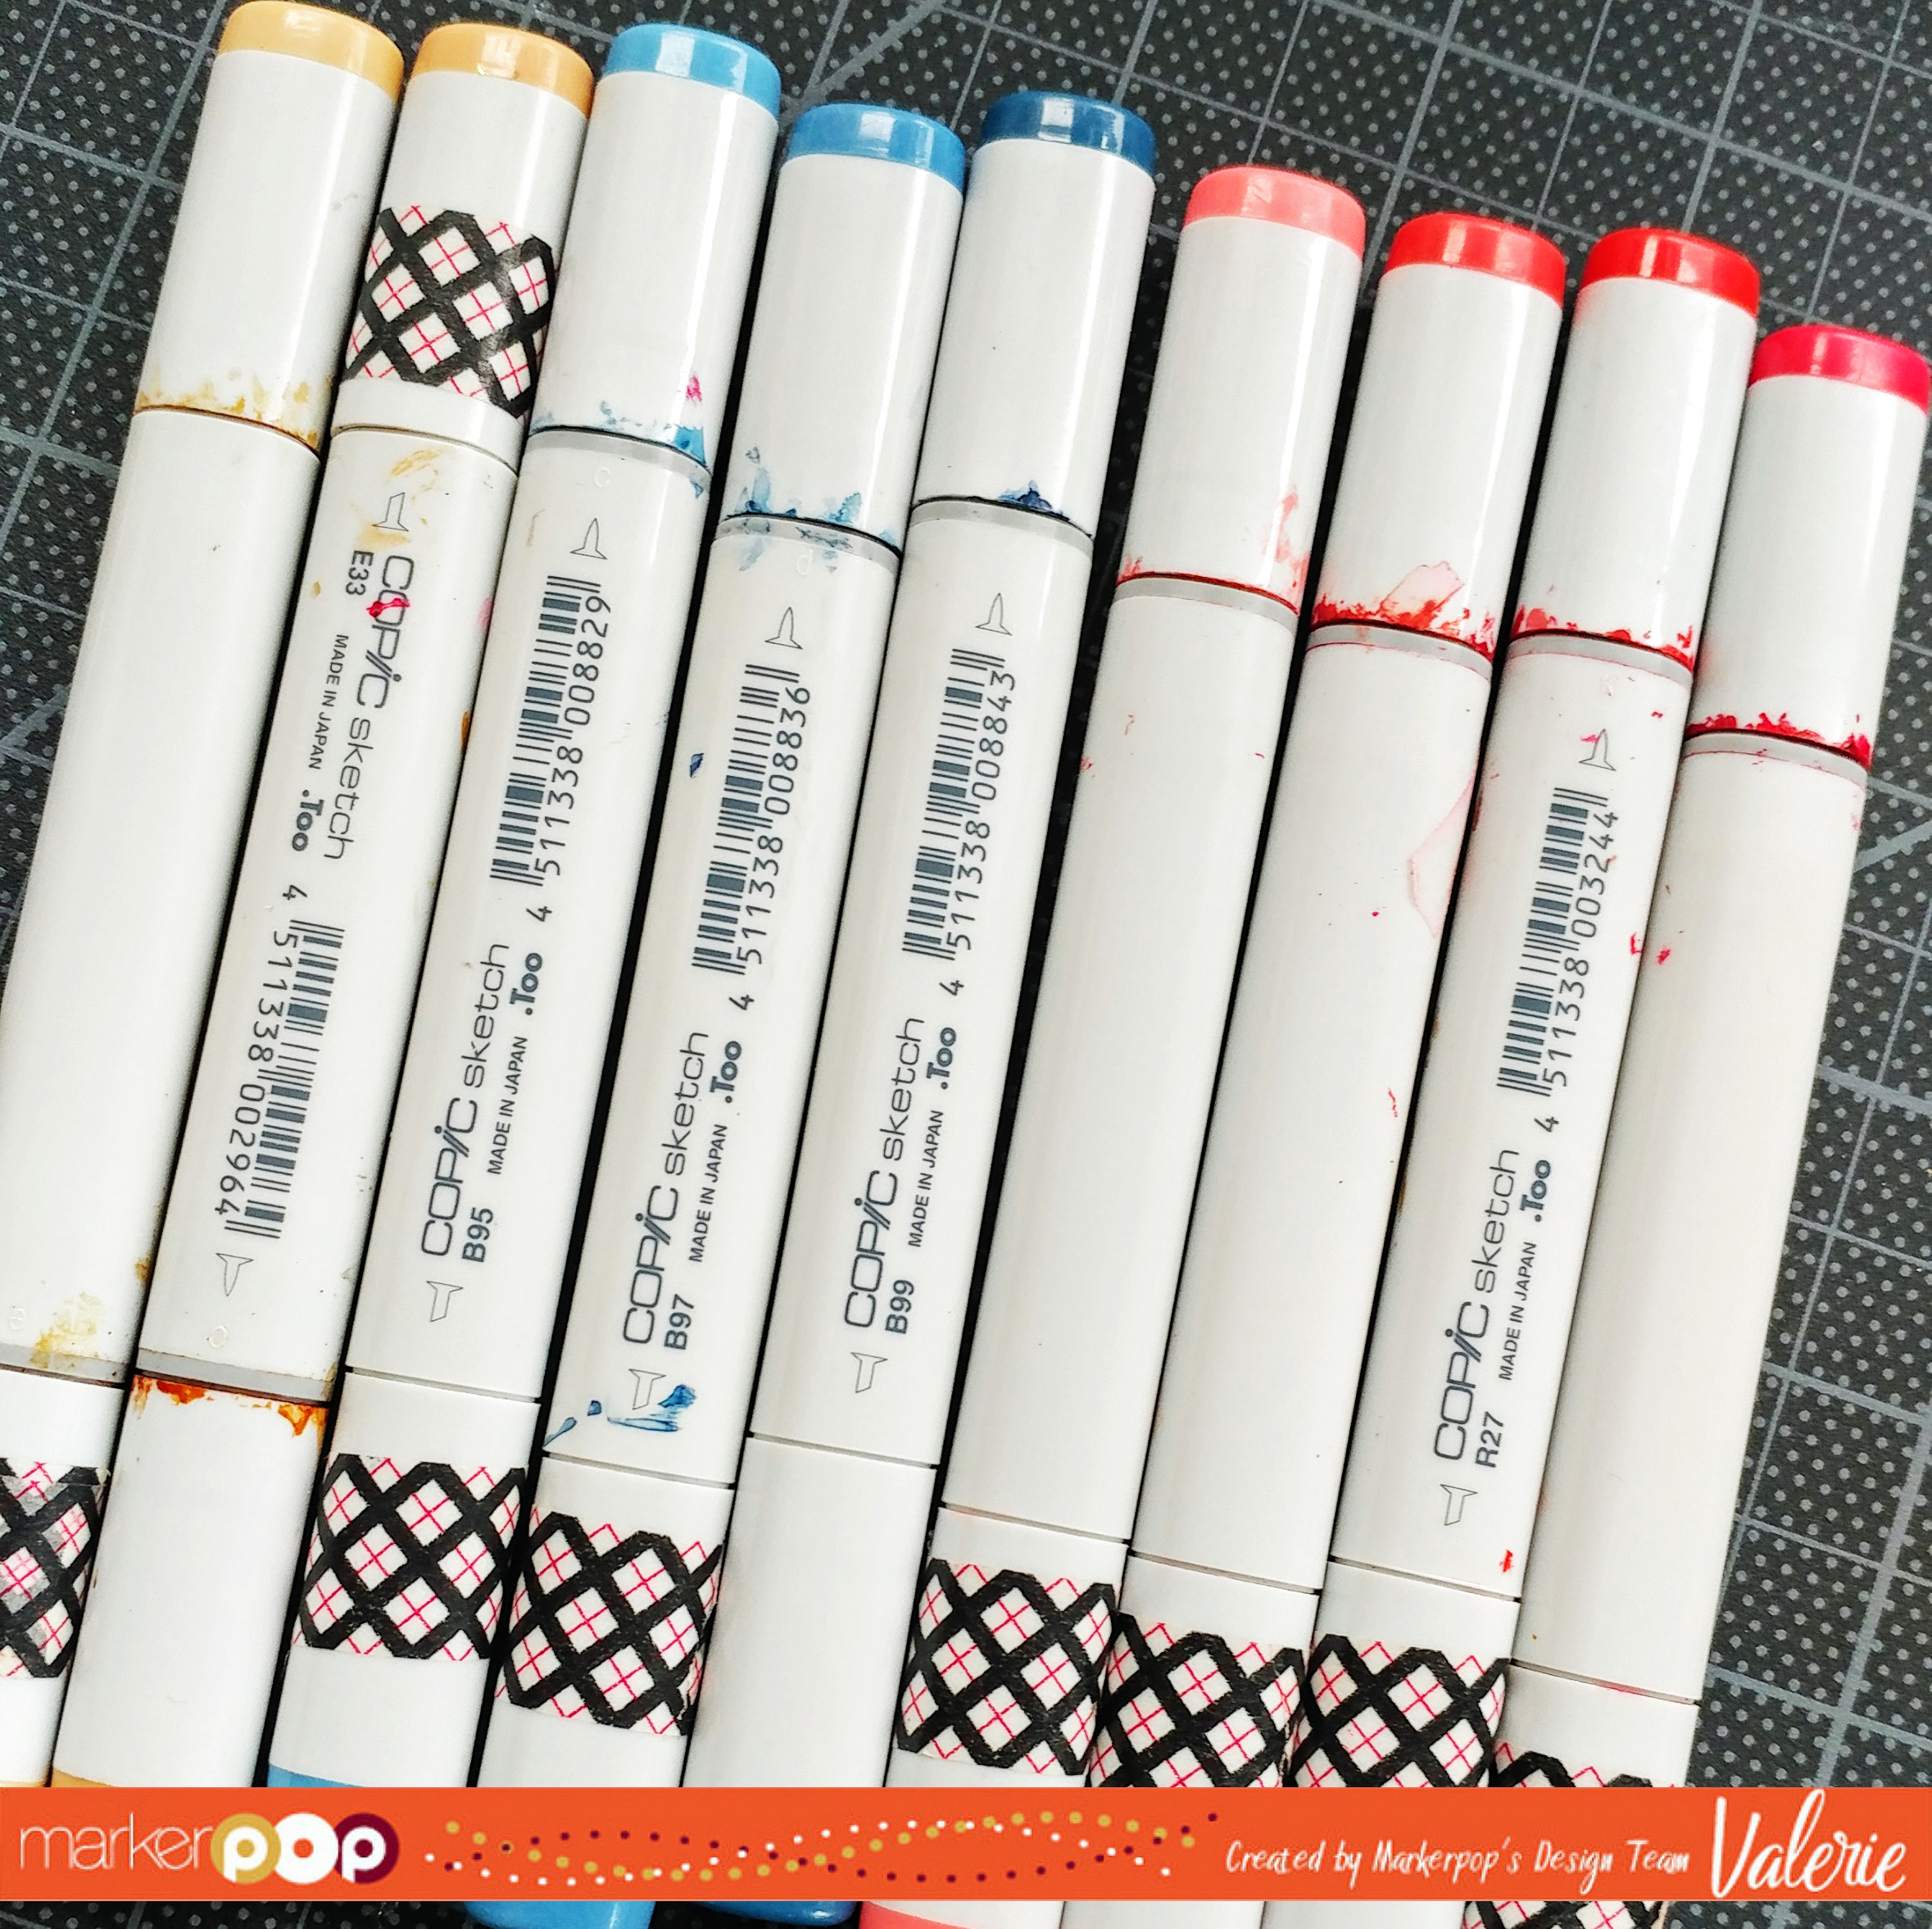
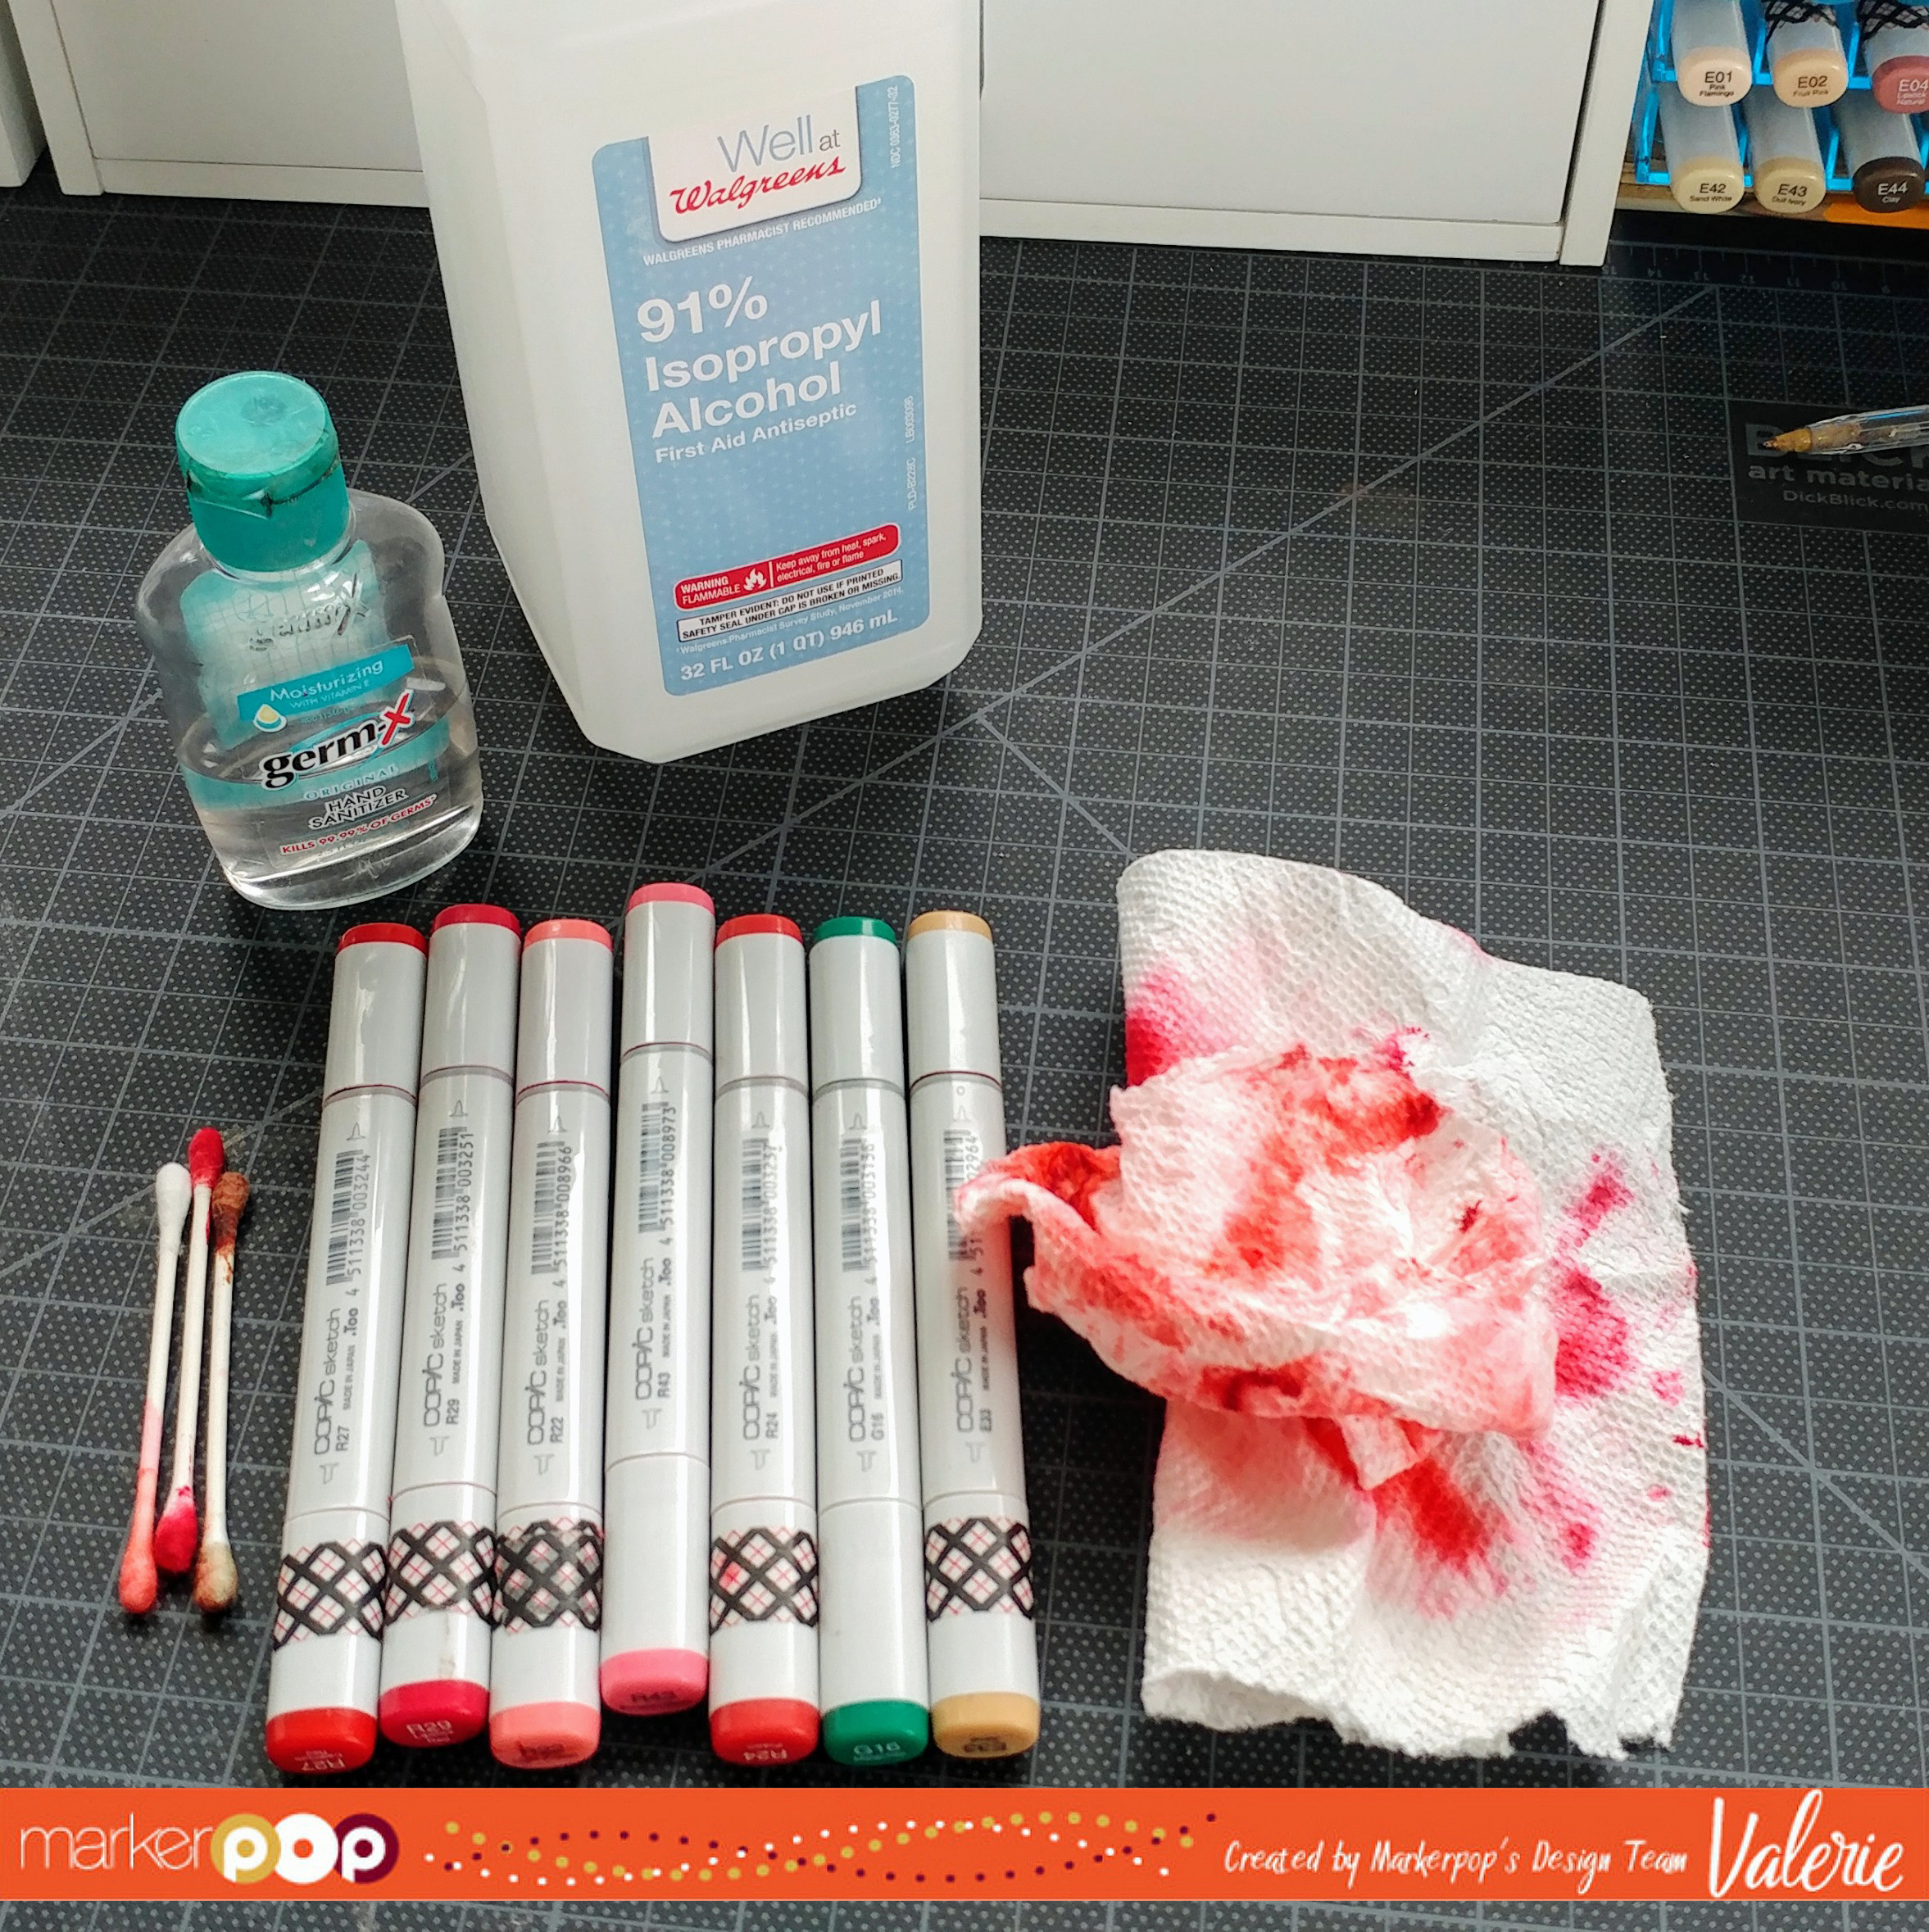
There are 4 ways you can clean your markers: isopropyl alcohol, hand sanitizer, hand wipes, or Copic 0 Colorless Blender refill ink. Then you’ll need cotton balls and/or Q-tips:
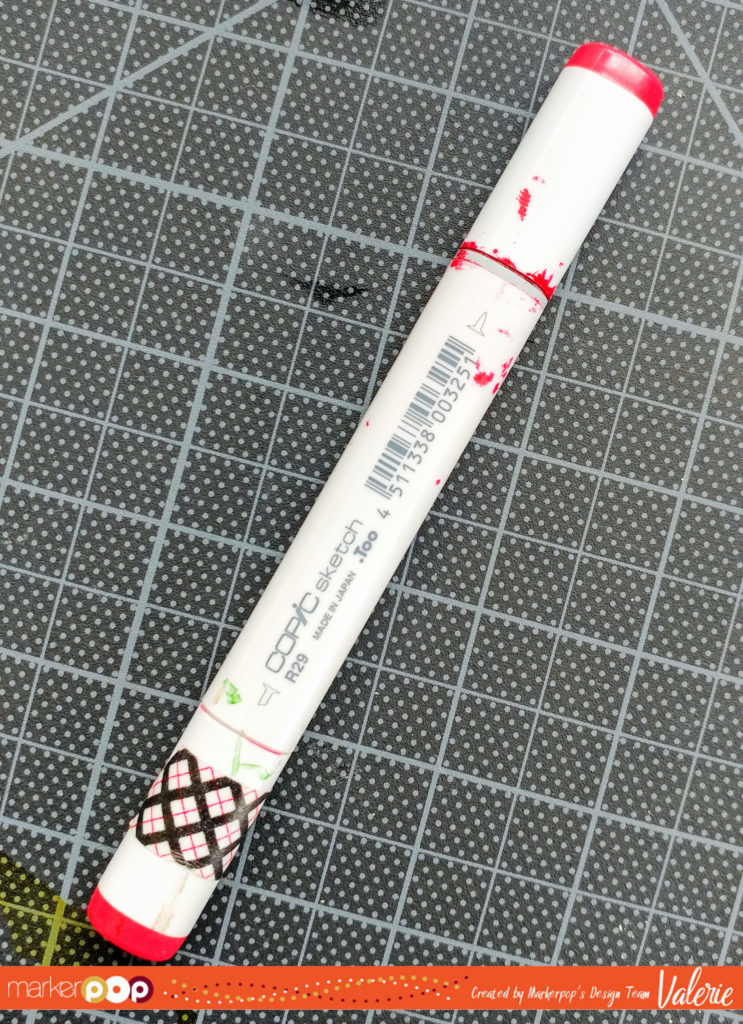
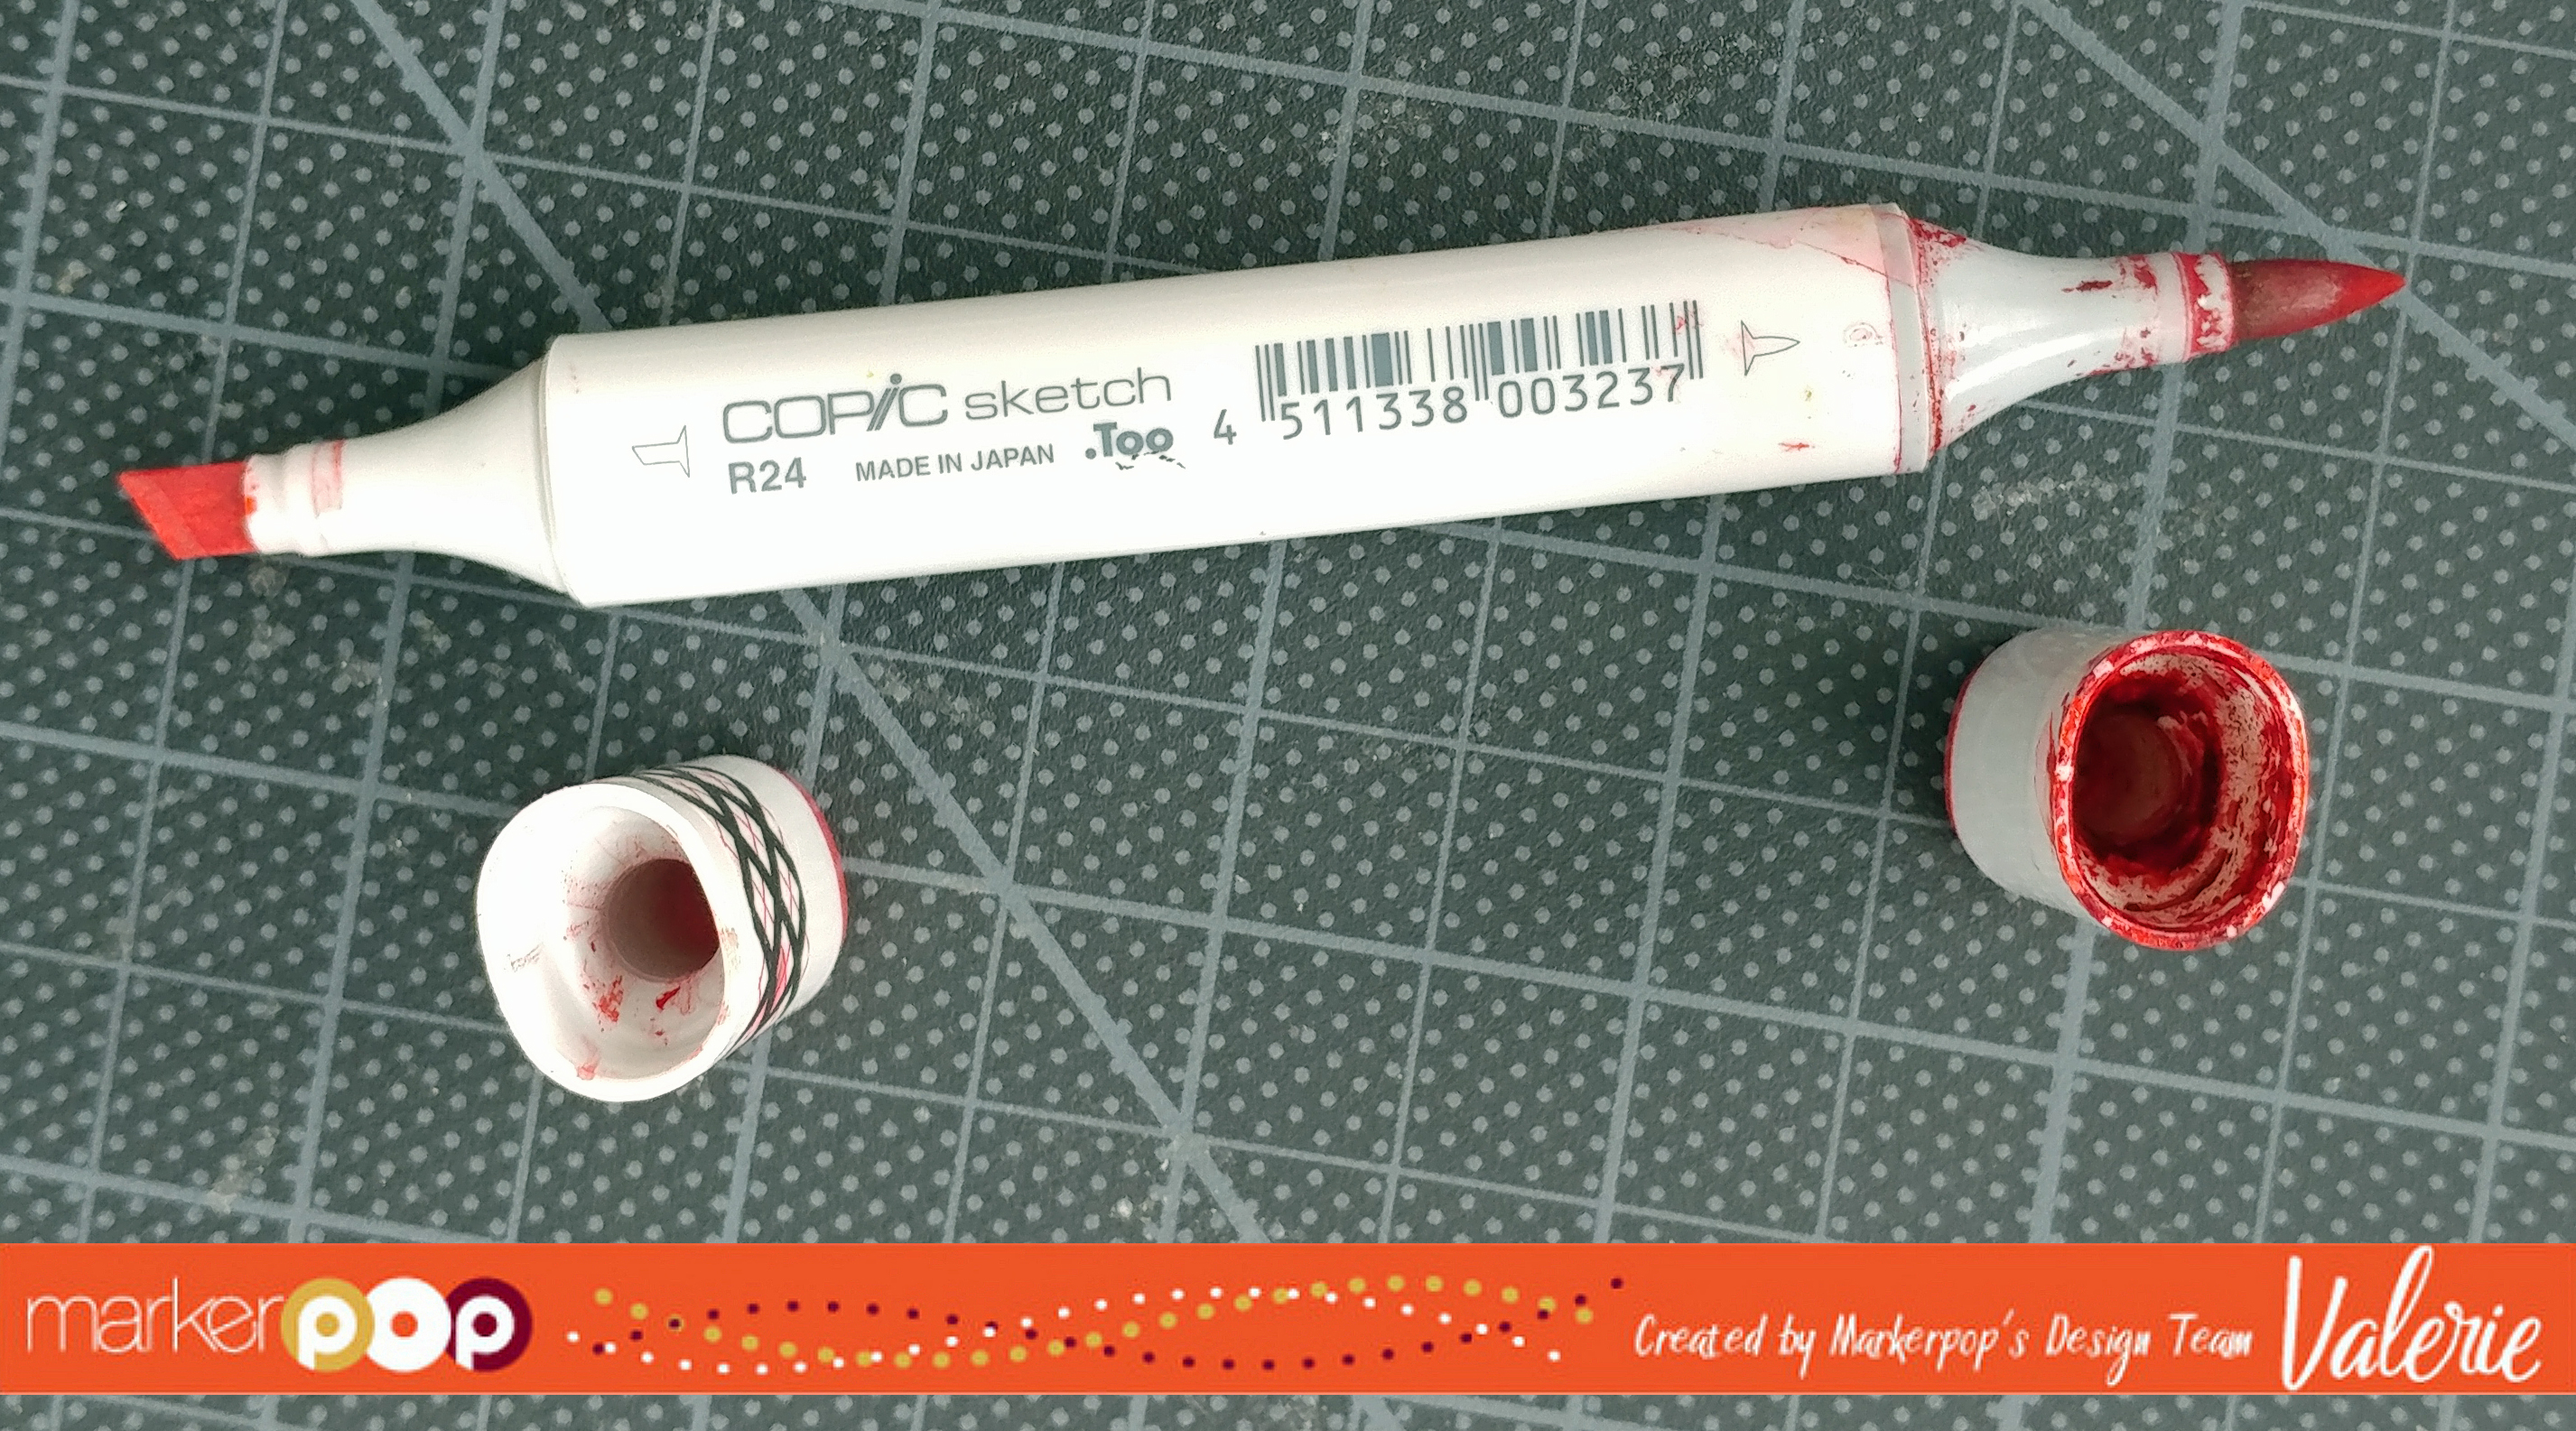
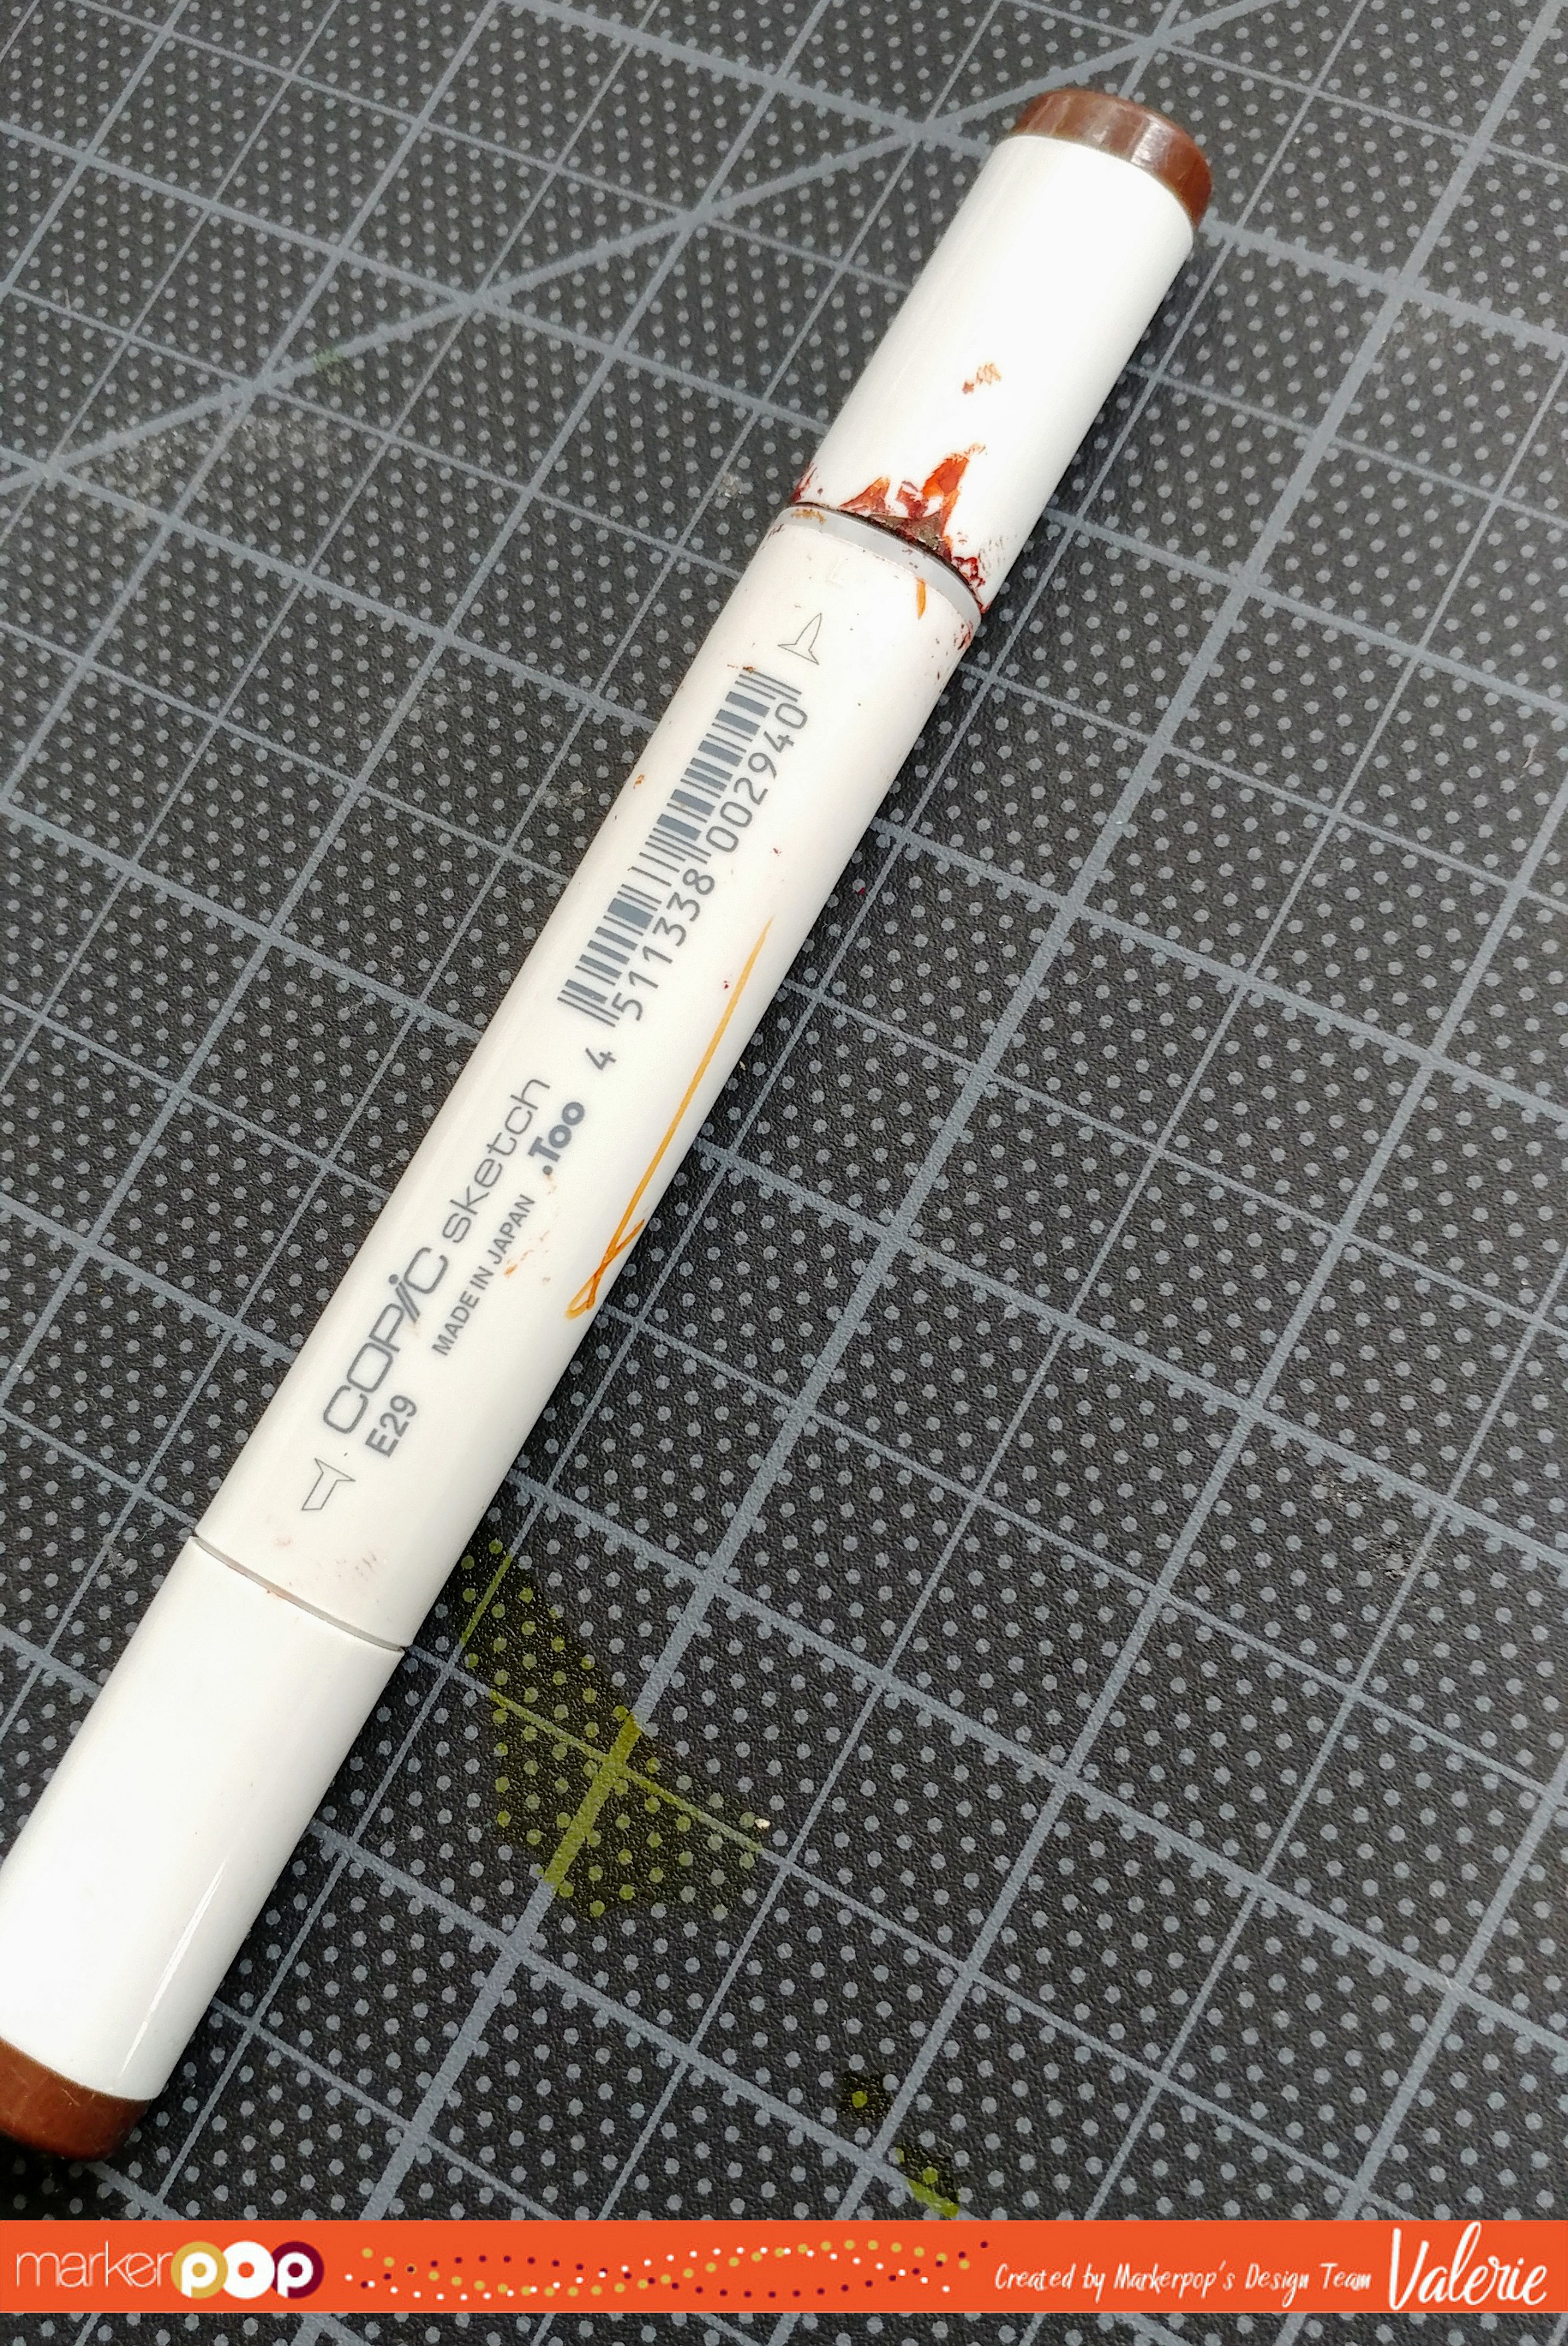
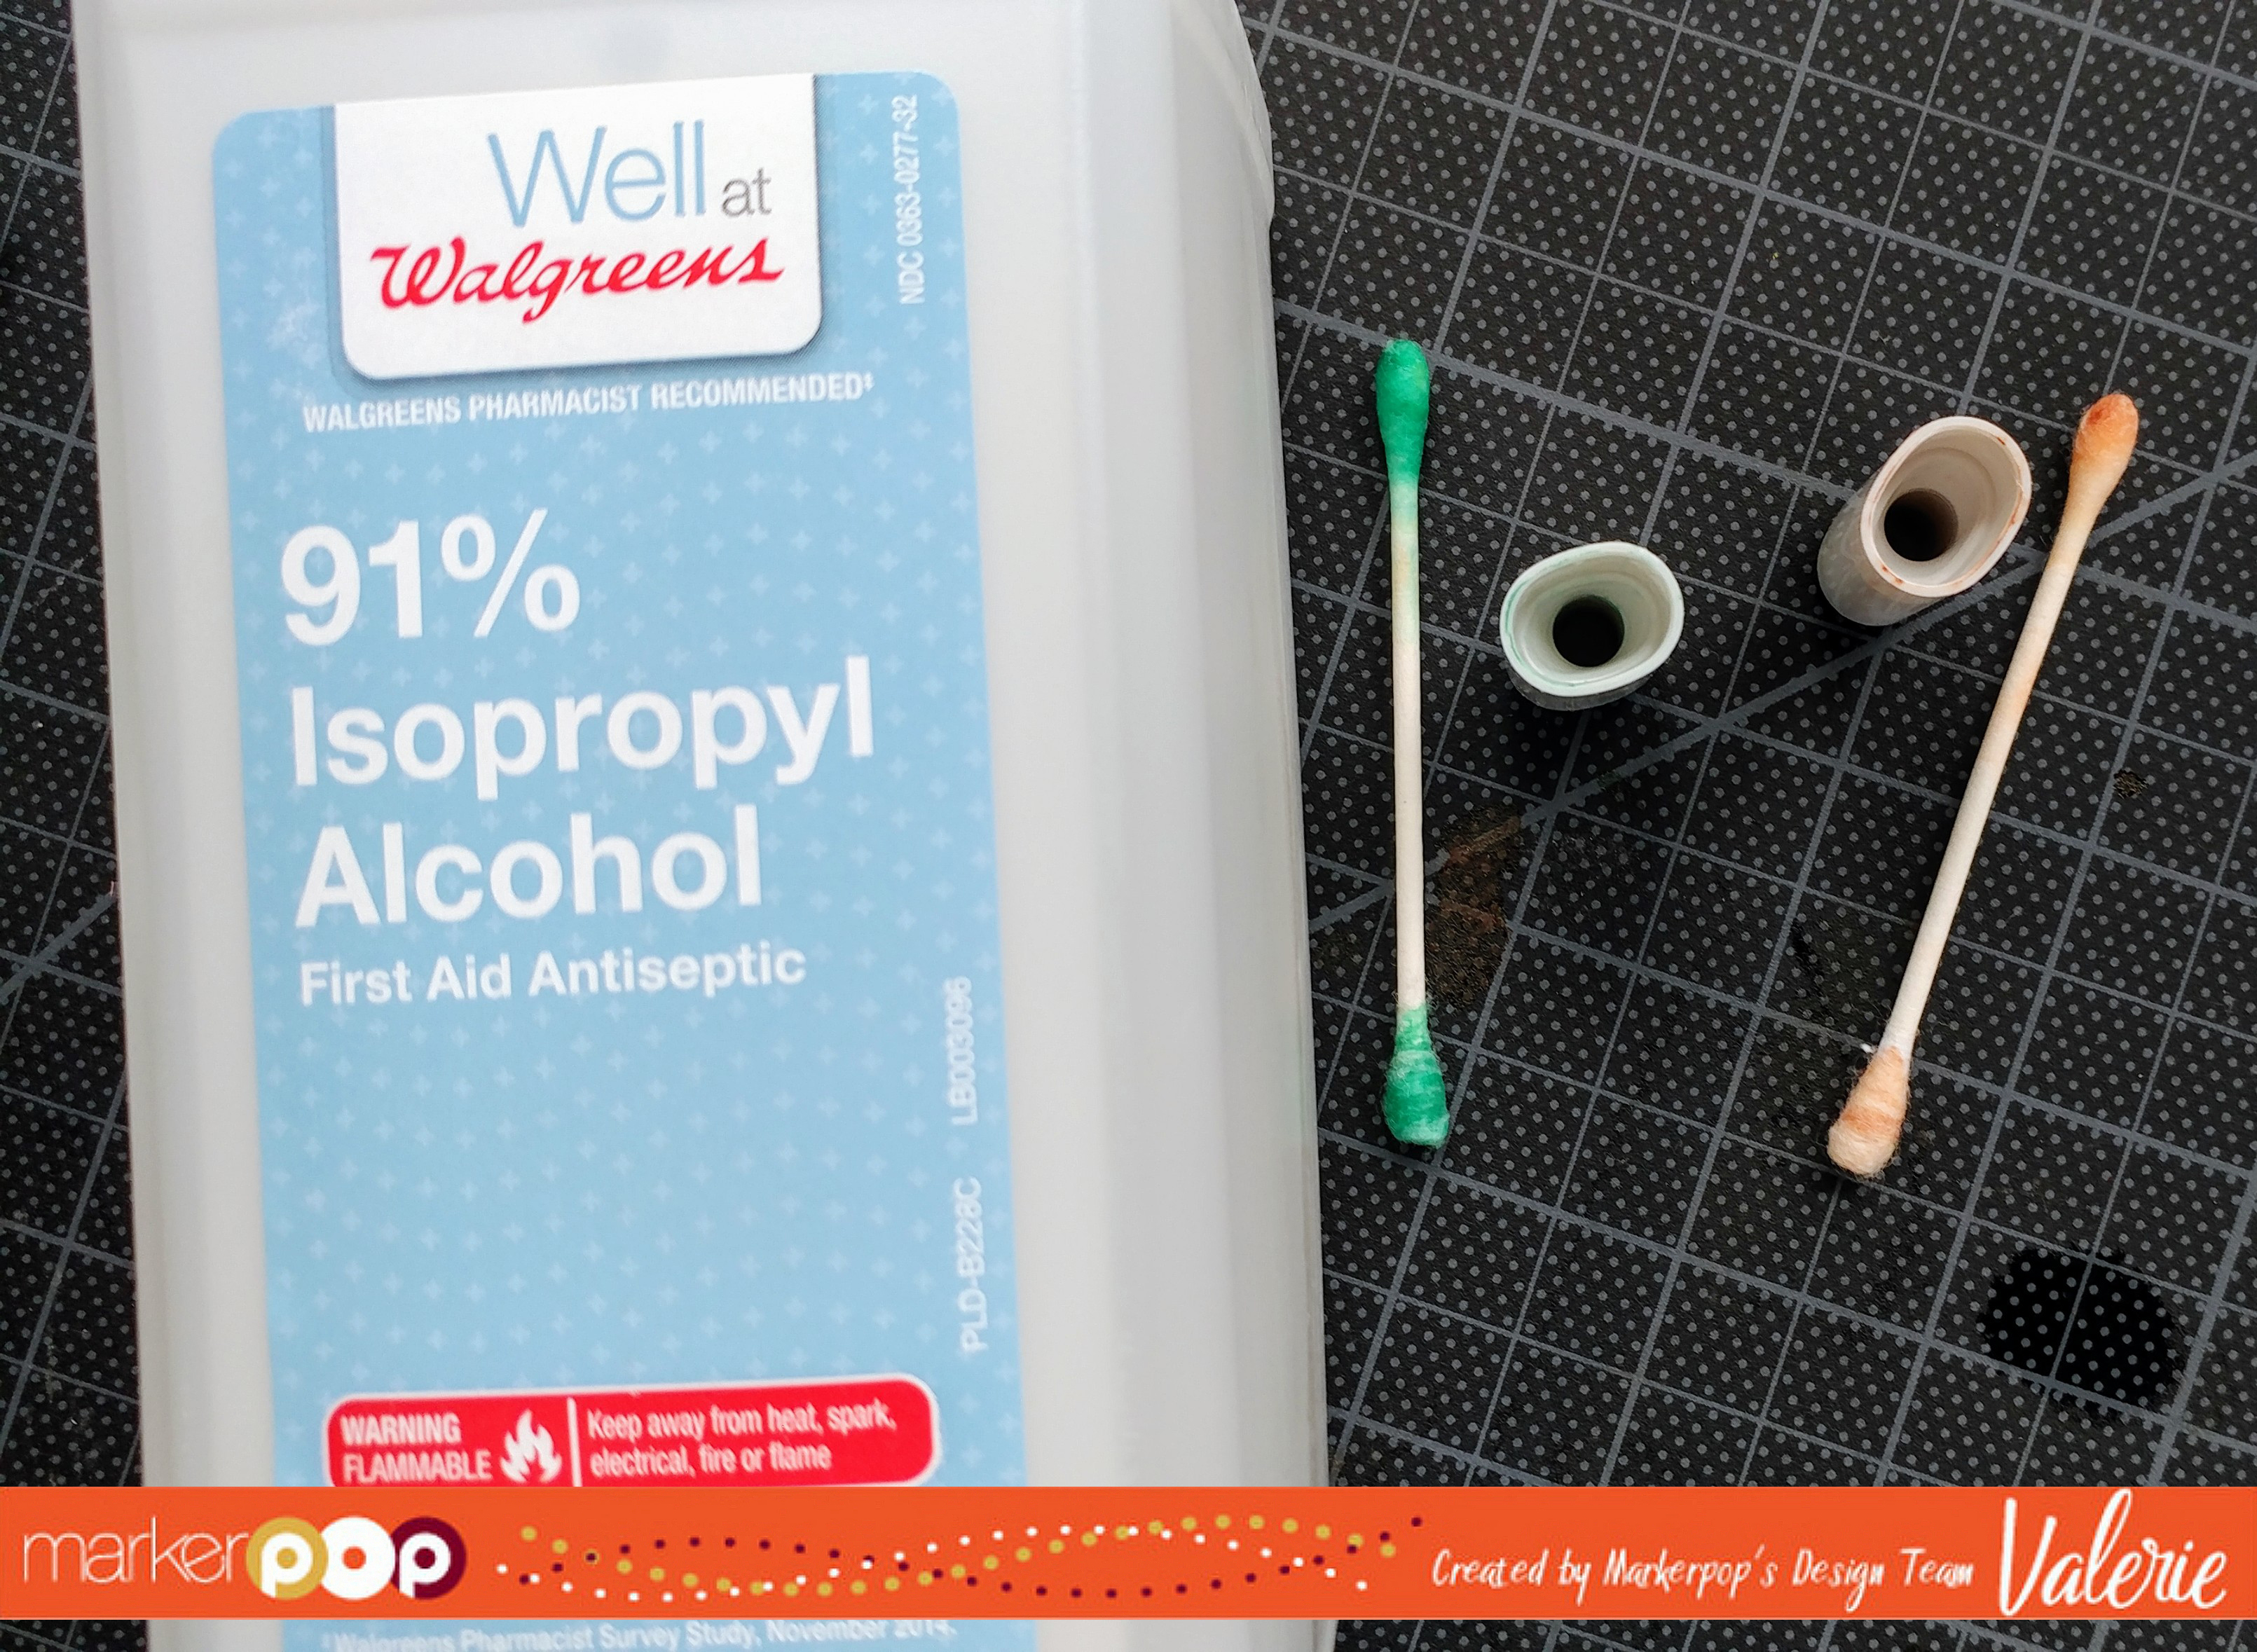
Look at this poor R24 marker in the next 2 pics; see how not only is the outside barrel all messy, but when you take the caps off, you see the tips of the barrel are nasty, and the inside of the cap on the side I use the most is an absolute disaster!:
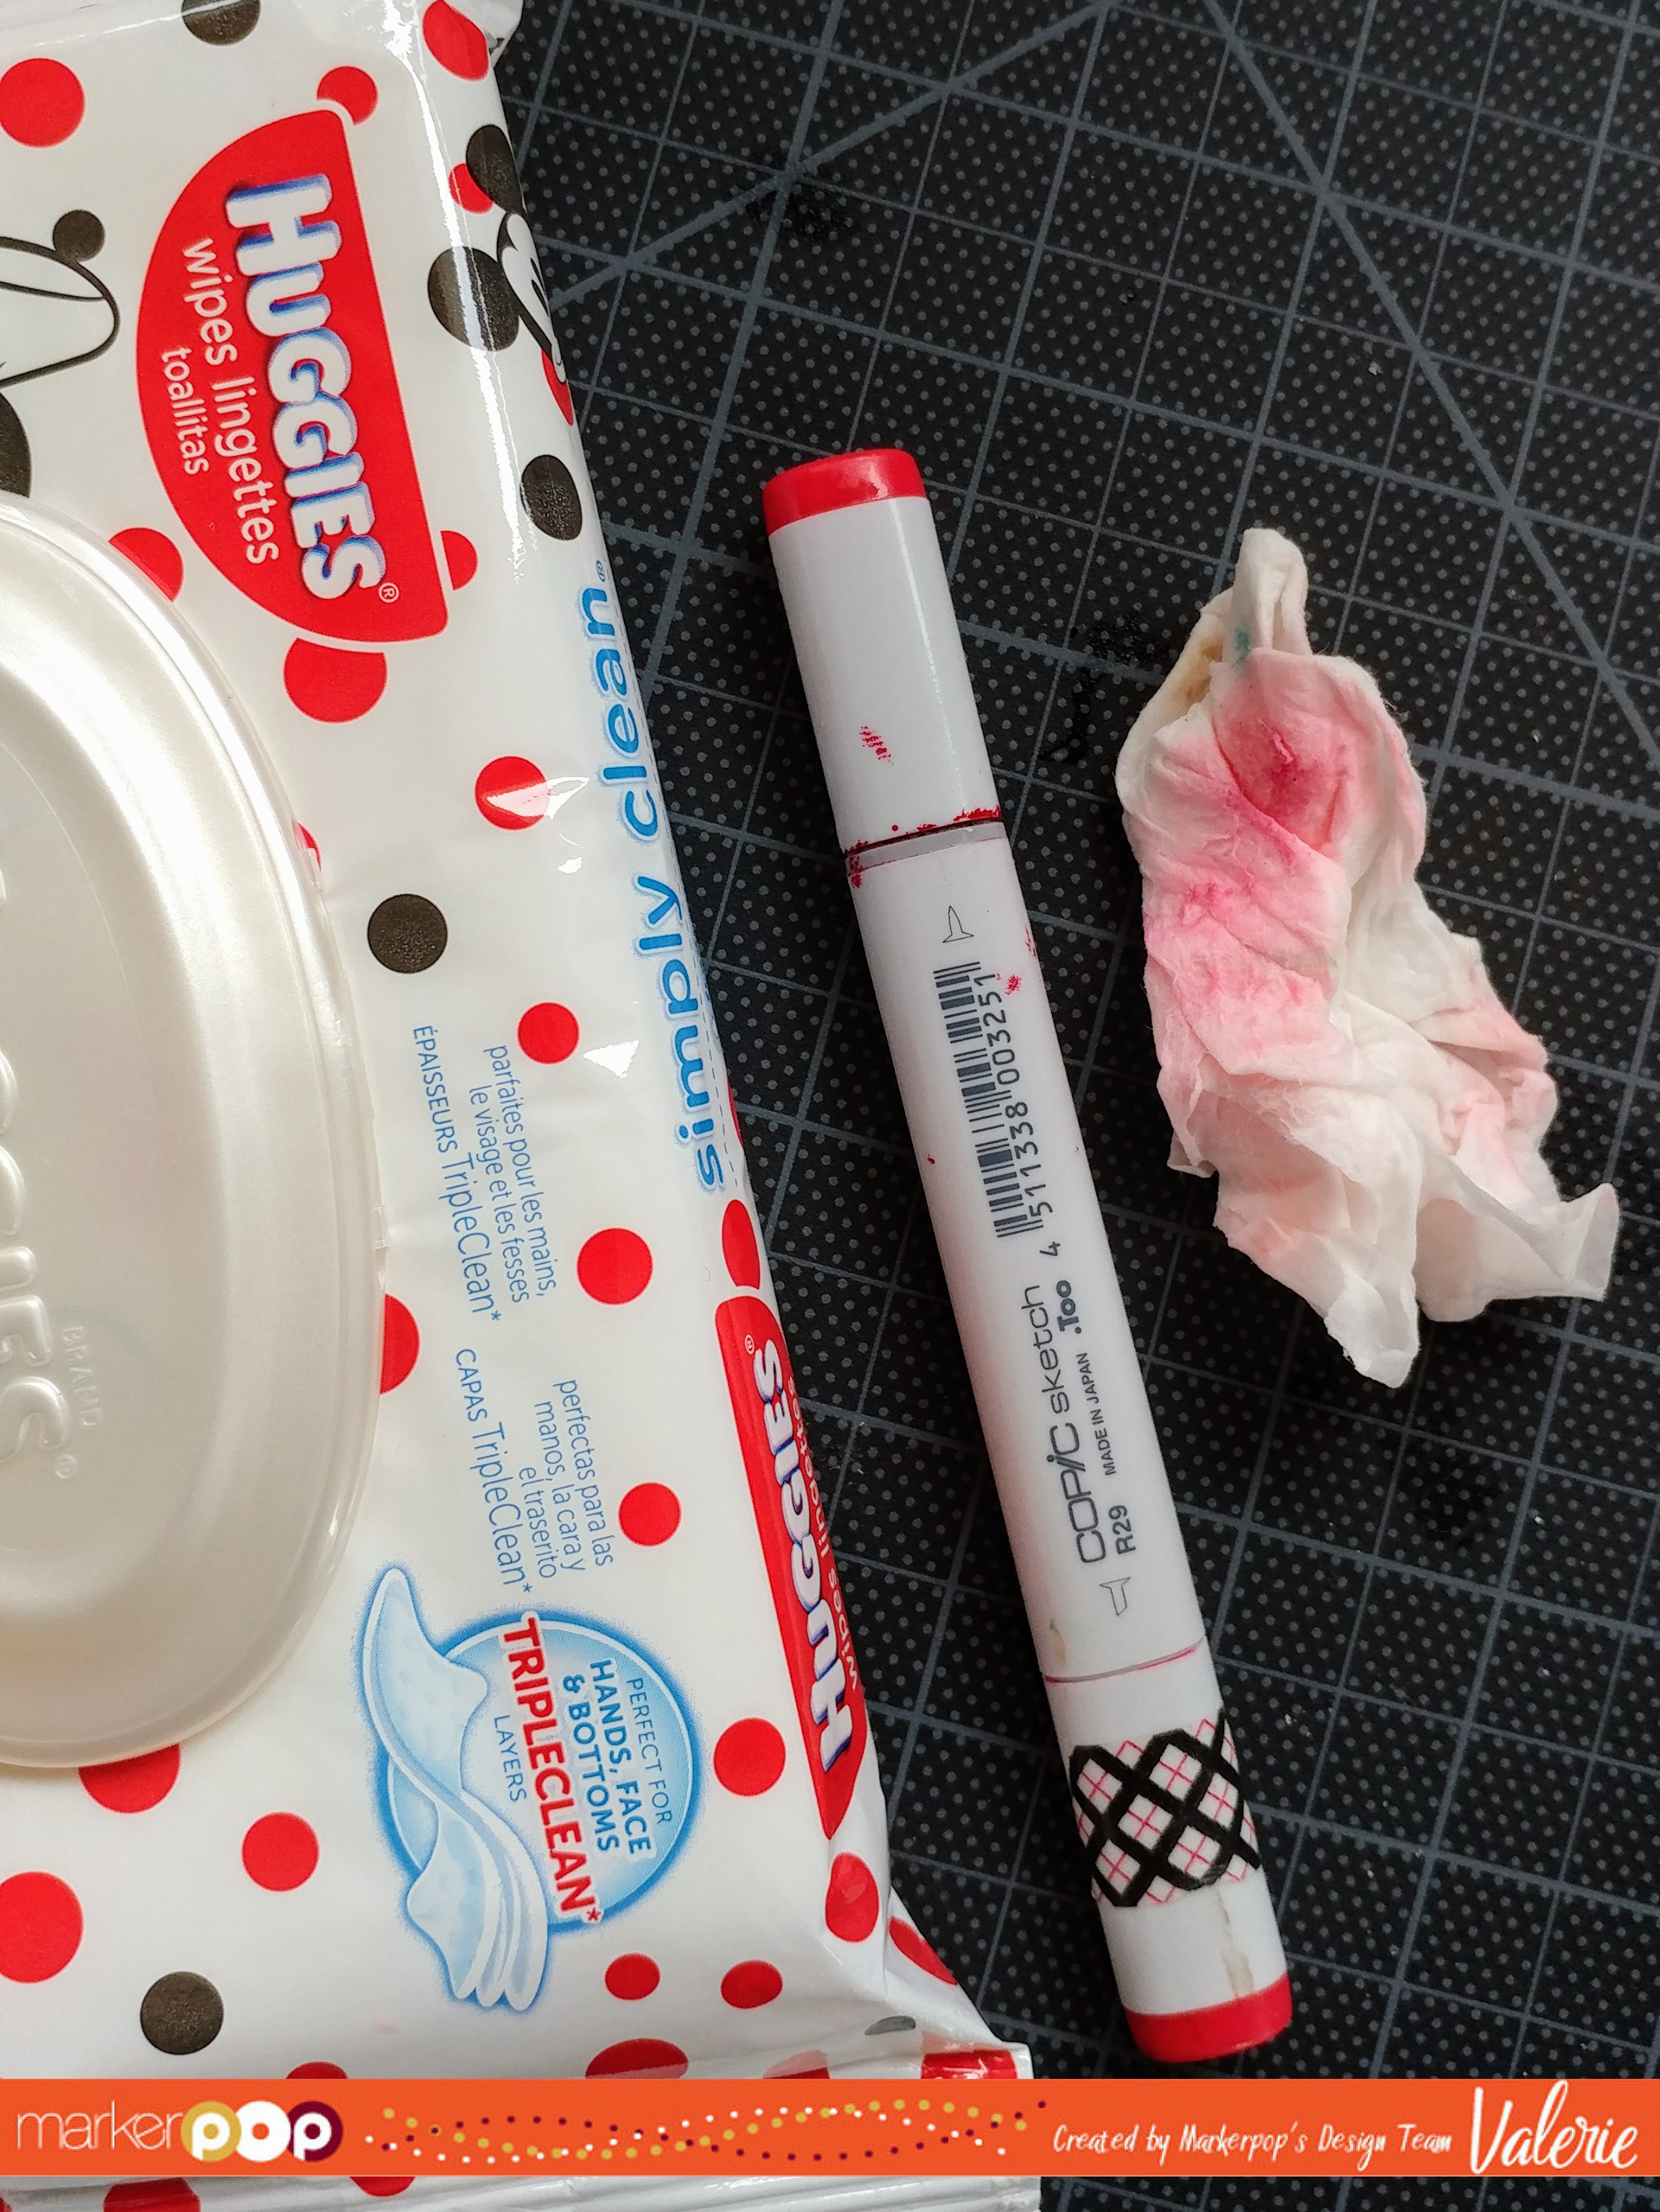
Now I’ve heard that baby wipes will clean your Copic markers. I tried it, and it was OK, but I think this method is really only good enough if you’re looking for a slight clean-up. I wiped and rubbed that marker with the wipe, and you can see how much ink is still left:
The next method I’ve only heard about, and I didn’t expect it to work; it’s using hand sanitizer. I had some in my purse, so I grabbed it, soaked a cotton ball with it, and wa-la, it took the ink RiGHT OFF, easy as pie!:
Now the R24 was so clean, I had to grab another marker, my E29; look at the mess on that one.
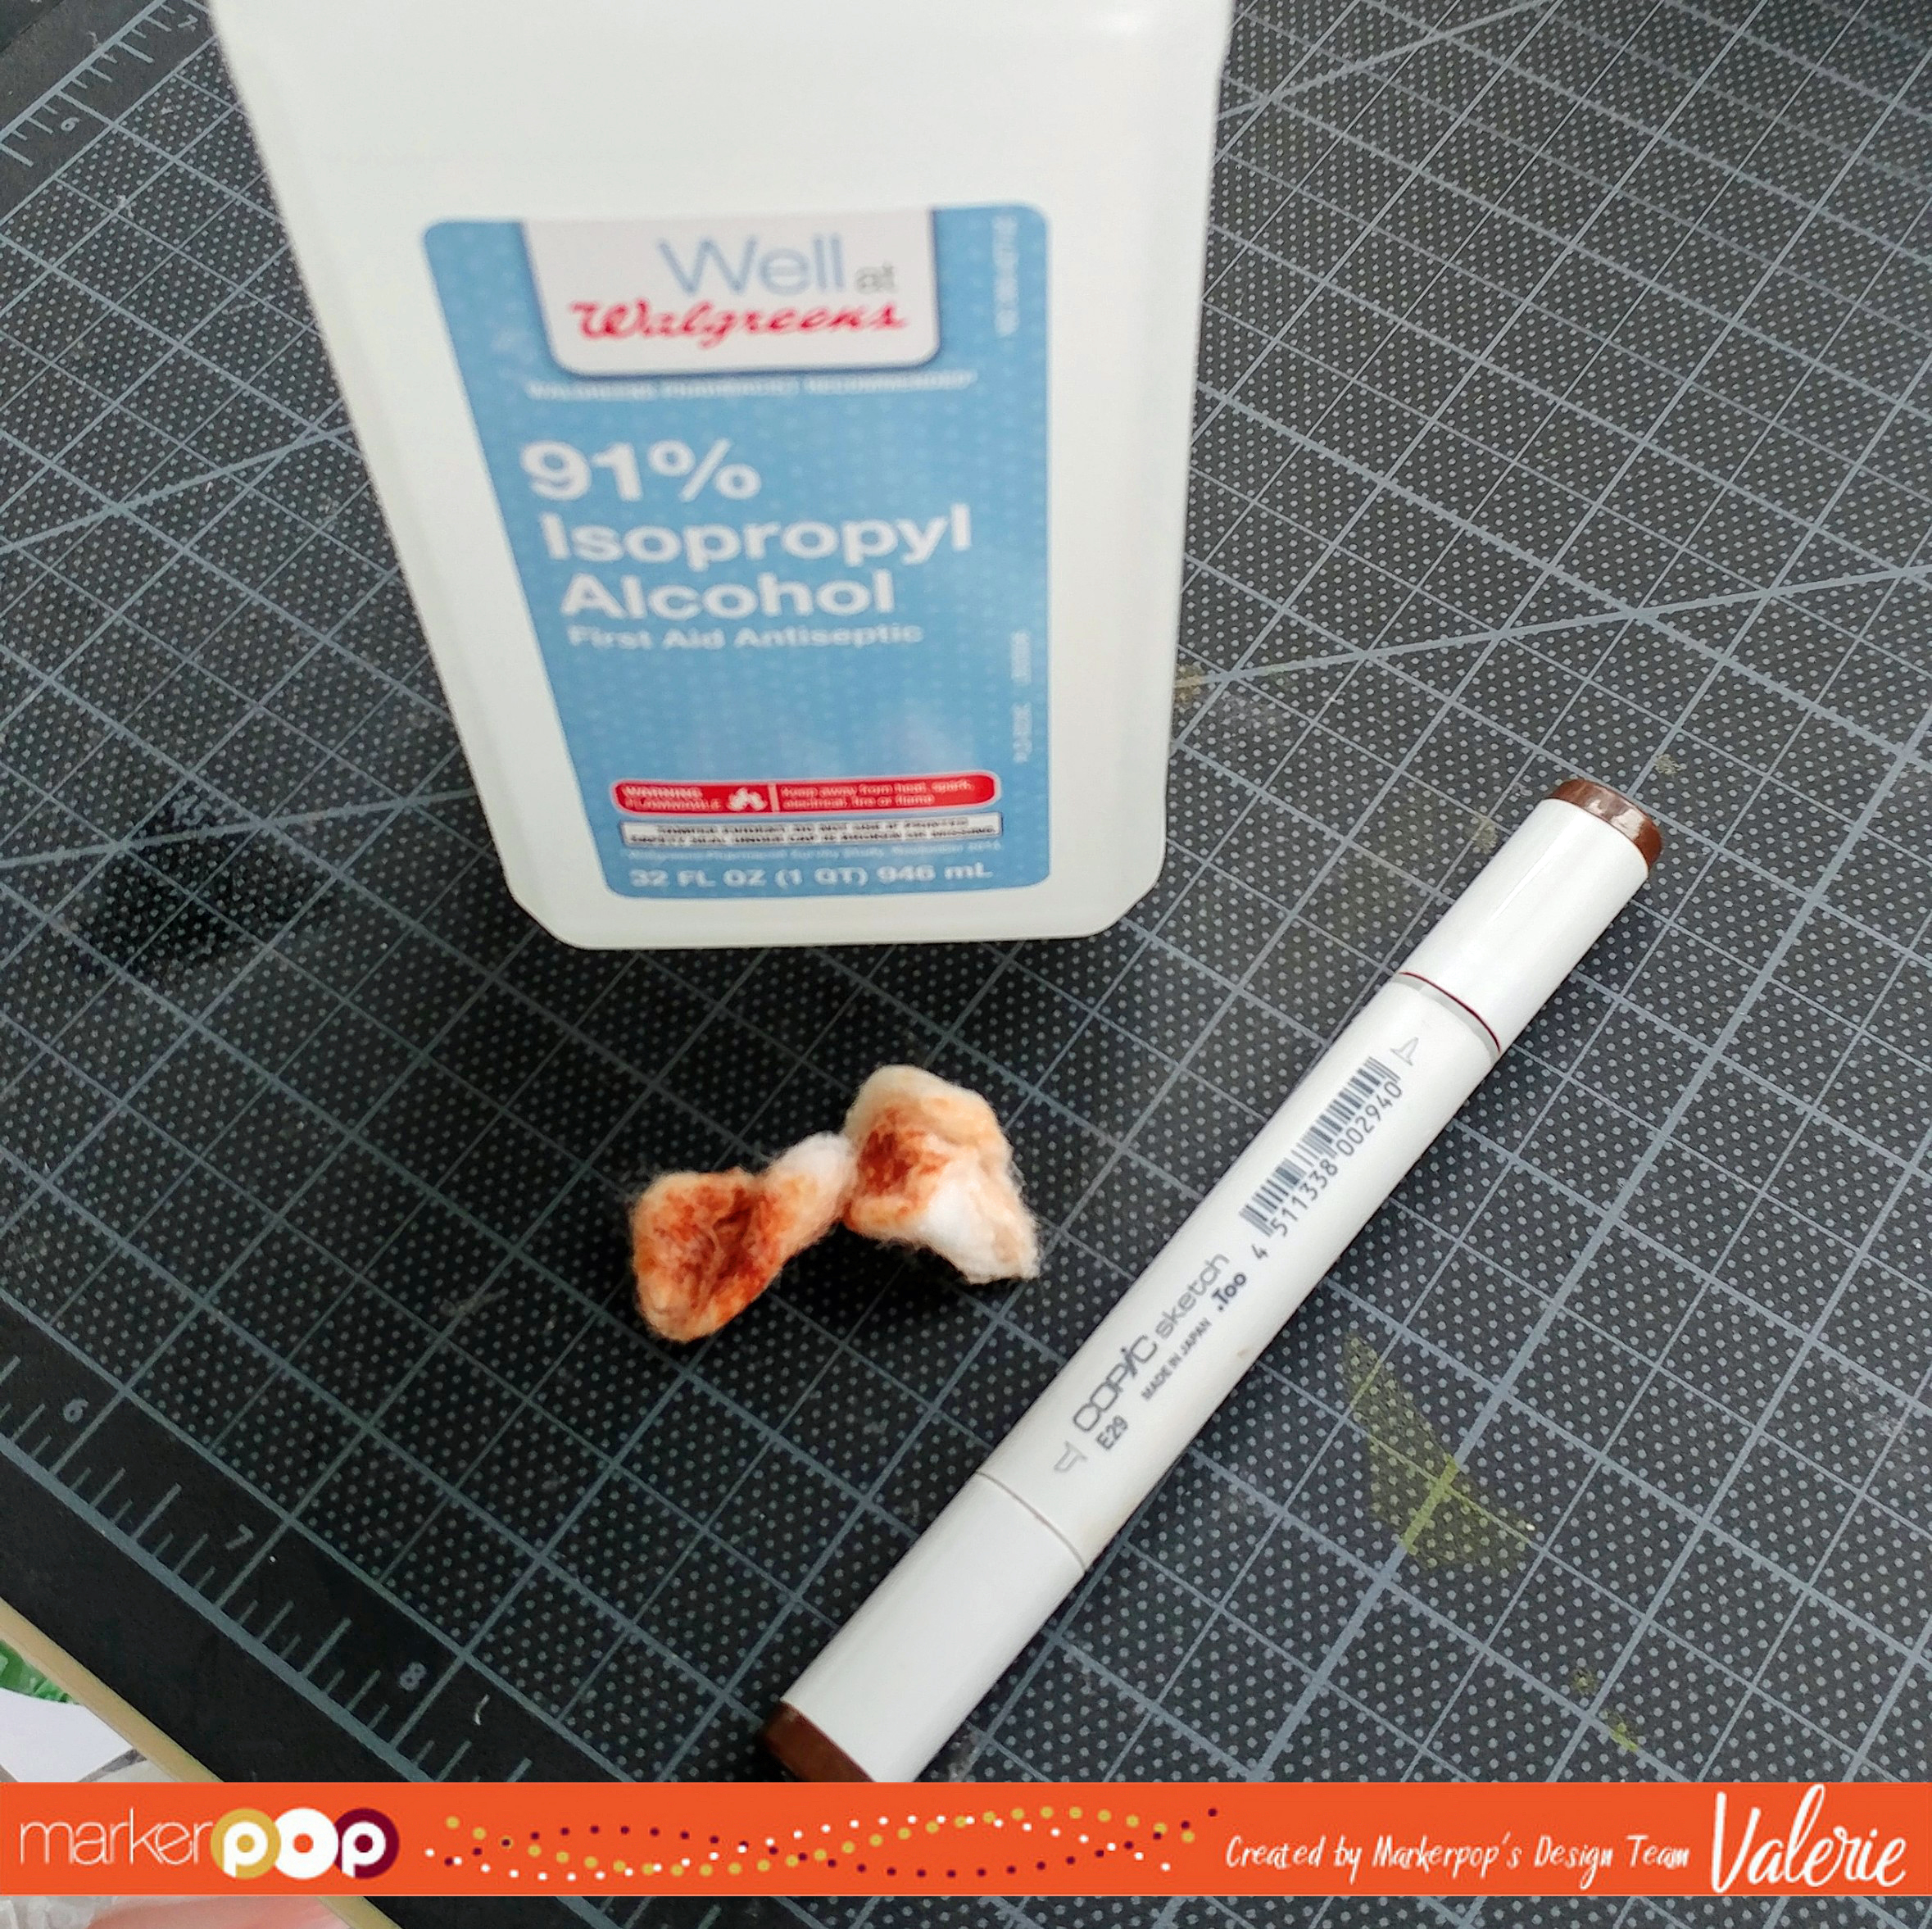
This time I used my most trusted method that I love, and that’s isopropyl alcohol. Get a cotton ball soaked with it, and you’ll see the ink come off your marker beautifully!:

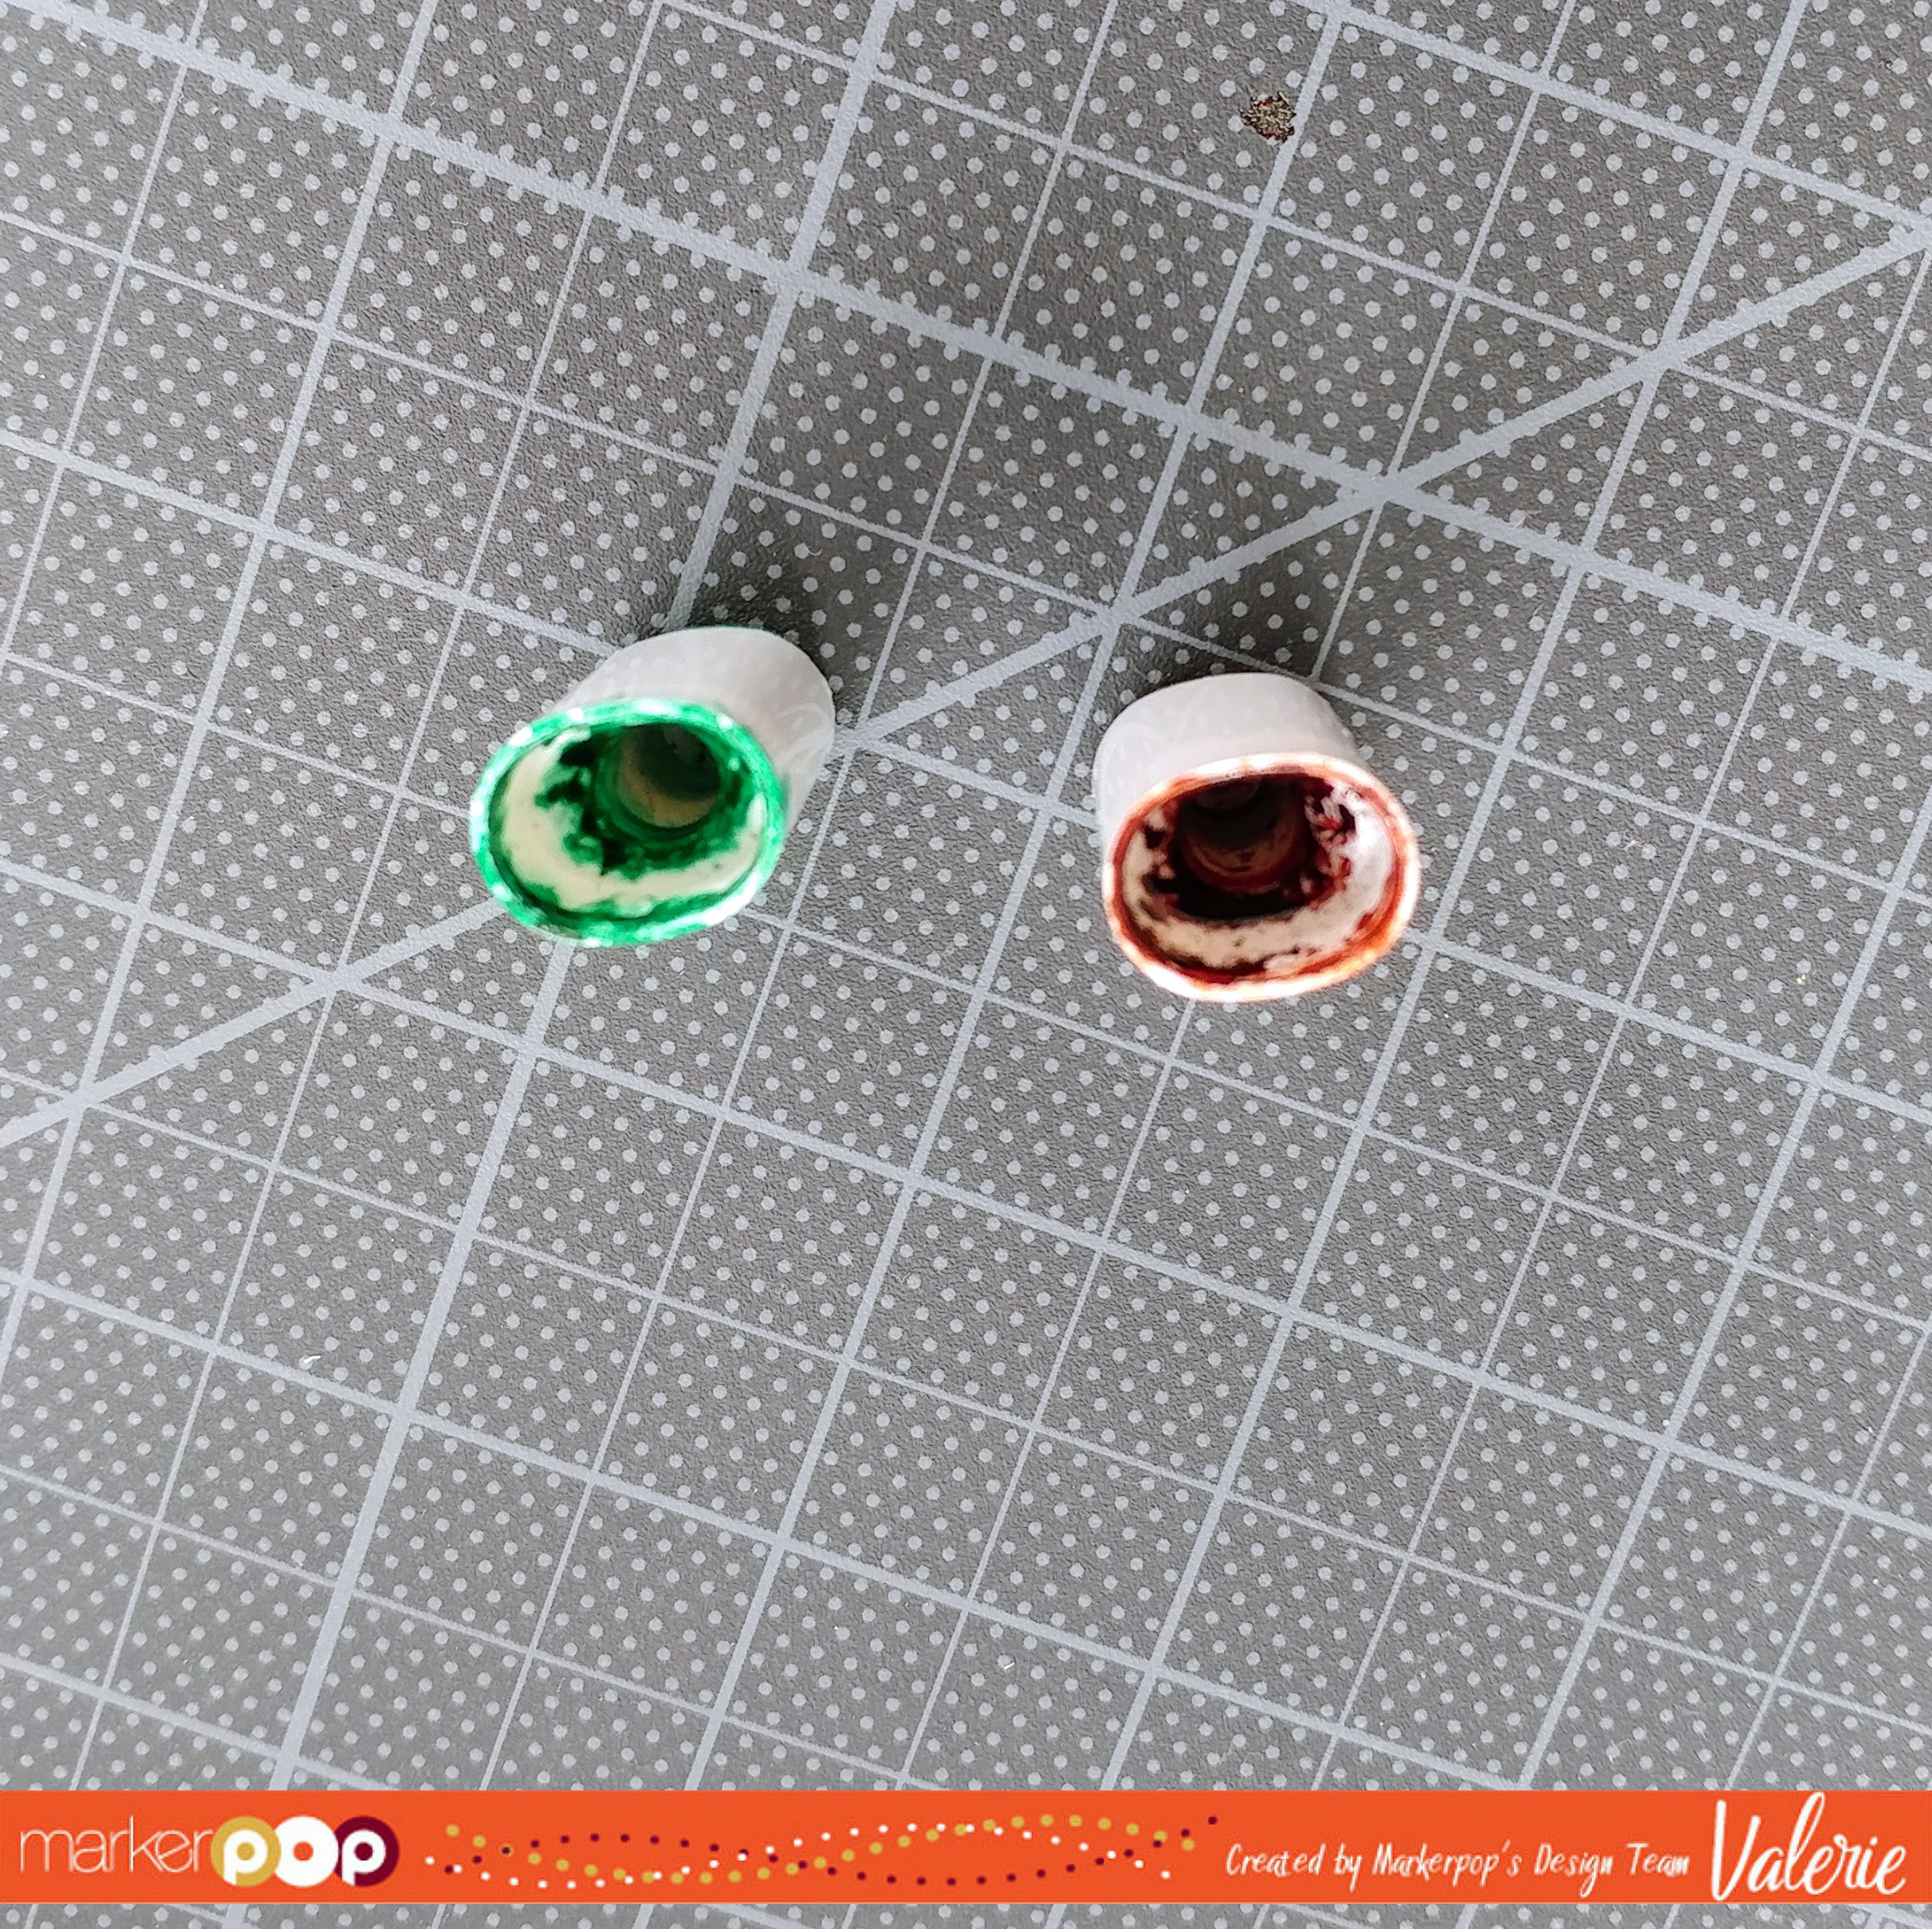
Now the hard part… the INSIDES of the caps (blech!):

First I soaked a Q-tip in hand sanitizer, and got to work on the insides. It worked, but I could see I’d go through 10 or more Q-tips on each cap:
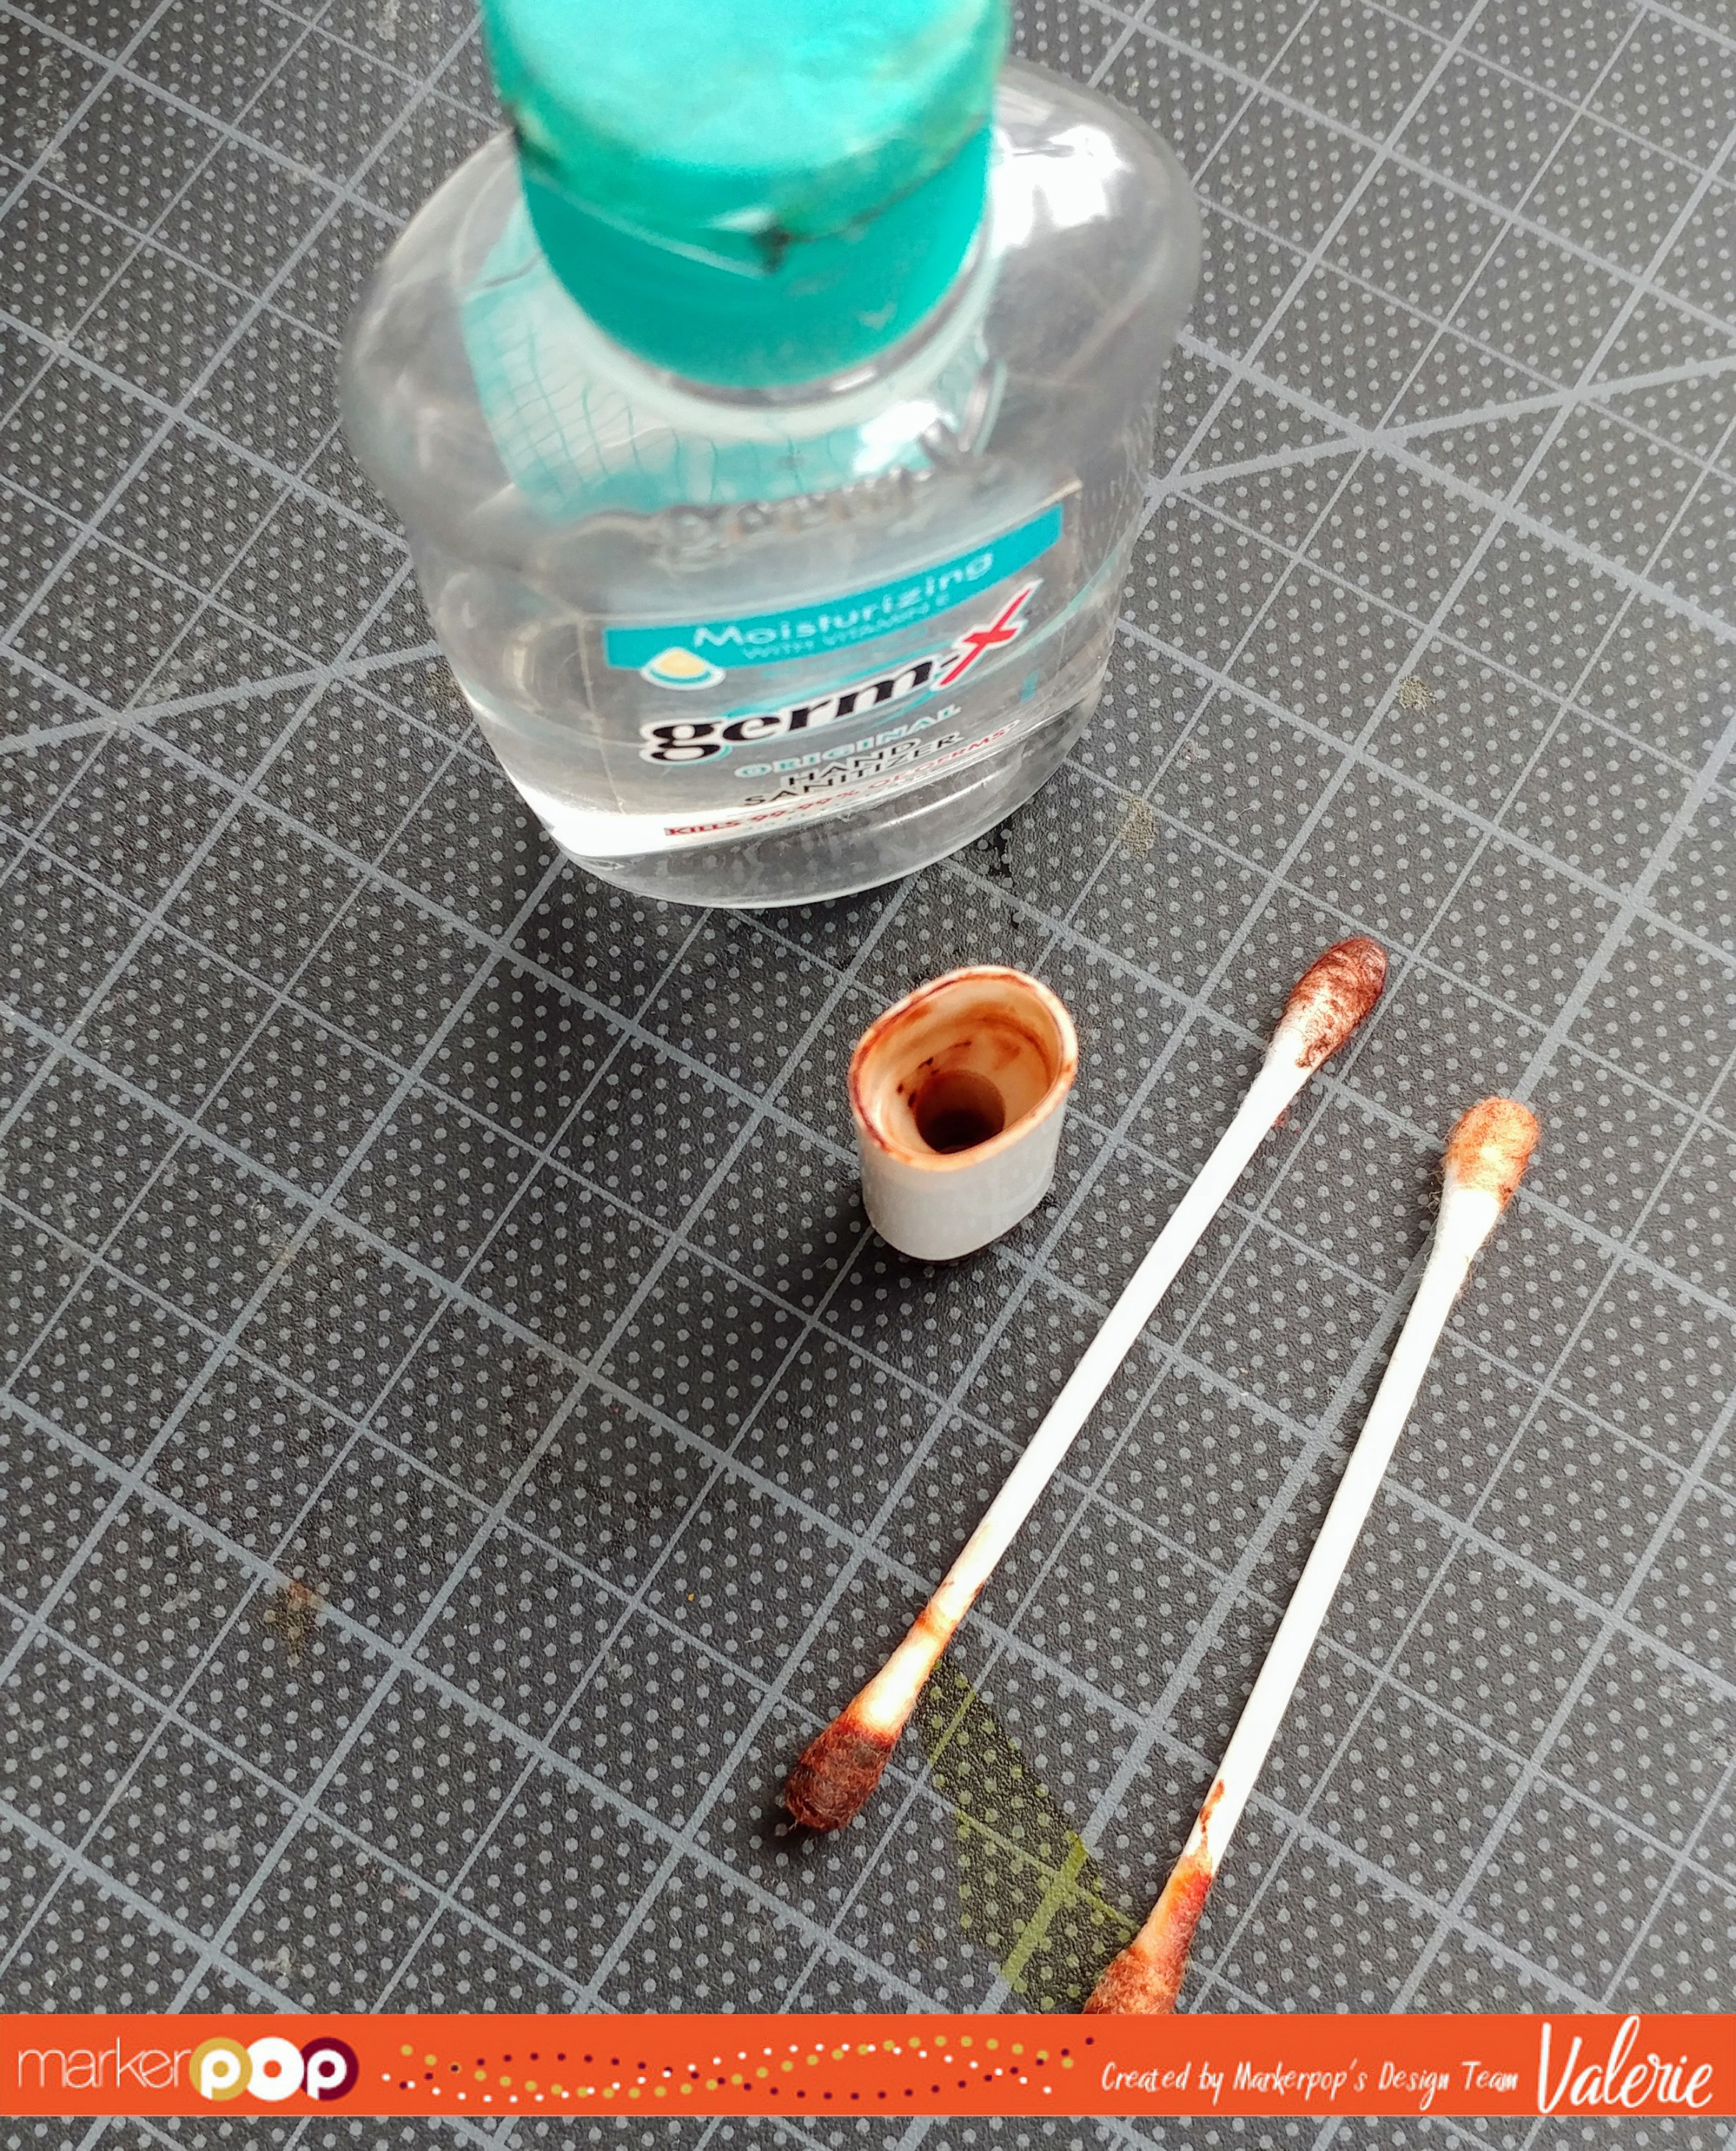
So instead, I poured my isopropyl alcohol (i.a.) into the caps, then rubbed the insides of the caps (while still filled with i.a.) with Q-tips. I poured out the then colored i.o and rinsed with water. Look how beautiful they got!:
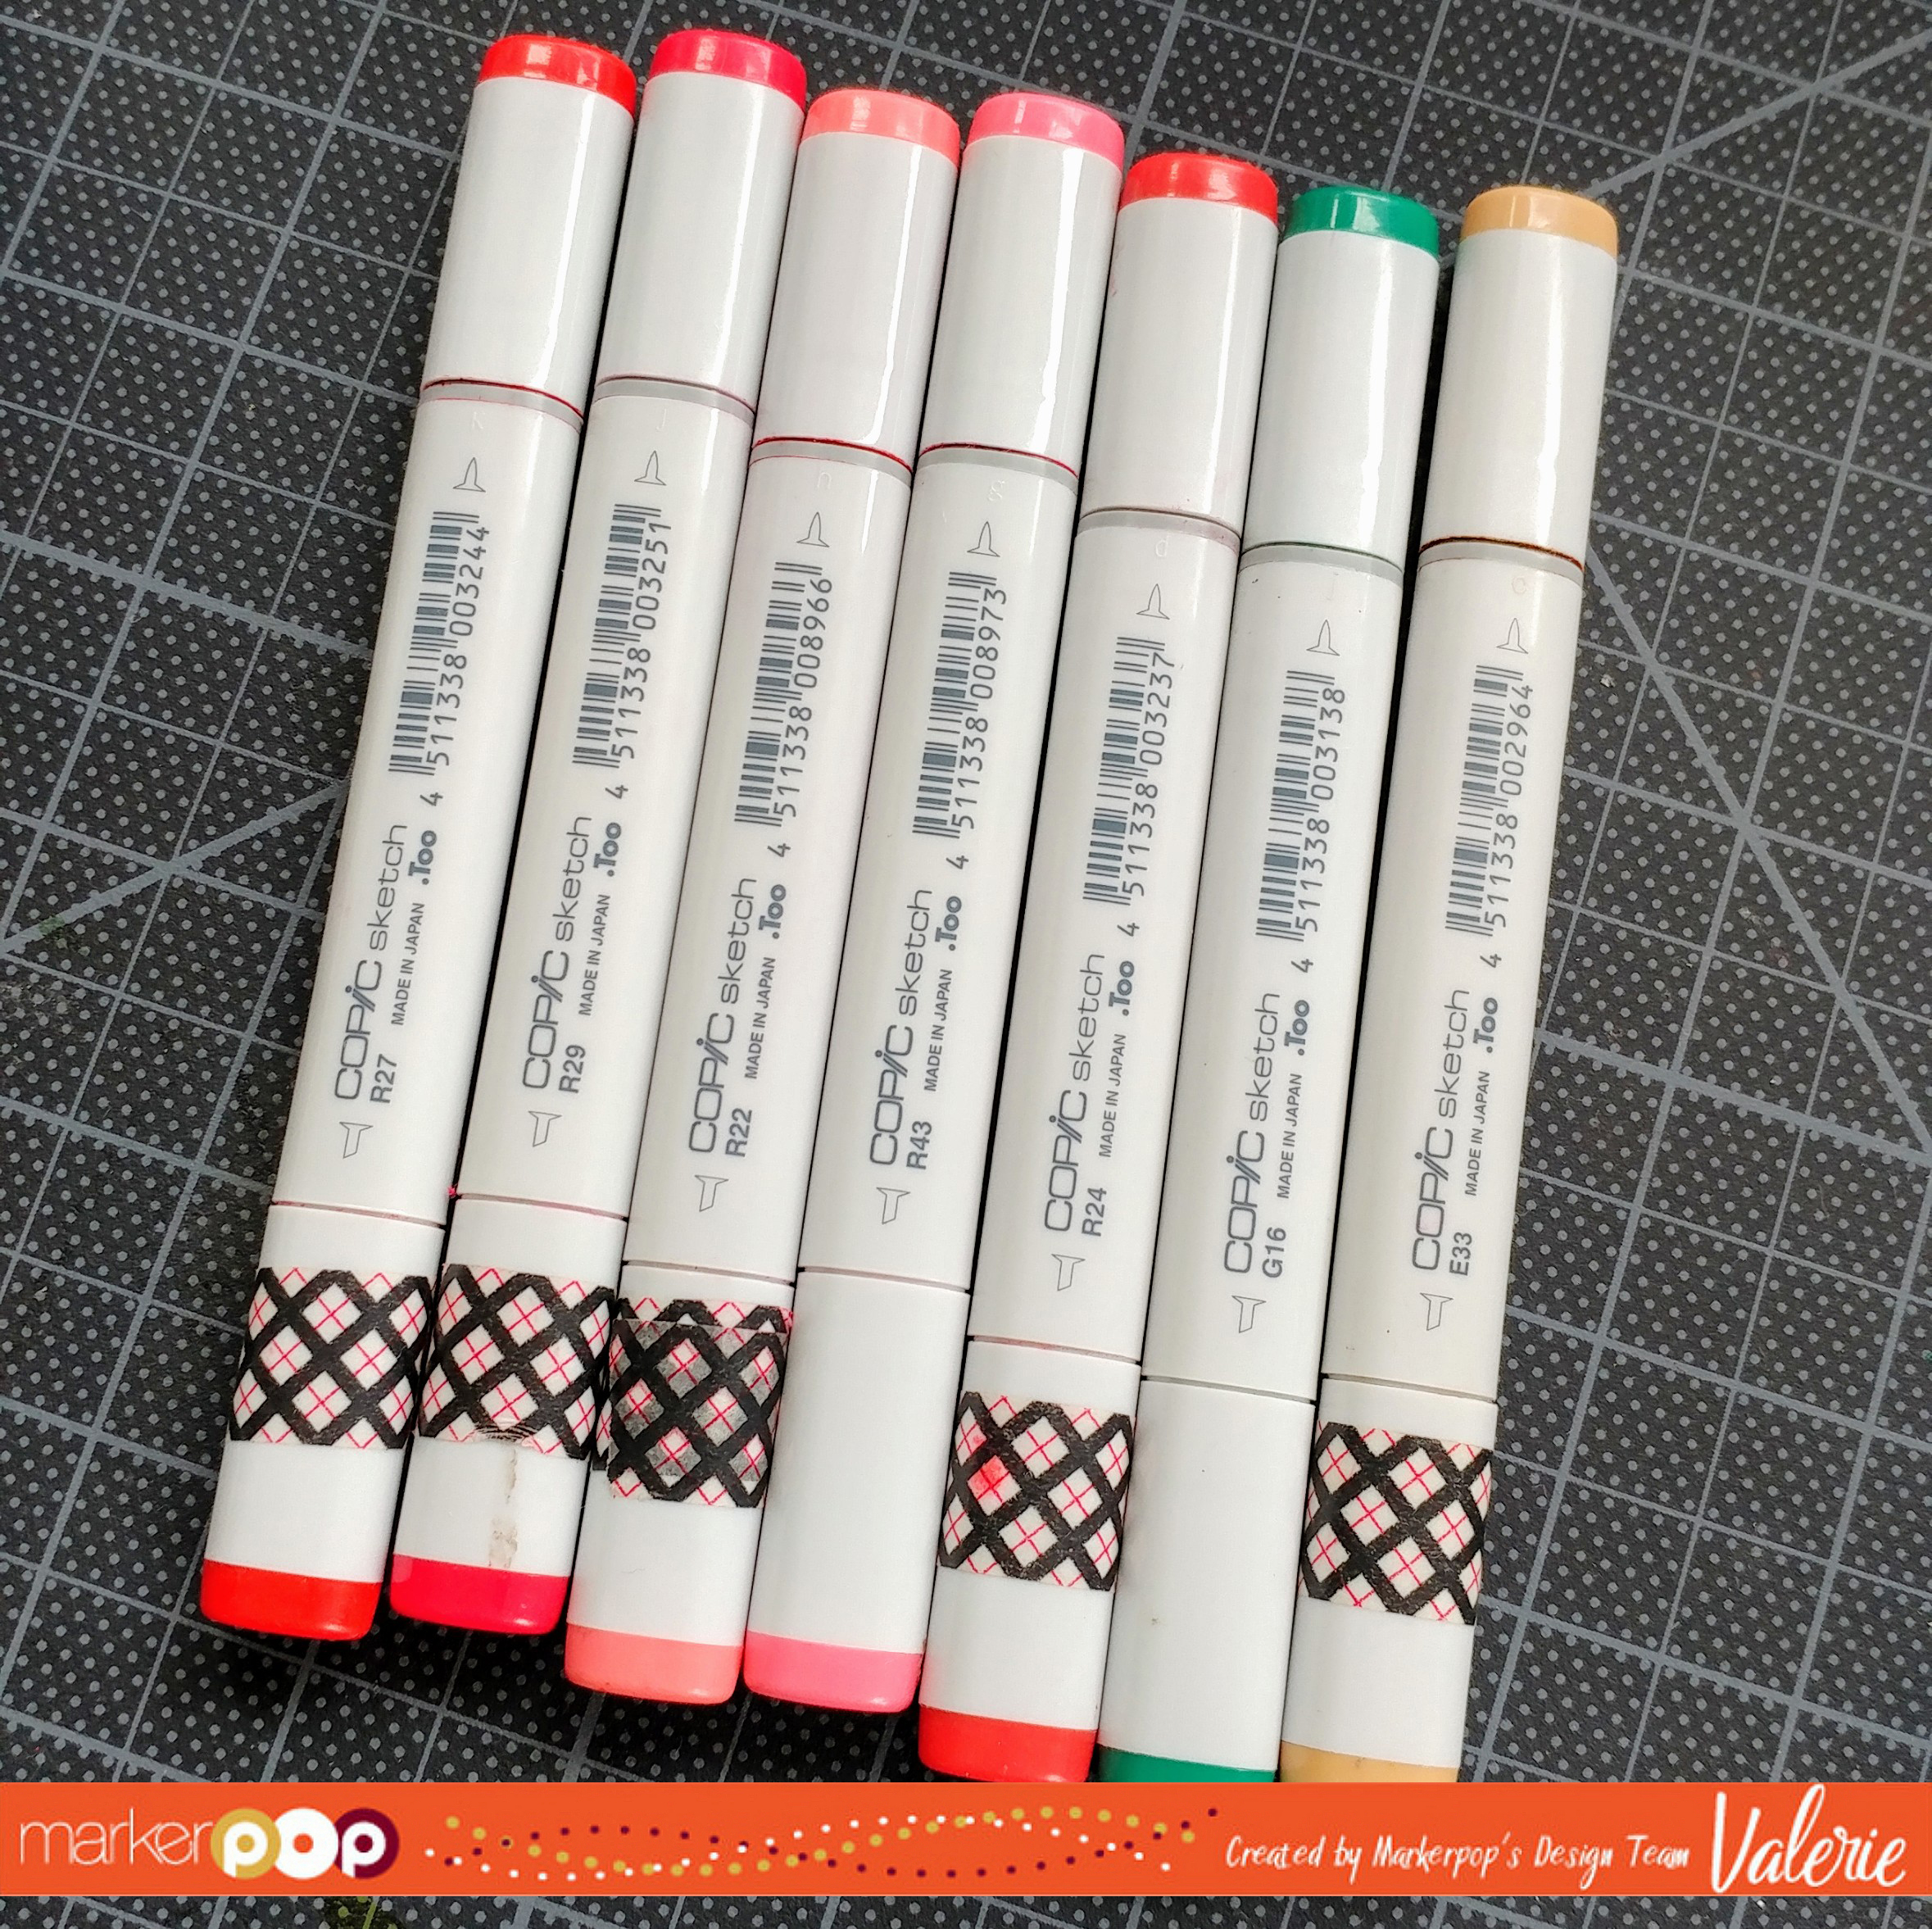
Here is that original set of markers from the beginning of the post, and clean and shiny again:
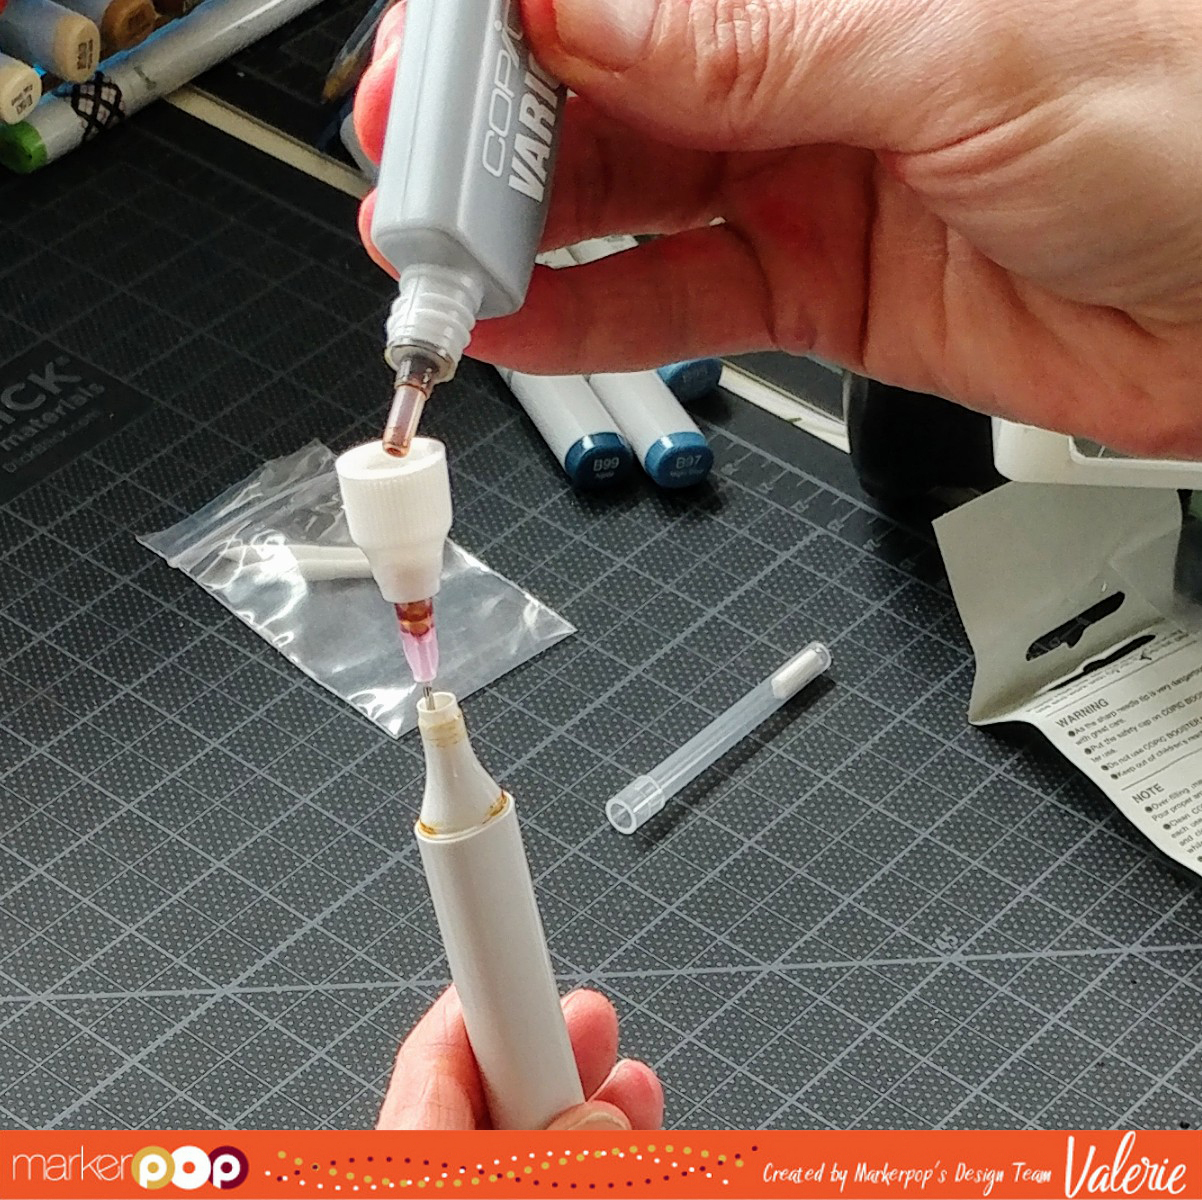
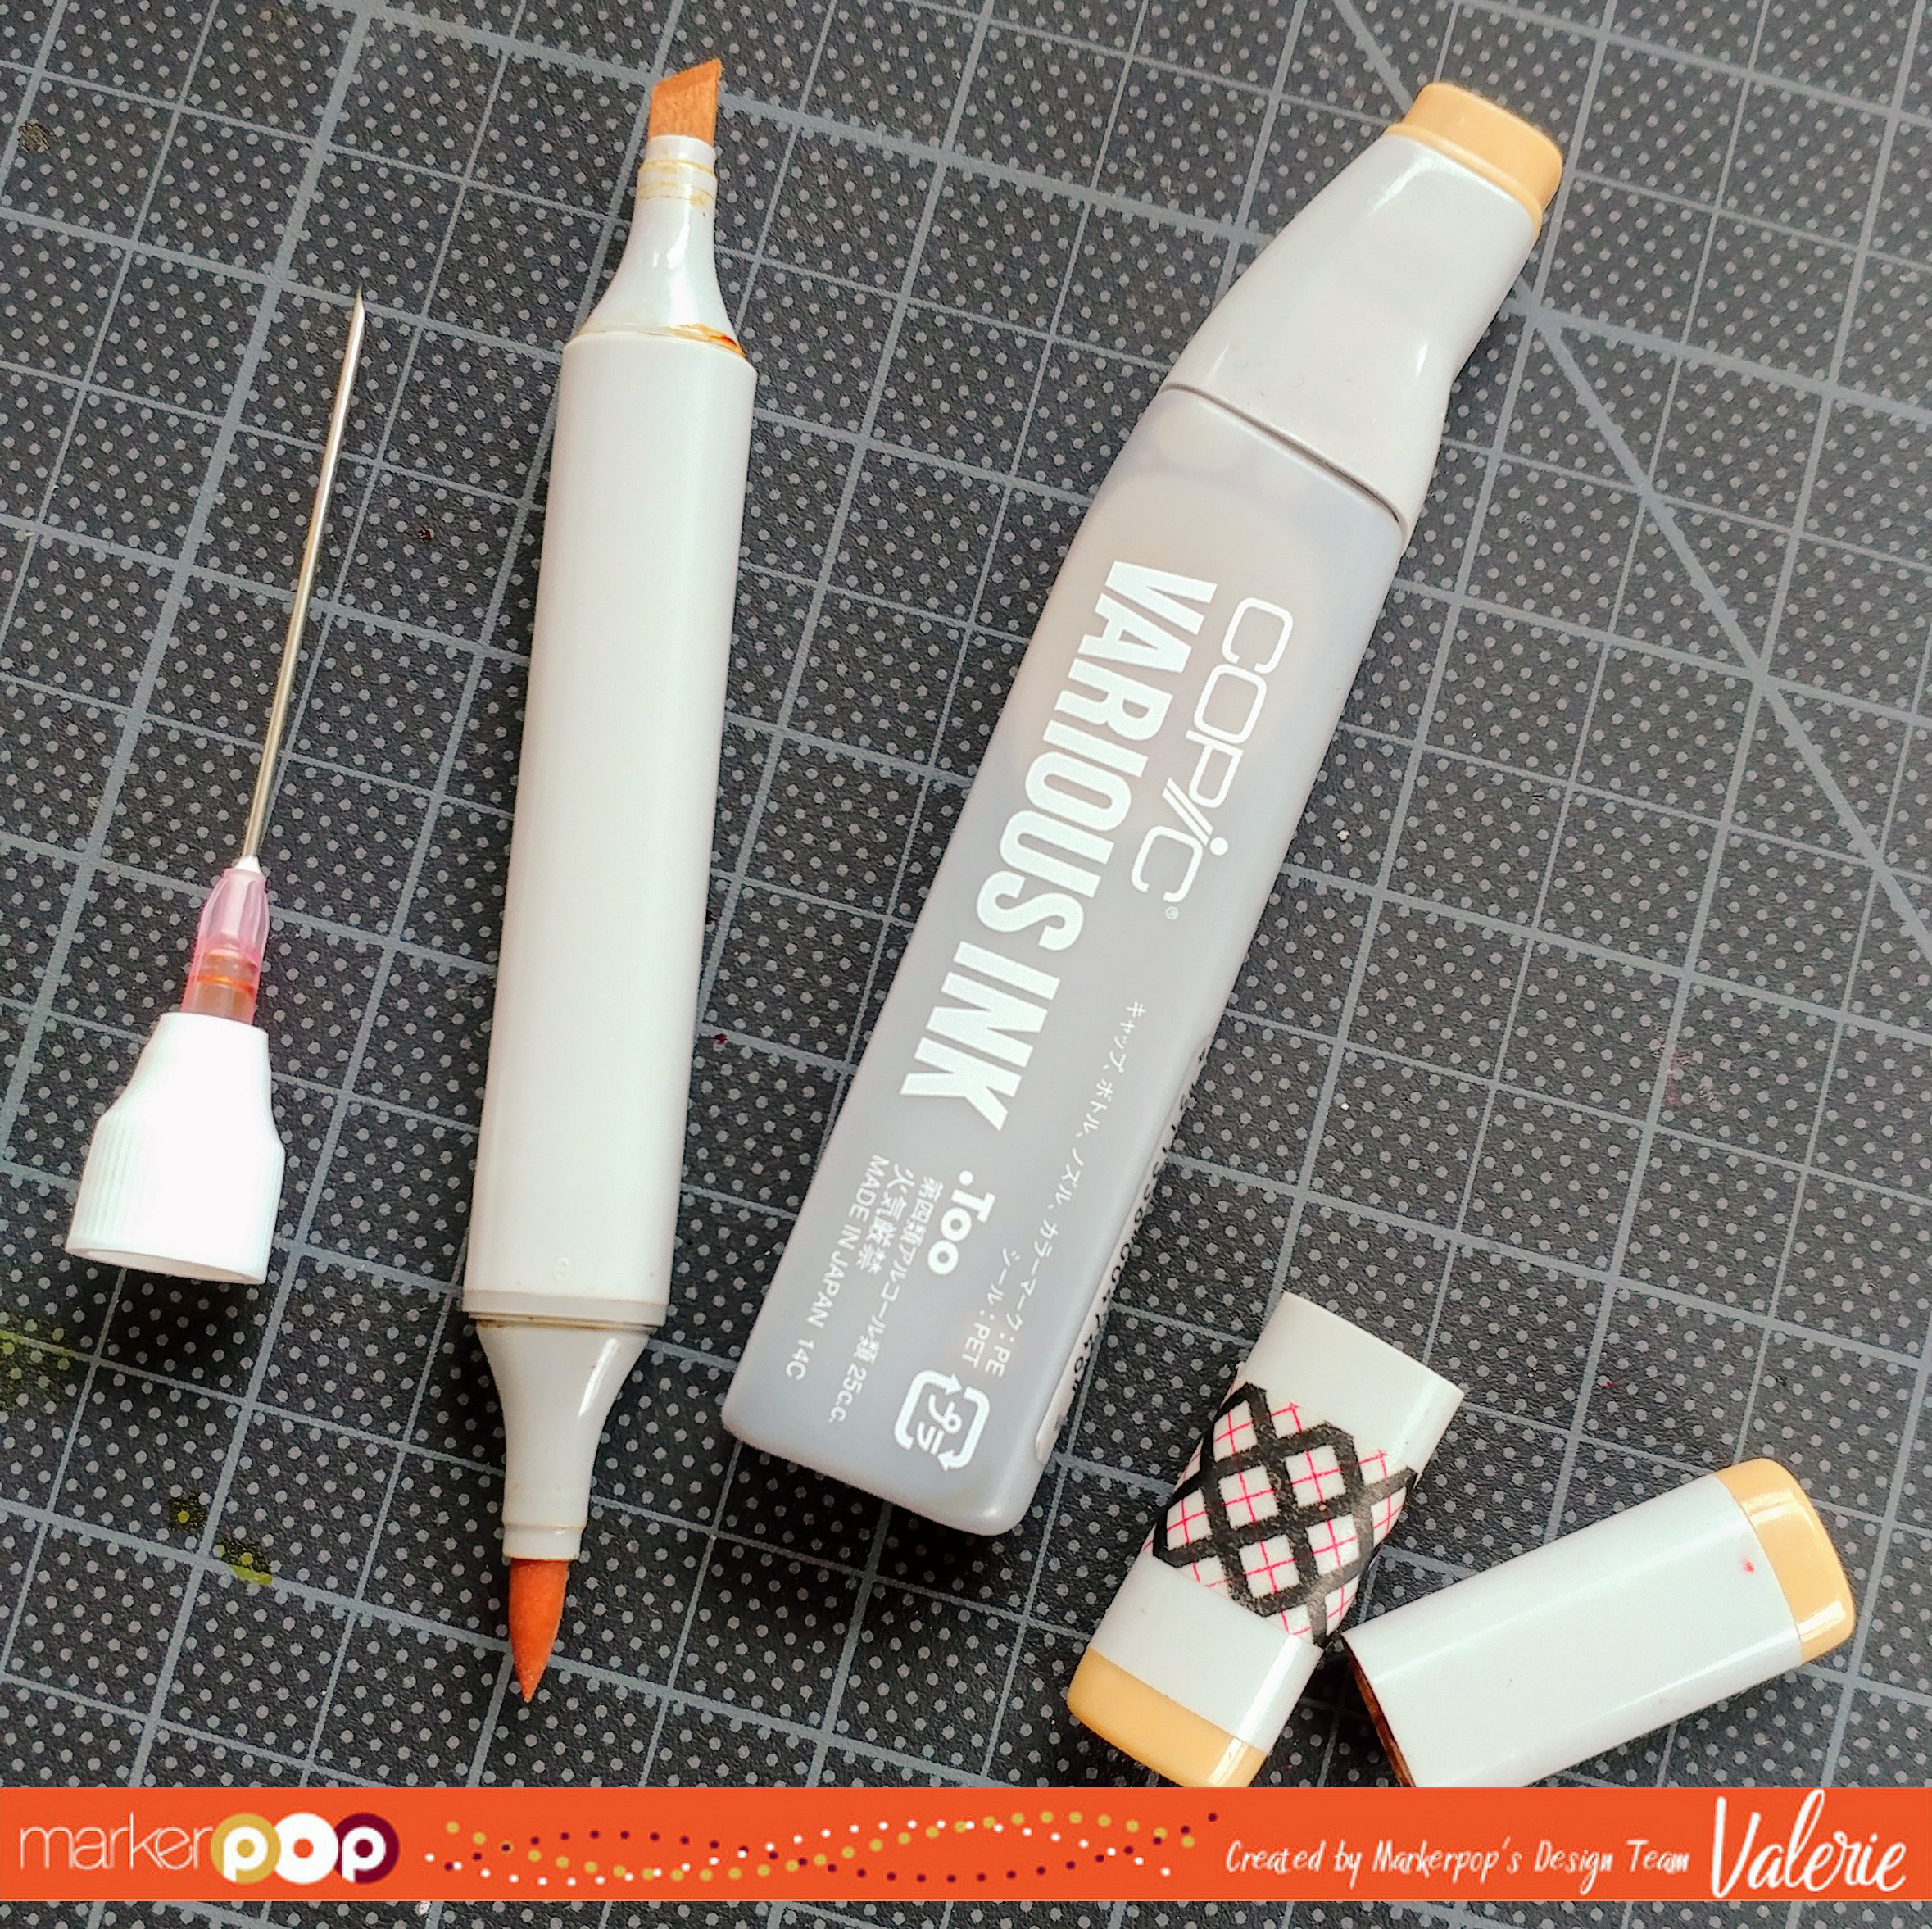
I’m going to move on to another issue we all have once-in-awhile… a dried out nib. What you’ll need is a new nib, Nib Tweezers if you have them (I don’t), Copic Boosters, and your Refill Ink.
First, pull out the old nib, and put your new nib in; here’s my new nib in my marker barrel. In the background, you can see I’ve pulled the Booster needle out of it’s plastic cap; it’s like a long needle with a base on it:
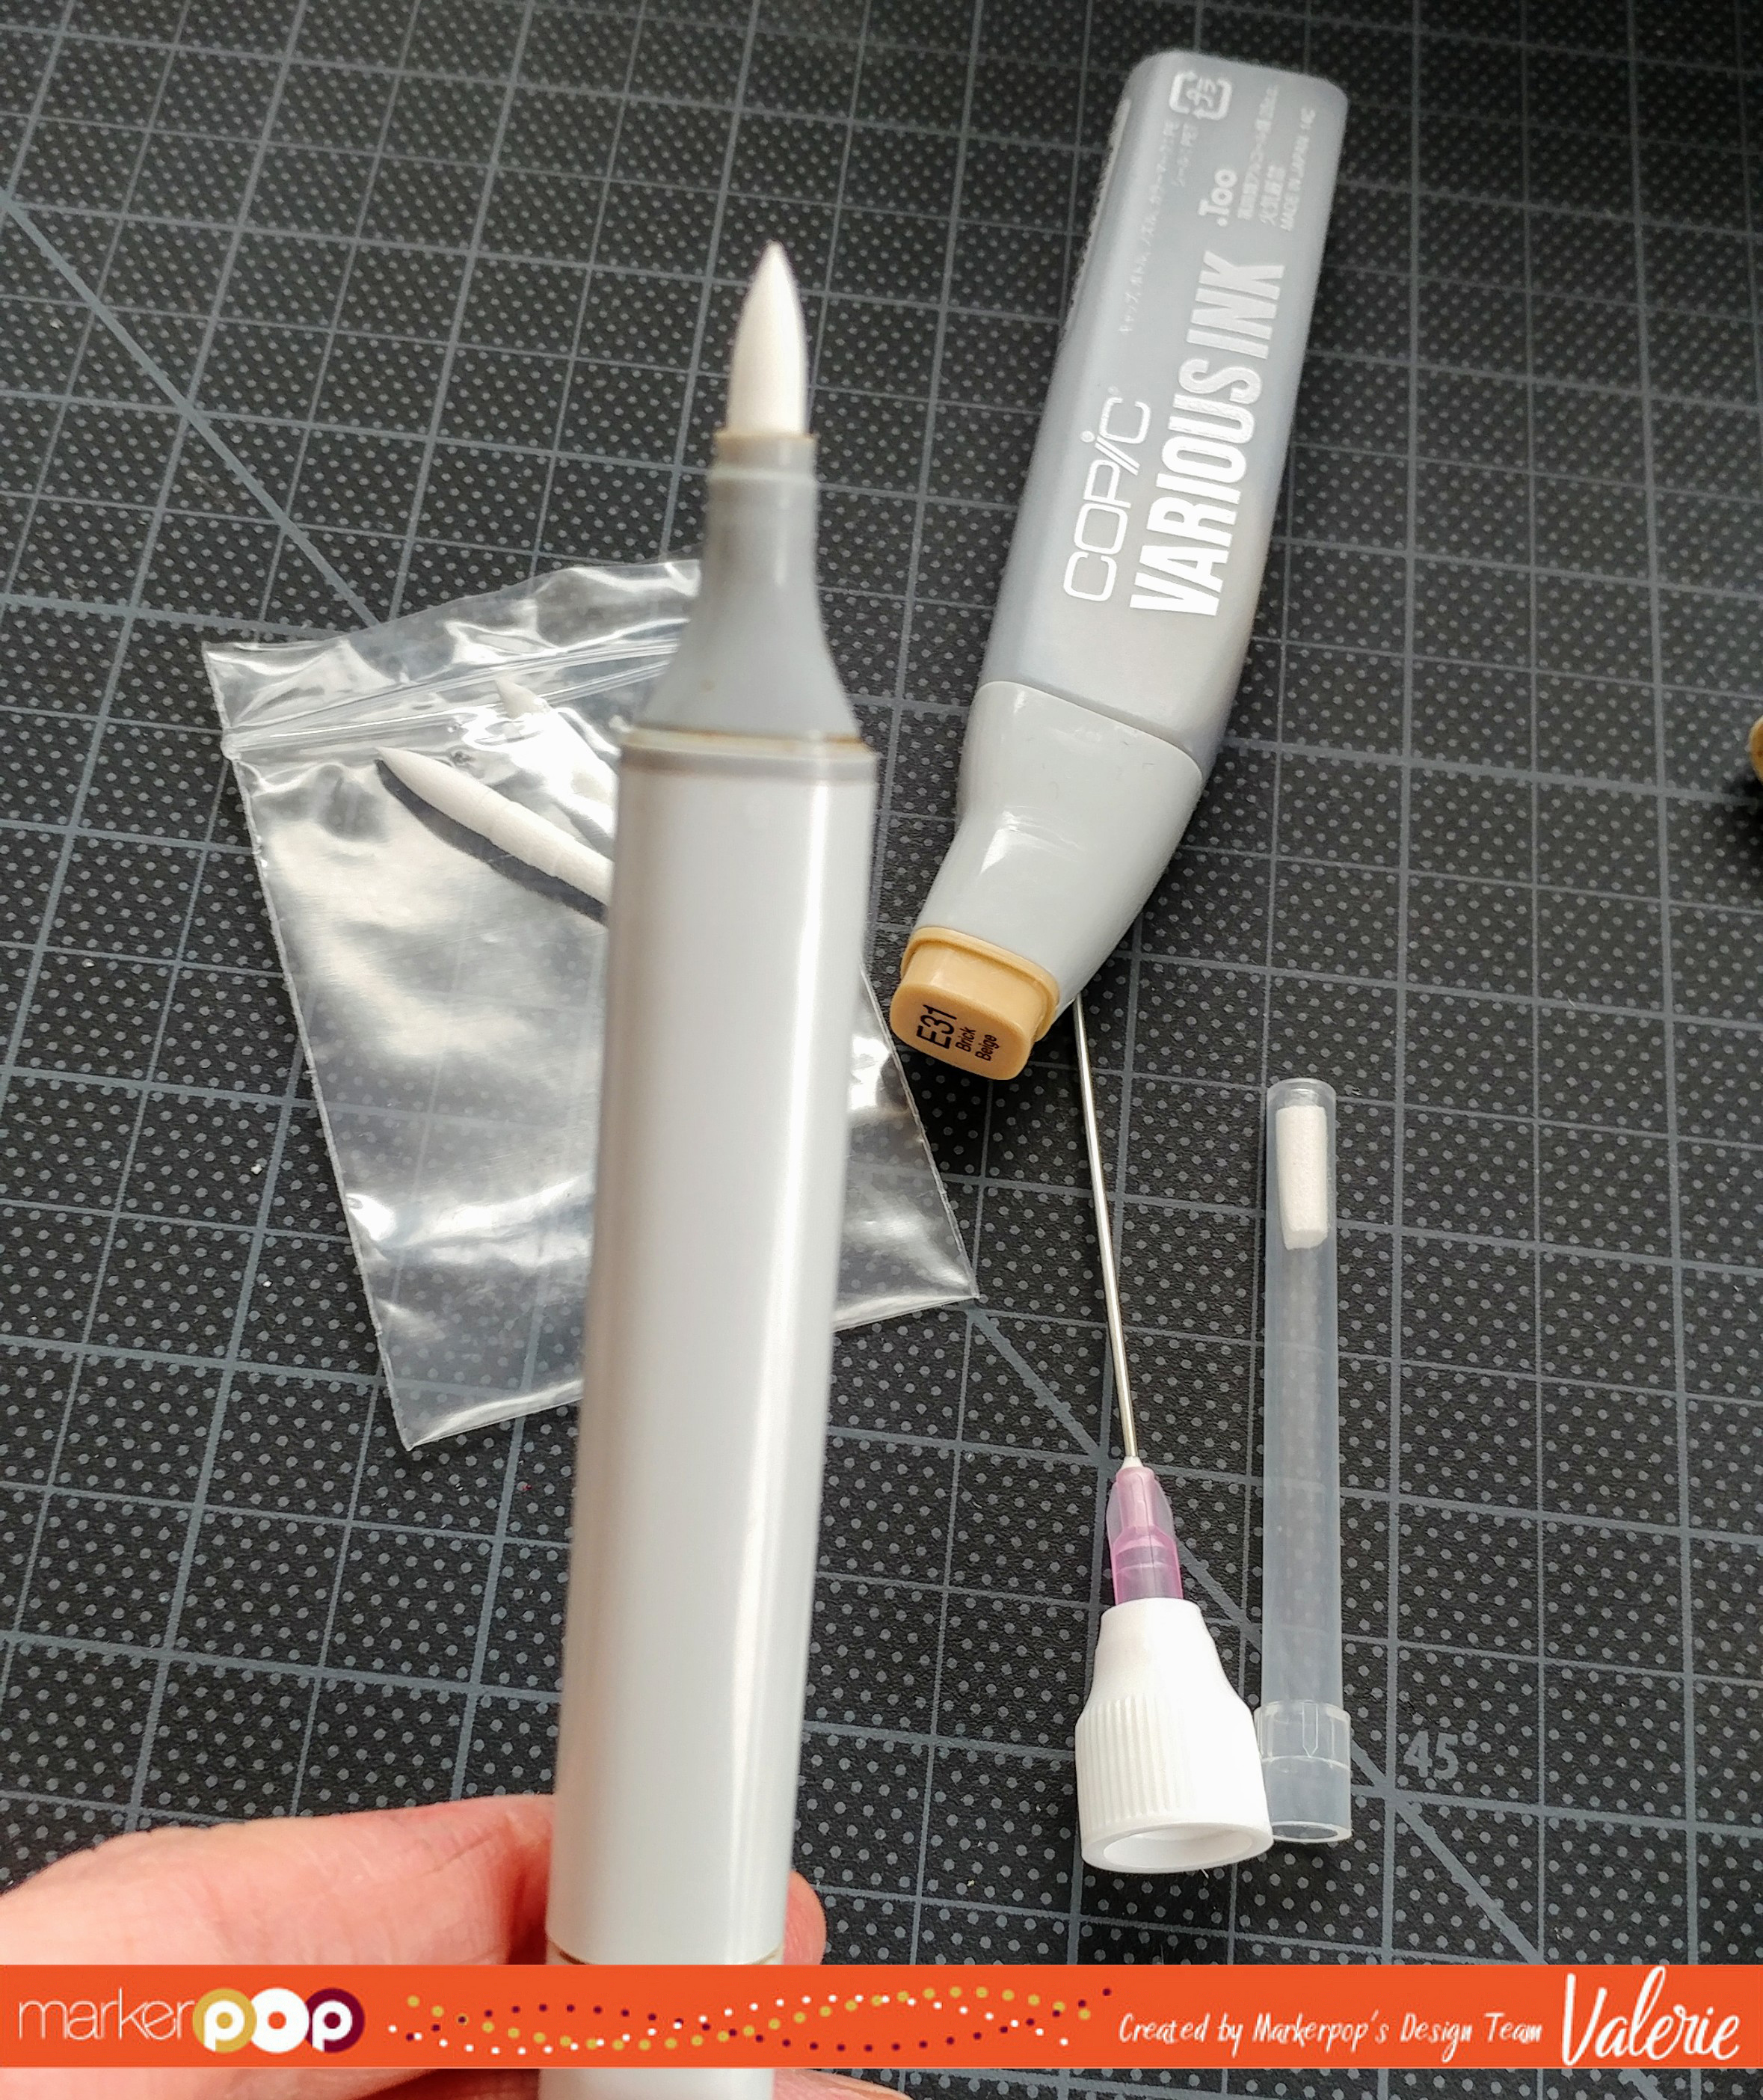
Go to your wide end of your marker, take it out, and then put the booster needle into the inside of the marker:
Then start dripping the ink in; you’ll know when it’s full when the nib on the other end gets all juicy & wet. Then put the nibs back in:
So there she is! A clean, filled, great working Copic marker!:
Thanks for stopping by, and don’t forget to go to check out the other designers’ Copic posts!

Whale Wishes Spinner!!

Written by Holly Endress. Posted in Eye Candy (Projects), Tips & Tricks, Tutorials, Uncategorized, Videos

Hey everybody.. Happy Friday!!! It’s Holly here today with a fun Interactive Spinner card. I’m a little behind on using my Mama Elephant stamps and Dies.. there are a lot of new release products sitting on my desk waiting for some ink! Today I’m using the super cute Whale Wishes and the coordinating Dies along with the Framed Tags Columbus Circle Creative Cuts and the Ocean Wave Trio dies from the same release.

mp1

There’s a video below with more details on how I created this card with some tips as well. The Whale jumping out of the water is the Spinner on my card. I started by die cutting a piece of Neenah Solar White card stock with the Sew Fancy Creative Cuts and then I used the Columbus Circle creative Cut for the center of the panel. I stamped the sentiment on the lower portion of the card using the Mini Misti and some VersaFine Black ink. I added a few of the water splashes from the set using some Fish Tank ink from Lawn Fawn.

mp2

Then I die cut a circle from a piece of Tim Holtz Watercolor Card stock and using some Distress inks in Squeezed Lemonade, Spun Sugar & Tumbled Glass I created a sunset with a Mini ink blending tool. Then I die cut the waves from the same piece of watercolor card stock and added some Tumbled Glass, Salty Ocean and Mermaid Lagoon Distress inks. I added the waves in the circle area on the front panel and used some foam tape between the layers. I stamped the Whales and die cut them out and adhered them. For a little pop of color on the Whales I added some Copic marker in R000  around their cheeks.

mp3

The upper Whale has a spinner element behind it allowing it to spin around. There are many techniques on how to create a spinner element on your cards and different products you can use. I used some elements from MFT’s April card kit that will be released in June. Once all the images were in place I added some additional adhesive and added the front panel to a top folding Licorice  A2 sized card base. I created two different cards one where the Whale will spin behind the wave and the other it spins in front of the wave.

mp4

Check out the Video Below for more details on how I created these cards. Thanks for stopping by today!

12741890_10208671583206779_8747021650263878740_n

Three Ways Watercolor Card

Written by Heidi. Posted in Eye Candy (Projects), Tips & Tricks, Uncategorized

Hello everybody, Heidi here, welcome back to the MarkerPOP blog, today I am sharing with you three easy to make cards suing the raise die cut technique over a water colored background.

For this card I used the new “Scripty Friends die” by Lawn Fawn, and to create the backgrounds I used the”Kuretake ZiG Clean Color Real Brush Markers

20160419_214126 It so easy to water color using the Zig real brush markers, the color is very intense and the brush tip makes the work so much fun and easier.

20160419_214100

I used four layers on each diecut piece so it has more dimension, I used Bazzil cardstock to cut the layers, which I adhered using Tombow liquid glue.

20160419_214115

I cut the scripty die using black, white and the watercolored cardstock.  You could also pop the water colored diecuts over a white background or even a black background, so you have lots of choices with this technique!

20160419_214247

If you have not tried this technique yet please give it a try it is fun and you can make quick and fun cards. All the products I used on today’s cards are available at the Marker POP store

Thanks so much for stopping by, have a lovely day!

Heidi

Sending Warm Fuzzies with Sunny Studio Stamps

Written by Heidi. Posted in Eye Candy (Projects), Tips & Tricks, Uncategorized

Hello everybody Heidi here, and welcome back to the MakerPOP blog! I have exciting news for you today: We have a ton of new products coming to the MarkerPOP store, and one of those fabulous new brands that we are welcoming is, the Sunny Studio Stamps!

Sunny Studio

Sunny Studio stamps are such adorable and cute designs that you will love, and to celebrate the new arrival, the MarkerPOP store is offering you 20% off on all the Sunny Studio Stamps and dies on pre-order! Use the code (APR202016) at check out, but hurry because this amazing discount is only valid until 04/08/2016.   I also made a card showcasing the adorable “Furever Friends” stamp and die set!

20160405_211046

For this card I stamped and colored the images using Copic Markers, I also used the “Dienamic Blueprints 27“. It’s a fantastic die set, an essential set of dies for card making!

I stenciled the background using the “English Brick wall” stencil by My Favorite Things, and some “Worn Lipstick Distress Ink” by Ranger.

20160405_211110

The patterned paper is from the “Let’s Polka in the Meadow” 6×6 paper pad by Lawn Fawn and I also used some “Marshmallow” cardstock by Bazzil!

I hope you enjoyed this card, don’t forget to use the discount code (APR202016) for 20% off all the Sunny Studio Stamps and dies, good until 04/08/2016

Thanks so much for stopping by, have a lovely day!

MPOP photo

Grab Our Button

i Luv MarkerPOP
Show some MarkerPOP LUV,

add this button to your blog.

I’m a Winner!

I'm a Winner on MarkerPOP Blog
Copy and paste the code under the badge

to claim your bragging rights!

I’ve Made Top 3!

WoHooooo I made it to the Top 3 on MarkerPOP Blog
Copy and paste the code under the badge

to claim your bragging rights!

Visit Us!

MarkerPOP Free Shipping MarkerPOP Boutique
18299 Mount Baldy Cir
Fountain Valley, CA 92708
Toll Free: 1-855-312-1222
Phone: 1-714-249-1222