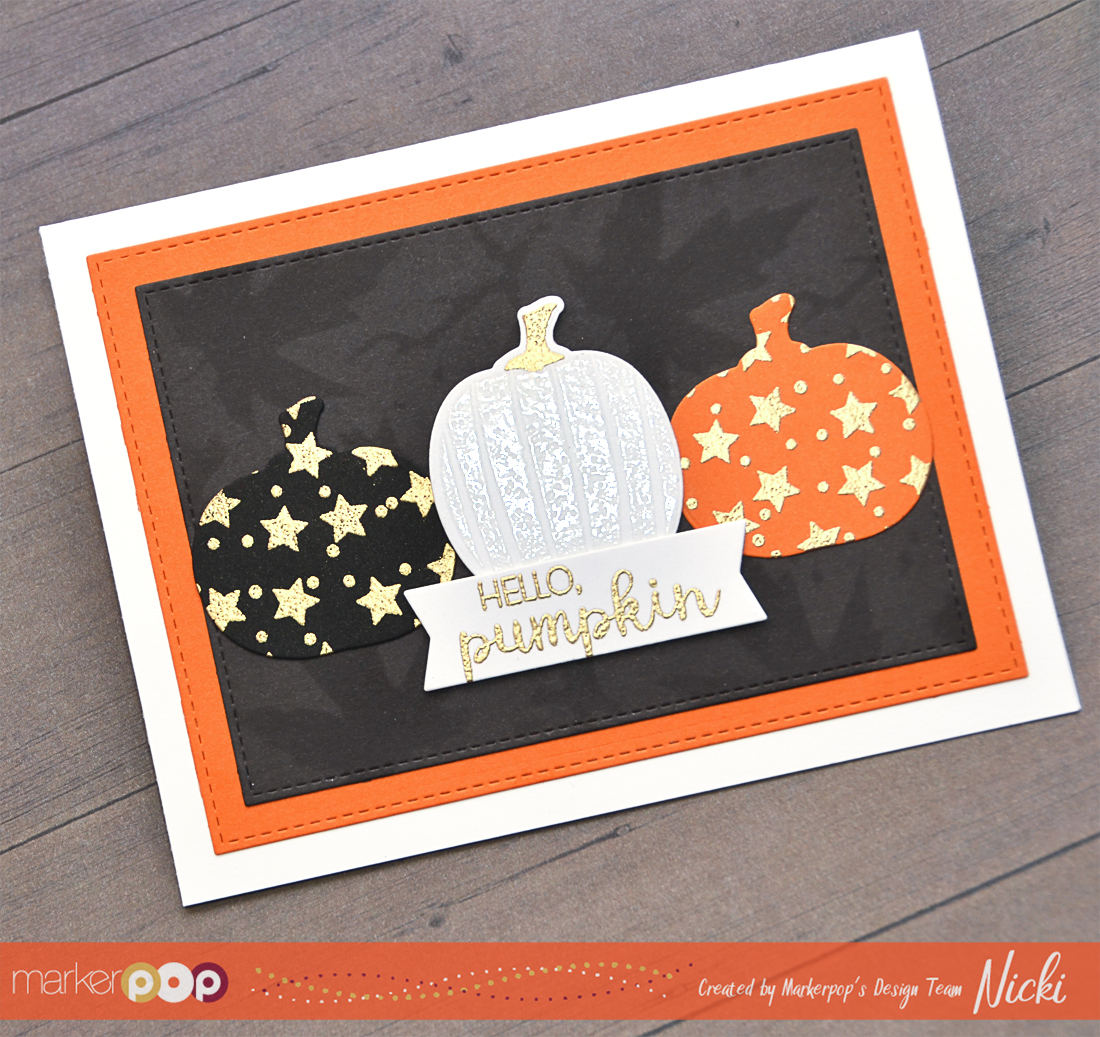
$10 Gift Voucher - Leave a Comment

Author Archive

Hello, Pumpkin

Written by Nicki Scheck. Posted in Eye Candy (Projects)

Hello and happy Thursday everyone. Nicki here today, and before I start with the fun stuff, I wanted to let you know that this will be my last post as a design team member for MarkerPOP. Having a young family, things are becoming very busy for me, and my creativity has been hard to come by lately! I am really disappointed that I’ve had to come to this difficult decision to step down from the team, but I just know it’s the right thing I need to do! Thank you for your lovely comments and encouragement during the last few months of my time here! I have loved being a part of the team!! XOXOX

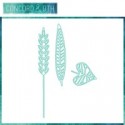
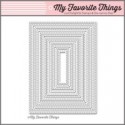
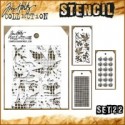
Ok on to the crafty stuff! Today’s card features stamps & dies from My Favorite Things, and a Tim Holtz stencil. First, I started by die cutting an orange piece of card stock from the MFT Blueprints 29 die set. Then, using MFT’s Inside & Out Stitched Rectangle STAX, I die cut the dark grey card stock. To give the background behind the pumpkins a little more interest and texture, I ink blended some Black Soot Distress Ink over Tim Holtz’s Mini Layered Stencil #22 (the leaves stencil). It’s pretty subtle, but I LOVE the effect 😉

mp_pumpkin1_2274

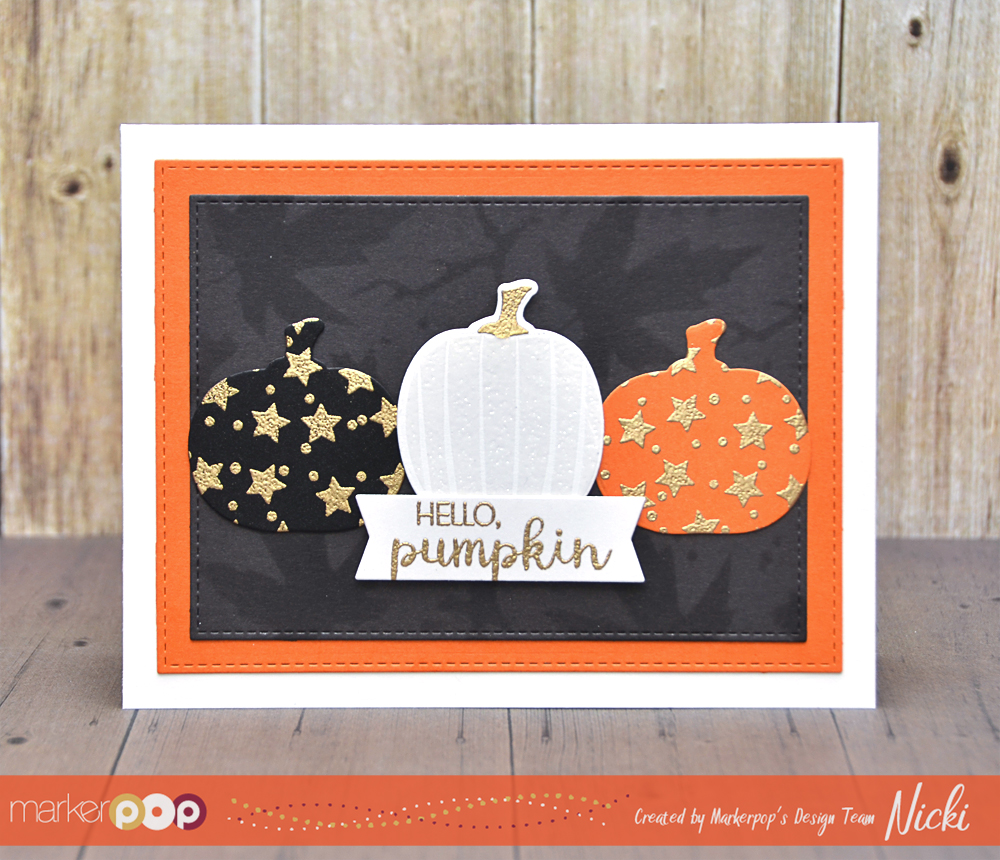
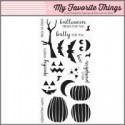
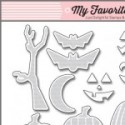
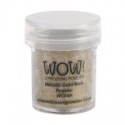
For the black and orange pumpkins, first I repeatedly stamped the star stamp from the Spooky Sweets set with VersaMark ink on black and orange card stock. It was then embossed with WOW! Gold Rich embossing powder–a NEW brand/product in the store! Make sure to check them out…there are a TON of colors to choose from! Then I ran them through my die cut machine using the smallest pumpkin in the Spooky Sweets die set.

mp_pumpkin3_2290

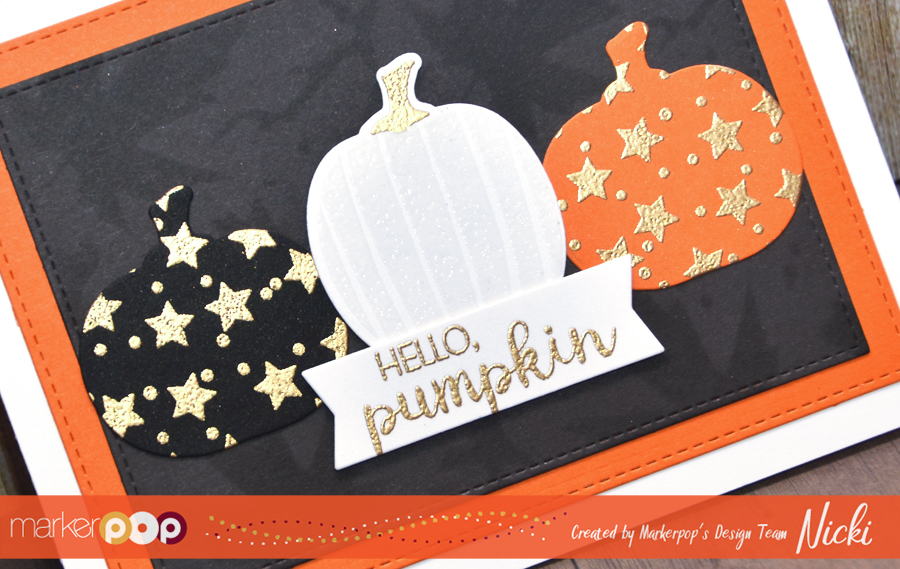
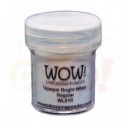
The white pumpkin was also stamped with VersaMark ink onto Neenah white card stock, then heat embossed with WOW! Opaque Bright White embossing powder. The stem was embossed with the Gold Rich EP, then die cut. The sentiment is stamped on Neenah white card stock using the same gold EP, and then die cut using a banner die from MFT Blueprints 29. The white pumpkin and sentiment are popped up using some foam tape for dimension.

mp_pumpkin2_2281

I hope you’ve enjoyed my fall/Halloween card today! I appreciate you stopping by. Have a great day.

Nicki

my instagram

With Love

Written by Nicki Scheck. Posted in Uncategorized

Yay for Saturday! Hope you are able to enjoy this fall weekend 😉 Nicki here today sharing a clean and simple fall card.

This card features Concord & 9th stamps and dies, and a Tim Holtz Mini Stencil. Have you seen the new C&9th Layering Leaves dies??? They are so amazing!! There are so many possibilities with these dies, and I’ve seen some really beautiful cards using them on Instagram.

mp_withlove1_2264

I started with a Neenah Solar White card stock base. Using Tim Holtz Distress Inks in Ripe Persimmon, Mustard Seed, and Twisted Citron, I blended the ink with a foam blending tool for a soft look. Once that was completed, I taped the Mini Stencil to the card base with removable tape. Then, using the same distress ink colors I mentioned above, I blended more ink over the stencil and it created a tone on tone effect! LOVE that look! I made sure to overlap each of the colors slightly to make it a smooth blend.

mp_wtstep1_8143

mp_wtstep2_8146

The leaves were die cut 4 times from Neenah Solar White card stock, and glued together in two stacks to give them some thickness and dimension. Finally, the sentiment from the Give Thanks set was white heat embossed on Black Card Stock.

mp_withlove2_2266

Thanks for stopping in today! I hope I’ve left you with some Autumn inspiration. Enjoy your day 😉

Nicki

my instagram

Magical Birthday

Written by Nicki Scheck. Posted in Eye Candy (Projects)

Happy Thursday everyone! Nicki here today sharing a unicorn card. I can’t believe how popular unicorns are lately. It brings flashbacks to my childhood and My Little Ponies 😉 I made this card for a special little girl who’s turning 5 soon!

This card features Avery Elle stamps and dies. The light grey card stock was die cut using the largest die from the Sweet Scallops die set. It’s the same size as a regular 4.25″ x 5.5″ card base. It’s mounted to a Neenah Solar White card stock base. The stars, clouds, and stitched oval die are all cut from Neenah Solar White as well.

mp_magicalday1_2249

The rainbow & unicorn from the Be a Unicorn stamp set are stamped with VersaMark ink and heat embossed with black embossing powder. I used the following Zig Clean Color Real Brush Markers and a Waterbrush to color in the rainbow and the unicorn’s mane, tail, and hooves: 21 Light Carmine, 29 Geranium Red, 50 Yellow, 70 Orange, 45 Pale Green, 47 May Green, 36 Light Blue, 32 Persian Blue, 83 Lilac, 80 Violet, 91 Light Gray. The star and horn on the unicorn are colored in with Clear Wink of Stella for a hint of sparkle! I also just fussy cut both pieces because I don’t have the coordinating die for this set, but you can find it in the MarkerPOP store!

mp_magicalday3_2249

The sentiment is black heat embossed on the smallest oval from the Sweet Scallops die set. All the stars are also die cut from that set, and the clouds are die cut from the Special Delivery die set. The rainbow, unicorn, and oval are all popped up with foam tape.

mp_magicalday2_2258

Thank for popping in today! I hope you have enjoyed my project! Happy crafting!

Nicki

my instagram

We Flamin-go Together!

Written by Nicki Scheck. Posted in Eye Candy (Projects)

Hello crafty friends! Nicki here today sharing a super cute CAS flamingo card! I made this for my husband since our anniversary is coming up!

To start off, I used a Neenah Solar White card stock base. The Avery Elle “celebrate” die cuts also are Neenah Solar White, as well as the Lawn Fawn Flamingo Together palm trees and MFT banner die cut that “flamin-go” is on. The green part of the palm trees are stamped in Altenew’s Forest Glades, and the brown pieces are stamped with Dark Chocolate.

mp_flamingo1_1463

The flamingos were stamped on watercolor card stock with VersaMark embossing ink, then heat embossed with black embossing powder. Using ZIG Clean Color Real Brush Markers in 028 Pale Pink & 021 Light Carmine, I colored in the flamingos lightly, and then used a water brush to blend the colors together. The beaks use ZIG CCRB 095 Dark Gray. Then they were die cut using Lawn Fawn’s Flamingo Together die set. The heart was colored in using ZIG CCRB 024 Wine Red, then finished with a coat of Clear Wink of Stella.

mp_flamingo2_1474

Underneath the two groups of palm trees, I used ZIG CCRB 091 Light Gray to quickly color a shadow under them to ground them. The palm trees were adhered directly to the card base. The sentiment was stamped using black ink. The celebrate die cuts were adhered directly to the card base for some added texture, and a fun way to include another sentiment without taking away too much from the main sentiment. Since the card is being used as an anniversary card, I thought “celebrate” was perfect to include on it 😉

mp_flamingo3_1483

The flamingos were attached to the card base using foam tape, and the heart was glued directly to them.

I hope I’ve inspired you today! Thanks for stopping by!

Nicki

my instagram

Grab Our Button

i Luv MarkerPOP
Show some MarkerPOP LUV,

add this button to your blog.

I’m a Winner!

I'm a Winner on MarkerPOP Blog
Copy and paste the code under the badge

to claim your bragging rights!

I’ve Made Top 3!

WoHooooo I made it to the Top 3 on MarkerPOP Blog
Copy and paste the code under the badge

to claim your bragging rights!

Visit Us!

MarkerPOP Free Shipping MarkerPOP Boutique
18299 Mount Baldy Cir
Fountain Valley, CA 92708
Toll Free: 1-855-312-1222
Phone: 1-714-249-1222