$10 Gift Voucher - Leave a Comment

Author Archive

You ( And A Unicorn )…

Written by lisascreativeniche. Posted in Eye Candy (Projects)

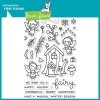
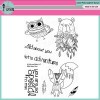
Hello wonderful and dear crafty friends!  It is Lisa here with you today, and I have a fun and cute little card to share with you today using the newly released Winter Unicorn Stamp Set for a non-traditional Christmas Card…

img_8086

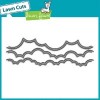
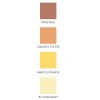
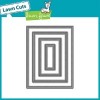
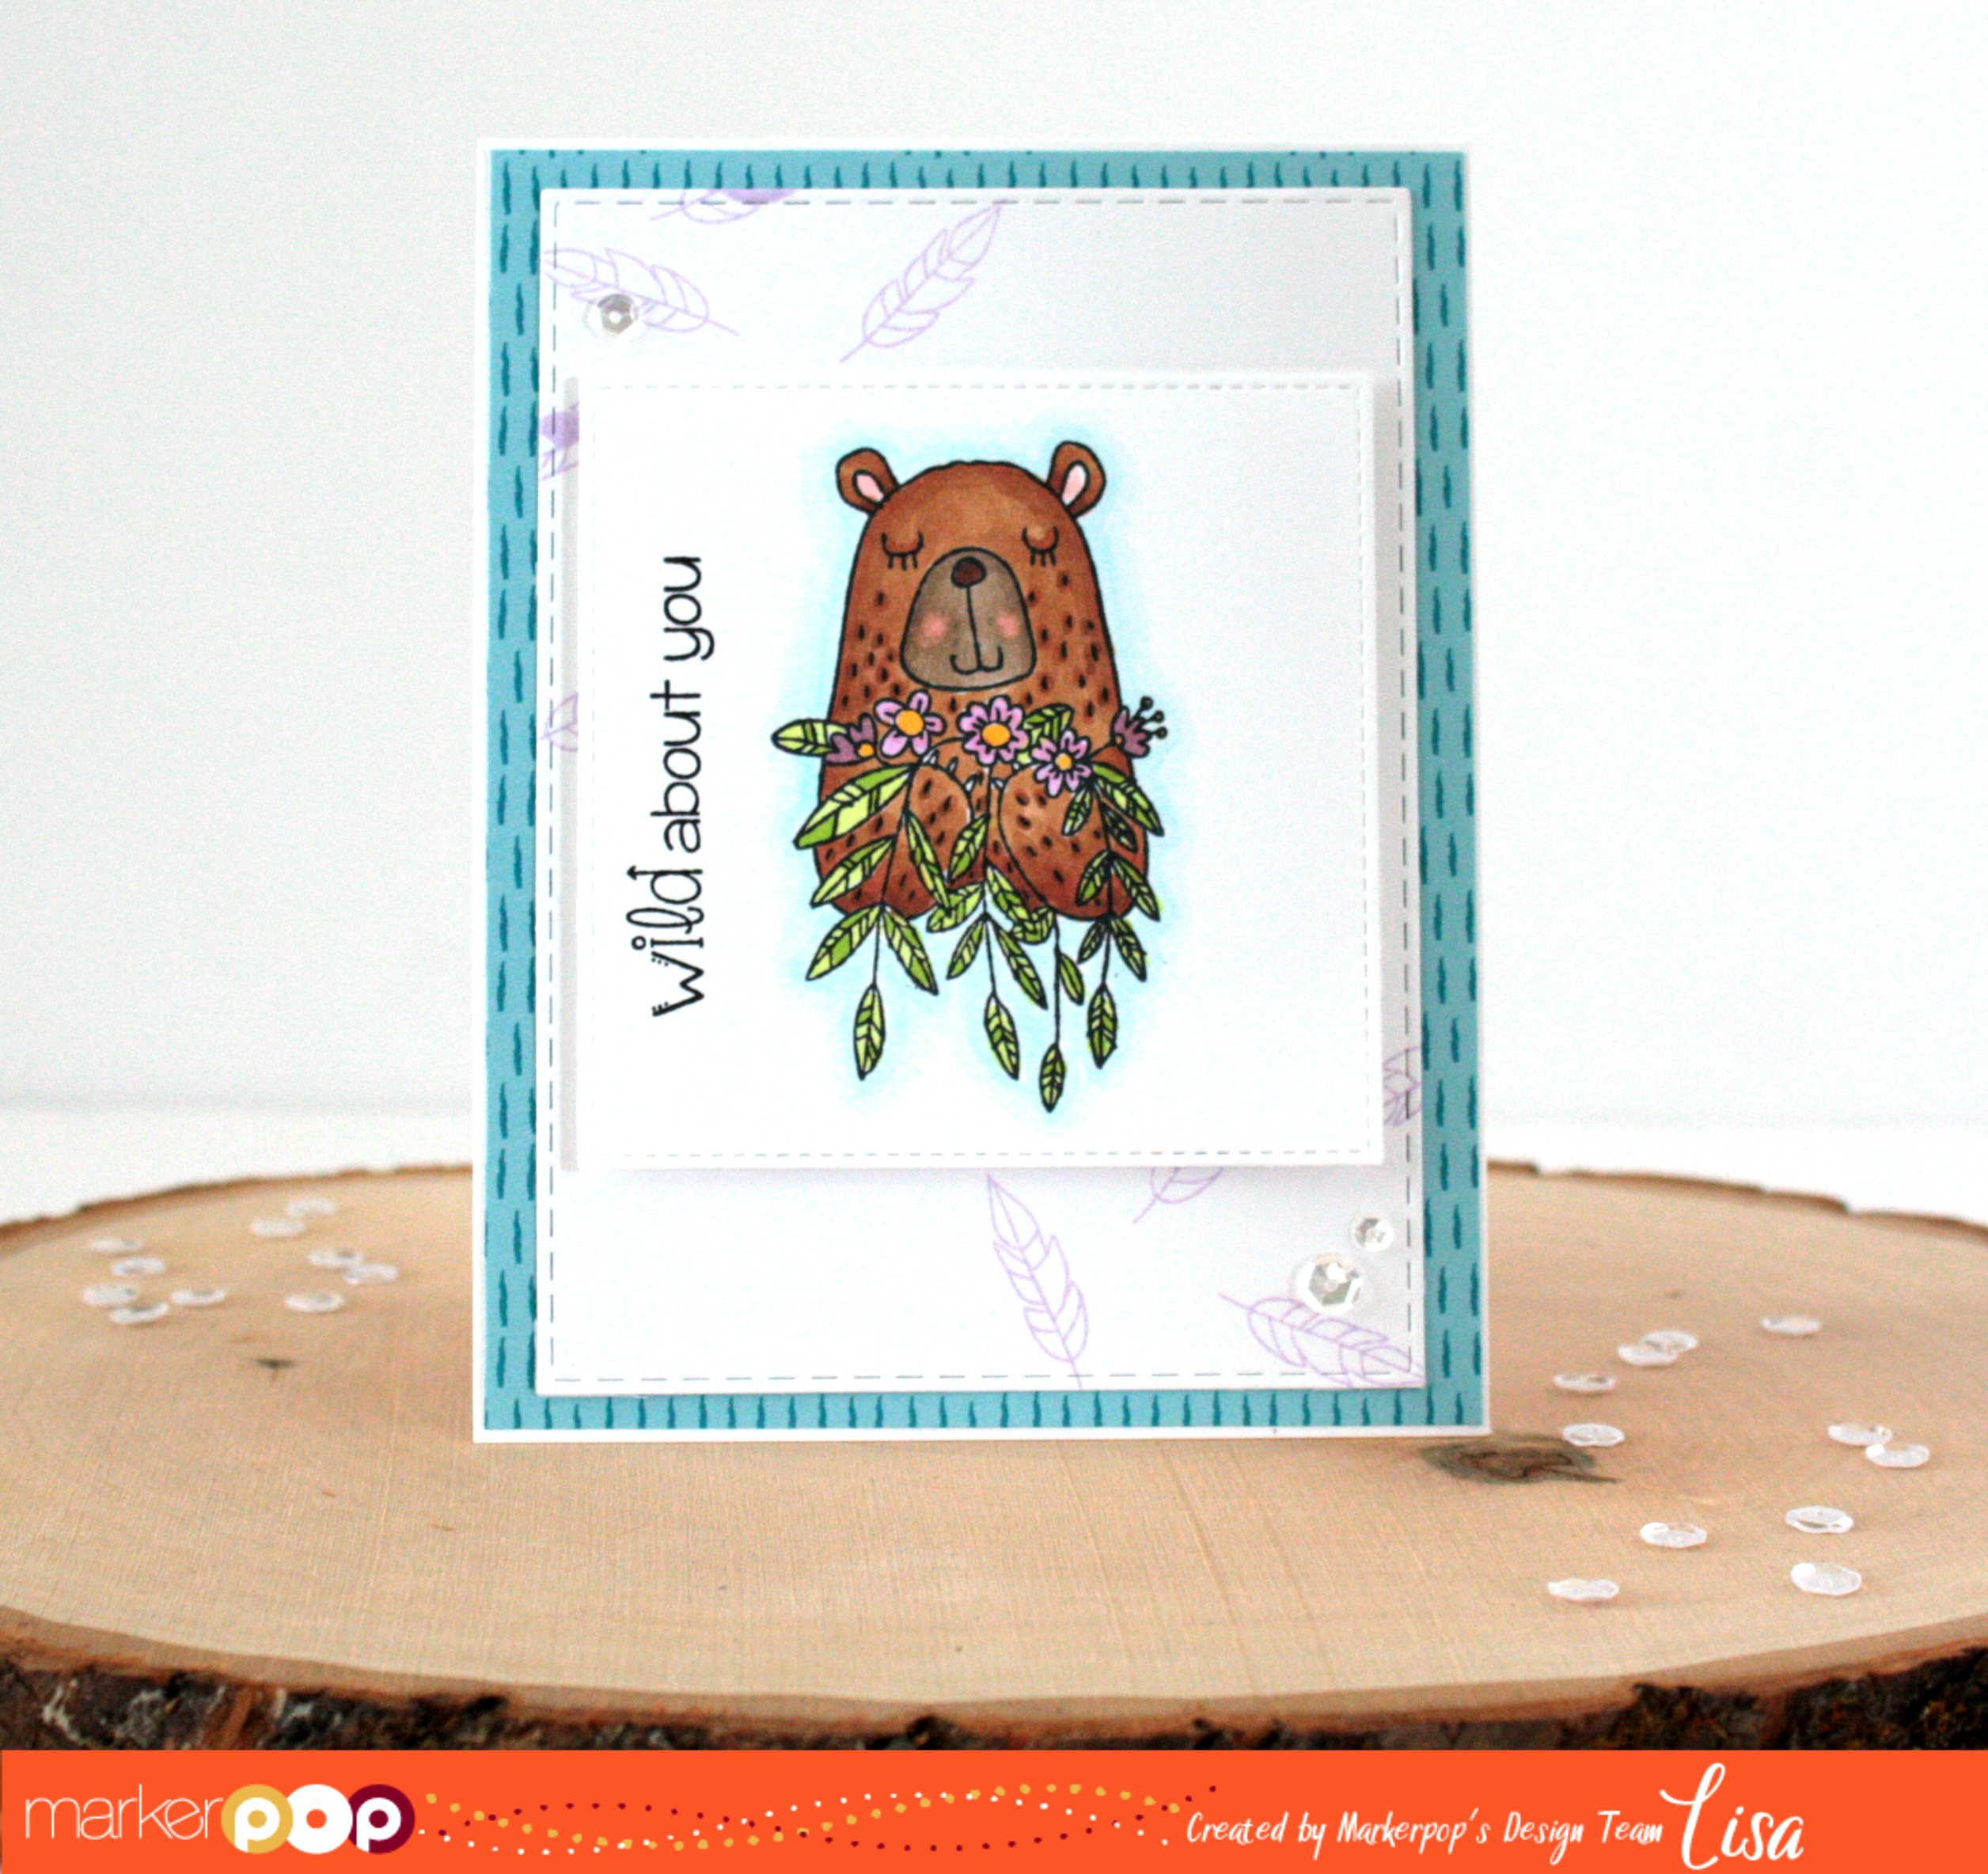
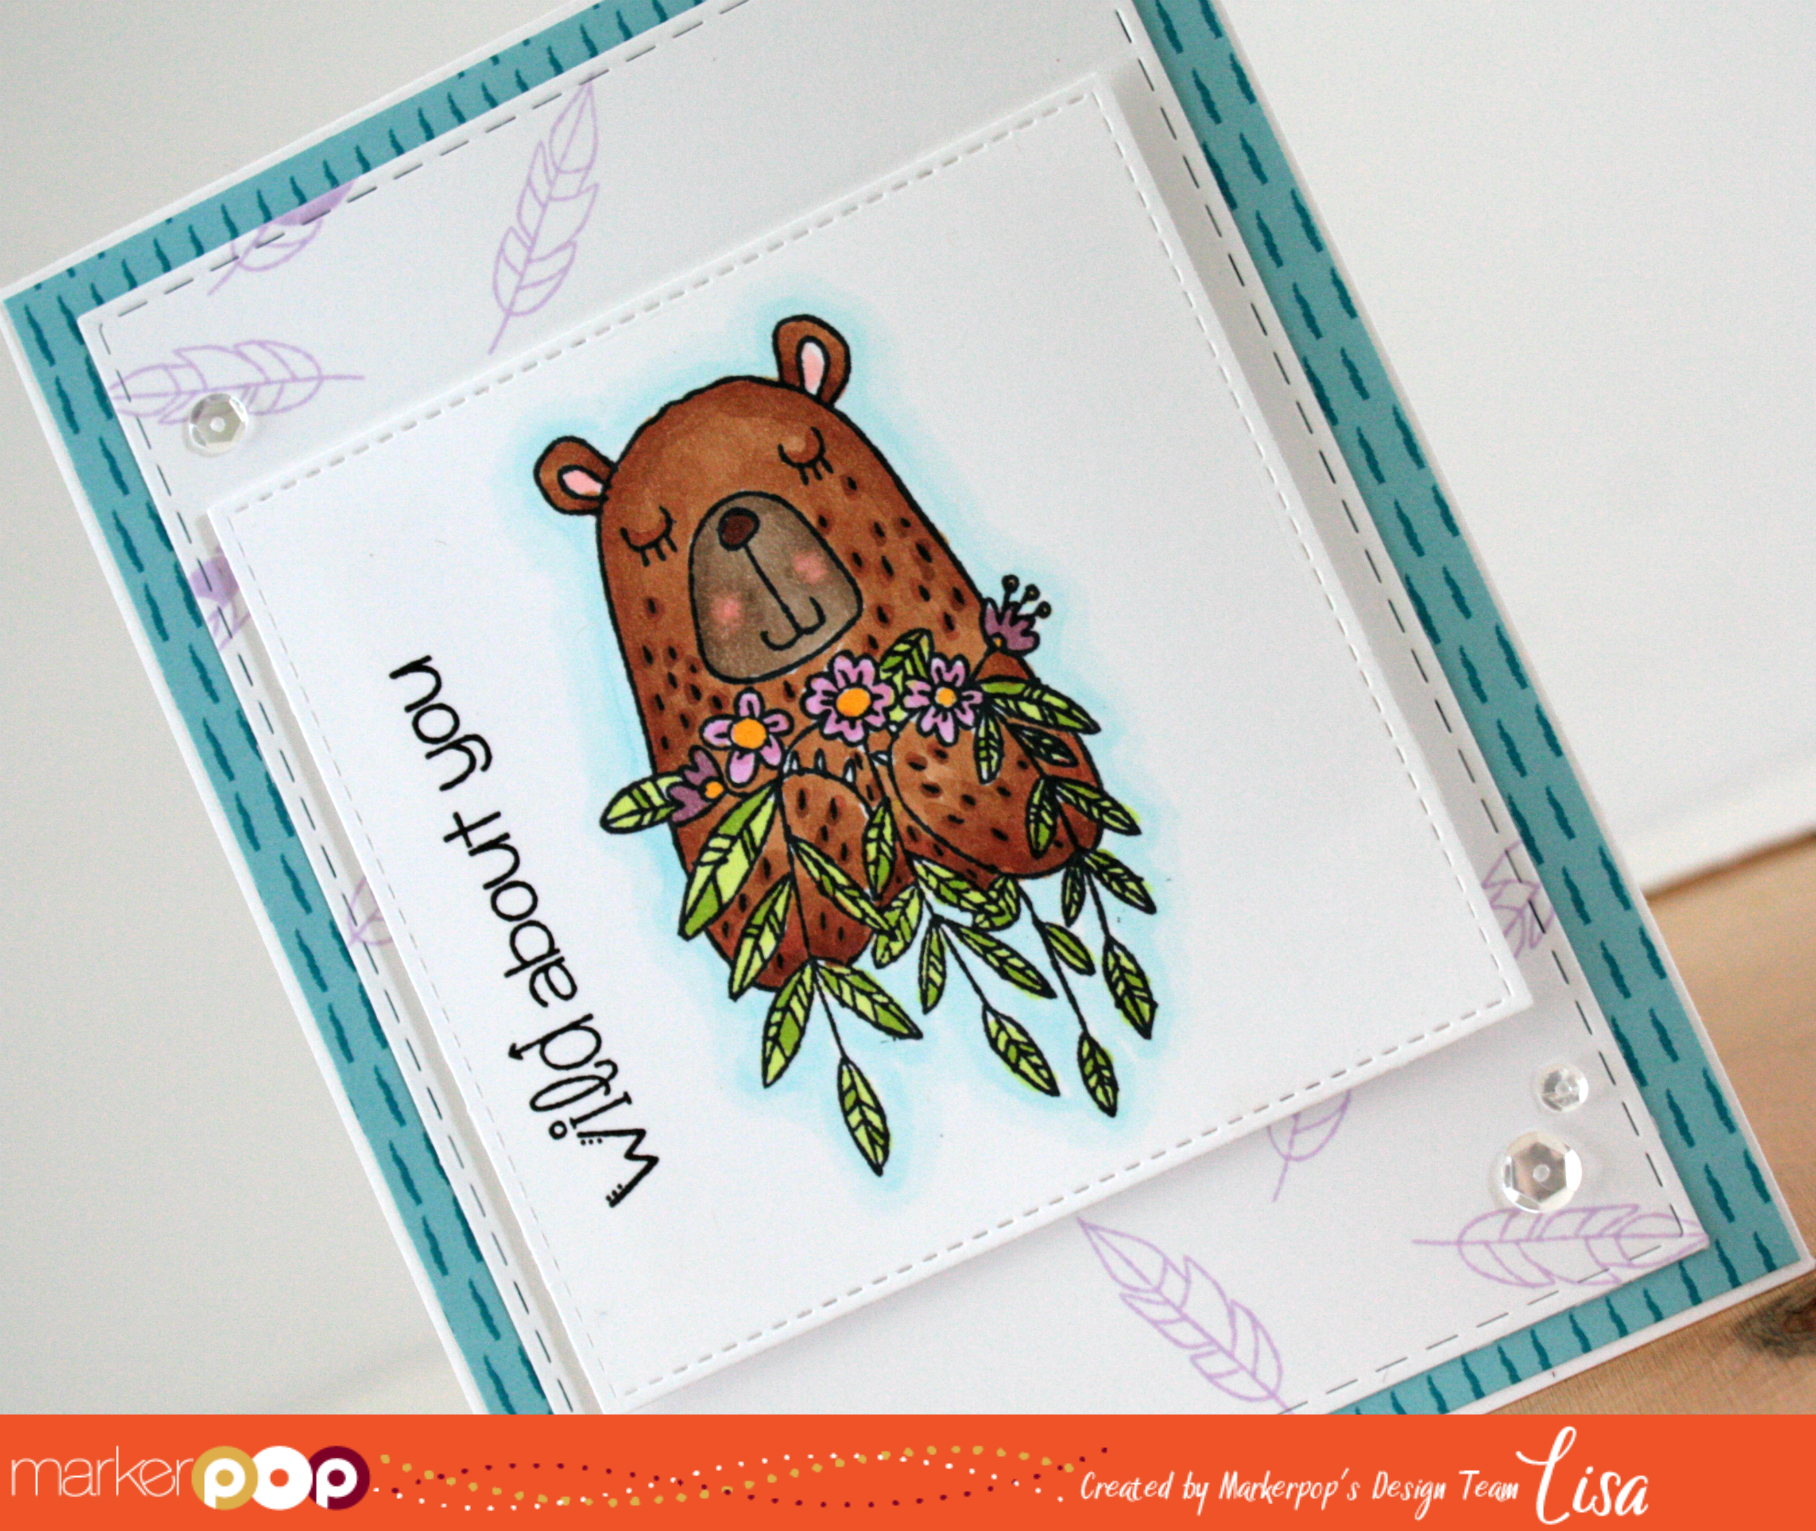
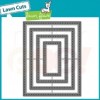
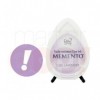
To create this card I started by using a panel of Neenah Solar White Cardstock and stamped the unicorn in the center of this panel.  I didn’t spend any time re-stamping the image for a crisper look because I knew this unicorn would be covered up.  Next I stamped little hearts and stars from this stamp set with Lawn Fawn Dye Ink in Cranberry and Altenew Crisp ink in Warm Sunshine.  The sentiment was stamped  with Versafine Ink above and below these images.  To create the look of the unicorn flying in the sky I used the Lawn Fawn Puffy Cloud Border Cut Set and adhered one to the top and the bottom of the panel after blending some distress ink in Tumbled Glass onto each of them.

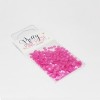
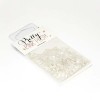
Finally I stamped the unicorn onto a separate piece of cardstock with Memento Tuxedo Black ink.  I then colored it in with various Copic Markers (R20, R24, R29, R89, C0, C5, YG17, G28, G46).  Since the sentiment I used was Christmasy I decided to color her in with reds and greens to tie it all in. Next I fussy cut him out and went over the edges with my Tuxedo Black Marker.  After I popped her up with foam adhesive she needed a little sparkle so I busted out my Spectrum Noir Clear Glitter Pen.

img_8088

Thanks so much for stopping by and Happy Crafting!

designteam2016lisa

Have A Magical Season with Lawn Fawn

Written by lisascreativeniche. Posted in Tutorials

Hello!  It is Lisa here with you today and I have a super cute and fun Seasonal Shaker card with you all today using the new Frosty Fairy Friends by Lawn Fawn

img_7952

To create this card I started by stamping my branch images around the sides and top of a white panel.  I then die cut this panel with the Lawn Fawn Small Stitched Rectangle cuts to create my frame.  The sentiment was stamped along the bottom of the frame and this was set to the side.  I used the inside of the frame to draw a guideline onto another piece of white card stock with a pencil so I would know where to stamp my house and snowflakes.  The house and snowflakes were colored using various Copic® Markers: Christmas Lights (YG12, Y15, B05), Sky (B000, RV10), Snow (C0, C1,) Treehouse (E15, E 25, E27, V12, V15, RV14, RV25) Copic Multiliner Sepia for lines on the treehouse.  Since I was coloring a make believe place I wanted my colors to be whimsy and fun hence I added purple and pink trimming with some pink in the sky.

Next it was time to create the shaker aspect so I cut a piece of acetate to fit the frame, added a mix of Pretty Pink Posh’s Cupped Sequins Winter Snow, Pink Blush, Pink Peonies, as well as some beads from my own stash and adhered the tree scene to the back with foam adhesive.  I then layered my frame back into itself on the card front.  I still felt like the card was missing a little something so I decided to stamp and color one of the fairy images to adhere in the top left corner. Copic® Markers used for my fairy were: face (E00, E11, R20) Hair (YR21, YR23, Y26) Outfit (RV10, RV23, V12, V15).

img_7953

And there you have it!  A sweet wintery scene that can also provide some card shaking fun.

Thanks so much for stopping by and Happy Crafting!

designteam2016lisa

Wild About You: Featuring Pink & Main

Written by lisascreativeniche. Posted in Uncategorized

Hello wonderful coloring friends!  It is Lisa here with you today, and I am sharing a card made with a newly released set by Pink & Main called Wild About You.  The little critters in this card are awesomely filled with details that give off an Indie Chic vibe.  Check out the card I’ve created with the bear and feather images…

img_7930

To create this card I started by stamping my bear onto Neenah Solar White Cardstock with Tuxedo Black Memento Ink.  I then colored the image with Copic® Markers (E15, E35, E43, E44, E57, E59, Y17, YG01, YG25, BG0000, B000, R20, R83, RV63, RV95).  The My Favorite Things Inside & Out Stitched Square Die was perfect for framing my image.  For a different look I decided to stamp my sentiment down the left side of the image with Versafine Onyx Black Ink.  I love the perfect impression I can achieve on my sentiments with this ink.  For a background panel I used the feather images in Lulu Lavender Memento Ink.  This panel was then die cut using the Lawn Fawn Large Stitched Rectangle.  I then layered this all onto a piece of patterned paper from the Tribal Prints 6×6 paper pack by My Favorite Things.

img_7931

Thank you so much for stopping by today and Happy Crafting!

PS – Don’t forget to join our challenge with just 1 day left!

designteam2016lisa

Happy Thanksgiving with Cute Critters!

Written by lisascreativeniche. Posted in Tutorials

Hello wonderful crafty friends!  It is Lisa here with you today, and while I know so many of us are getting ready for Halloween, the very next Holiday (Thanksgiving) will be upon us in America in not time at all.  So I’m just getting a little jump on things and sharing this super cute Thanksgiving card with all of you today…

img_7905

img_7906


To create this card I started by stamping the pumpkins and little pilgrim beavers from the Giving Thanks set by Pretty Pink Posh onto Neenah Solar White Cardstock and colored them in with Copic Markers (E11, E15, E37, YR04, YR15, YR18, B95, B97, Y15, Y17, RV10, RV63, RV91, RV95). I then cut all of them out and set to the side.  I then stamped the leaf and acorn images all over the front of my cardbase, colored these in with Copic Markers (YG03, YR15, R46, E15, E27).  This time I did not add any shading as this was just for the background and I wanted the main focus to be on the characters.  I then went over the background with Tumbled Glass Distress Ink.  I wanted to add a green little hill for my critters to stand on and to double as a place for my sentiment so I die cut a hill from the Lawn Fawn Let’s Polka in the Meadow Paper Pack and with the Pretty Pink Posh Stitched Borders Die Set.  I then stamped my sentiment with Versafine ink and added the critters with foam adhesive for more dimension.

img_7907

Thanks so much for stopping by today and Happy Crafting!

designteam2016lisa

Grab Our Button

i Luv MarkerPOP
Show some MarkerPOP LUV,

add this button to your blog.

I’m a Winner!

I'm a Winner on MarkerPOP Blog
Copy and paste the code under the badge

to claim your bragging rights!

I’ve Made Top 3!

WoHooooo I made it to the Top 3 on MarkerPOP Blog
Copy and paste the code under the badge

to claim your bragging rights!

Visit Us!

MarkerPOP Free Shipping MarkerPOP Boutique
18299 Mount Baldy Cir
Fountain Valley, CA 92708
Toll Free: 1-855-312-1222
Phone: 1-714-249-1222