
Create Jean Texture with Copic Markers
Hi Everyone! Carisa here with you today and I am super excited to share with you one of my favorite ways to add texture to jeans on my colored images using actual JEAN fabric and the Colorless blender! I think you are going to love this and will go texture crazy once you see how simple it really is. I have a video for you as well this week! Check it out on YouTube or watch below:
How incredibly easy is that?! Like I mentioned in the video, when you are creating texture like this with the Colorless Blender, you want to make sure you isolate the coloring – meaning, only color the portion that you want to have that texture – apply the coloring medium to your fabric and press. Once it is dry, you can finish coloring the rest of your image like I have. Another tip: Before adding the texture with the colorless blender, makes sure your image is completely dry from the coloring you just did. Copic markers dry pretty fast but depending on how many layers you used, your paper may be quite saturated. You can use a heat gun to speed up that process.
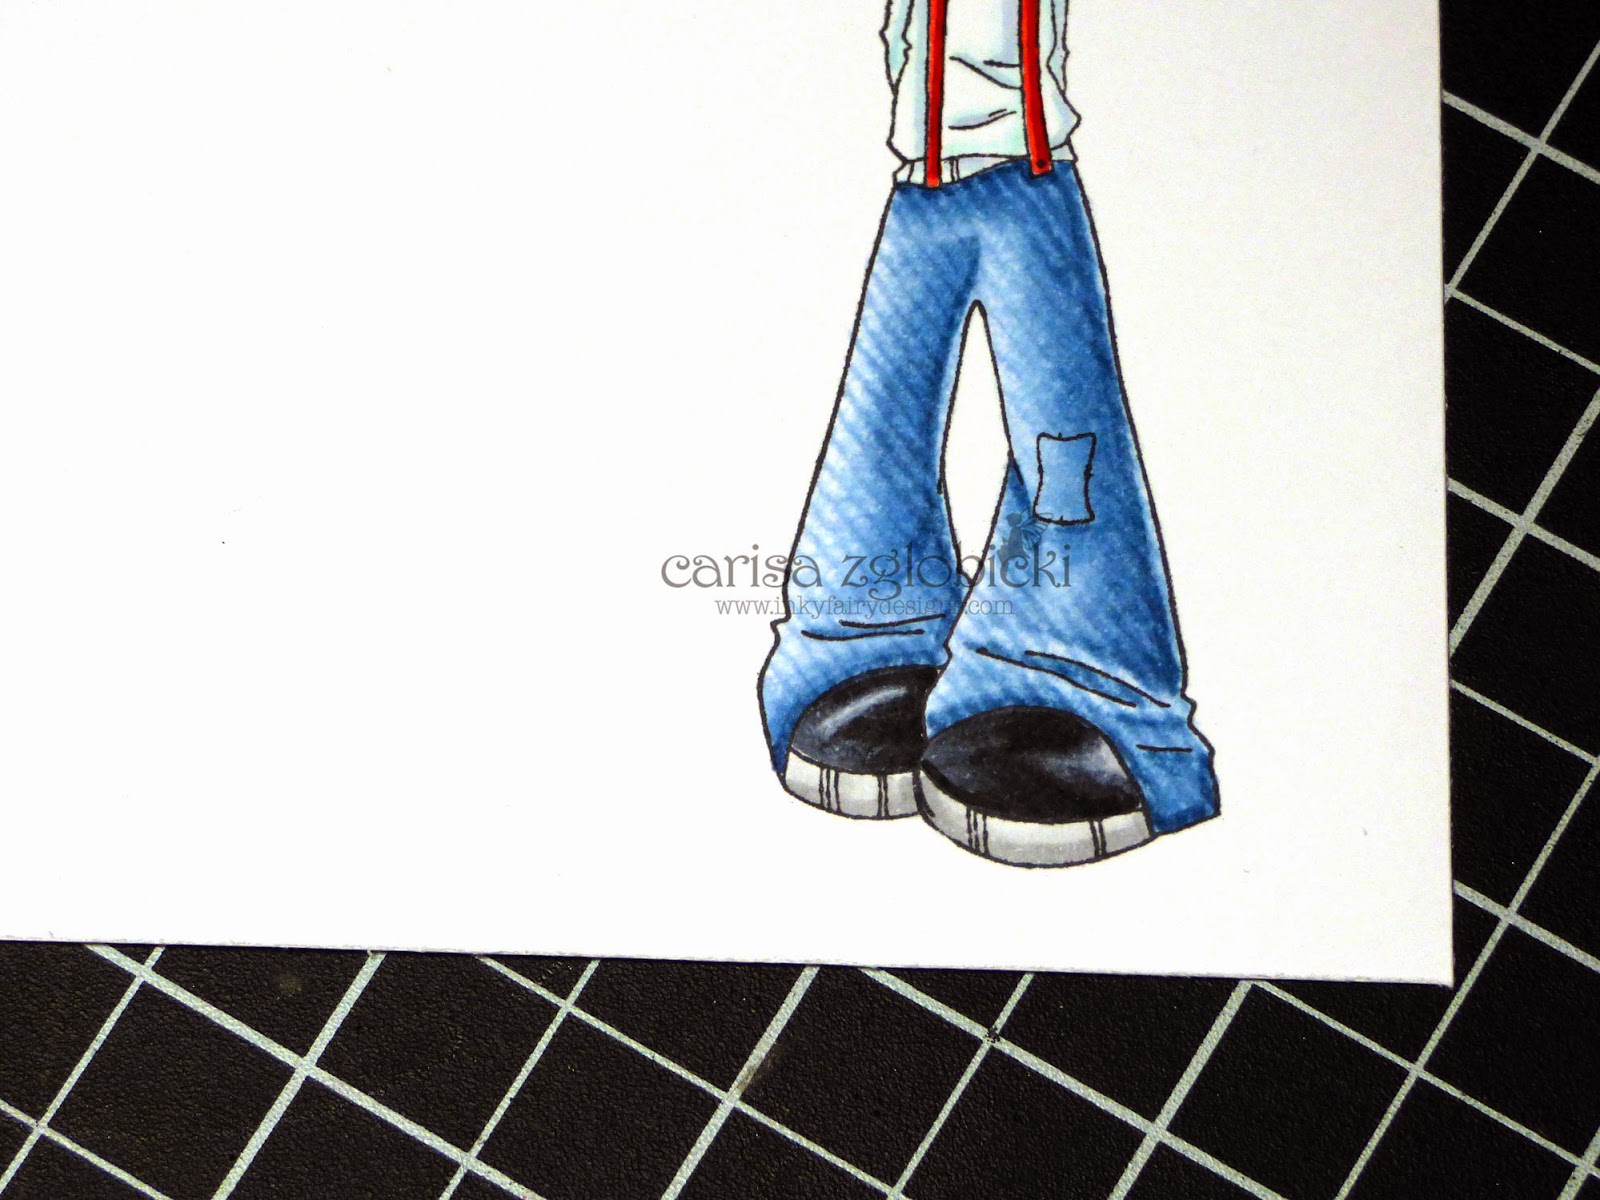
Here is a close up of the jeans with all that gorgeous texture! I mean, seriously?! I love it!!! It is definitely one of my favorite ways to add jean texture to my images – as long as I remember BEFORE I start coloring that I want to do that. 😉

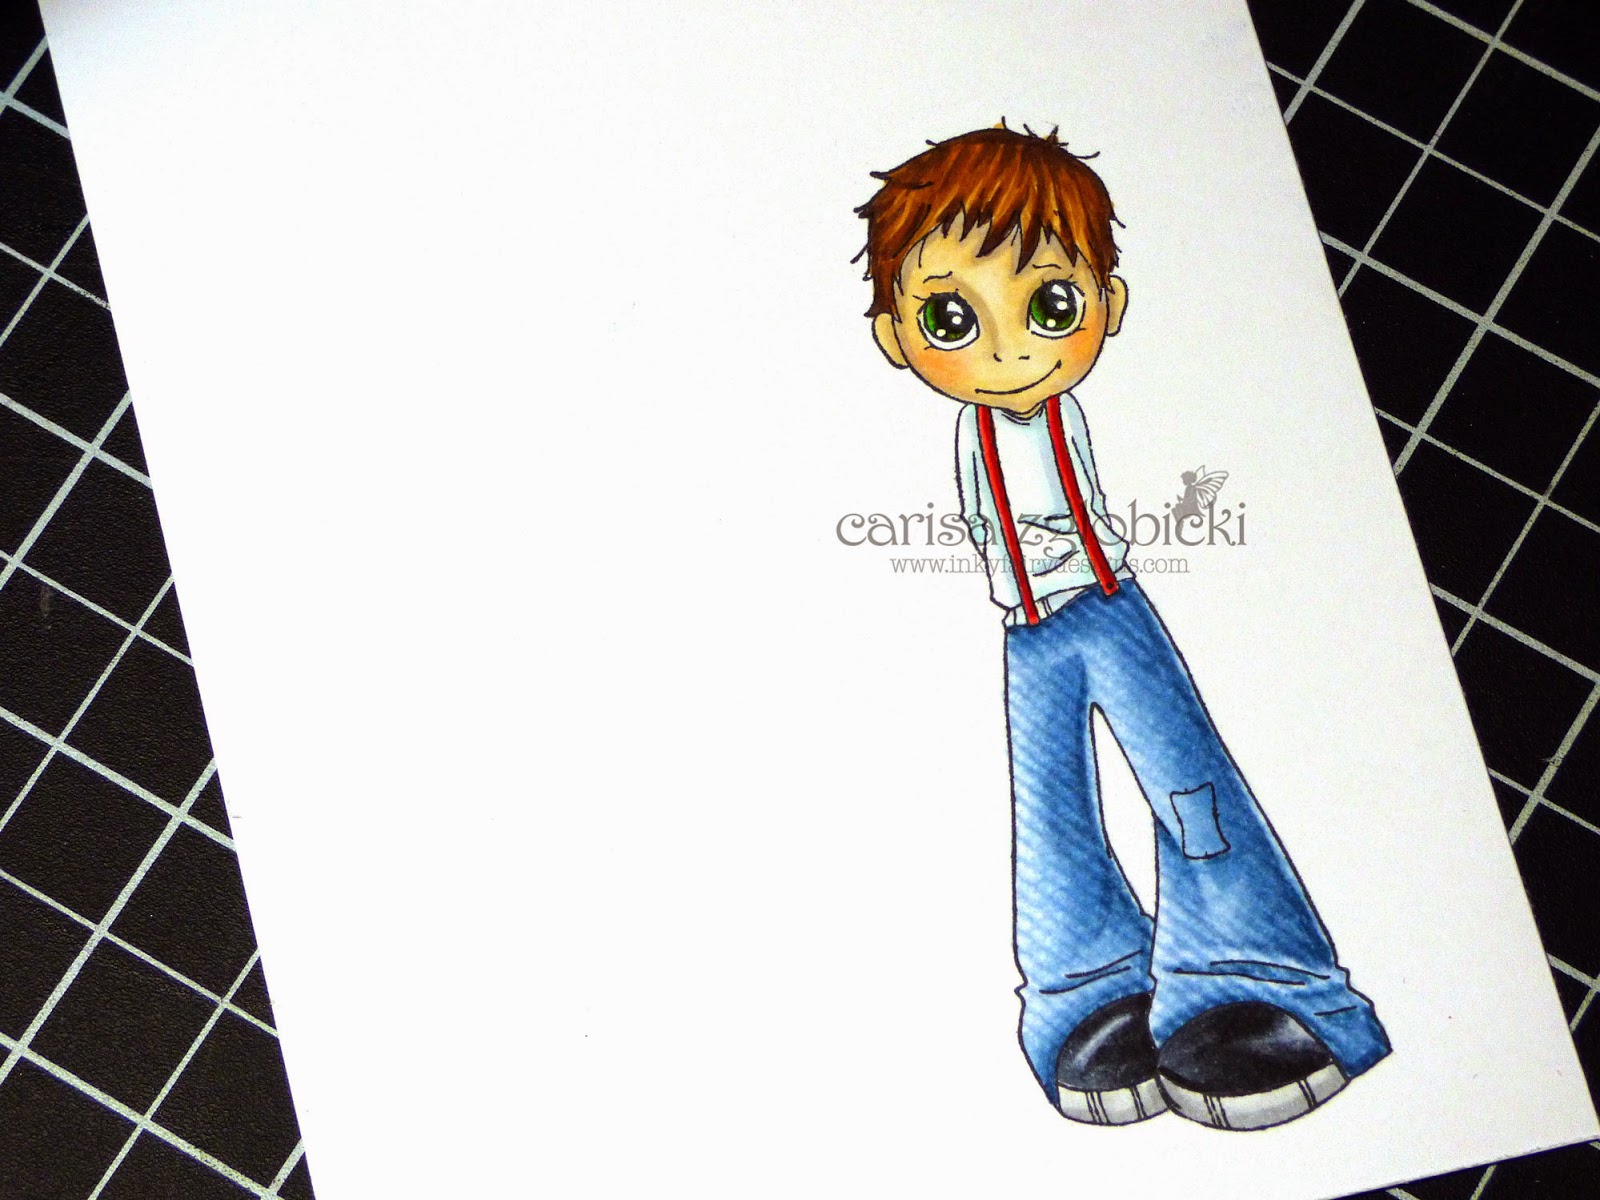
Isn’t he just the cutest? I absolutely adore Saturated Canary images! This guy is from the Puppy Luv set that is available in the store right now! And this set rocks because you get both this cutie and a girl image in the stamp set! I cut them apart so I could use them individually without having to mask them. I can’t wait to get him on a card!
For my entire image these are the Copic colors I used in order of how I laid them down:
Skin – E50, E51, E21, E93, R01, V20
Hair – E33, E57, E79
Shirt – BG10, BG11, V20, R24, R29, E09
Jeans – B91, B93, B95, B99, 0 (V20 optional – I also used tip to tip blending as I do not have B97)
Shoes – 100, C8, C6, C2, N3, N1
Supplies:
Saturated Canary – Puppy Luv stamp
Tags: Carisa Zglobicki, Copic, Copic Markers, saturated canary, Tutorial, Video
Trackback from your site.

Comments (6)
Bunny
| #
Great tutorial. I’m glad you mentioned to isolate and let the colors dry before you add the colorless blender. I ruined what started out as a nice project by not letting the colors dry. Ugh! Mistakes we only make once though.
Like I said, great tutorial. Thank you.
Reply
Carisa
| #
Hi Bunny! Yep, I like to pass along what I’ve learned through trial and error! haha I am glad you enjoyed the tutorial. 🙂
Reply
Laura Corkill
| #
Fantastic tutorial and coloring Carisa! I need to get a bottle of colorless blender. I like that you showed the tip to tip technique too. That was a perfect image to show this technique.
Reply
Carisa
| #
Thank you, Laura! Yep, I personally prefer the BIIIIG Bottle of Colorless blender – one of those must have items in the craft room – there are so many fun techniques you can do with it. I’m glad you liked the tip to tip as well – definitely helps for any holes in your Copic collection. 😉
Reply
Marie Gamber
| #
I love your fabulous video Carisa. You are just so talented. Love your coloring! Hugs, Marie
Reply
Carisa
| #
Awww, that means the world to me, thank you so much, Marie!
Reply