
Creating a Sponged Winter Background: Basic Technique
Hello everyone! Marie here with a snowy winter scene for you today!
Today I am going to share how i create a basic sponged winter background.
This will be a technique that anyone can use to create a quick and fun snowy background.
***
:
My other YouTube Tutorials can be viewed HERE.

Supplies
Stamp
Winter penguin (Lawn Fawn)
Ink
Copic Alcohol Ink Markers
Tim Holtz Tumbled Glass Distress Ink (Ranger)
Memento Tuxedo Black (Tsukineko)
Copic Opaque White Ink
Paper
X-Press it
120# White cardstock
Designer: Jack Frost (American Crafts)
Layer: Jelly Bean Bazzill Card Shoppe
Other
Crafter’s Companion Double Sided Tape
4mm Silver Pretty Pink Posh Cup Sequins
Scor Pal
Sponging Dauber
Stylus
Post-It note paper or light weight paper

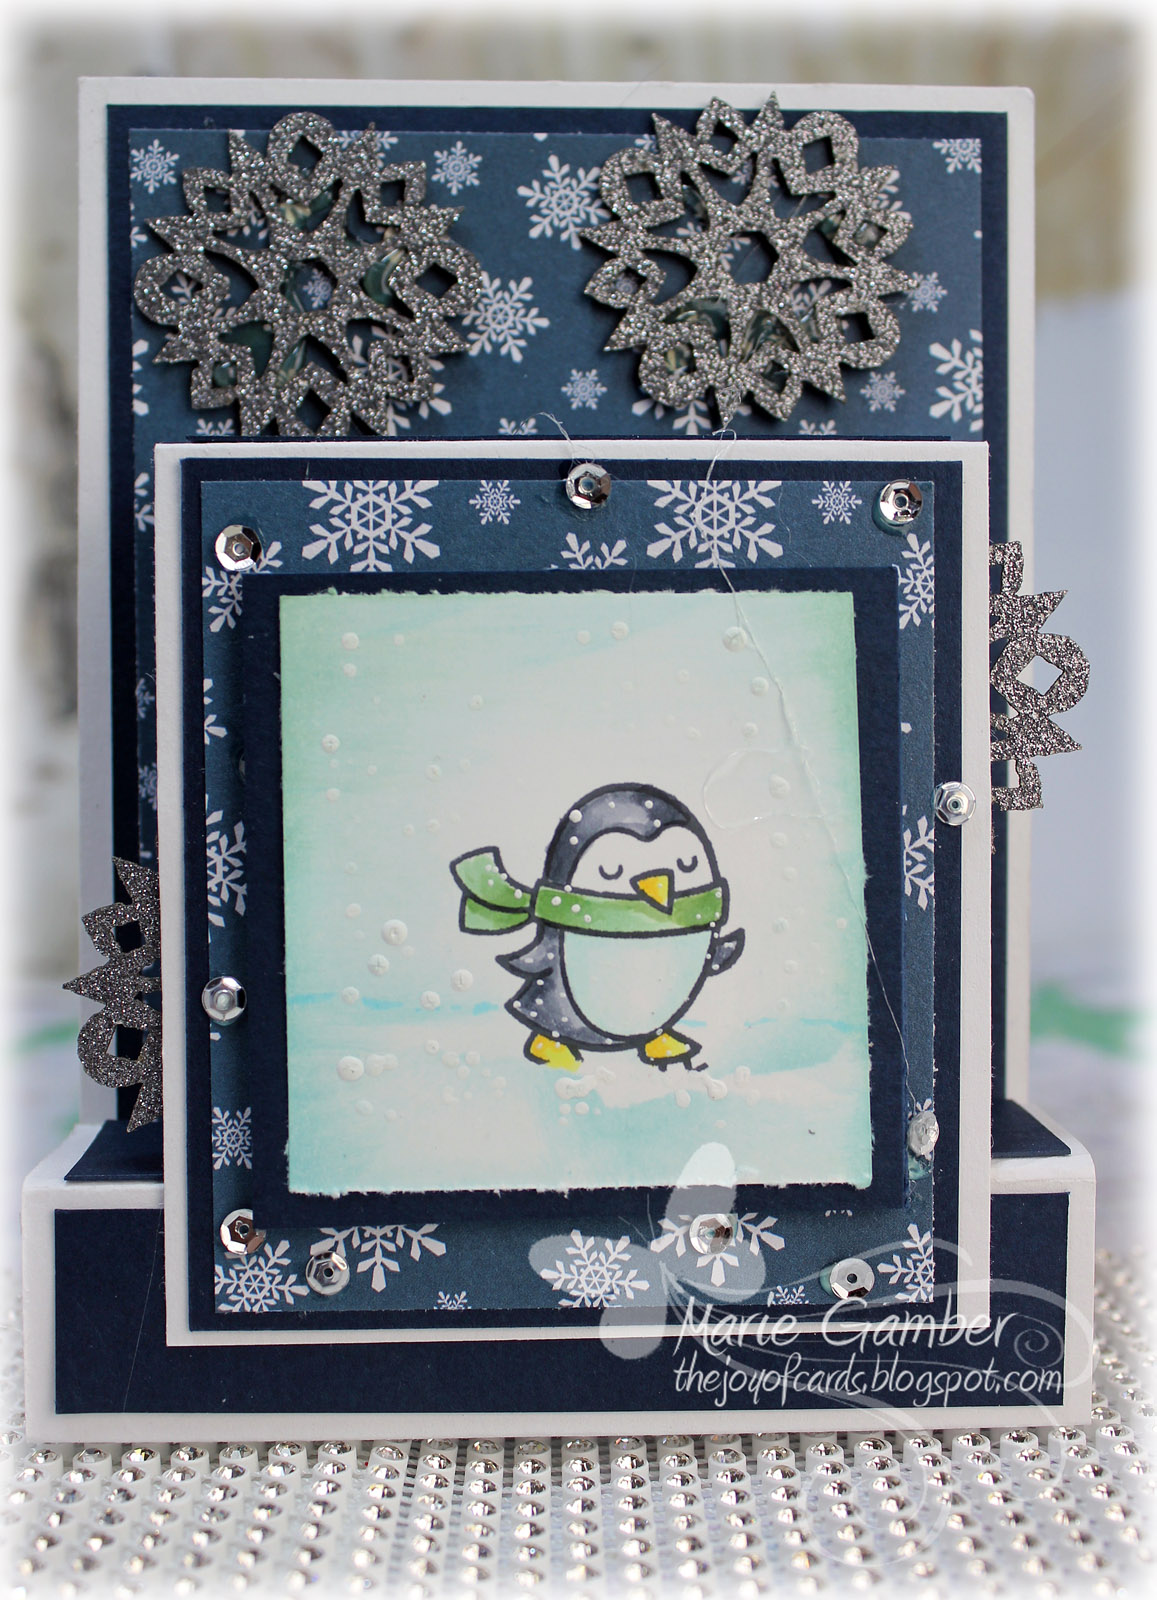
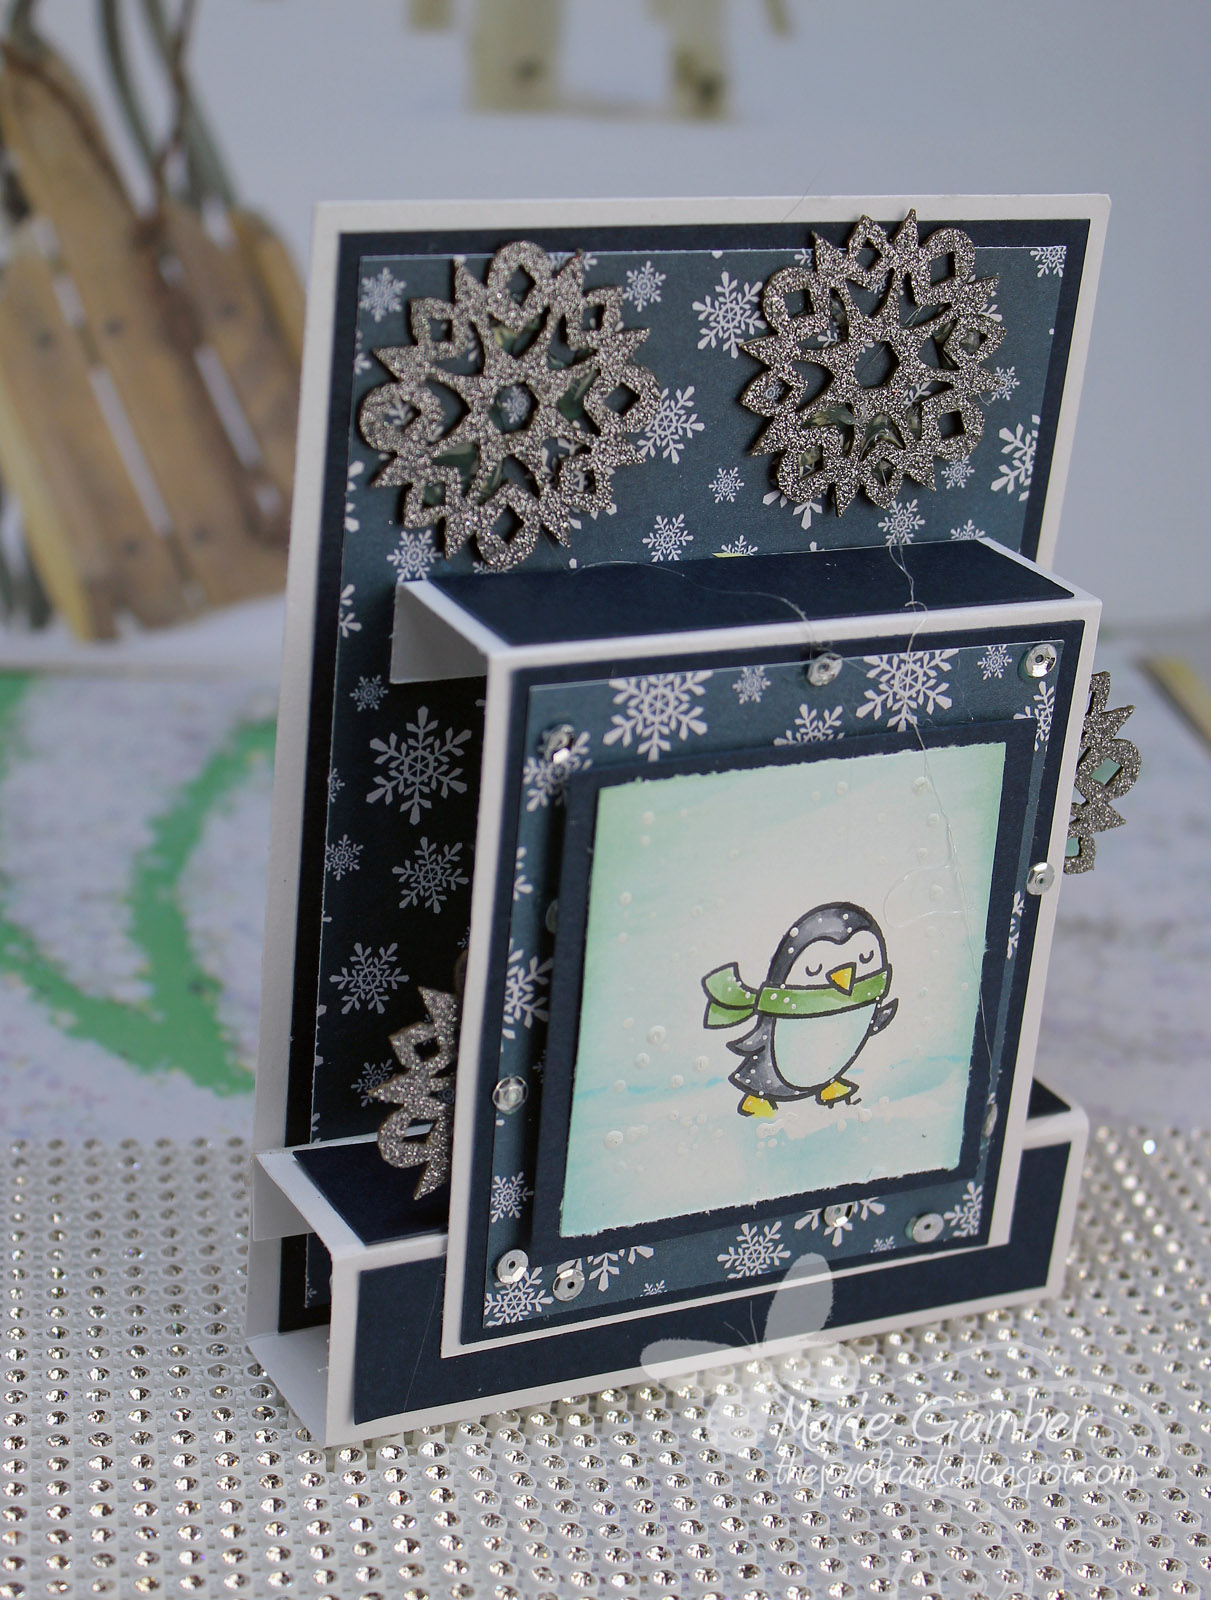
The focal image was applied to a folding box card and embellished with snowflakes.
Thank you so much for visiting! Come back soon!
Have a safe and Merry Holiday!
![]()
Trackback from your site.

Comments (4)
Valerie Ward
| #
Amazing card, Marie! The winter scene you created is just dreamy! I love that CopicPigment stuff, too; I have some – I’ll have to actually try using it!
Reply
Marie Gamber
| #
Thank you so much Valerie! I love winter holiday cards and I am addicted to penguins! I too love the opaque white. I just ordered another jar! LOL Hugs, Marie
Reply
Kelli Cortes
| #
What an adorable little penguin and fun technique!
Reply
Marie Gamber
| #
Thank you so much Kelli! I love penguins! LOL
Hugs, Marie
Reply