Adding Pleats with Copic Markers
Hi everyone…. Tina here! I’m so happy to be back sharing a little marker tip with you all today. Today I wanted to share with you how I make an otherwise plainly colored dress have a bit more depth by adding pleats or folds to it. I started out using Tiddly Inks, Ellie Says Hi stamped with Memento Tuxedo Black.
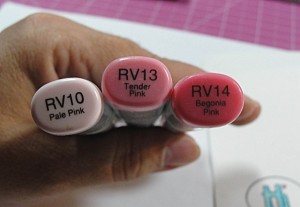
And we will be using a dark, medium and a light colored Copic to create our depth/pleats.
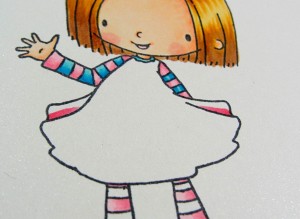
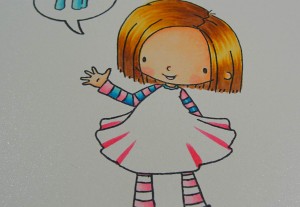
First you will use your darkest color to start the pleats. Of course, some images are obvious where they will be… like below… the areas of dress definitely in the back will be darker.
On this image, you will notice the small “markings showing a little hint as to where the pleats will go…
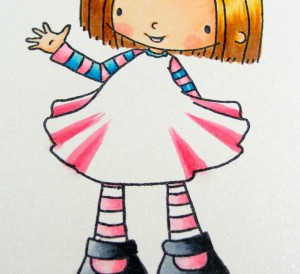
I use a somewhat tall triangular shape to put these pleats in… of course, as the dress goes up… it loses some of the pleat. Next we will add the medium color added all song the sides of each of the darker marks. Blend them well.
And finally, add your lightest color to fill in, again, being sure to blend well. 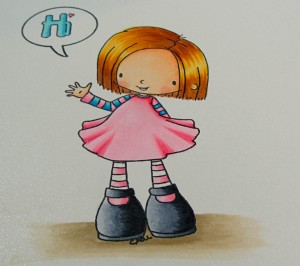
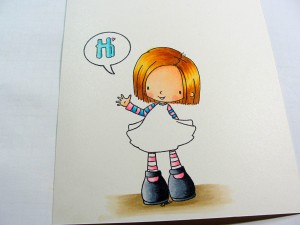
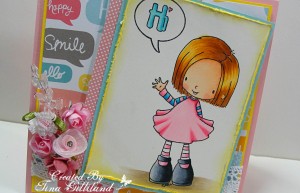
And there you have it… a finished dress with a few pleats giving your image a bit more depth and texture. And here is our finished card all put together.
As you can see, the darker shade blends in well and it may seem a bit much when you start… but as you add the other two colors, your image really pops when you have it complete. I hope you enjoyed the tutorial and give it a try. It certainly makes for an image with more than just stamped and colored in.
I used Cryogen White paper to stamp my image on. The designer paper is from American Crafts, My Girl, paper pad. And of course, I used Copic Sketch markers.
Have a great day and thanks for having me as your guest designer today! *HUGS*
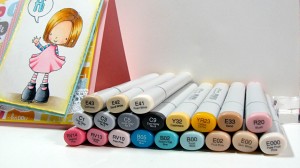
Copics I used:
Trackback from your site.






Comments (5)
Beverly Jordan
| #
Way cool technique!
Reply
Jean Bullock
| #
Very cute. Thanks for the tutorial.
Reply
Marie Gamber
| #
I love the pleat tutorial! Wonderful!
Hugs,
Marie
Reply
Valerie
| #
Wow, Tina, you make this look so easy! My pleats always look like a mess! Maybe I’m just trying too hard, I guess!
Reply
Gabriella
| #
Thanks for the cute tutorial ….I followed it and it looks great
Reply